The Perfect Burger and Grilled Asparagus
1May 5, 2013 by Jason Rice MD
It’s that time of year. The weather is getting warmer, and that means it’s time to start grilling.
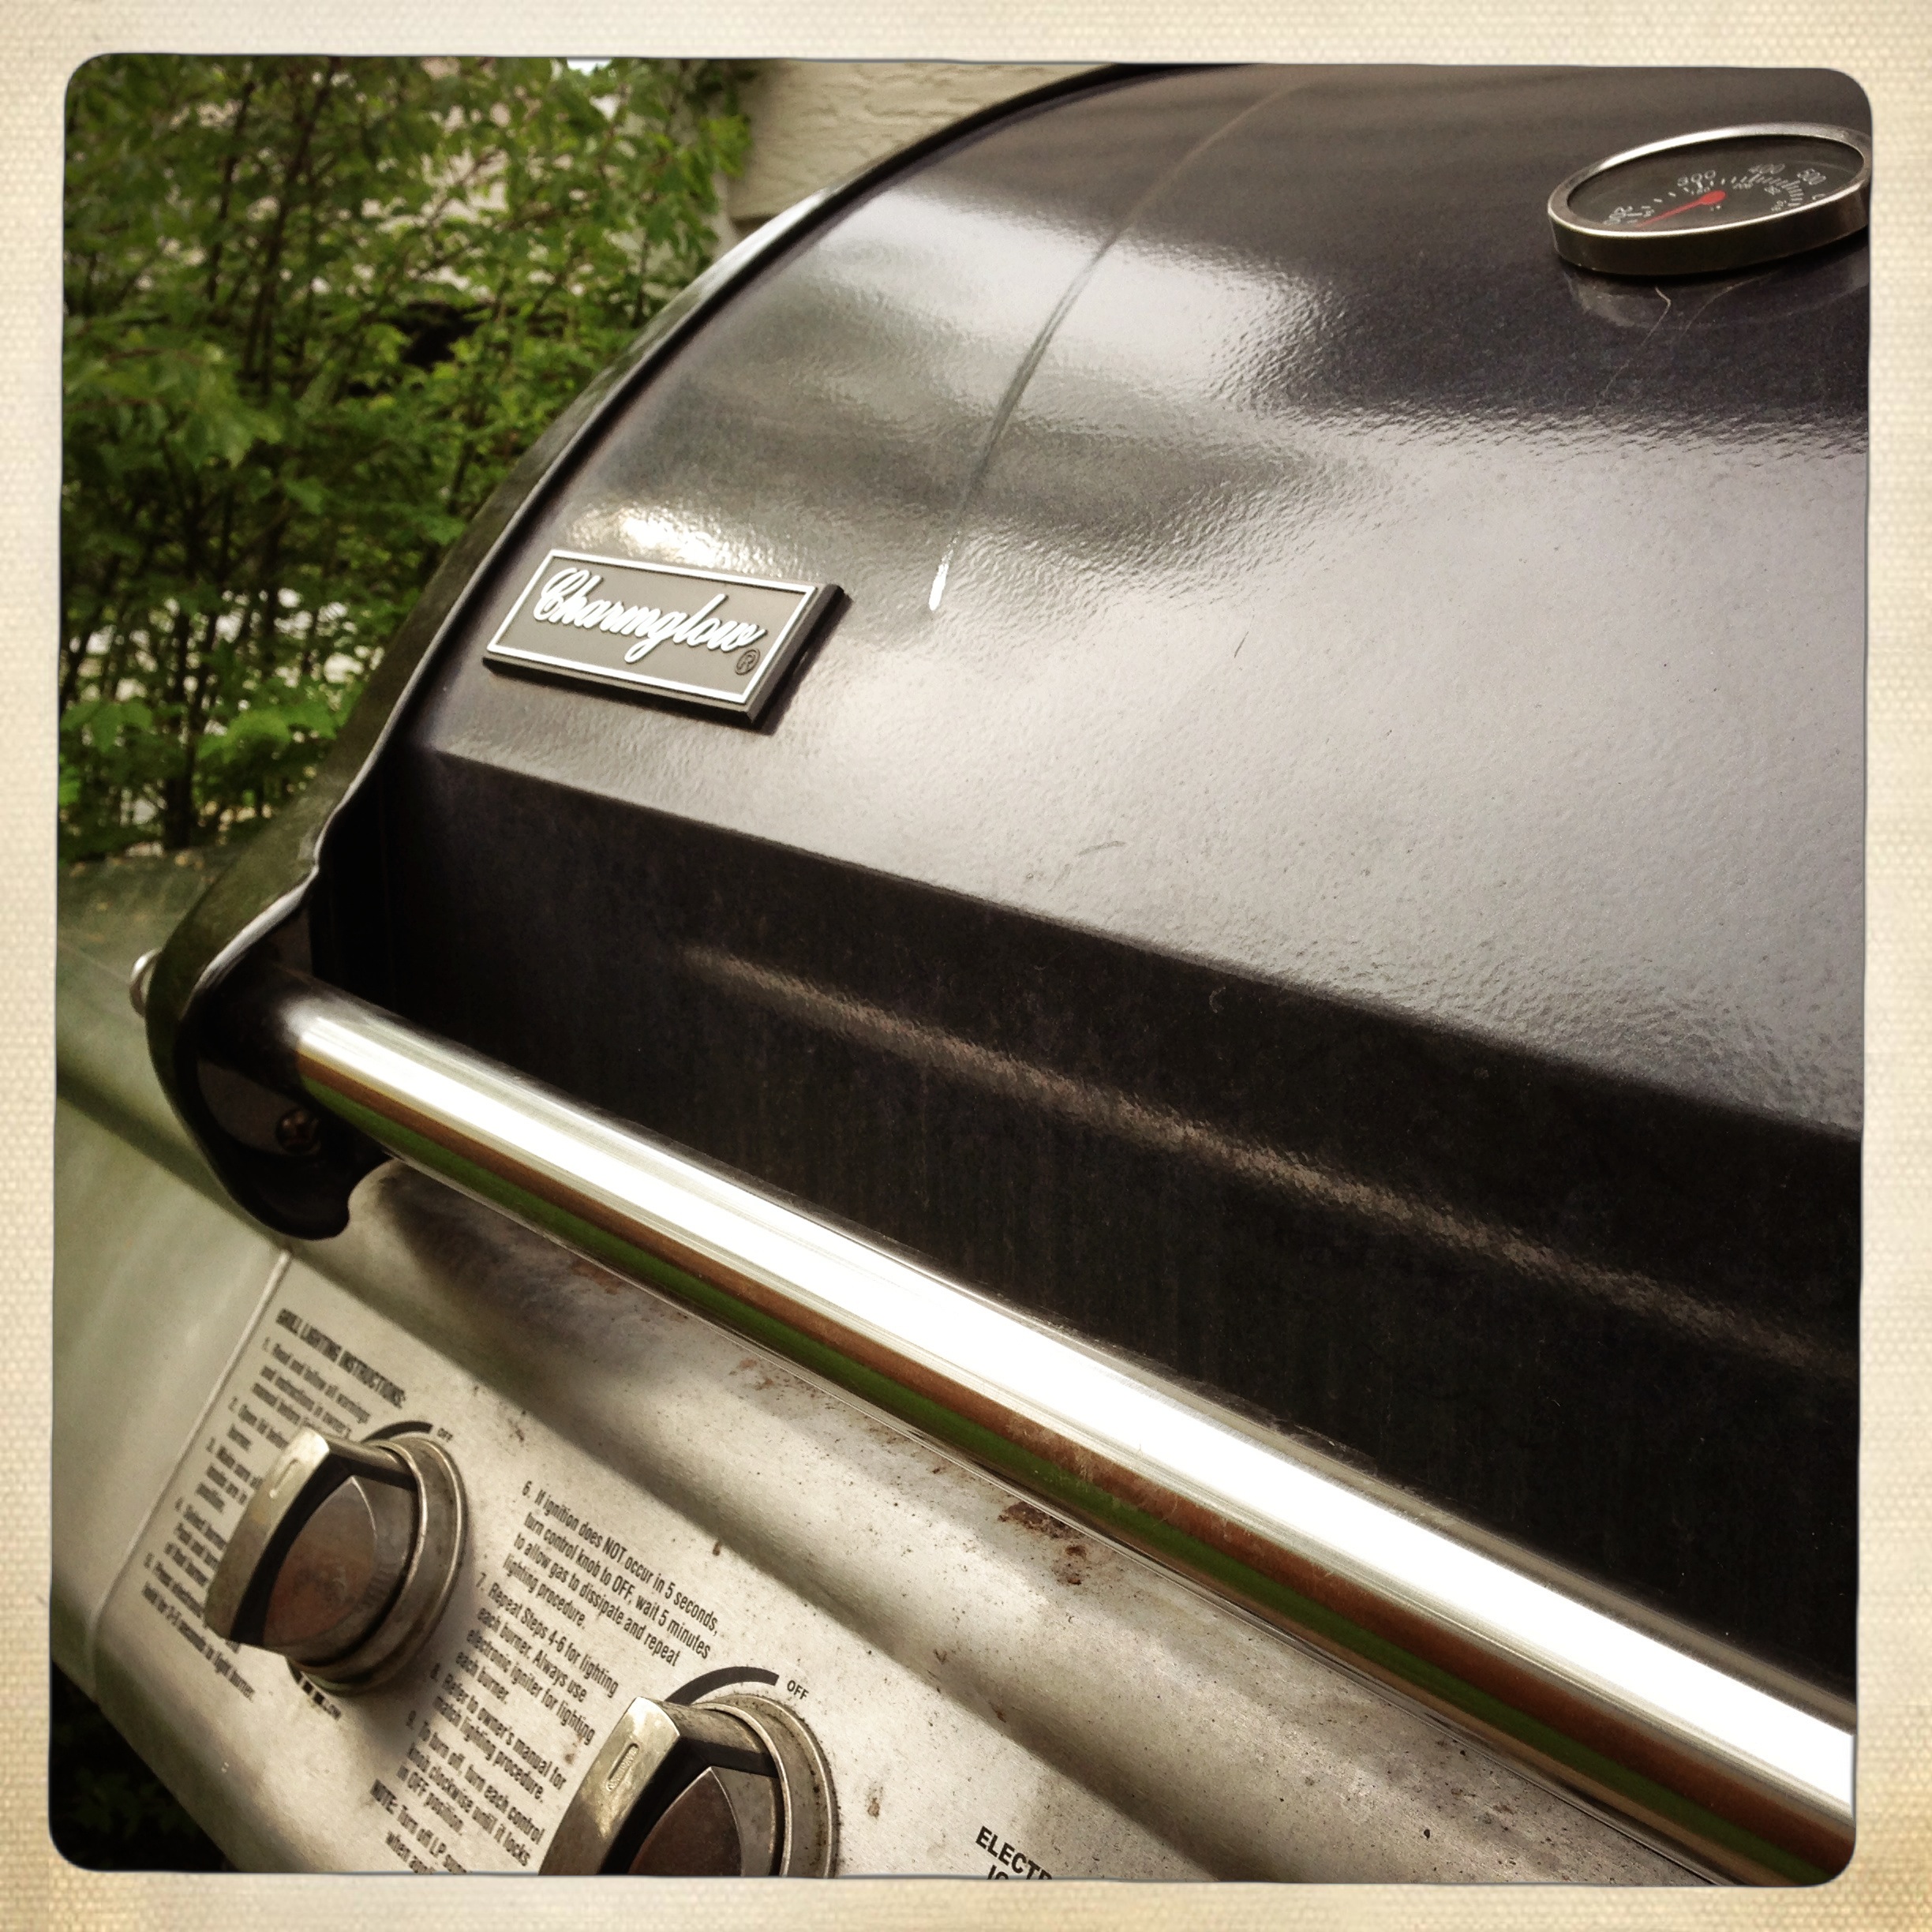
The grill is great not only for the flavors it brings to my cooking, but also the convenience of making the whole meal in one place. For my first grilling session of the season, I stuck with a classic burger and paired it with some grill-roasted asparagus. Grilled vegetables are delicious, and grilling is a very forgiving method for cooking veggies.
When I grill vegetables, I like to grill them in a foil packet. It helps contain any seasonings I’ve added, uses both steam and dry heat, and keeps smaller pieces from falling through the grates. In addition to the asparagus, I also grilled onions for the burgers in the same way.
I don’t think the standard Ingredients/Procedure format will work as well for grilling, so I plan to just do a walkthrough from start to finish. I hope this gets you as excited about grilling season as I am!
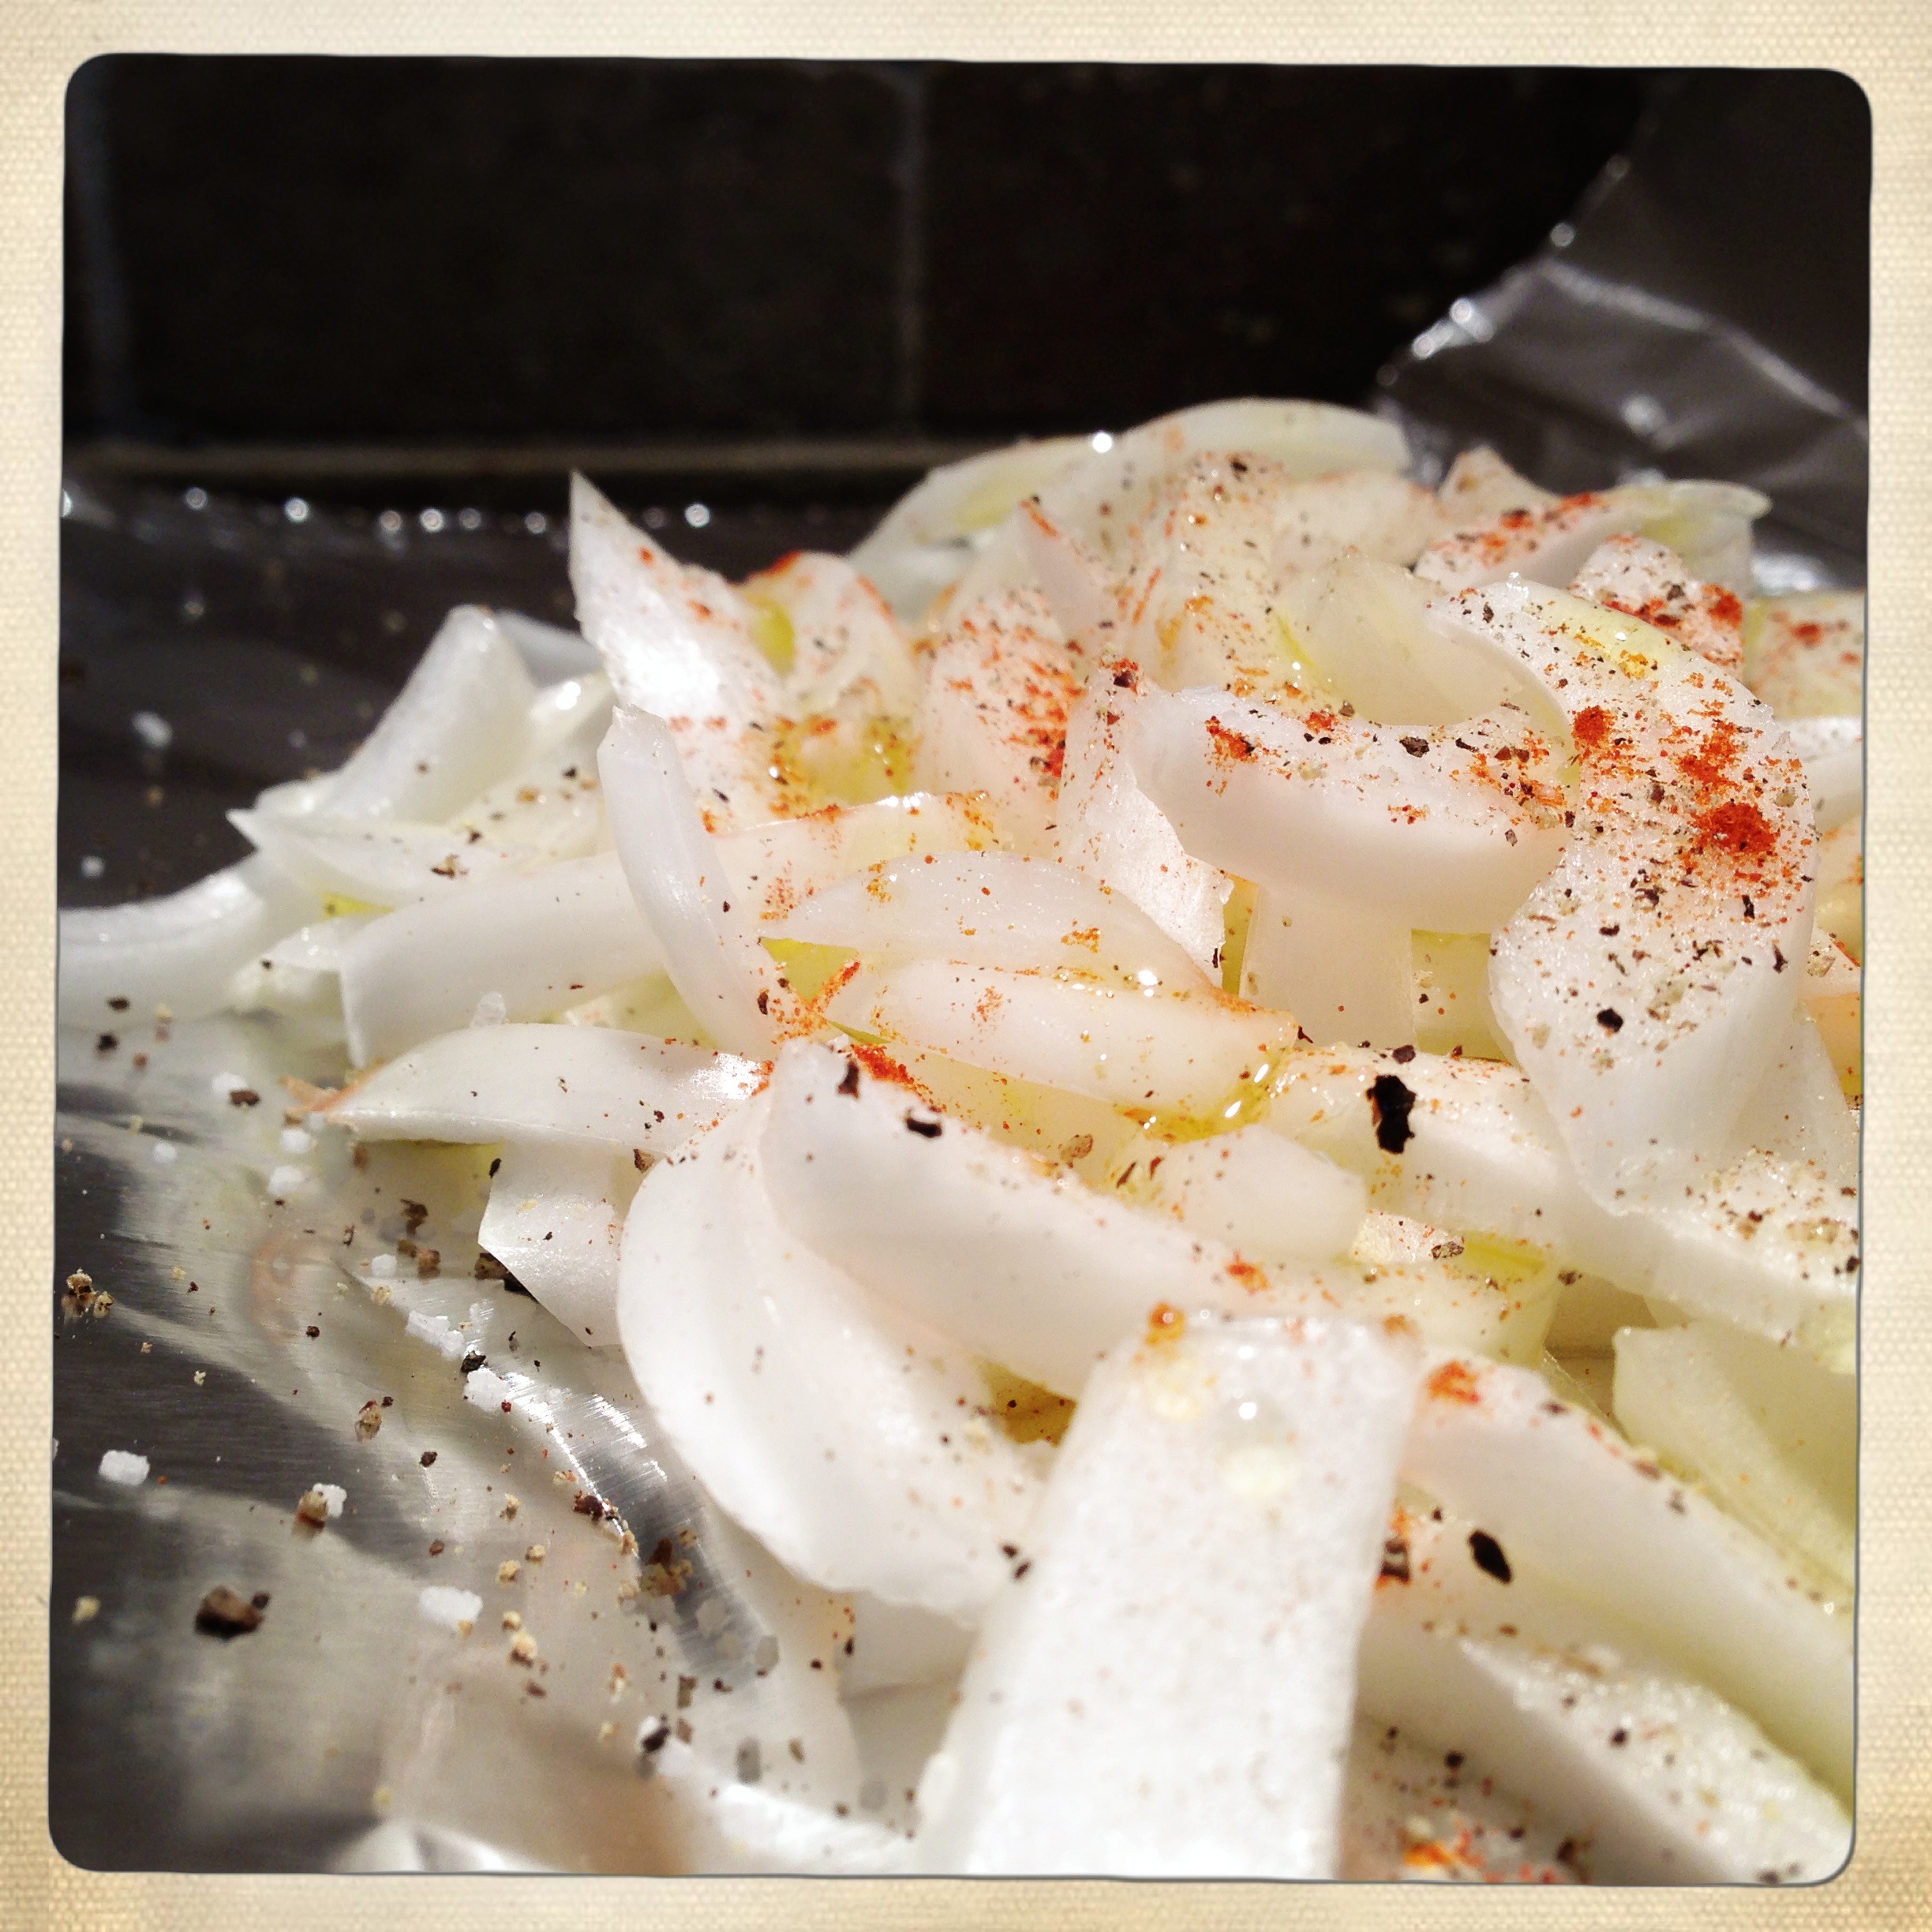
First off, I make my veggie packets. For the grilled onions, slice the onion into ribbons and lay on a sheet of foil large enough to make an envelope around the onions. Season with salt, pepper and olive oil. I also used a little smoked paprika for extra flavor.
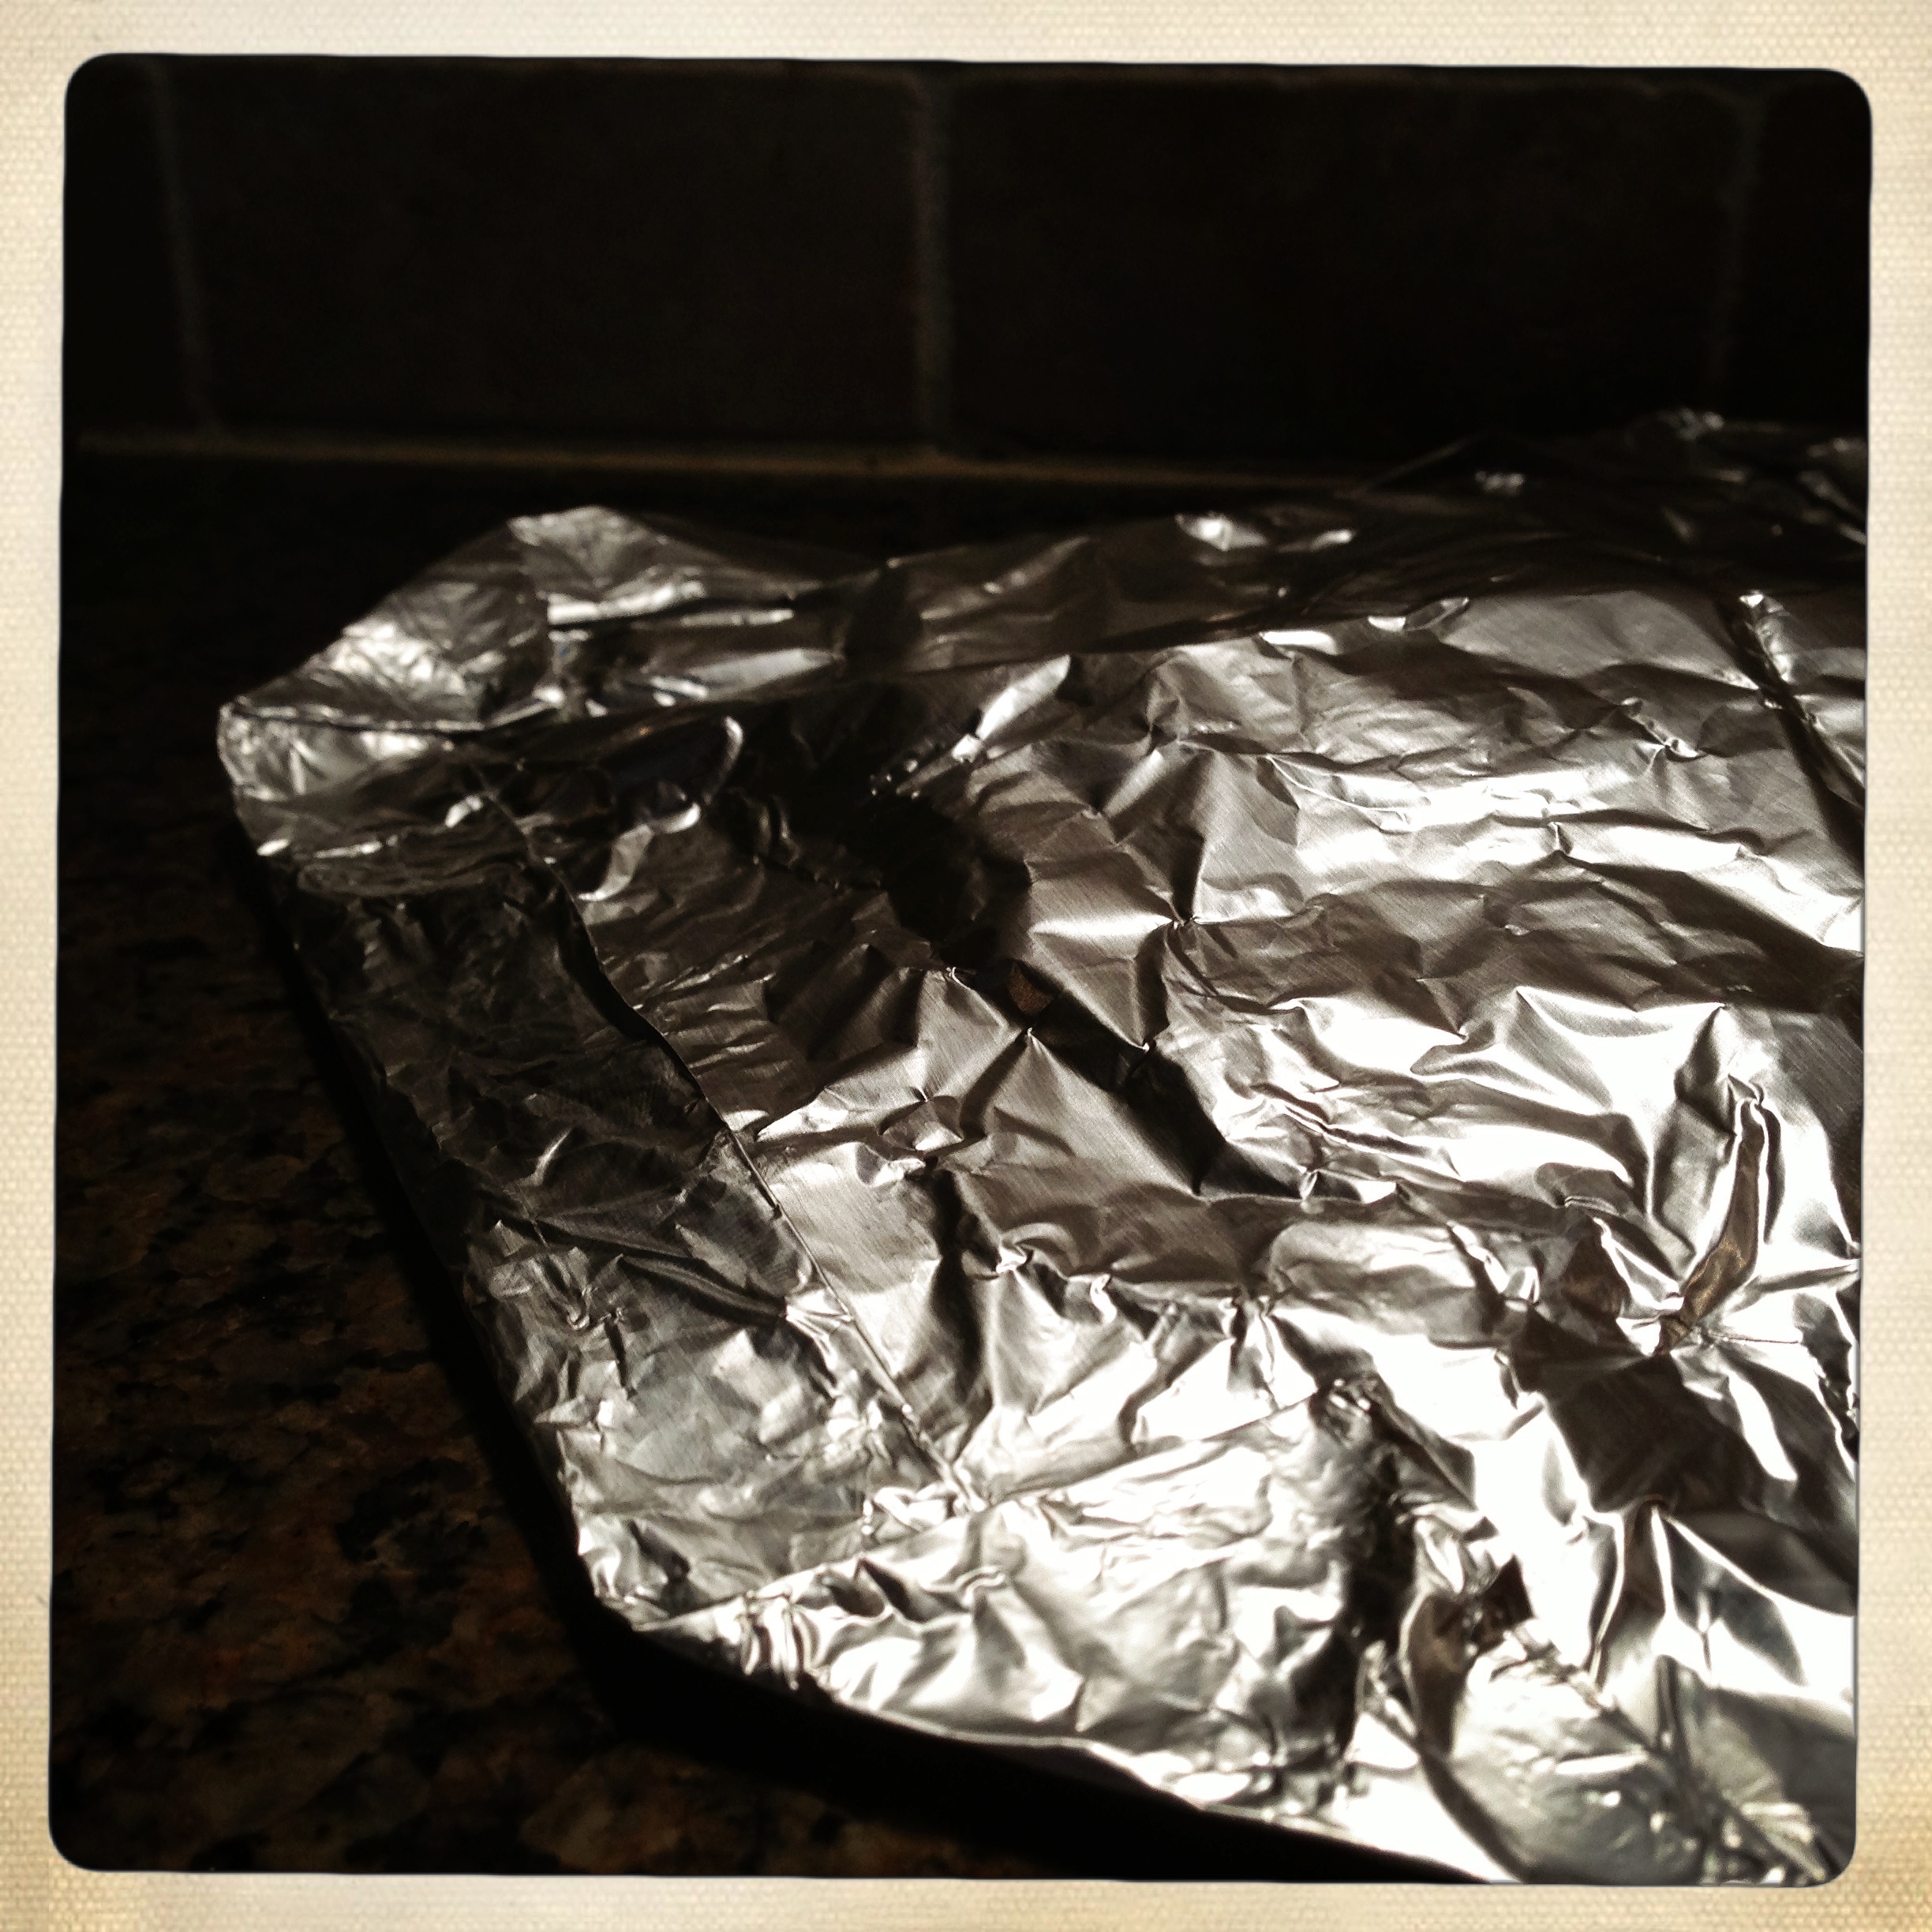
To make the packet, fold the foil over the onions and fold the edges over on the open sides. I fold each side over at least twice to keep it tight. Shake the packet to evenly coat the onions with seasoning and oil.
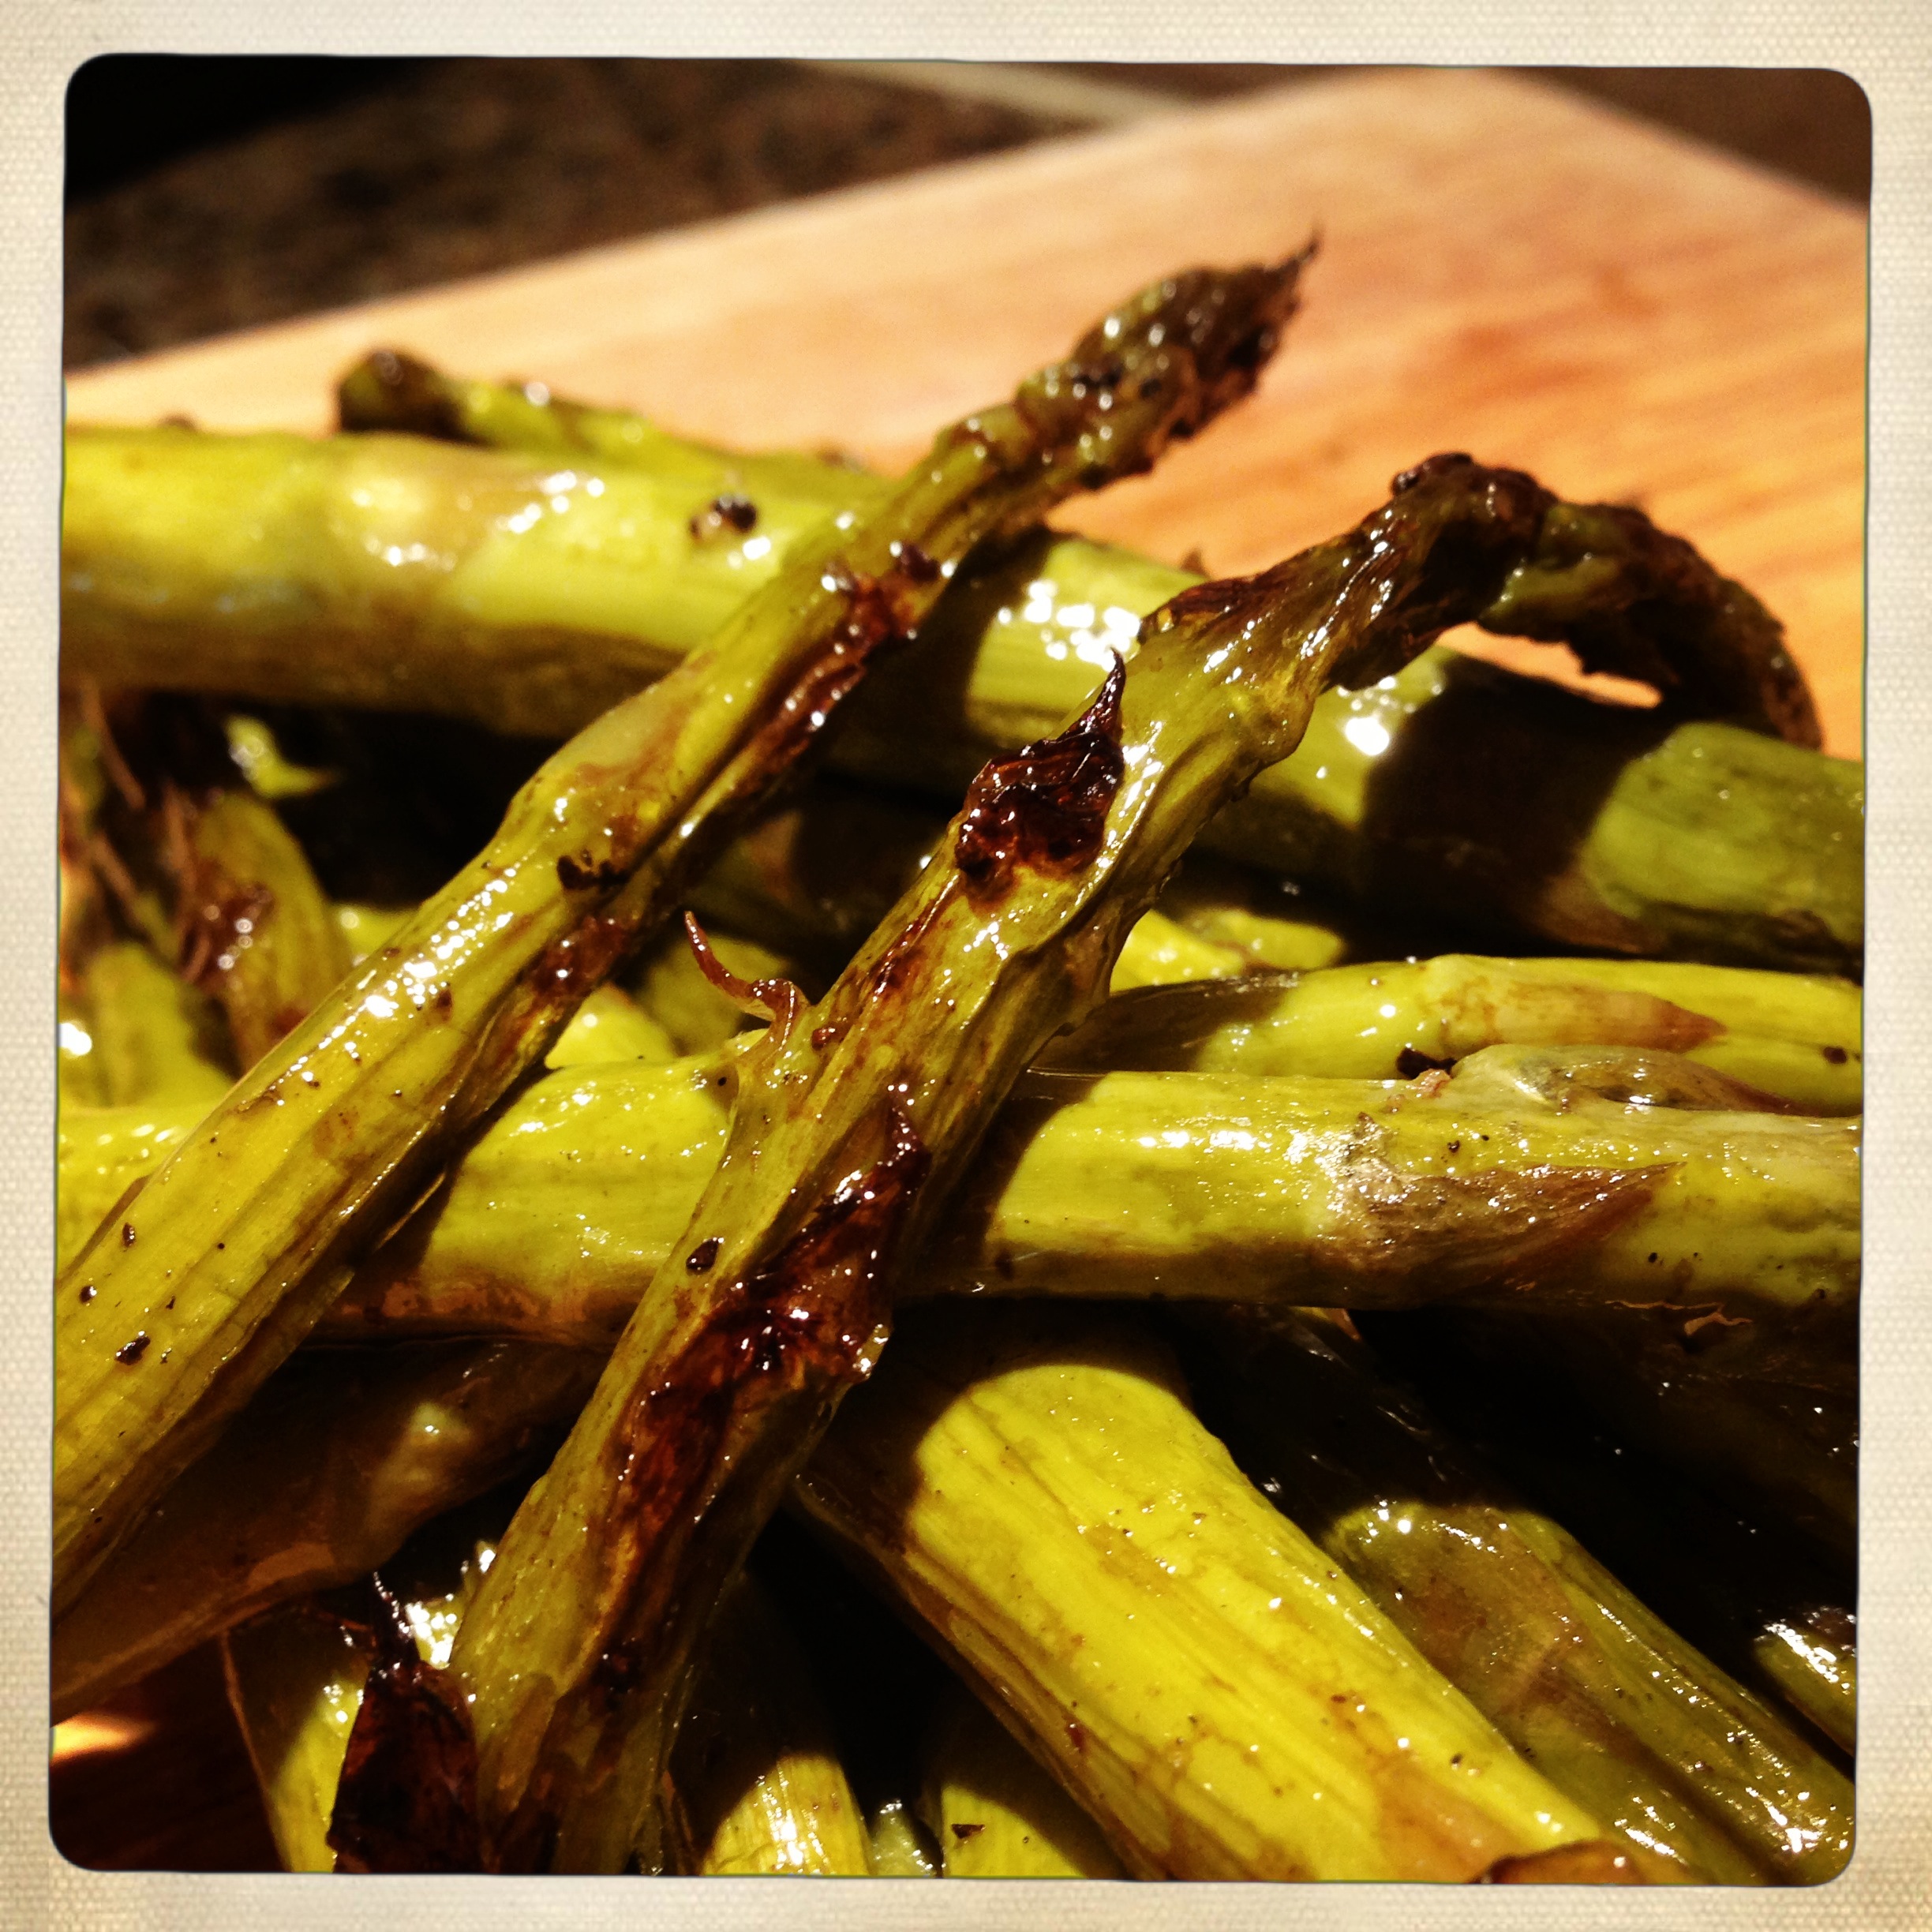
Next wash the asparagus. Trim off the tough portions of the bases. Lay the asparagus on another sheet of foil and season with salt, pepper, olive oil and worchestershire sauce.
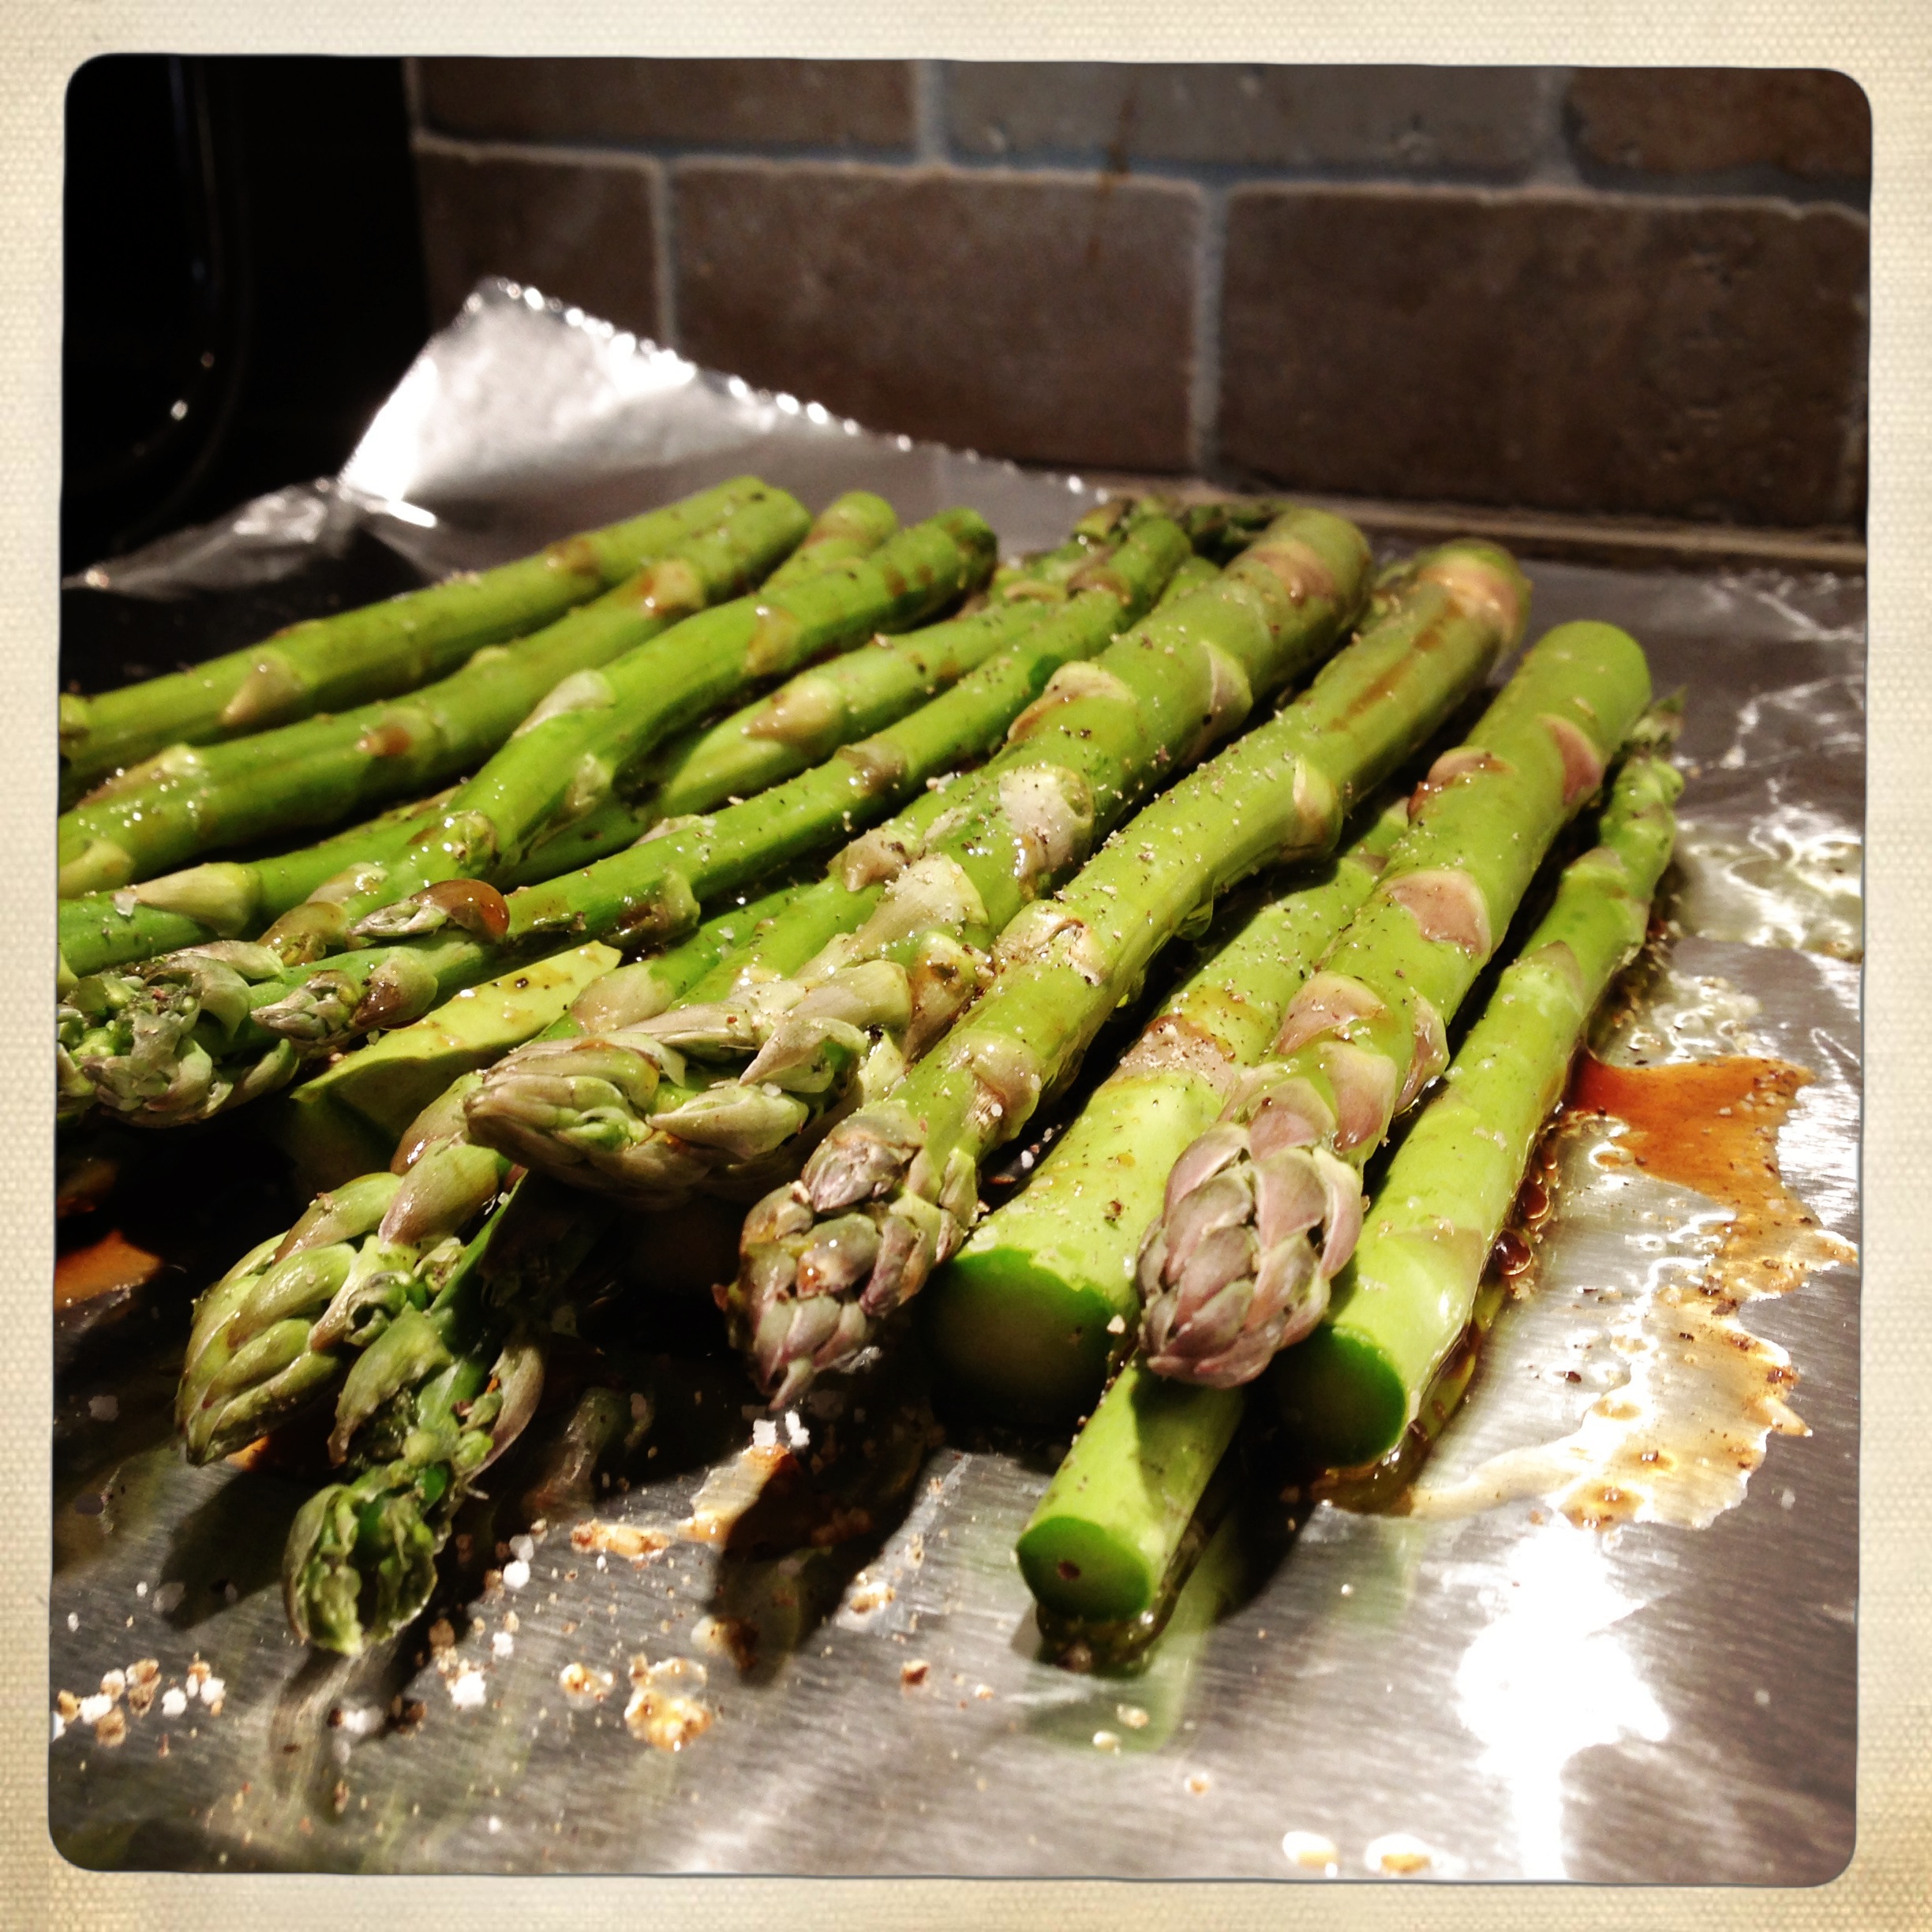
Fold your foil packet and shake as you did with the onions.
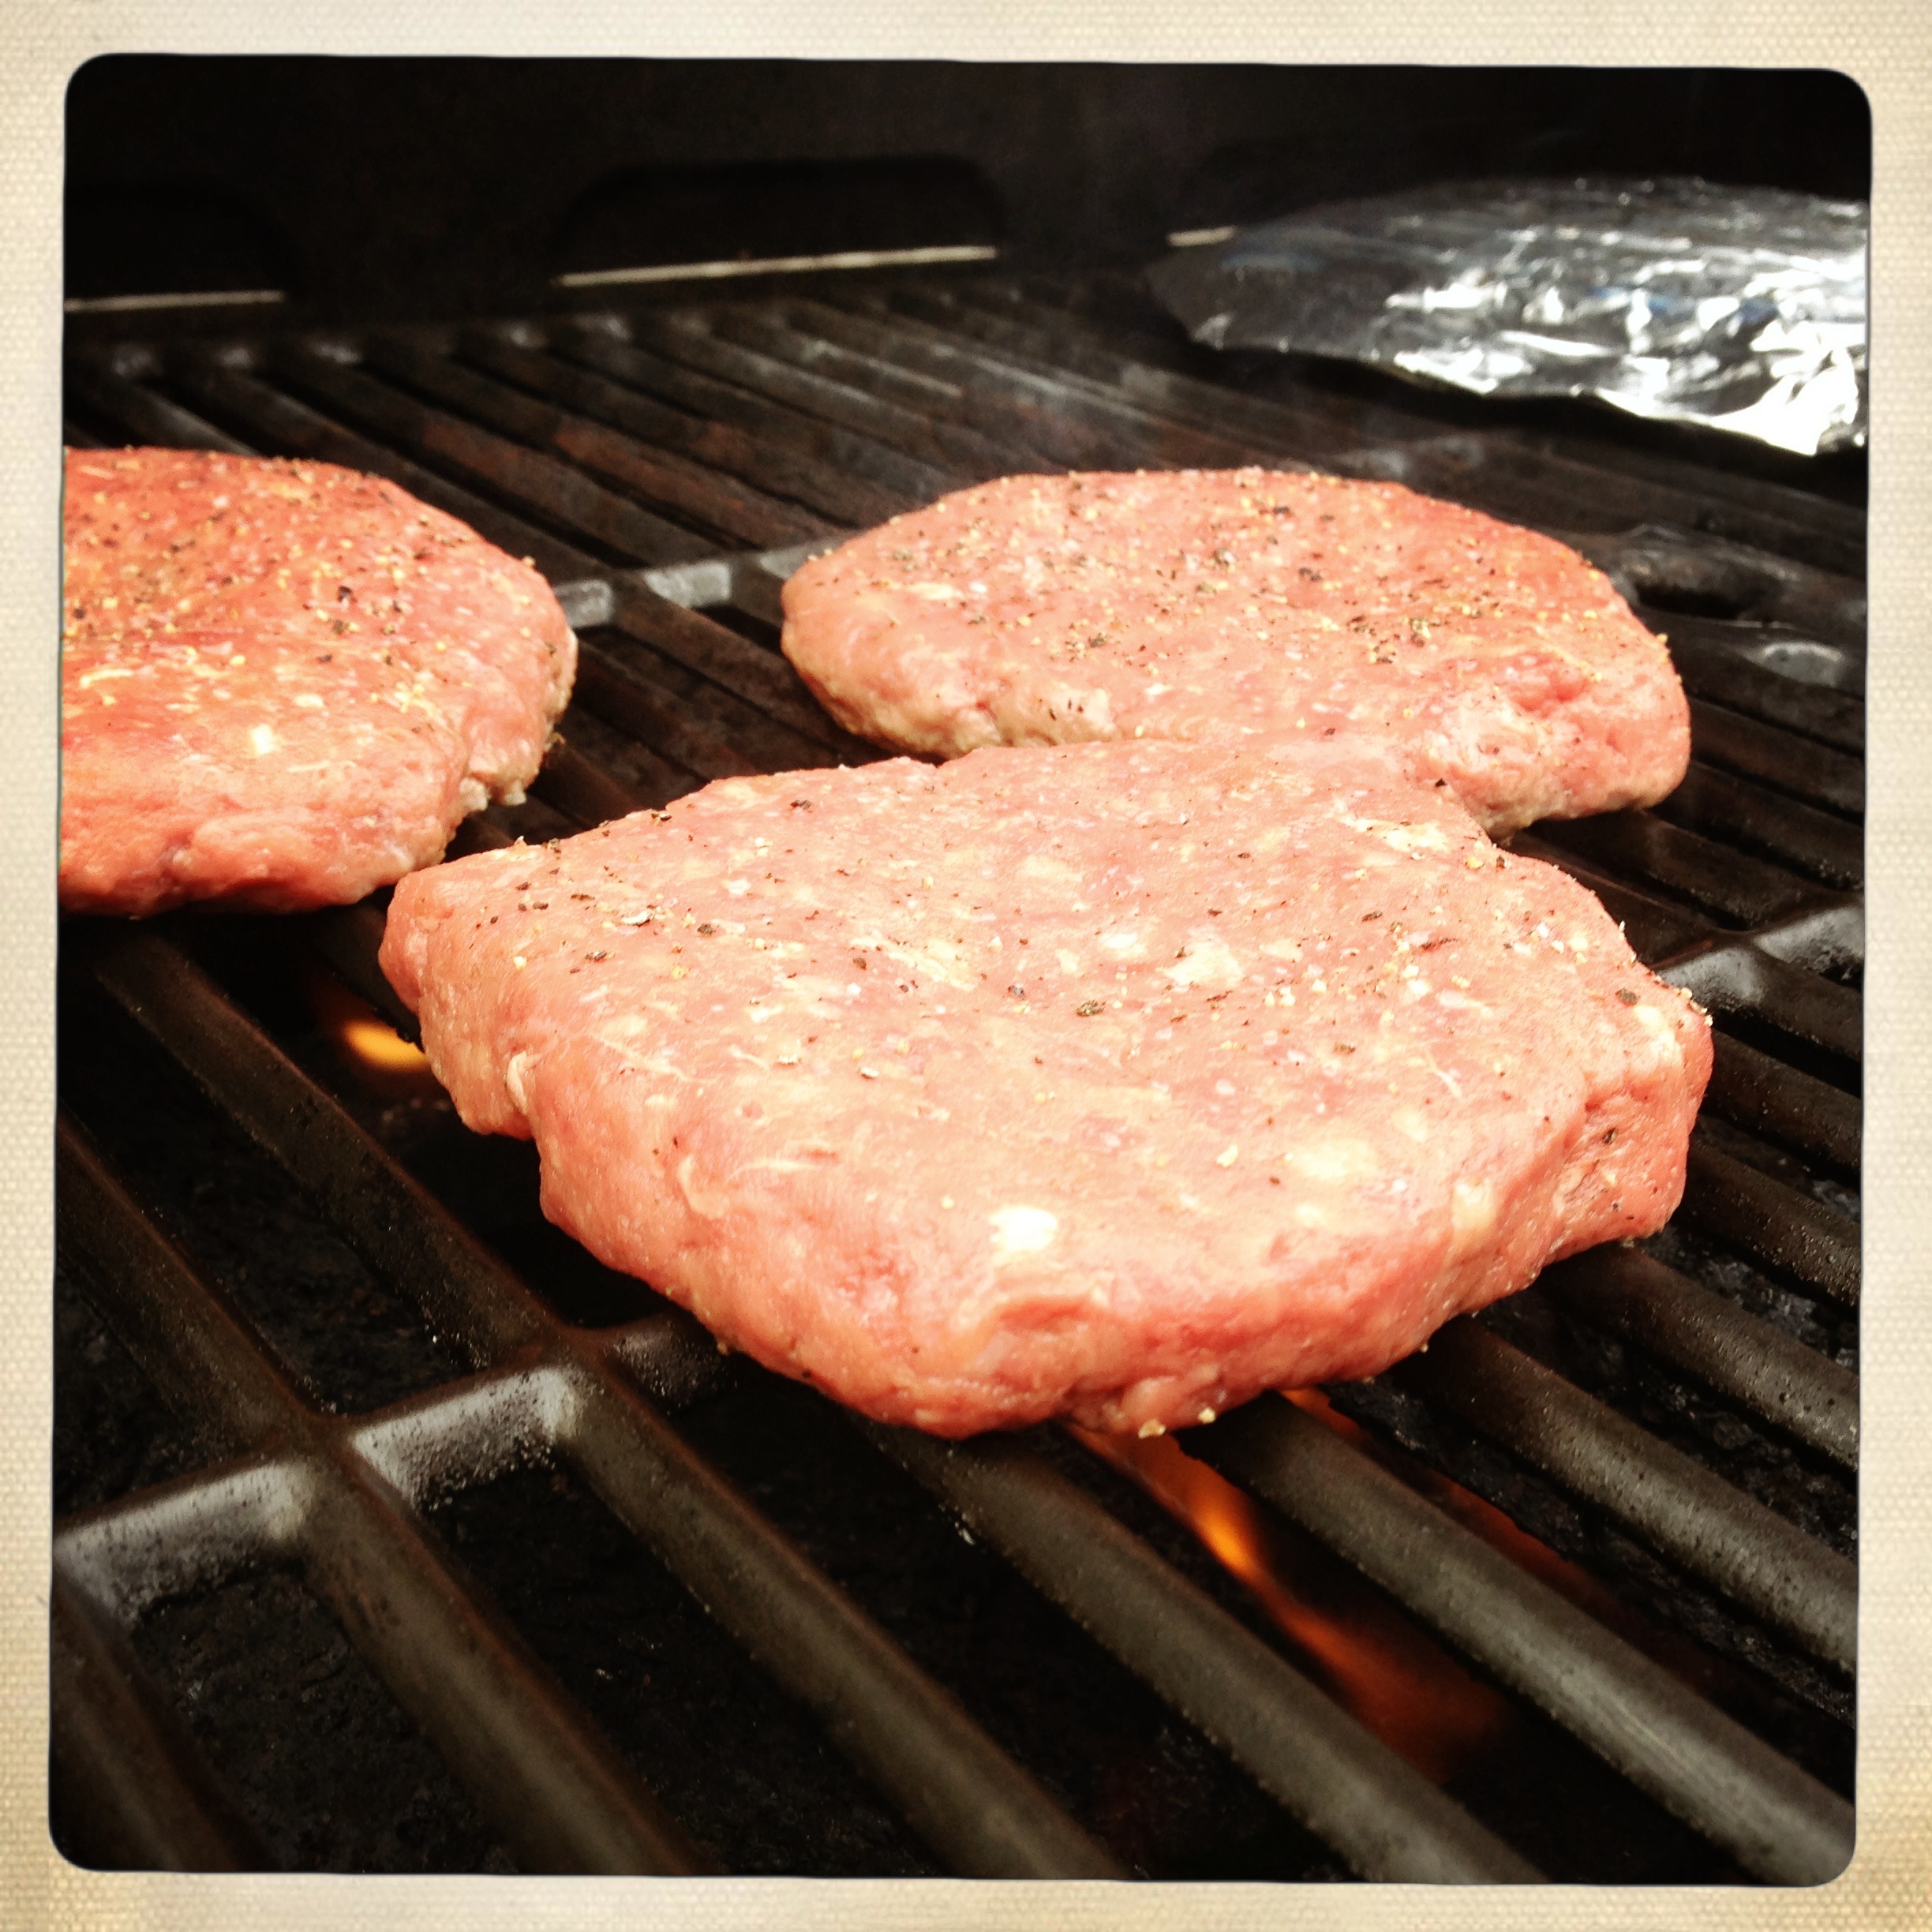
Next up is the burger meat. I know people like to jam all kinds of crazy things into their burger meat, but I’m a bit of a purist. These aren’t flat meatloaves, they’re burgers. I add a little worchestershire sauce and black pepper, and that’s it.
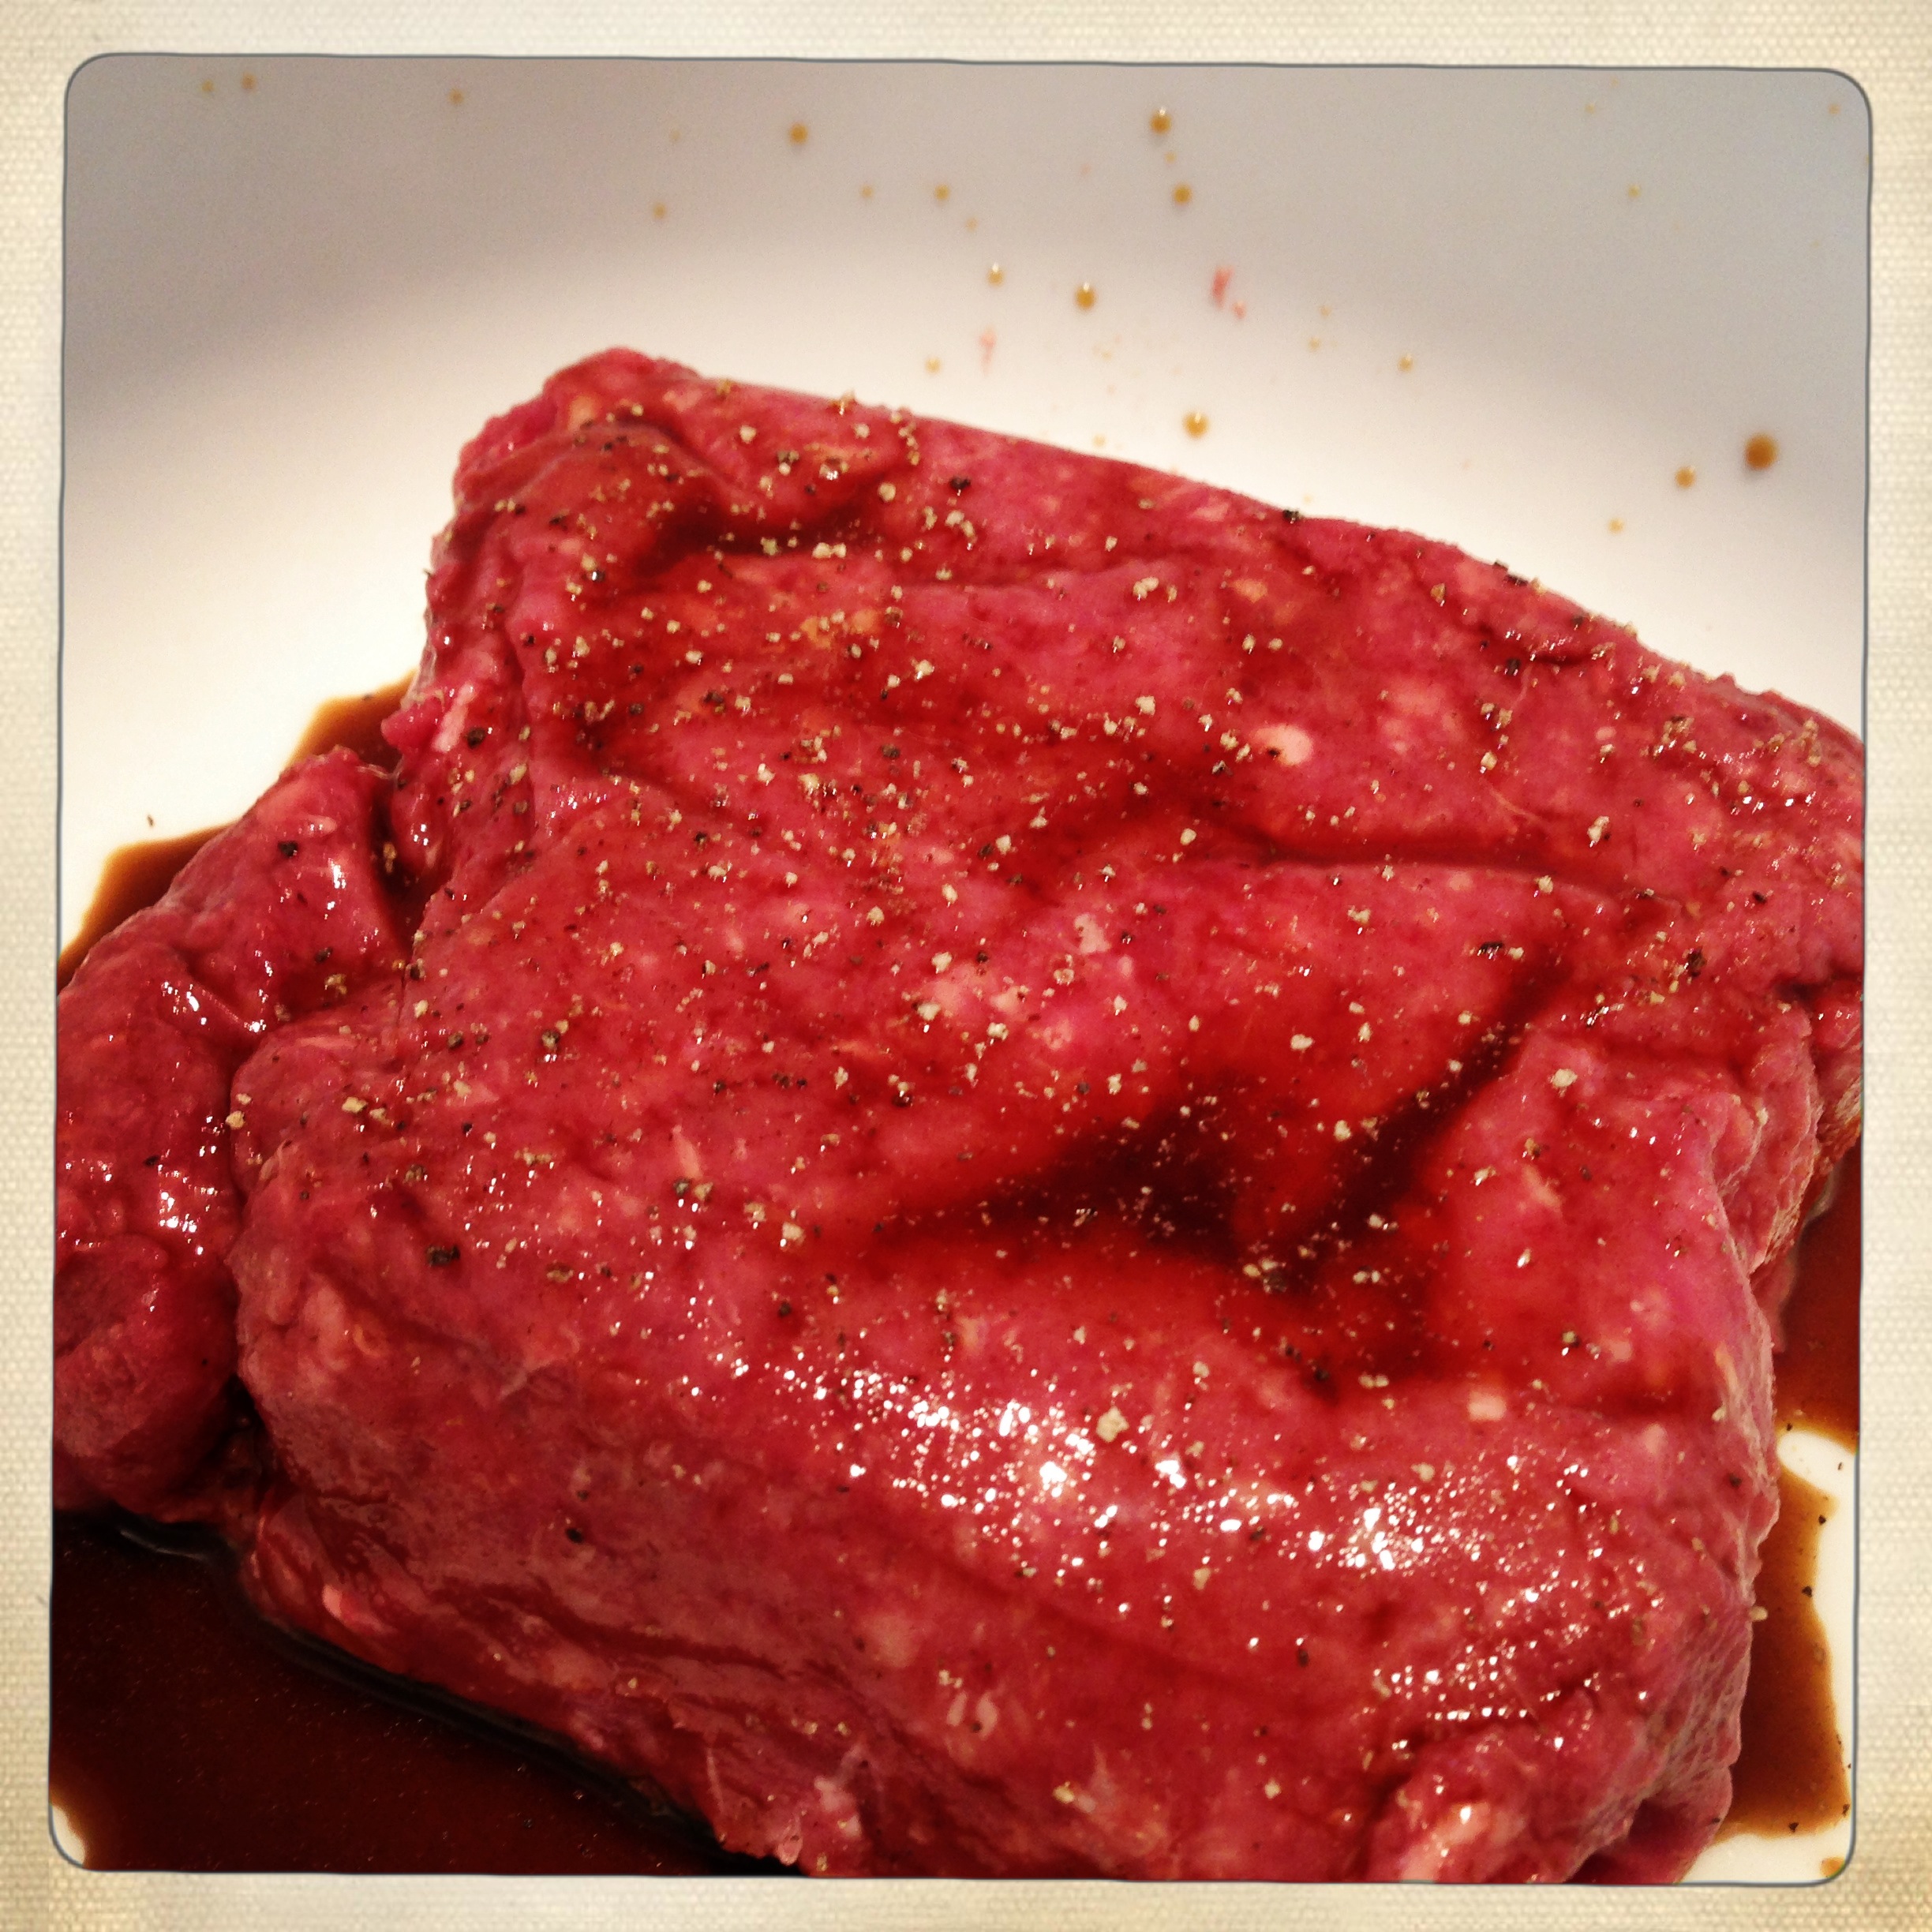
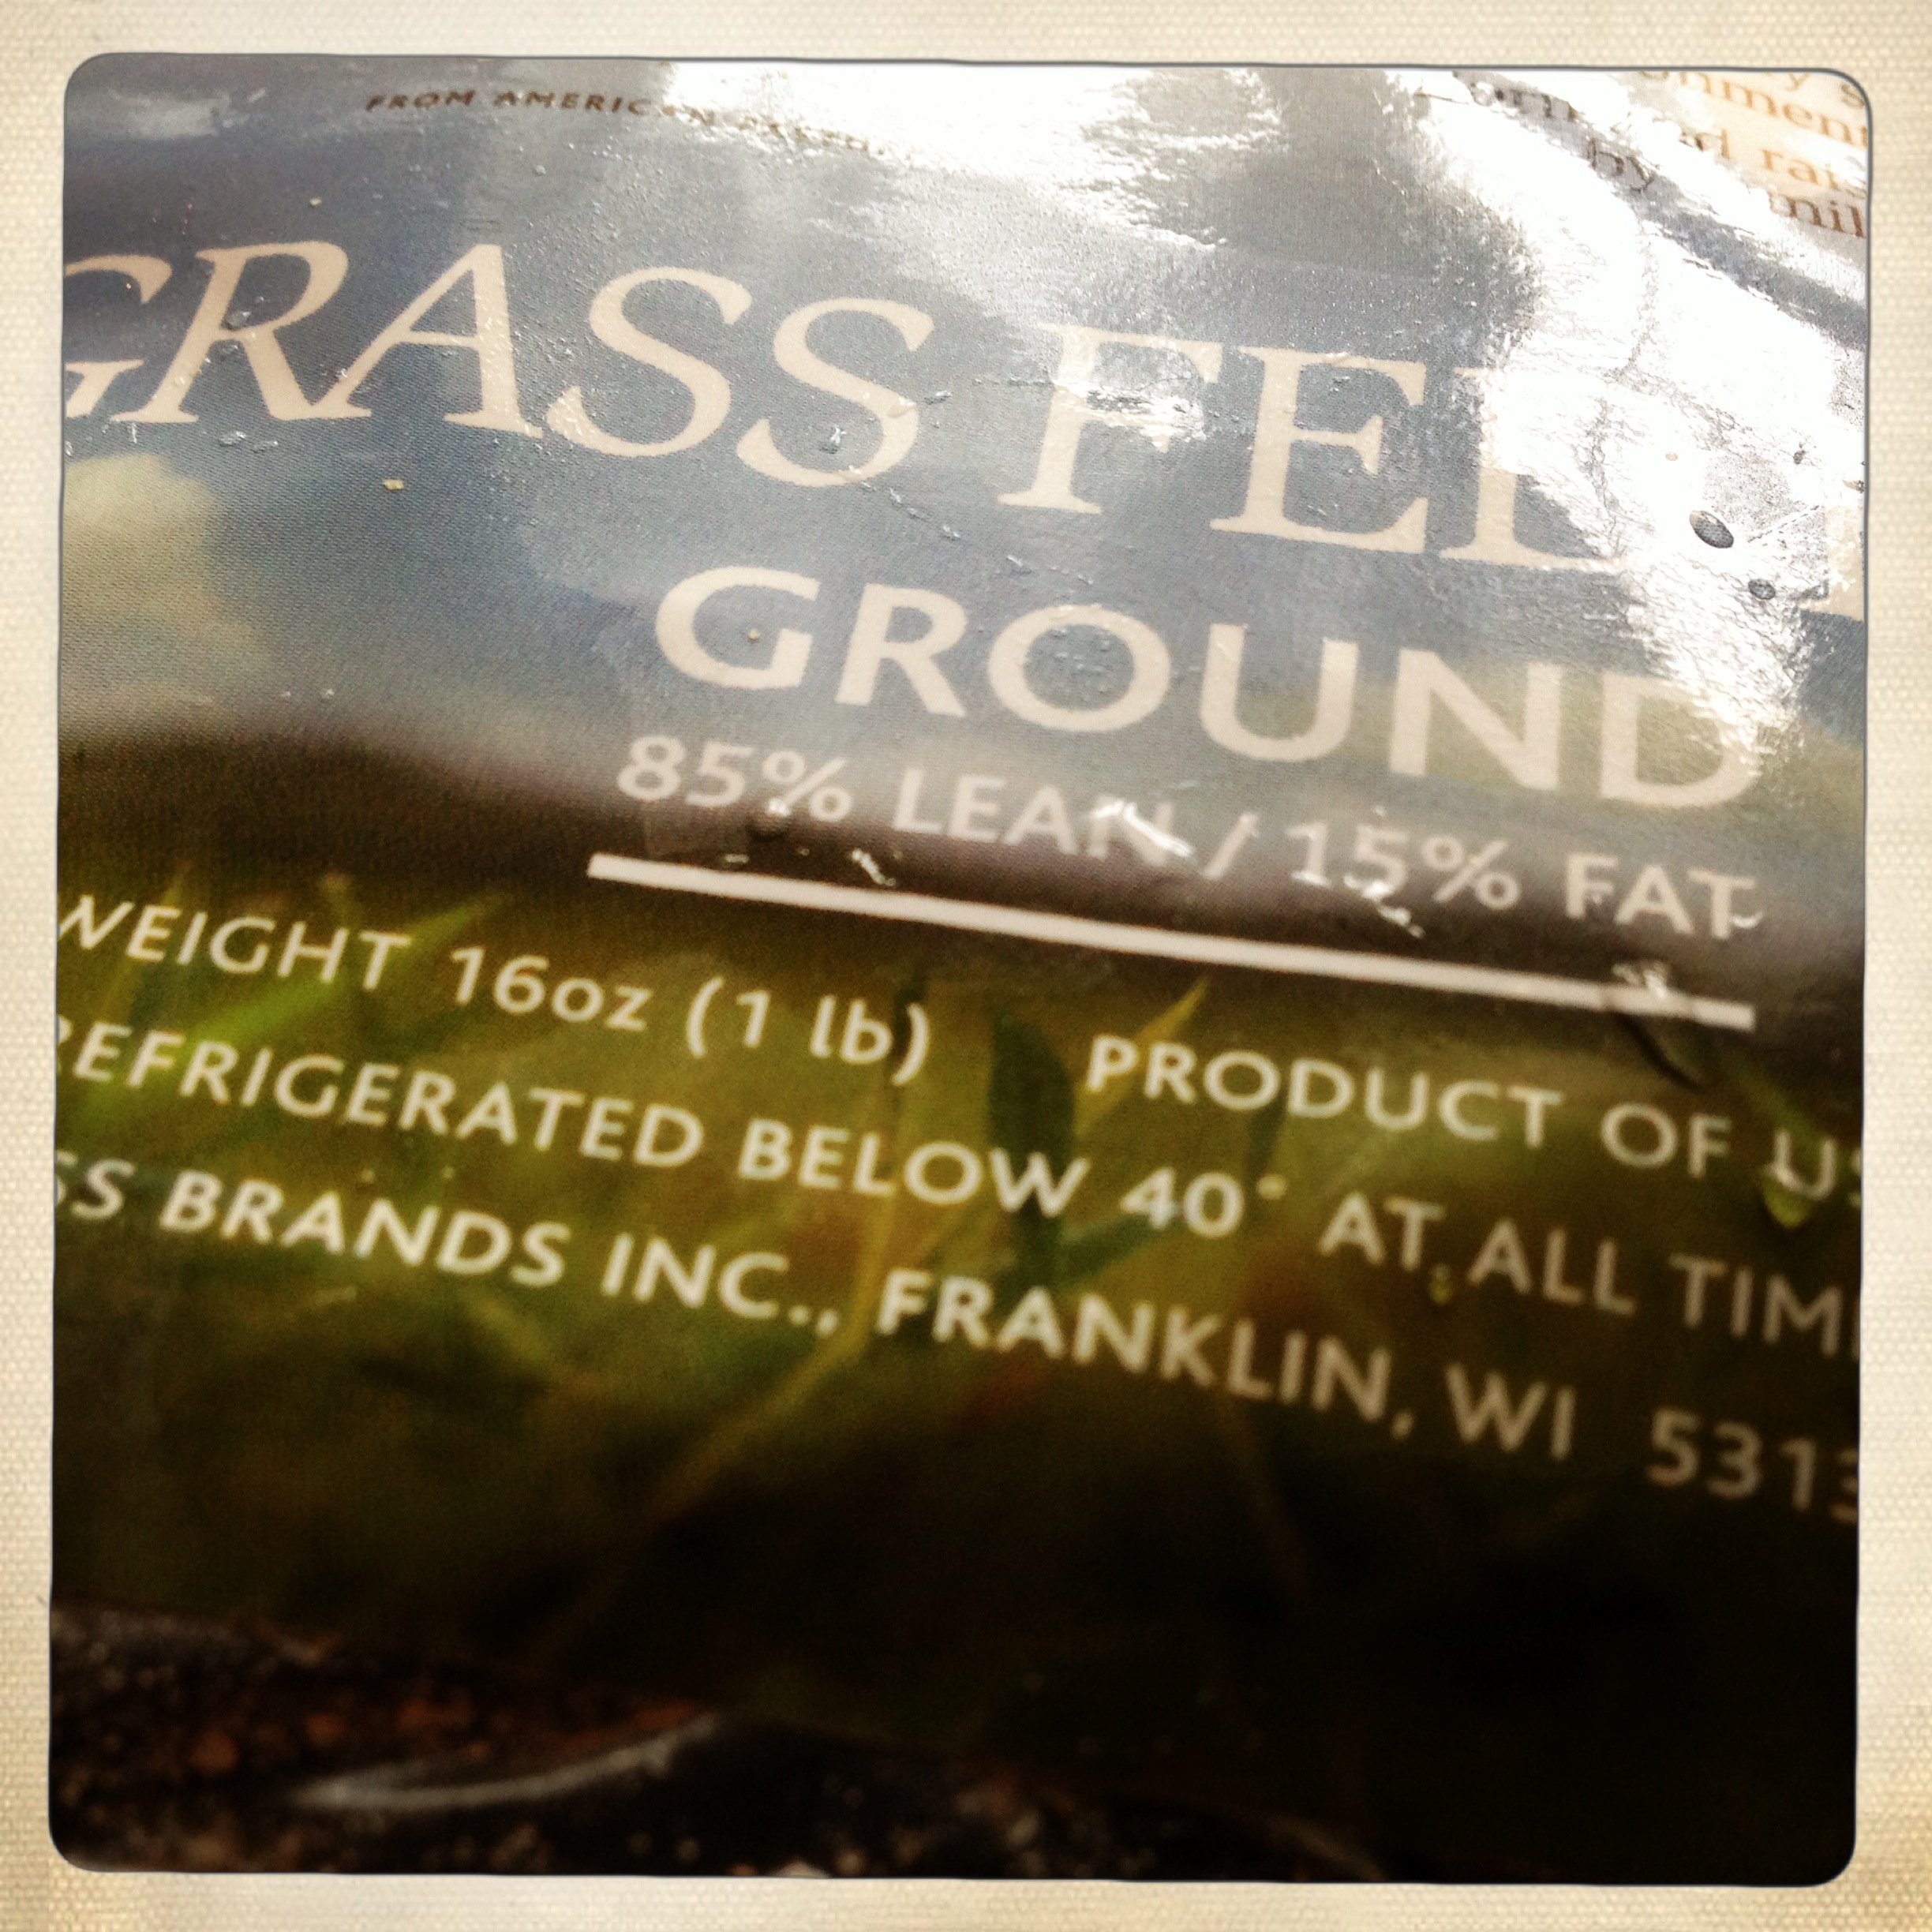
While we’re talking about being a burger purist, it’s important to discuss the meat itself. I never use any beef with less than 10% fat, and I prefer 15%.Sirloin that comes in at 95% lean is great for a lot of things, but burgers don’t make that list. Because grilling is a high heat dry cooking method, you really need some fat in the meat to keep the burgers juicy.
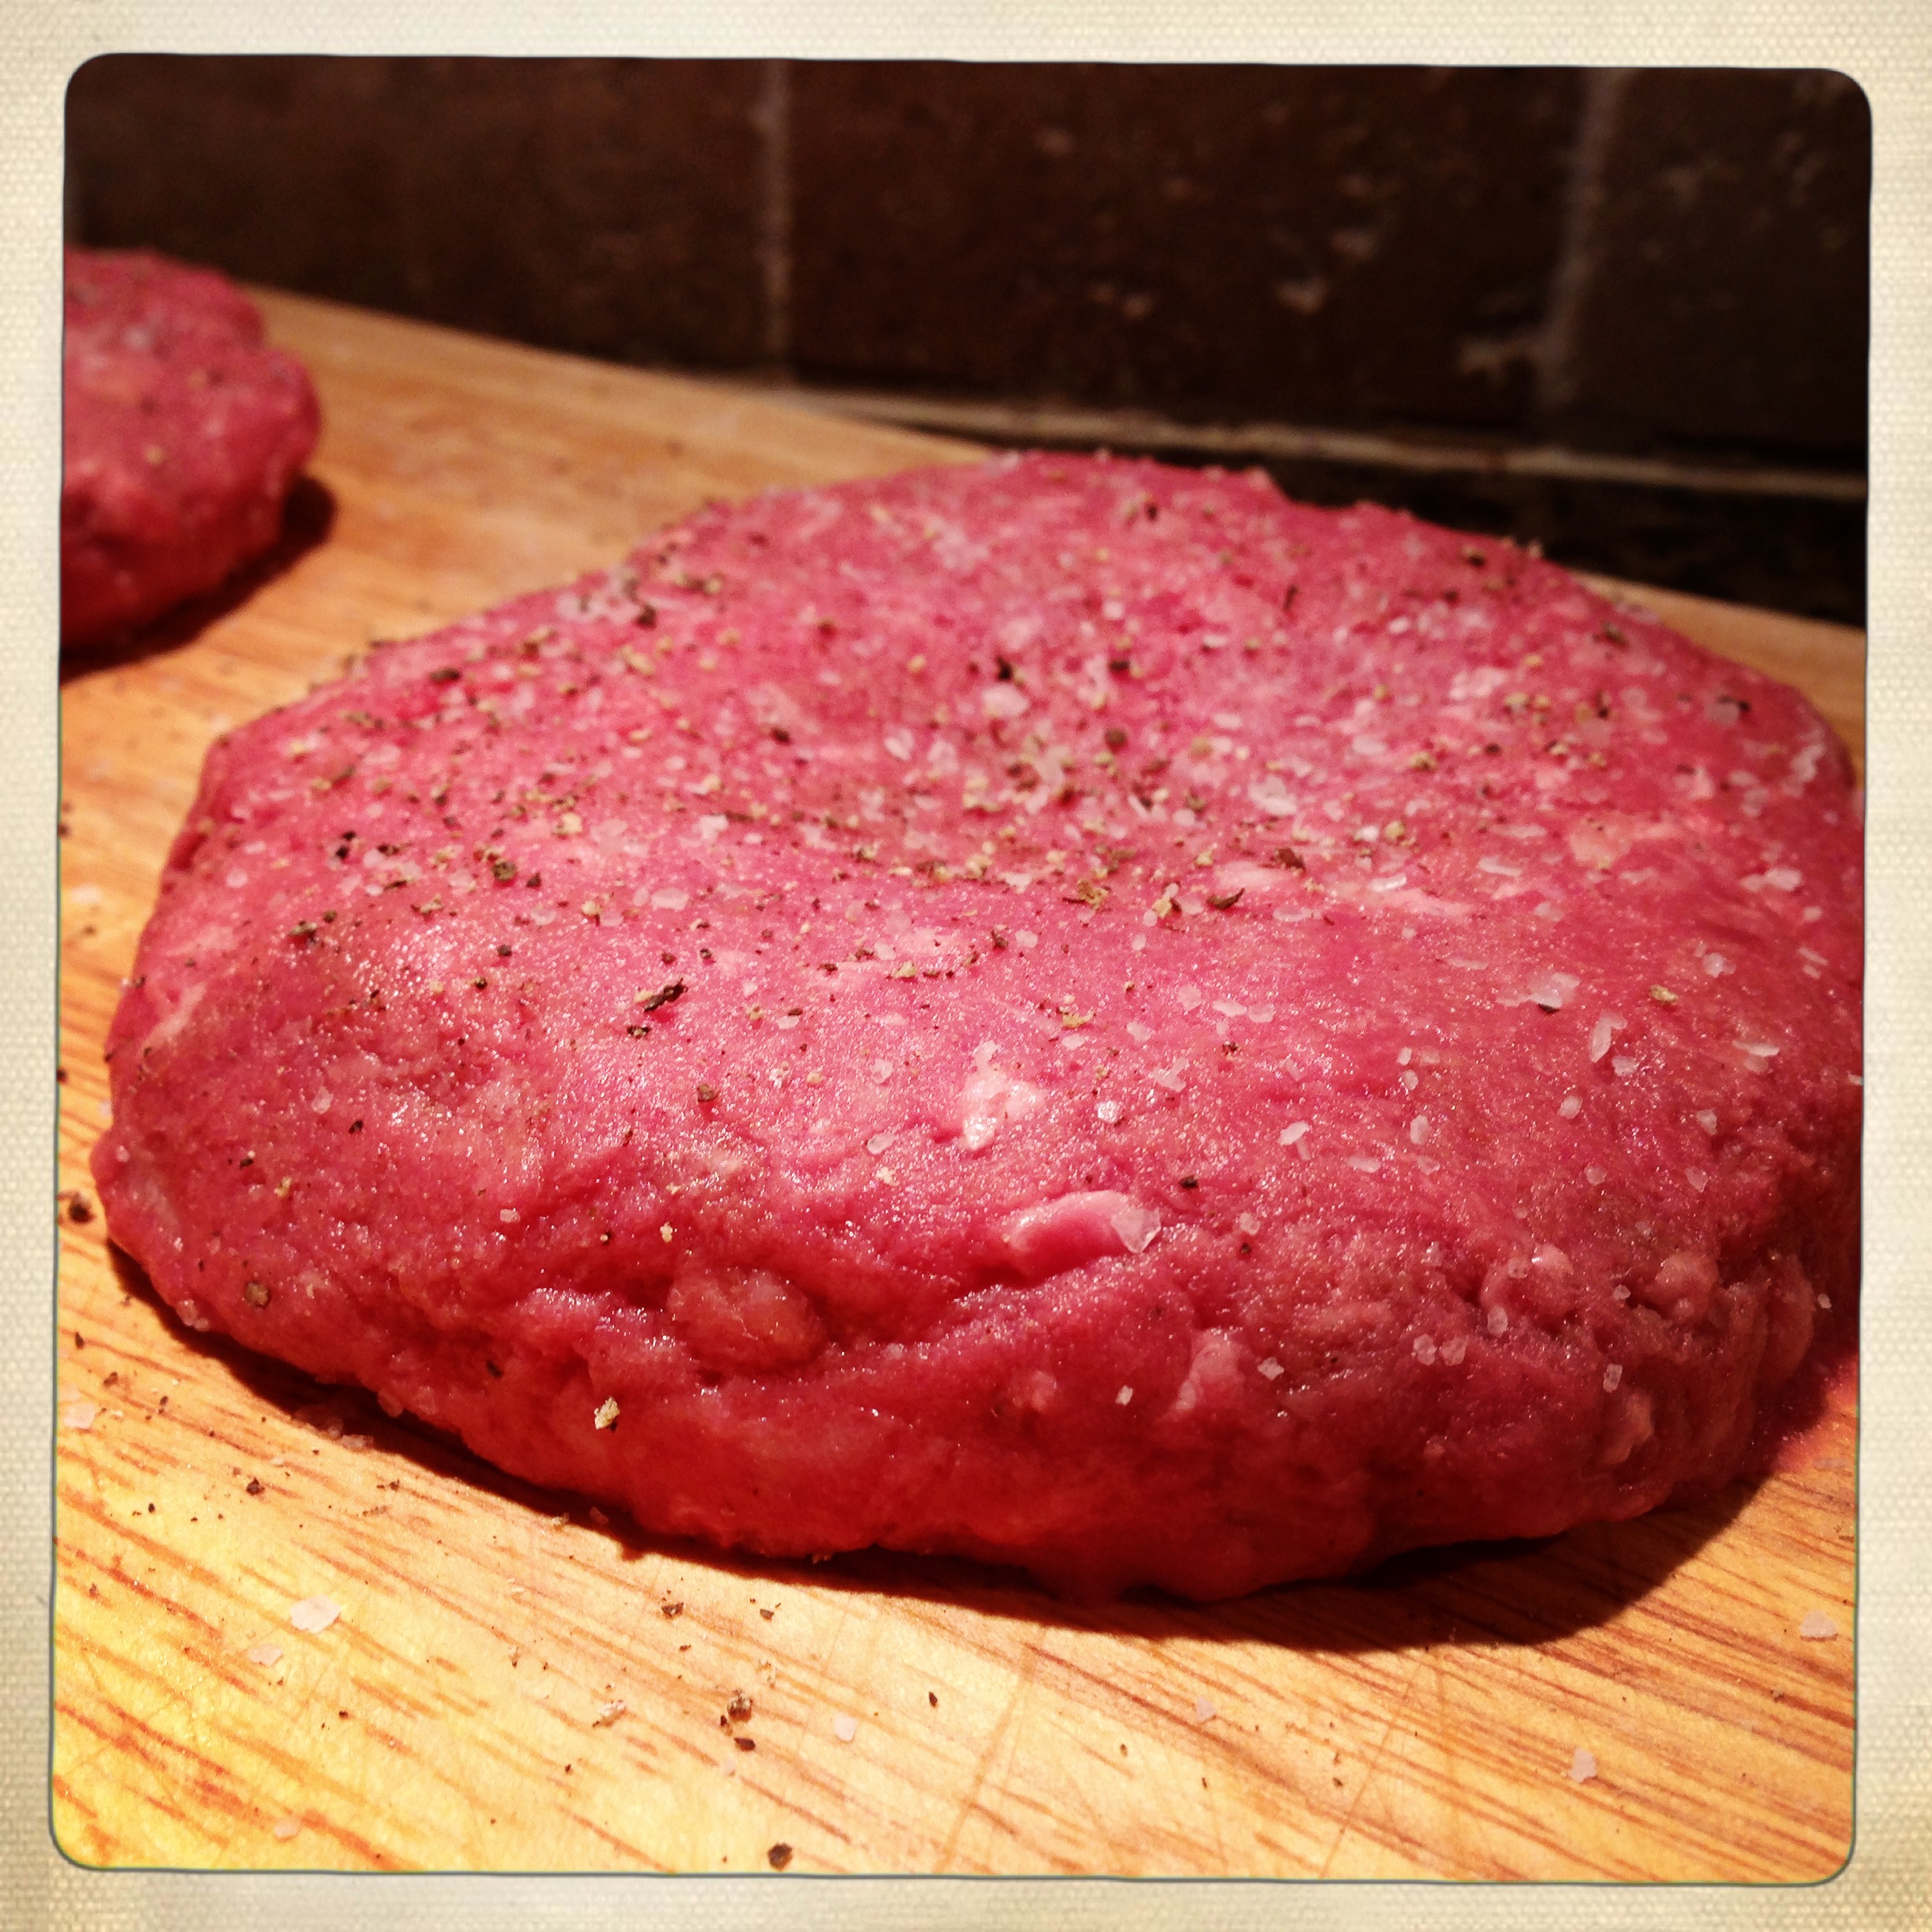
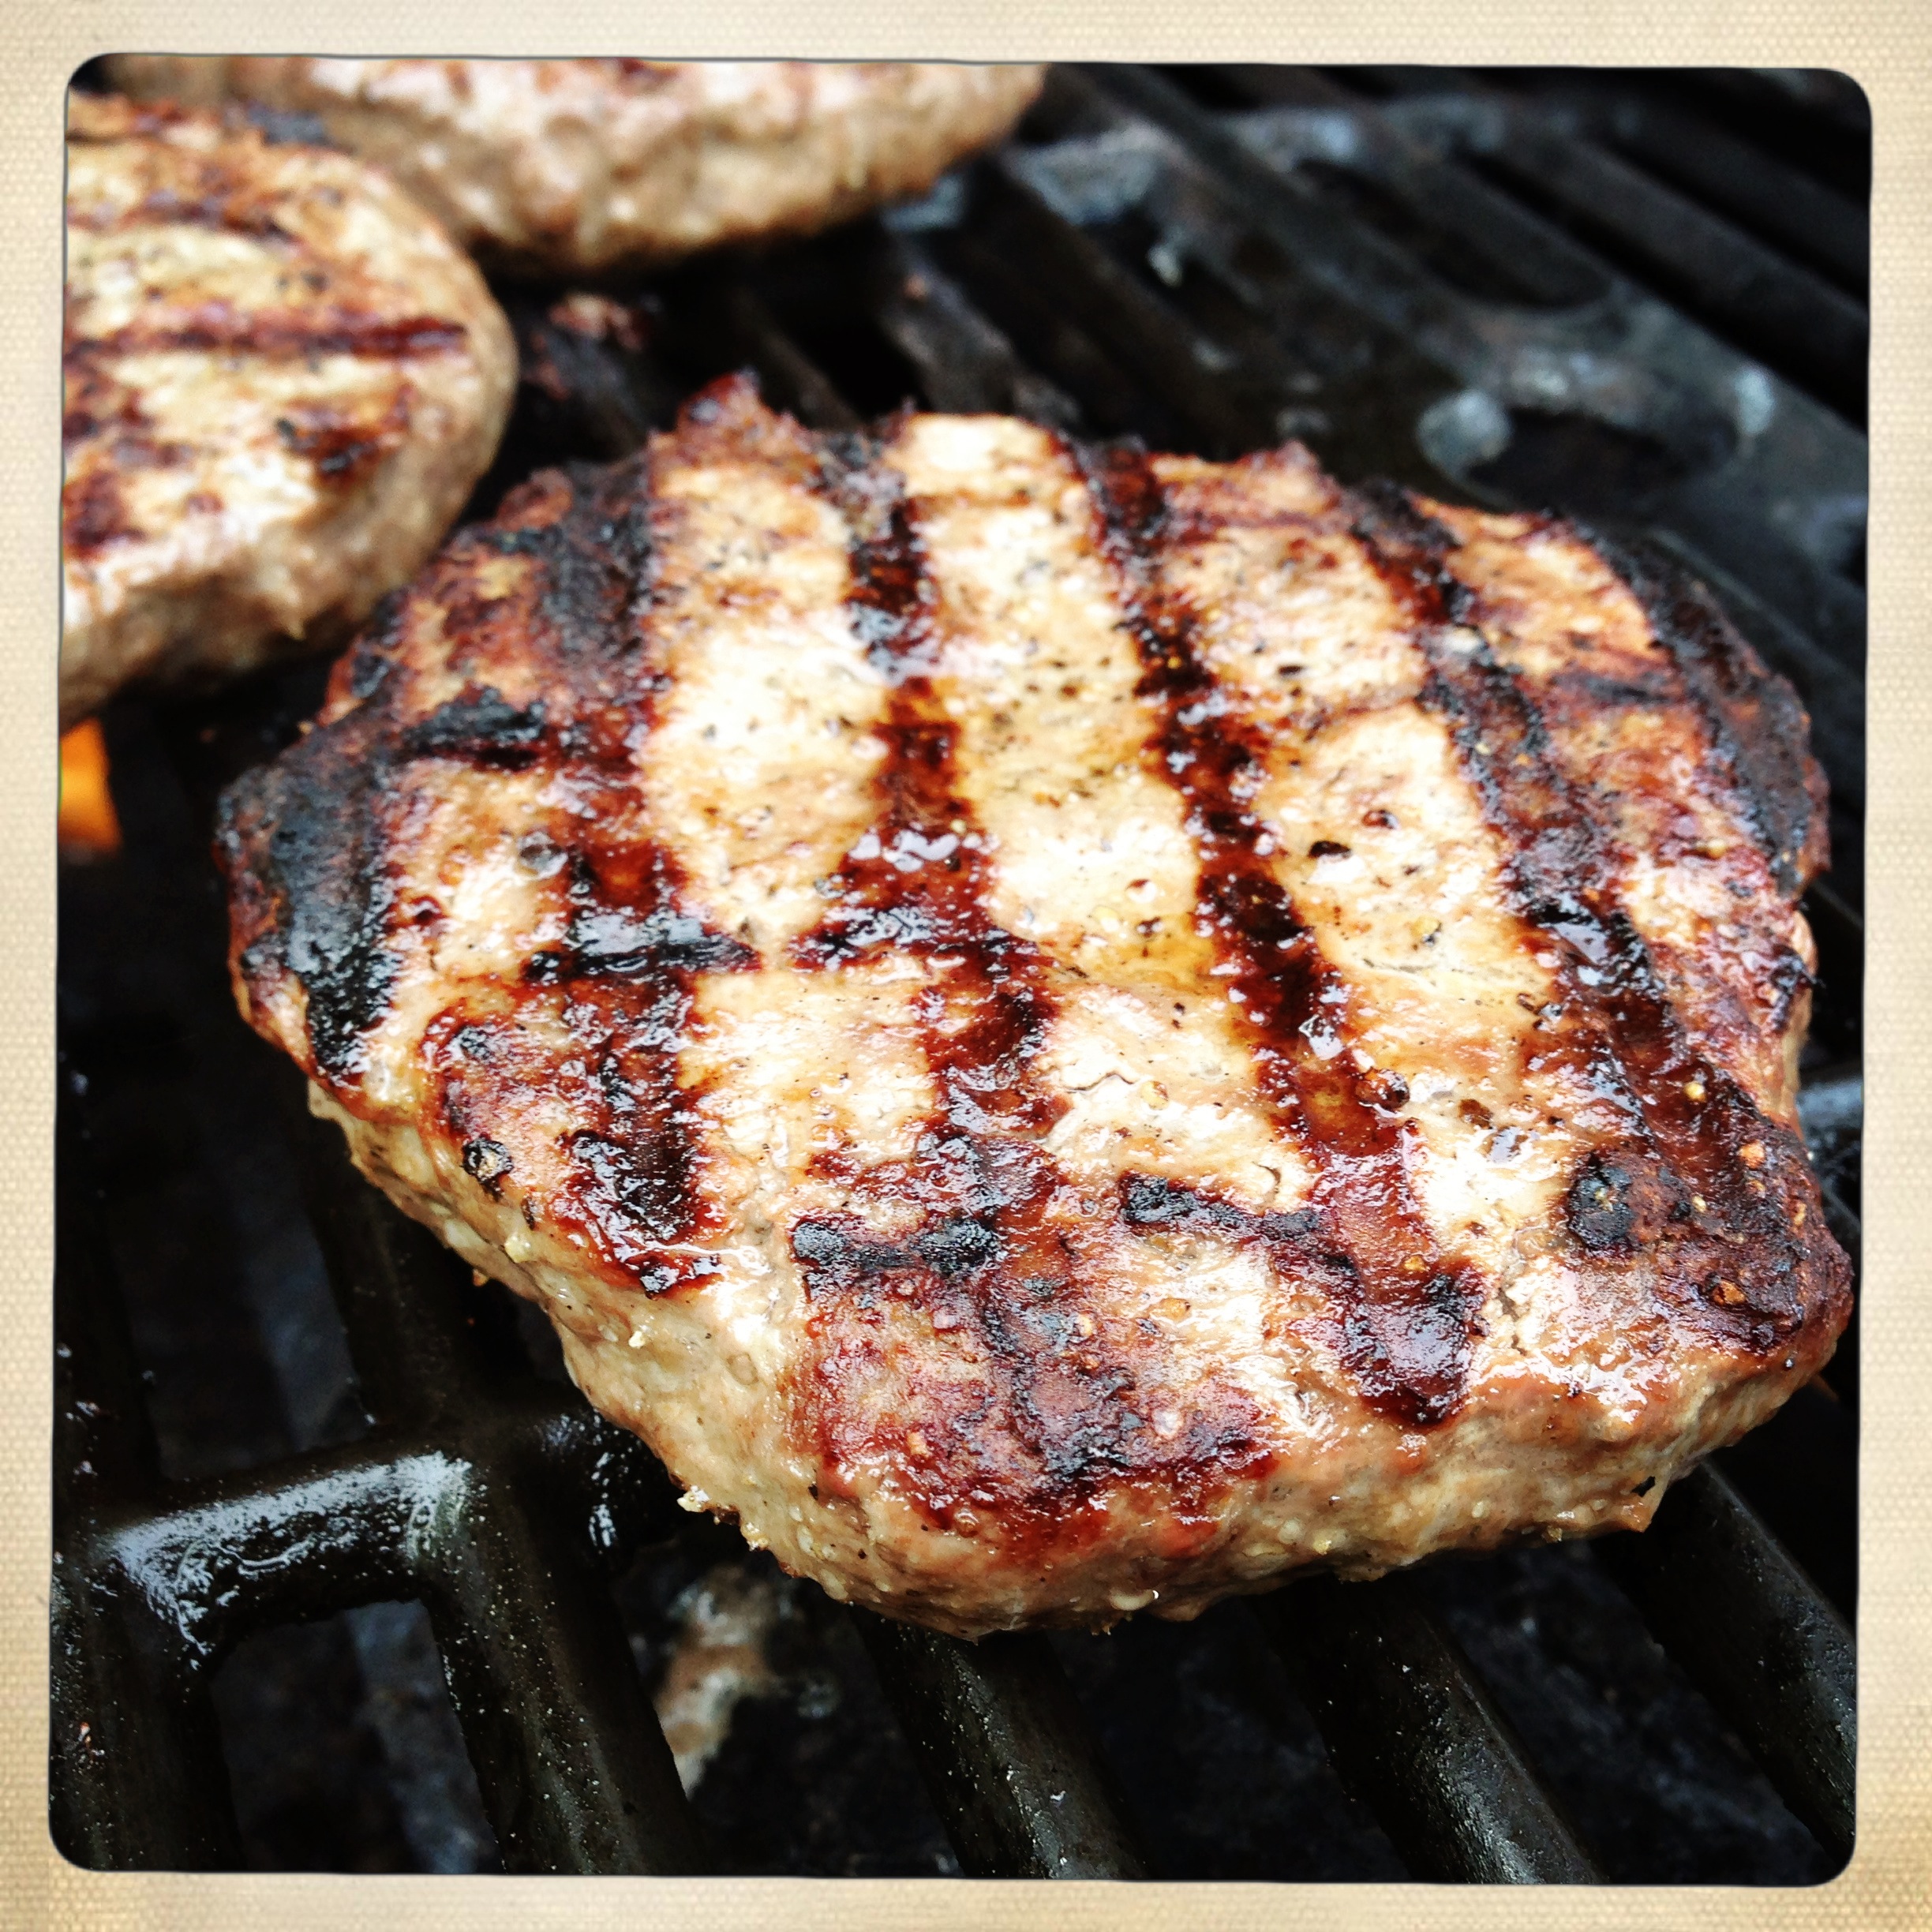
Work the worchestshire and pepper into the meat gently, and then divide the meat into balls. To form the patties, gently throw the balls onto a cutting board and then work them into your desired thickness. Also, in order to keep your burgers flat while they cook, make a depression in the center of each burger with your thumb. Season both sides of the burger with salt and black pepper.
While it seems we should be ready to get everything on the grill, there’s one more step that will take your home-grilled burger from good to great, and that is prepping the bun to be grilled as well.
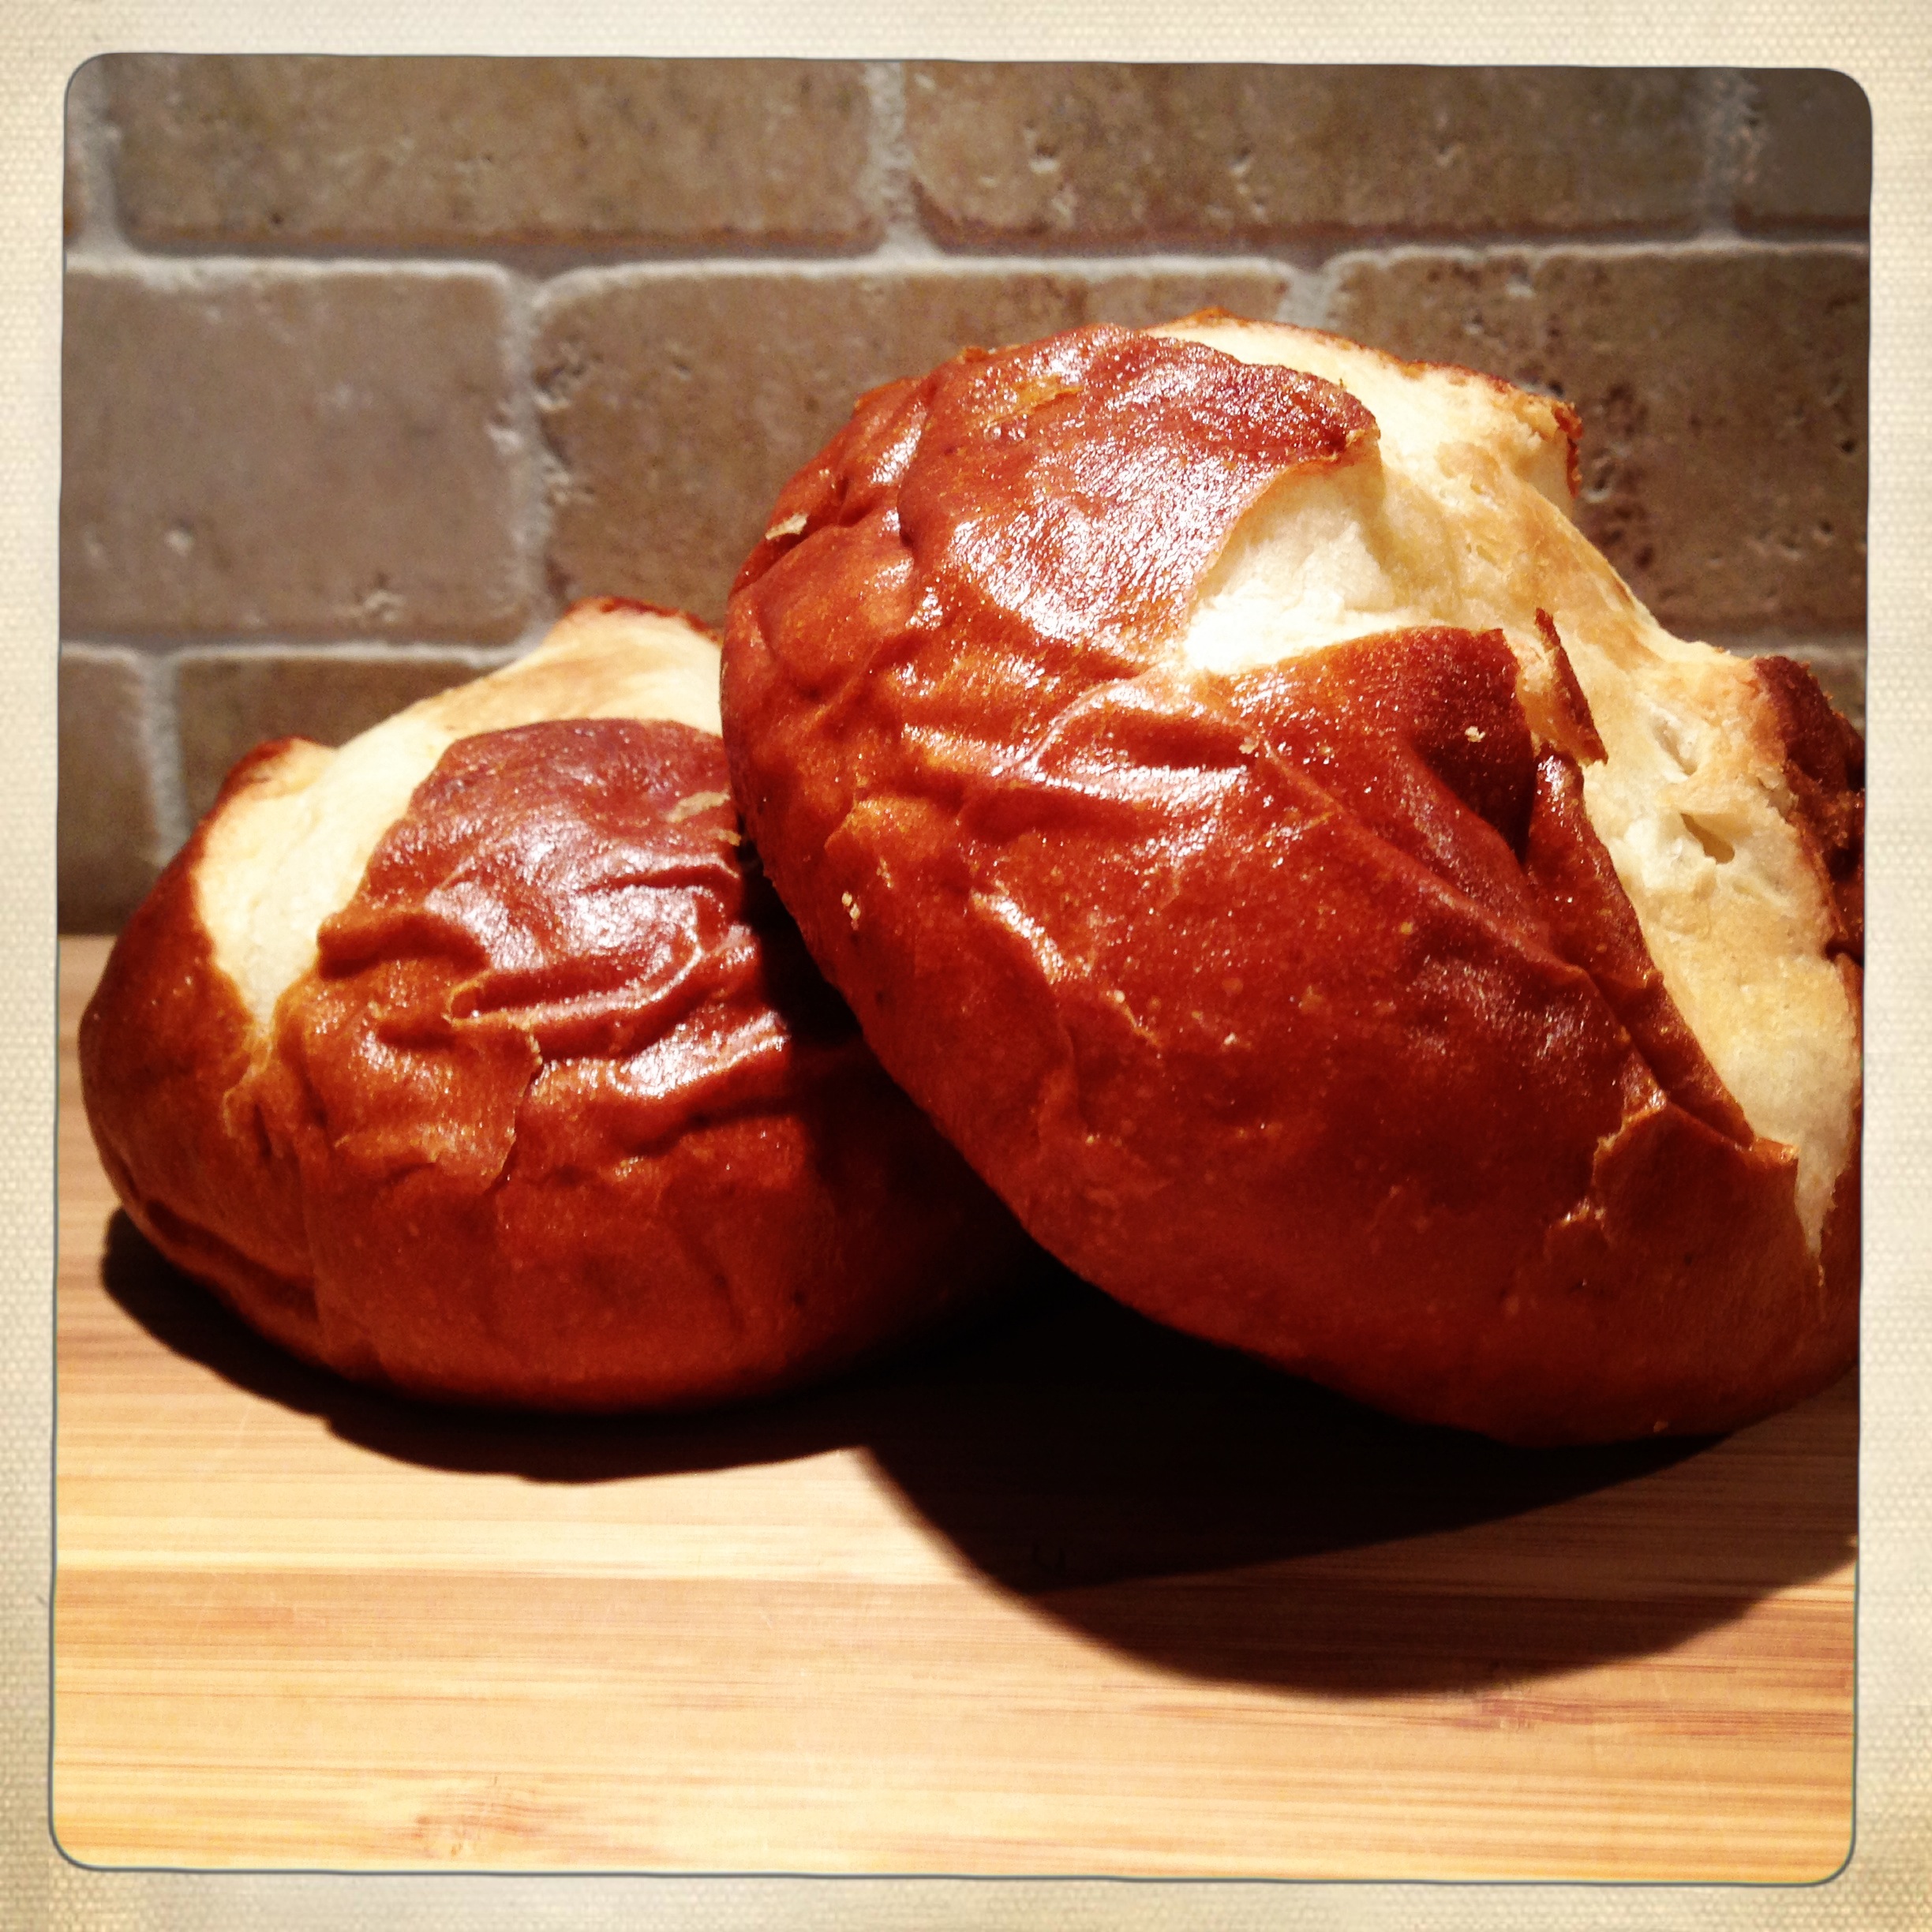
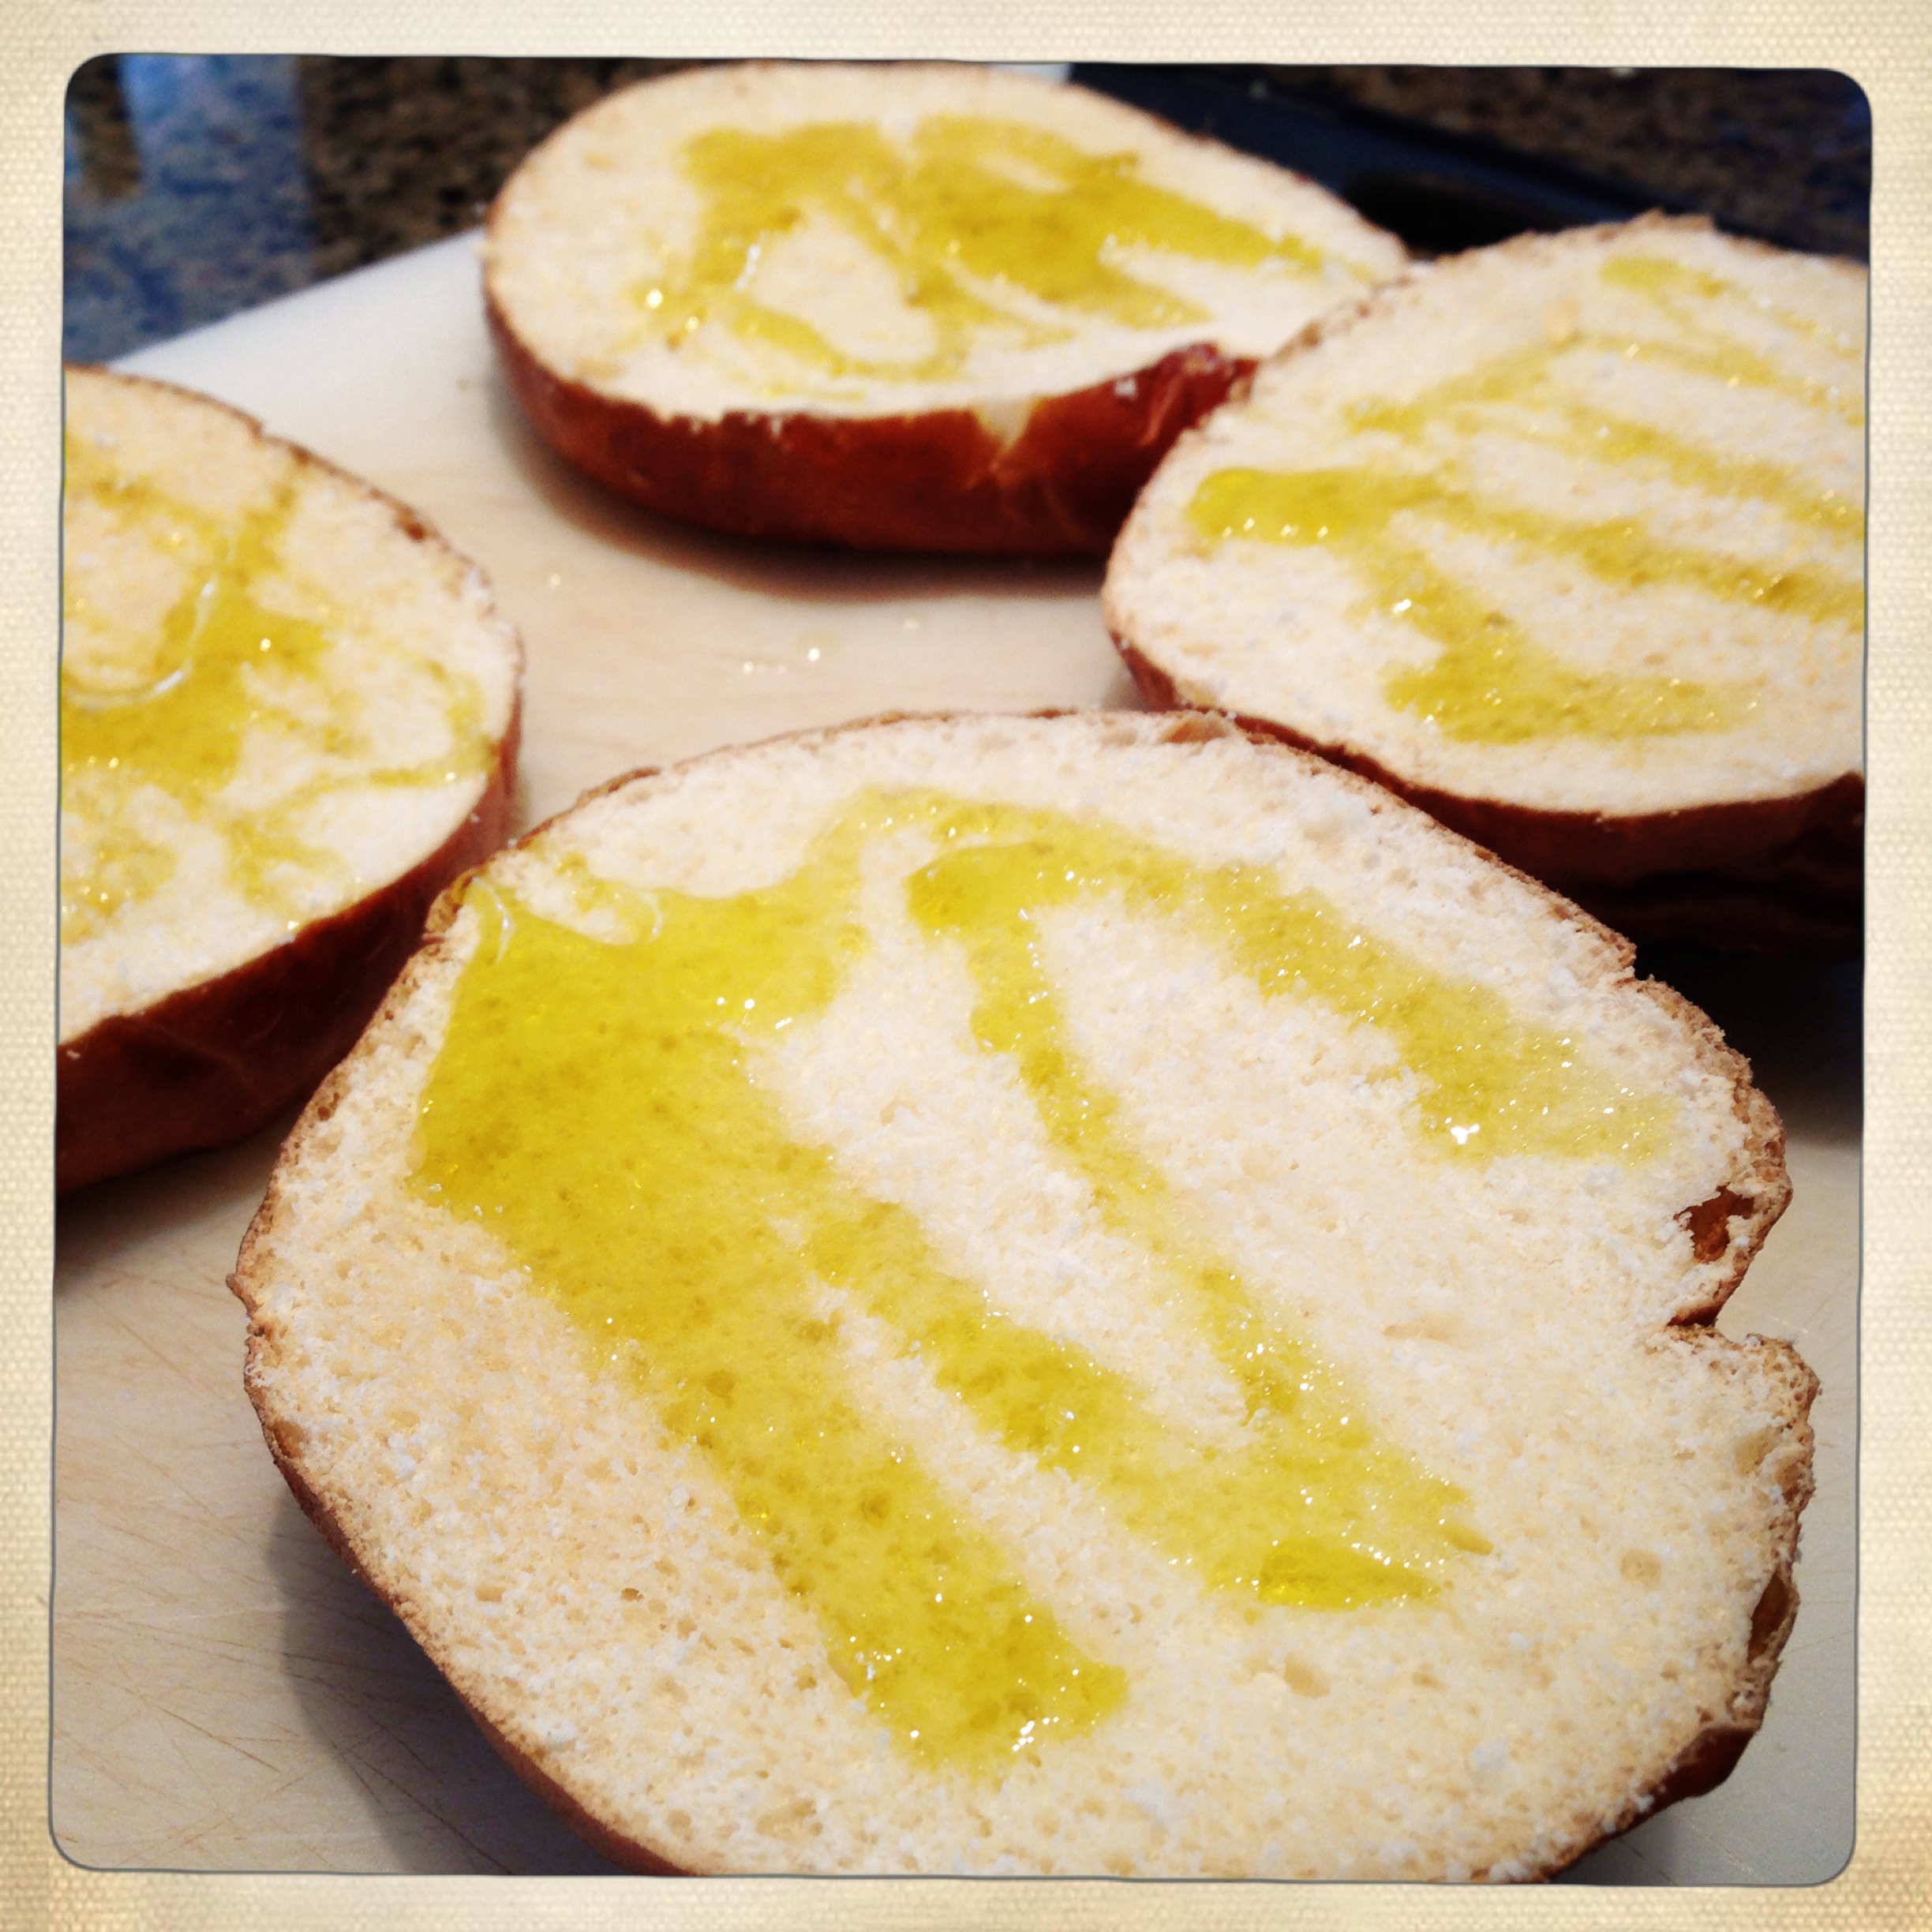
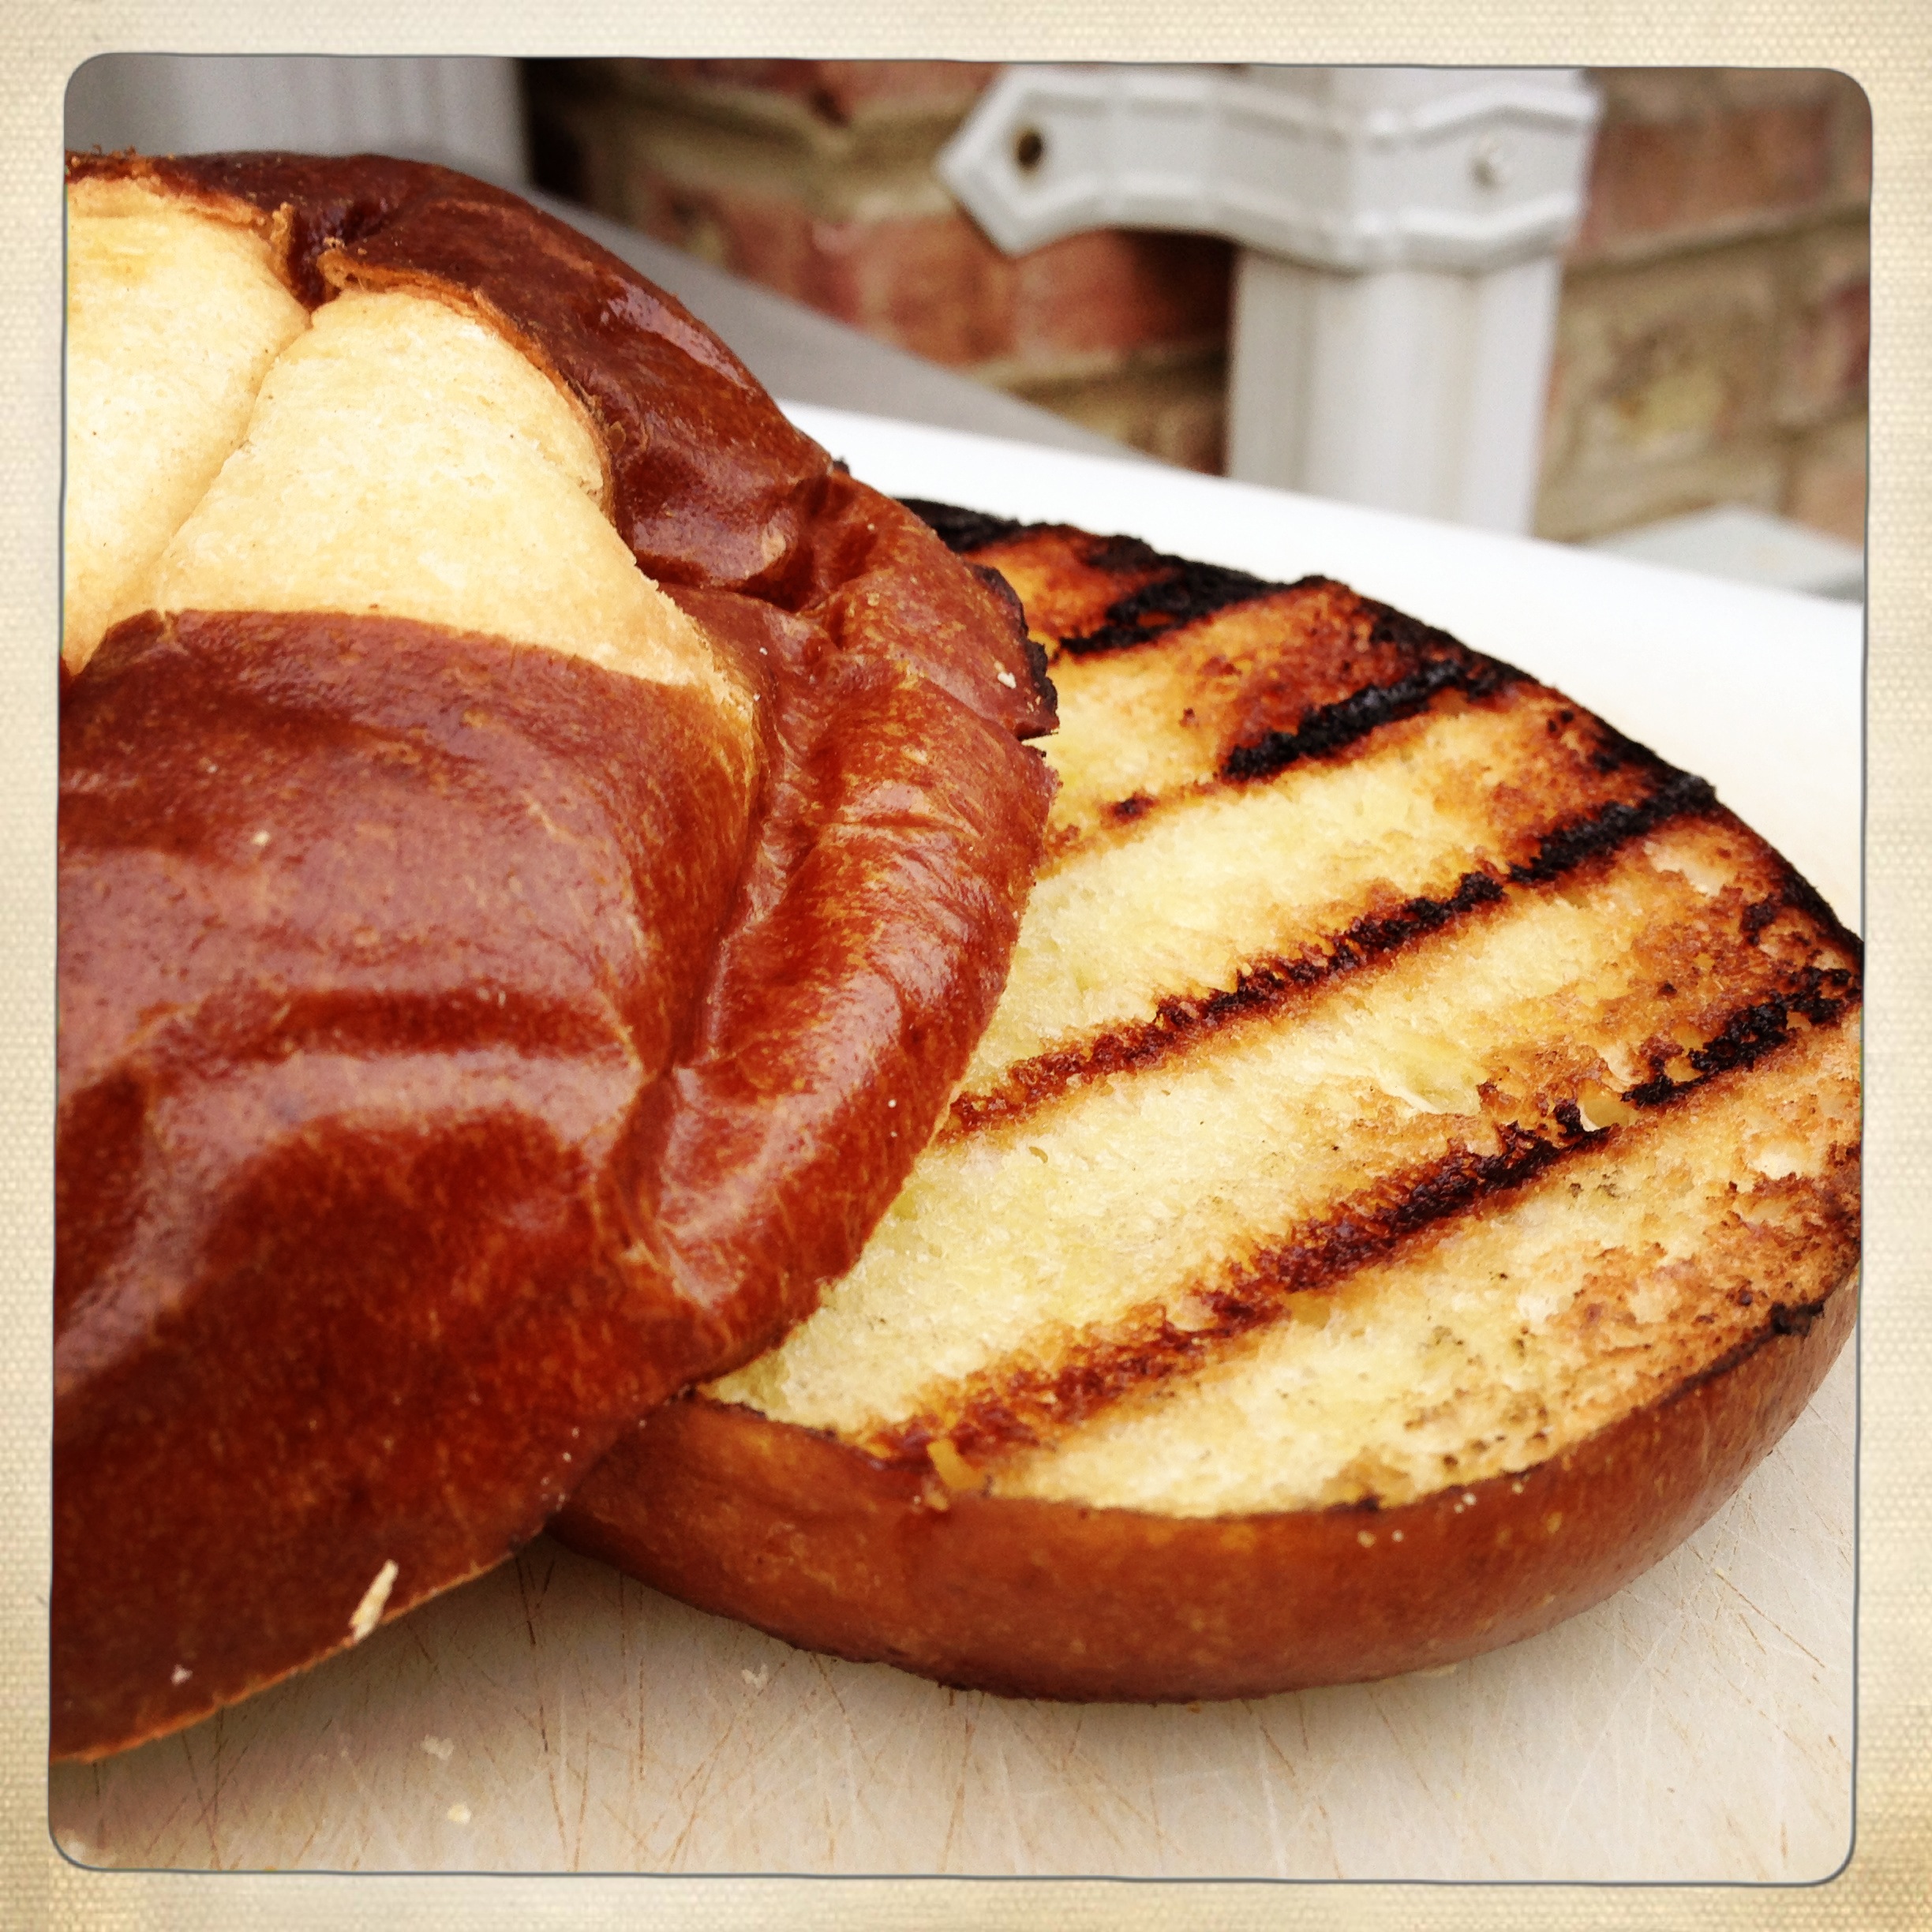
Slice the bun (if it didn’t come sliced) and drizzle each side with olive oil. They will go on at the end just before the burgers are done, and the oil will help them toast quickly without burning or drying out.
Get your grill hot and ready, and let it preheat for about 10 minutes before you start to cook. I like to preheat my grill on a medium-high heat, and then turn it down to medium when I’m actually cooking. Every grill is different, though, and the only way to find the perfect temperature on your grill is to experiment.
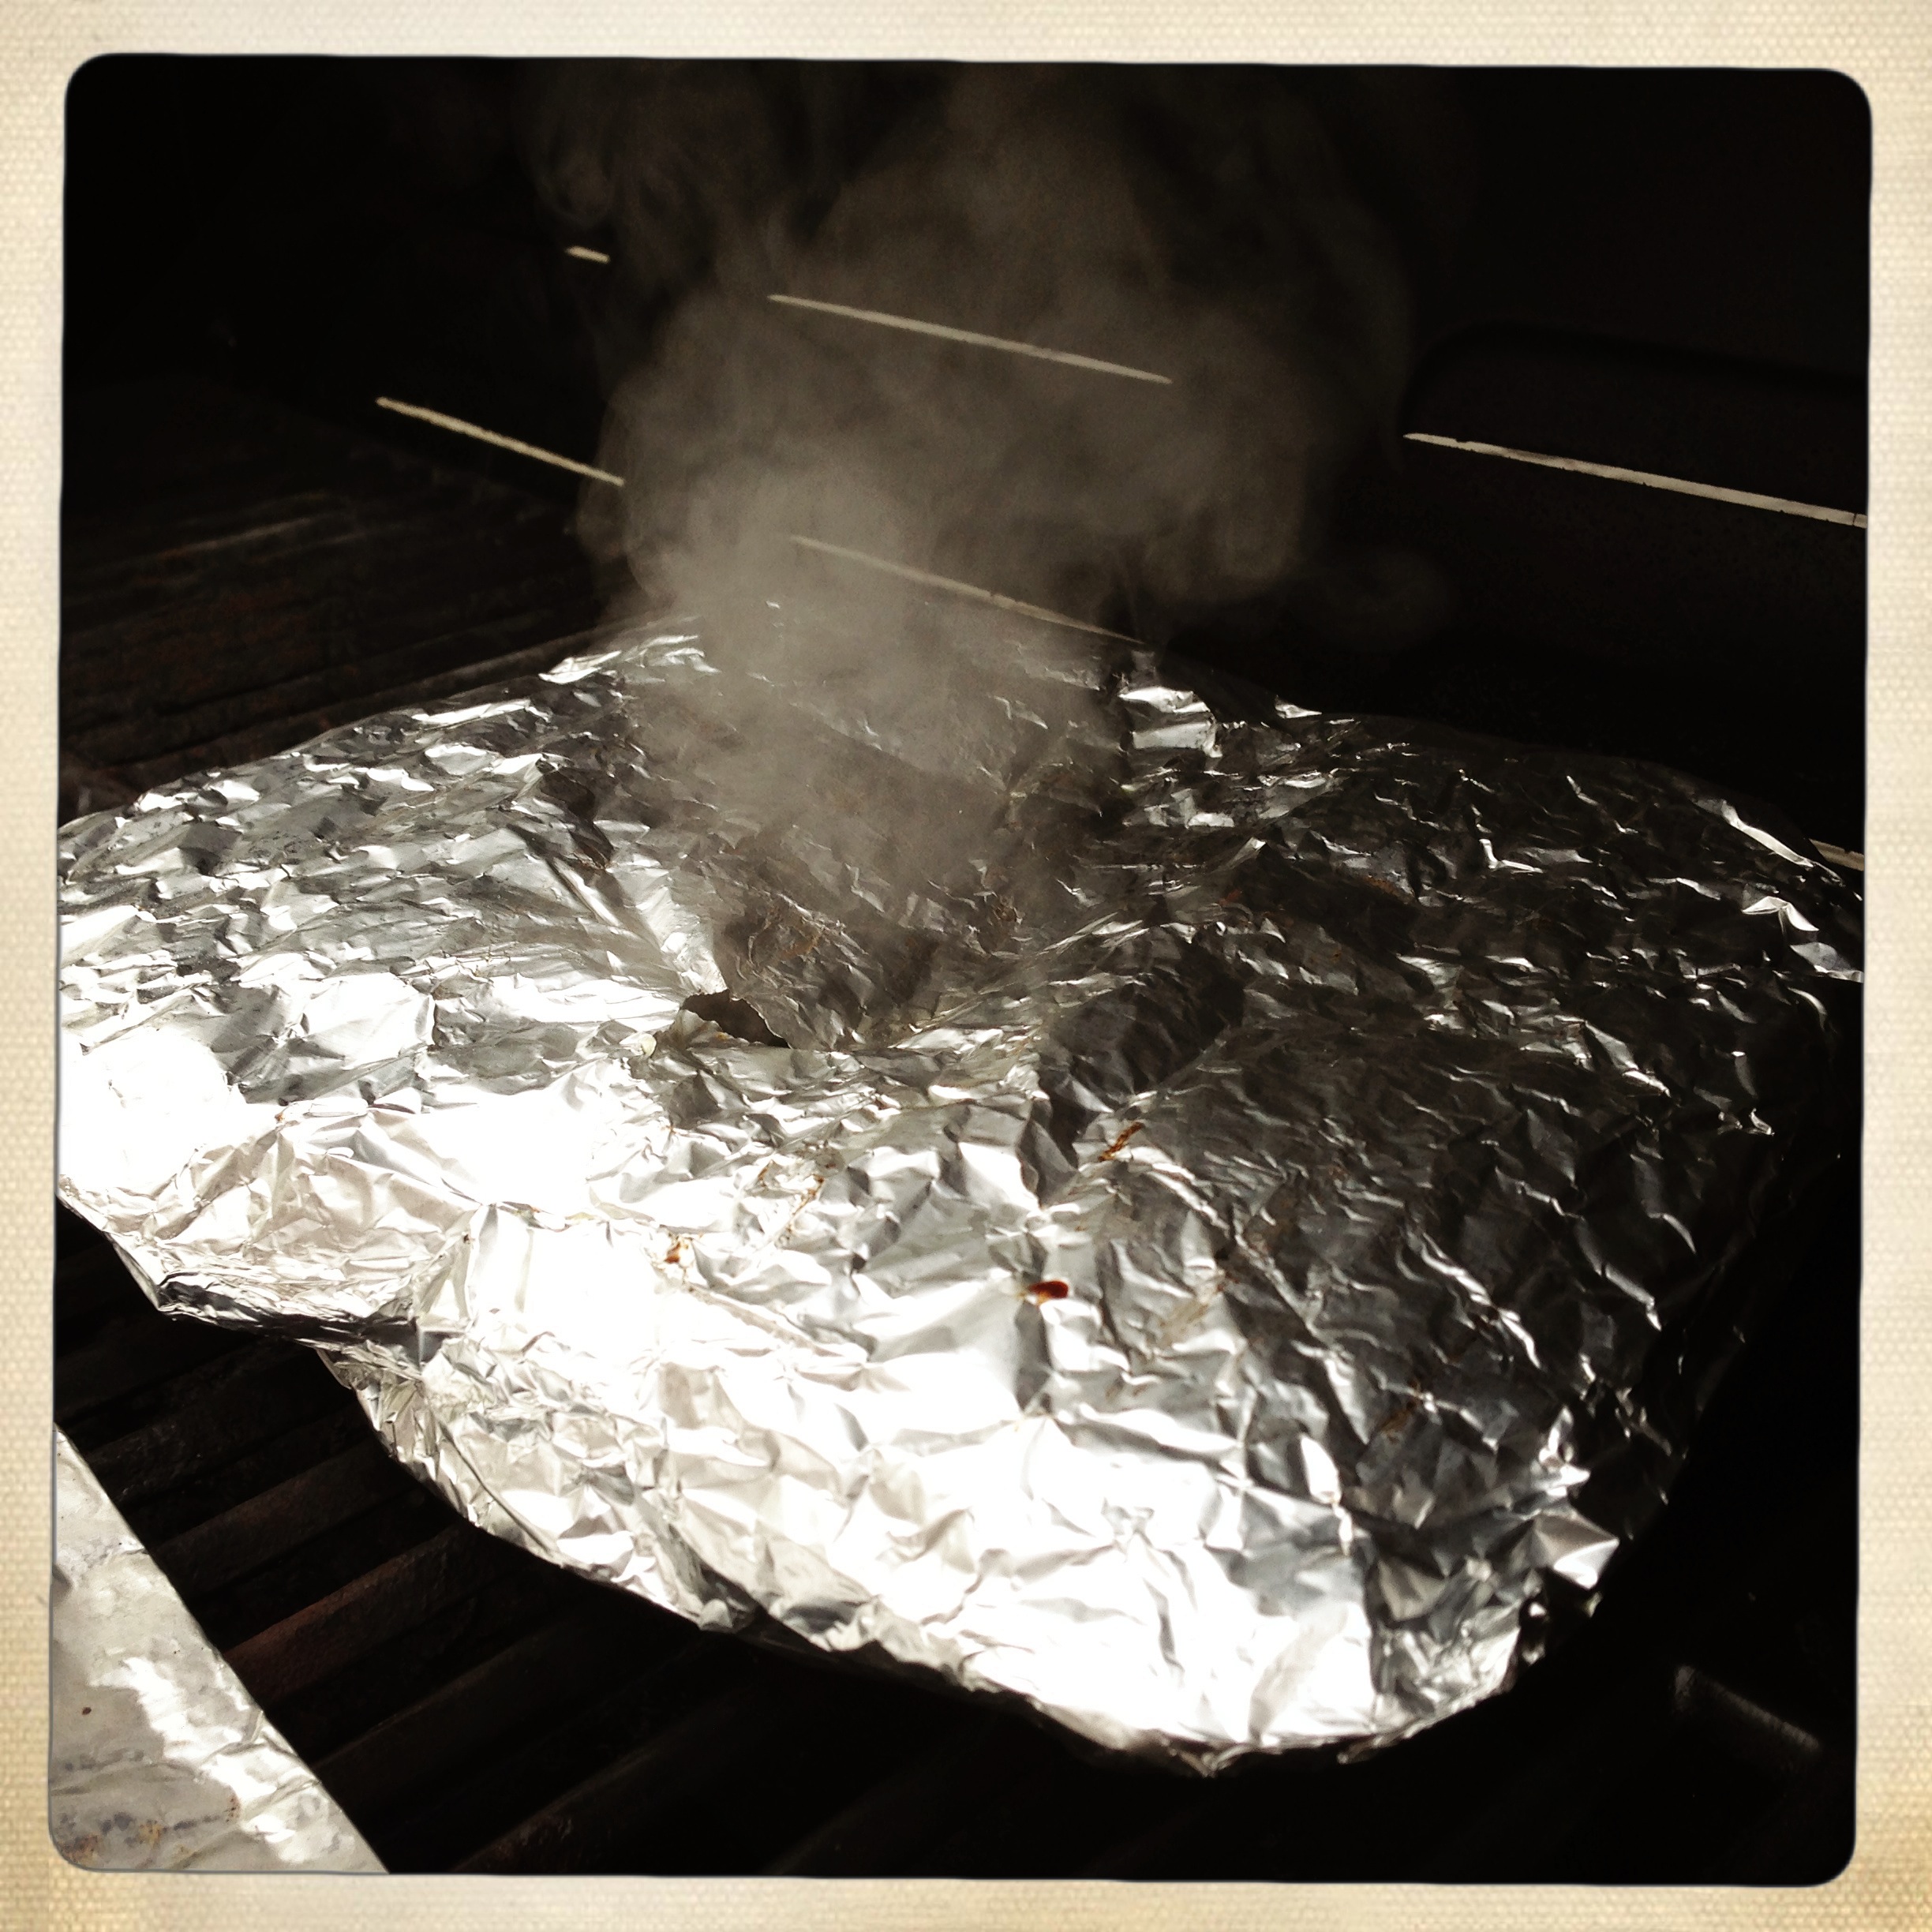
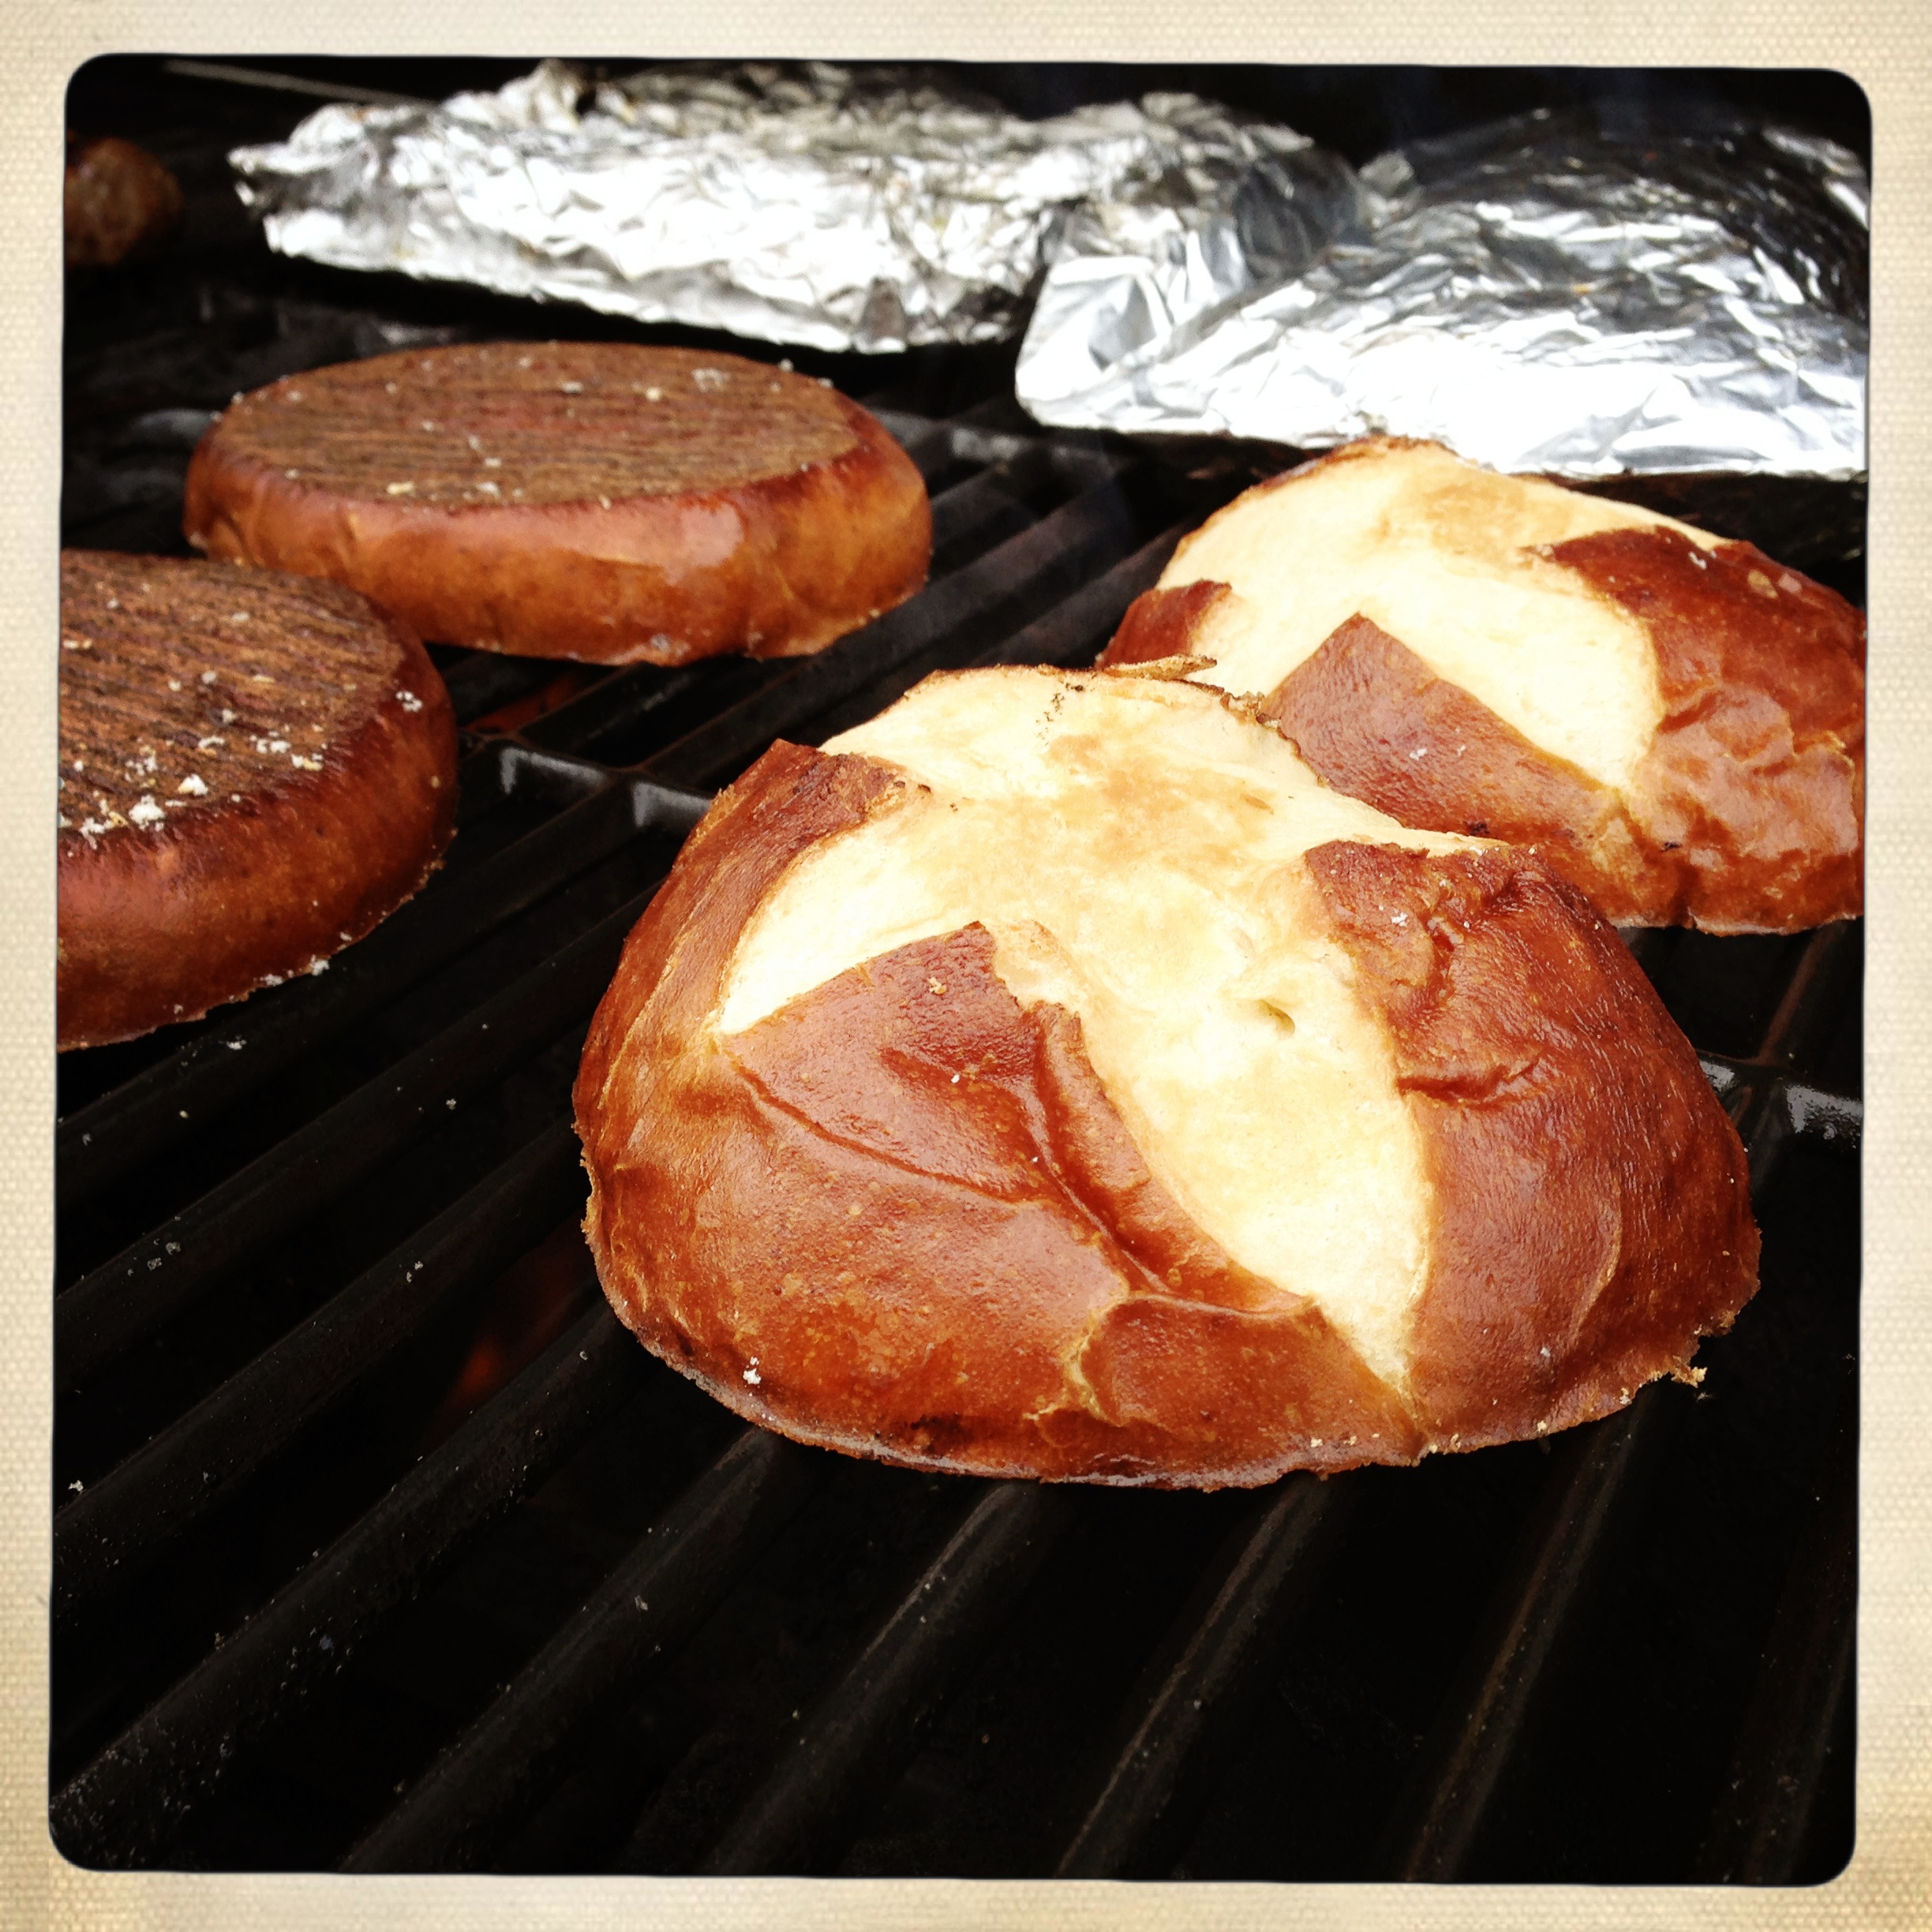
The vegetable packets will cook for about twenty minutes, so I throw those on first. Give them about a five minute head start, and then get the burgers on. To get your veggies evenly grilled, flip the packets about every 5-7 minutes. You’re looking for at least 10 minutes on each side for the packets.
At some point, the steam inside the veggie packets will cause the packet to inflate. When that happens, I use a corner of my spatula or tongs to poke a small hole in the packet. This allows the vegetables to transition from steaming to grilling.
After the burgers have been on for about 5 minutes, I turn them about a quarter turn and cook them 2 more minutes on the same side. This isn’t a necessary step, but it gets you the nice crossed grill marks that look really cool. After a total of 7 or 8 minutes, flip the burgers.
Cook the burgers for another 5-10 minutes after flipping (depending on the heat of your grill and the thickness of the burgers). When there’s about 5 minutes left, add the buns cut side down to the coolest part of the grill. For me, that tends to be the front half of the burners. You want them to char a little, but not burn.
Keep a close eye on the buns, and pull them off when the start to toast and have nice grill marks on them. The little bit of char on the bread adds a really deep, rich flavor to the burger, and the olive oil in the bun keeps things moist.
Let the burgers rest on a cutting board while you open up the foil packets. Do this very carefully as there will be a lot of hot steam trapped in the foil envelope. Your asparagus should have a nice charred grilled color, and will be juicy and tender from the simultaneous steaming.
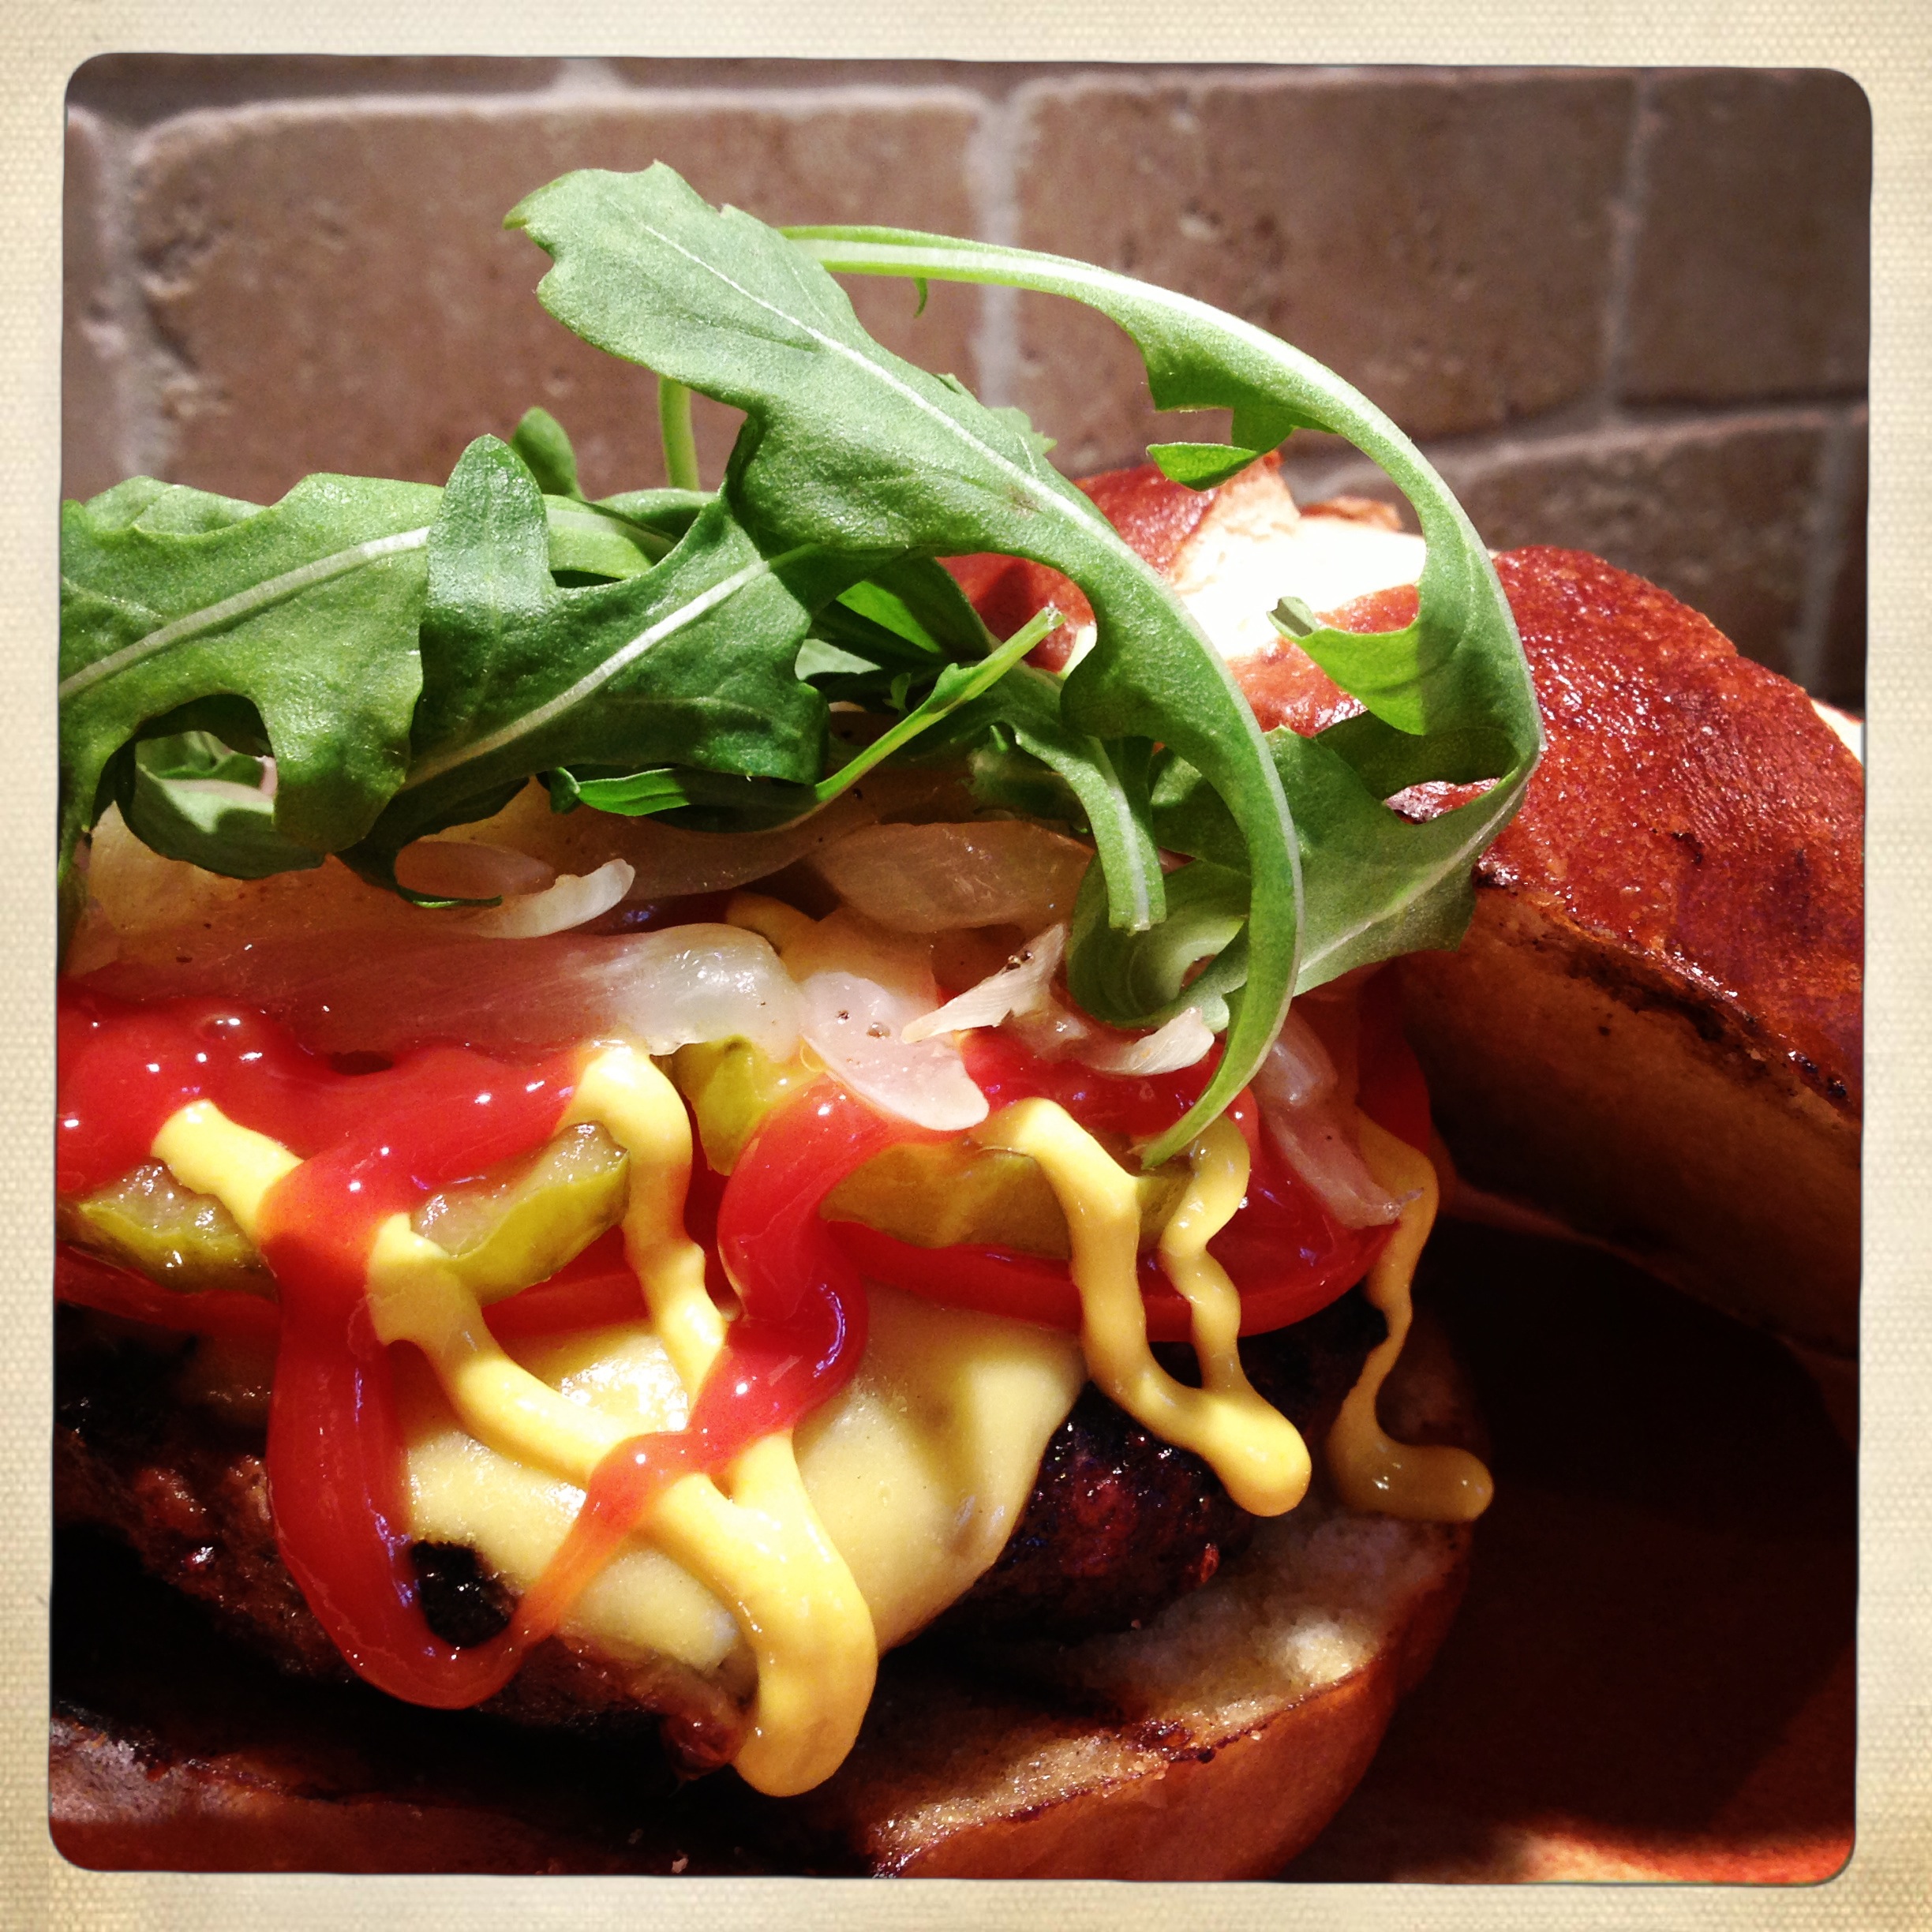
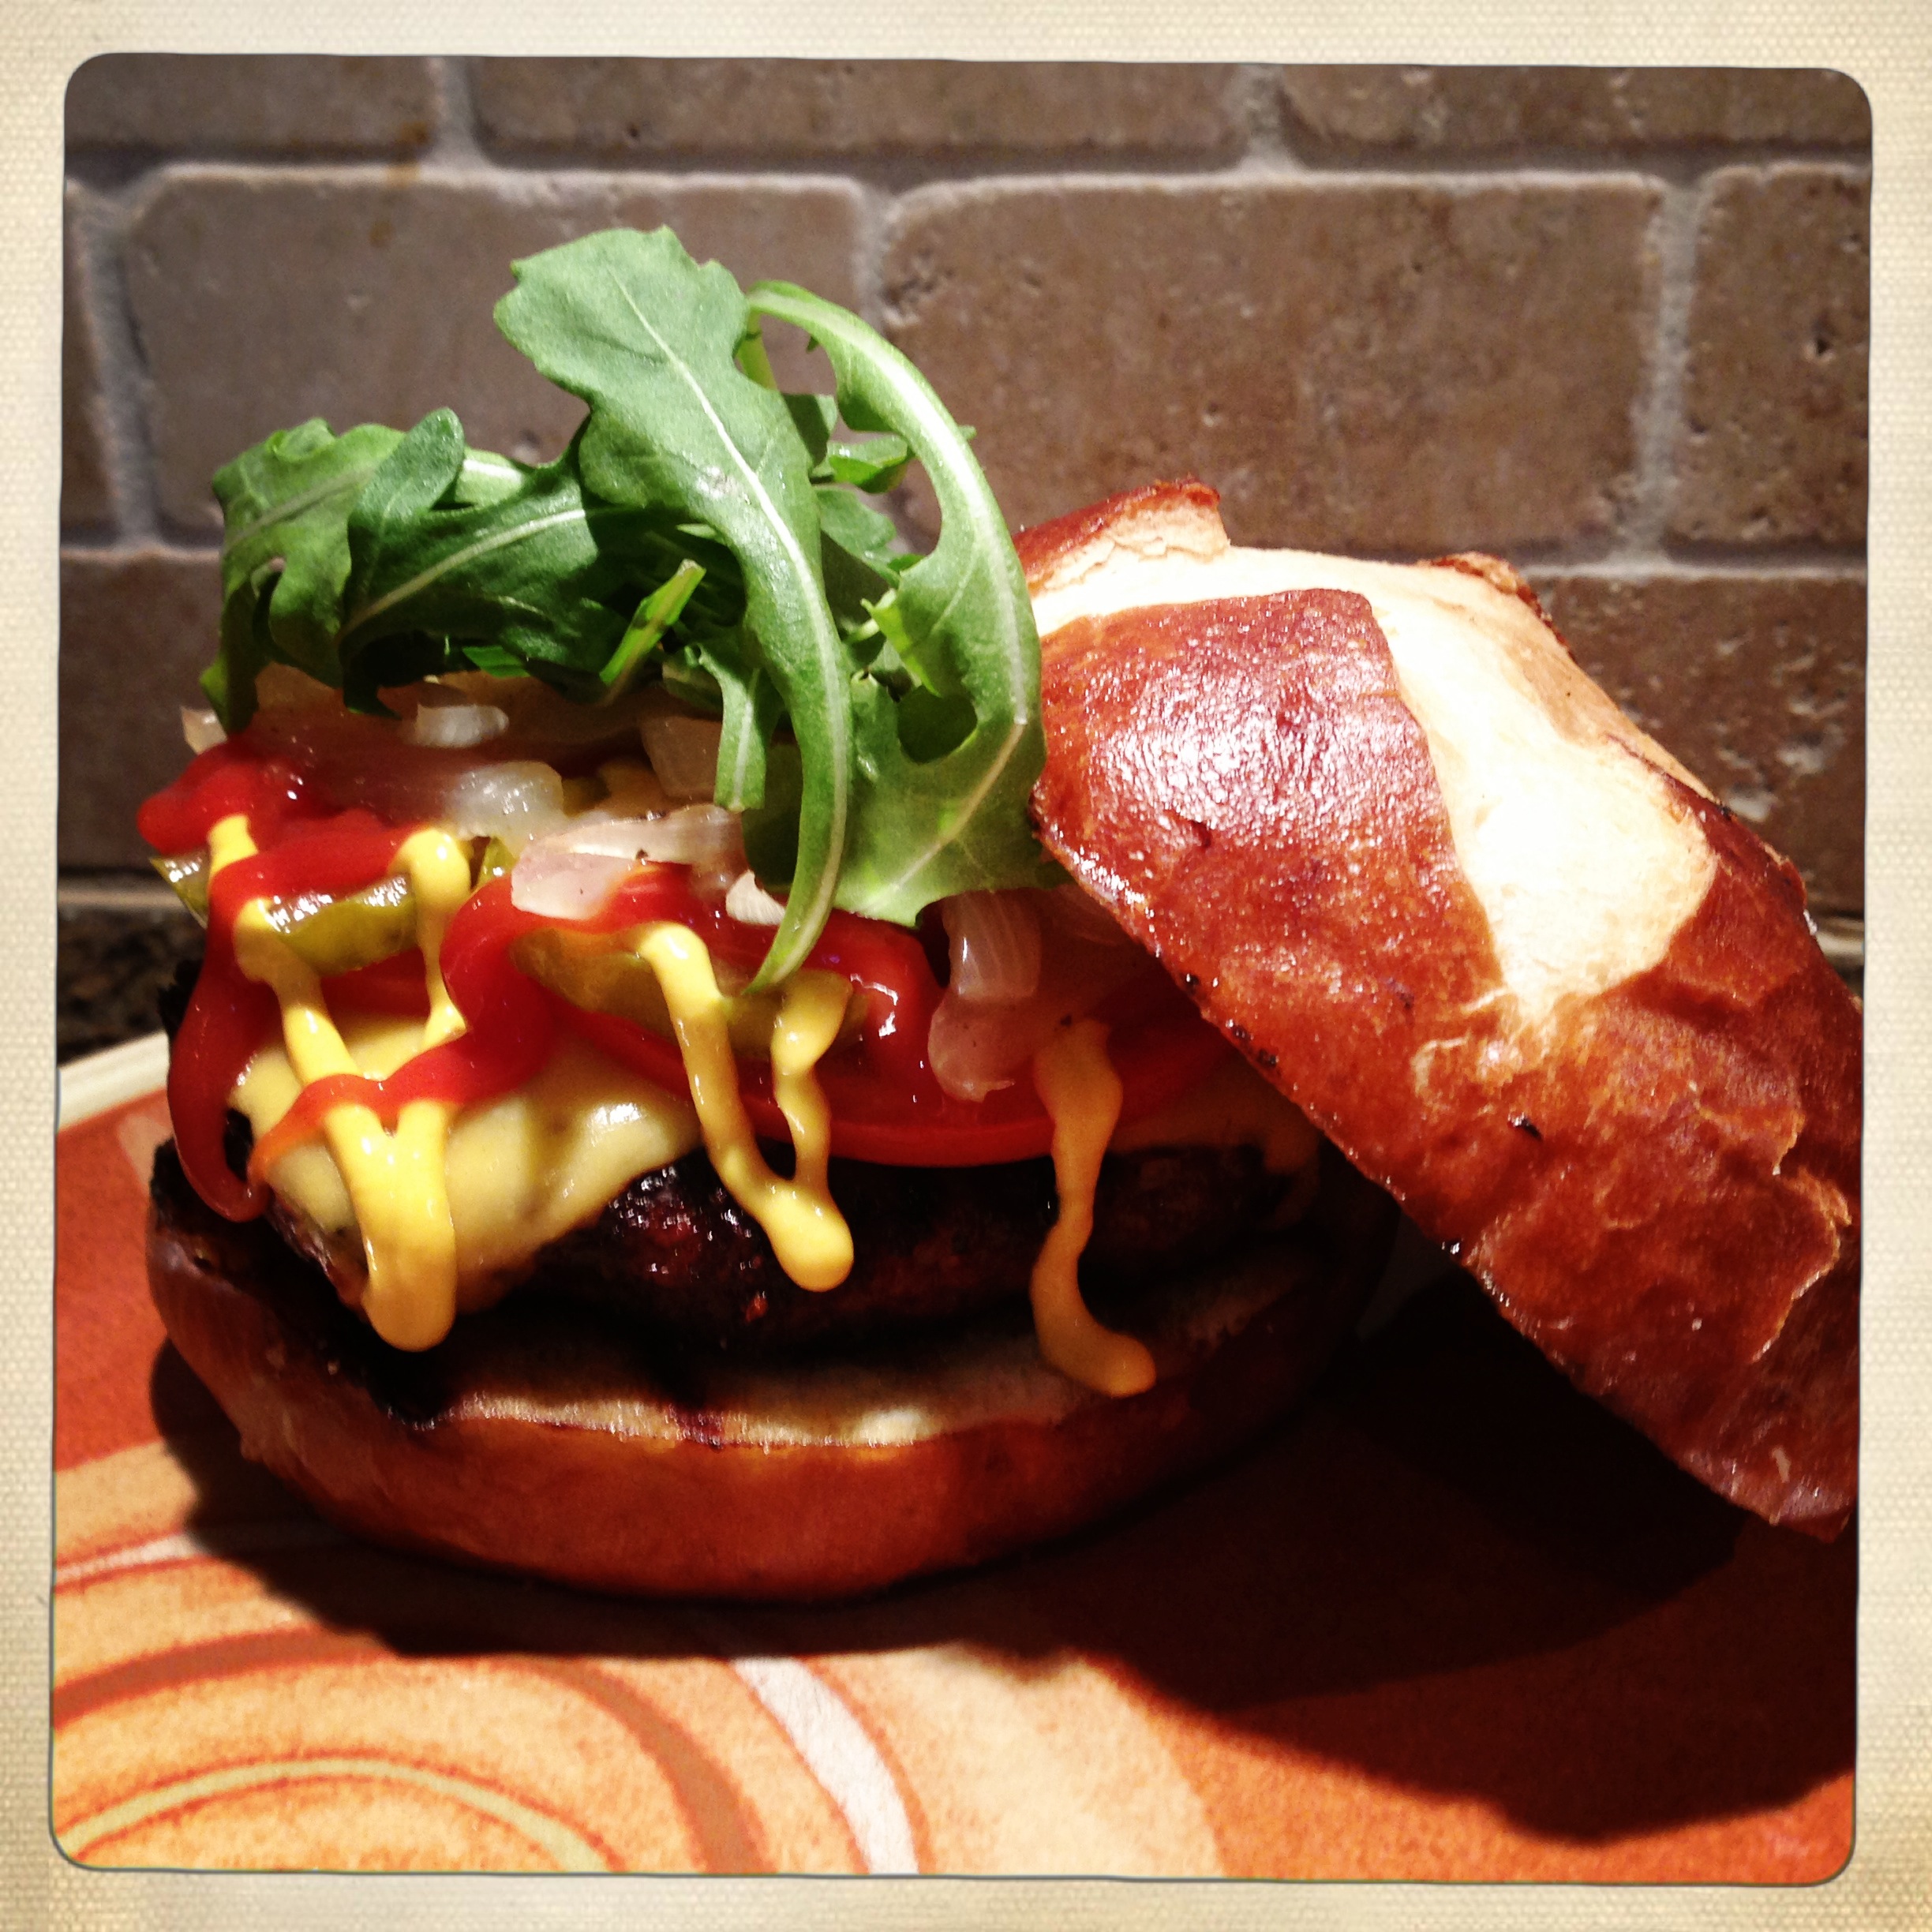
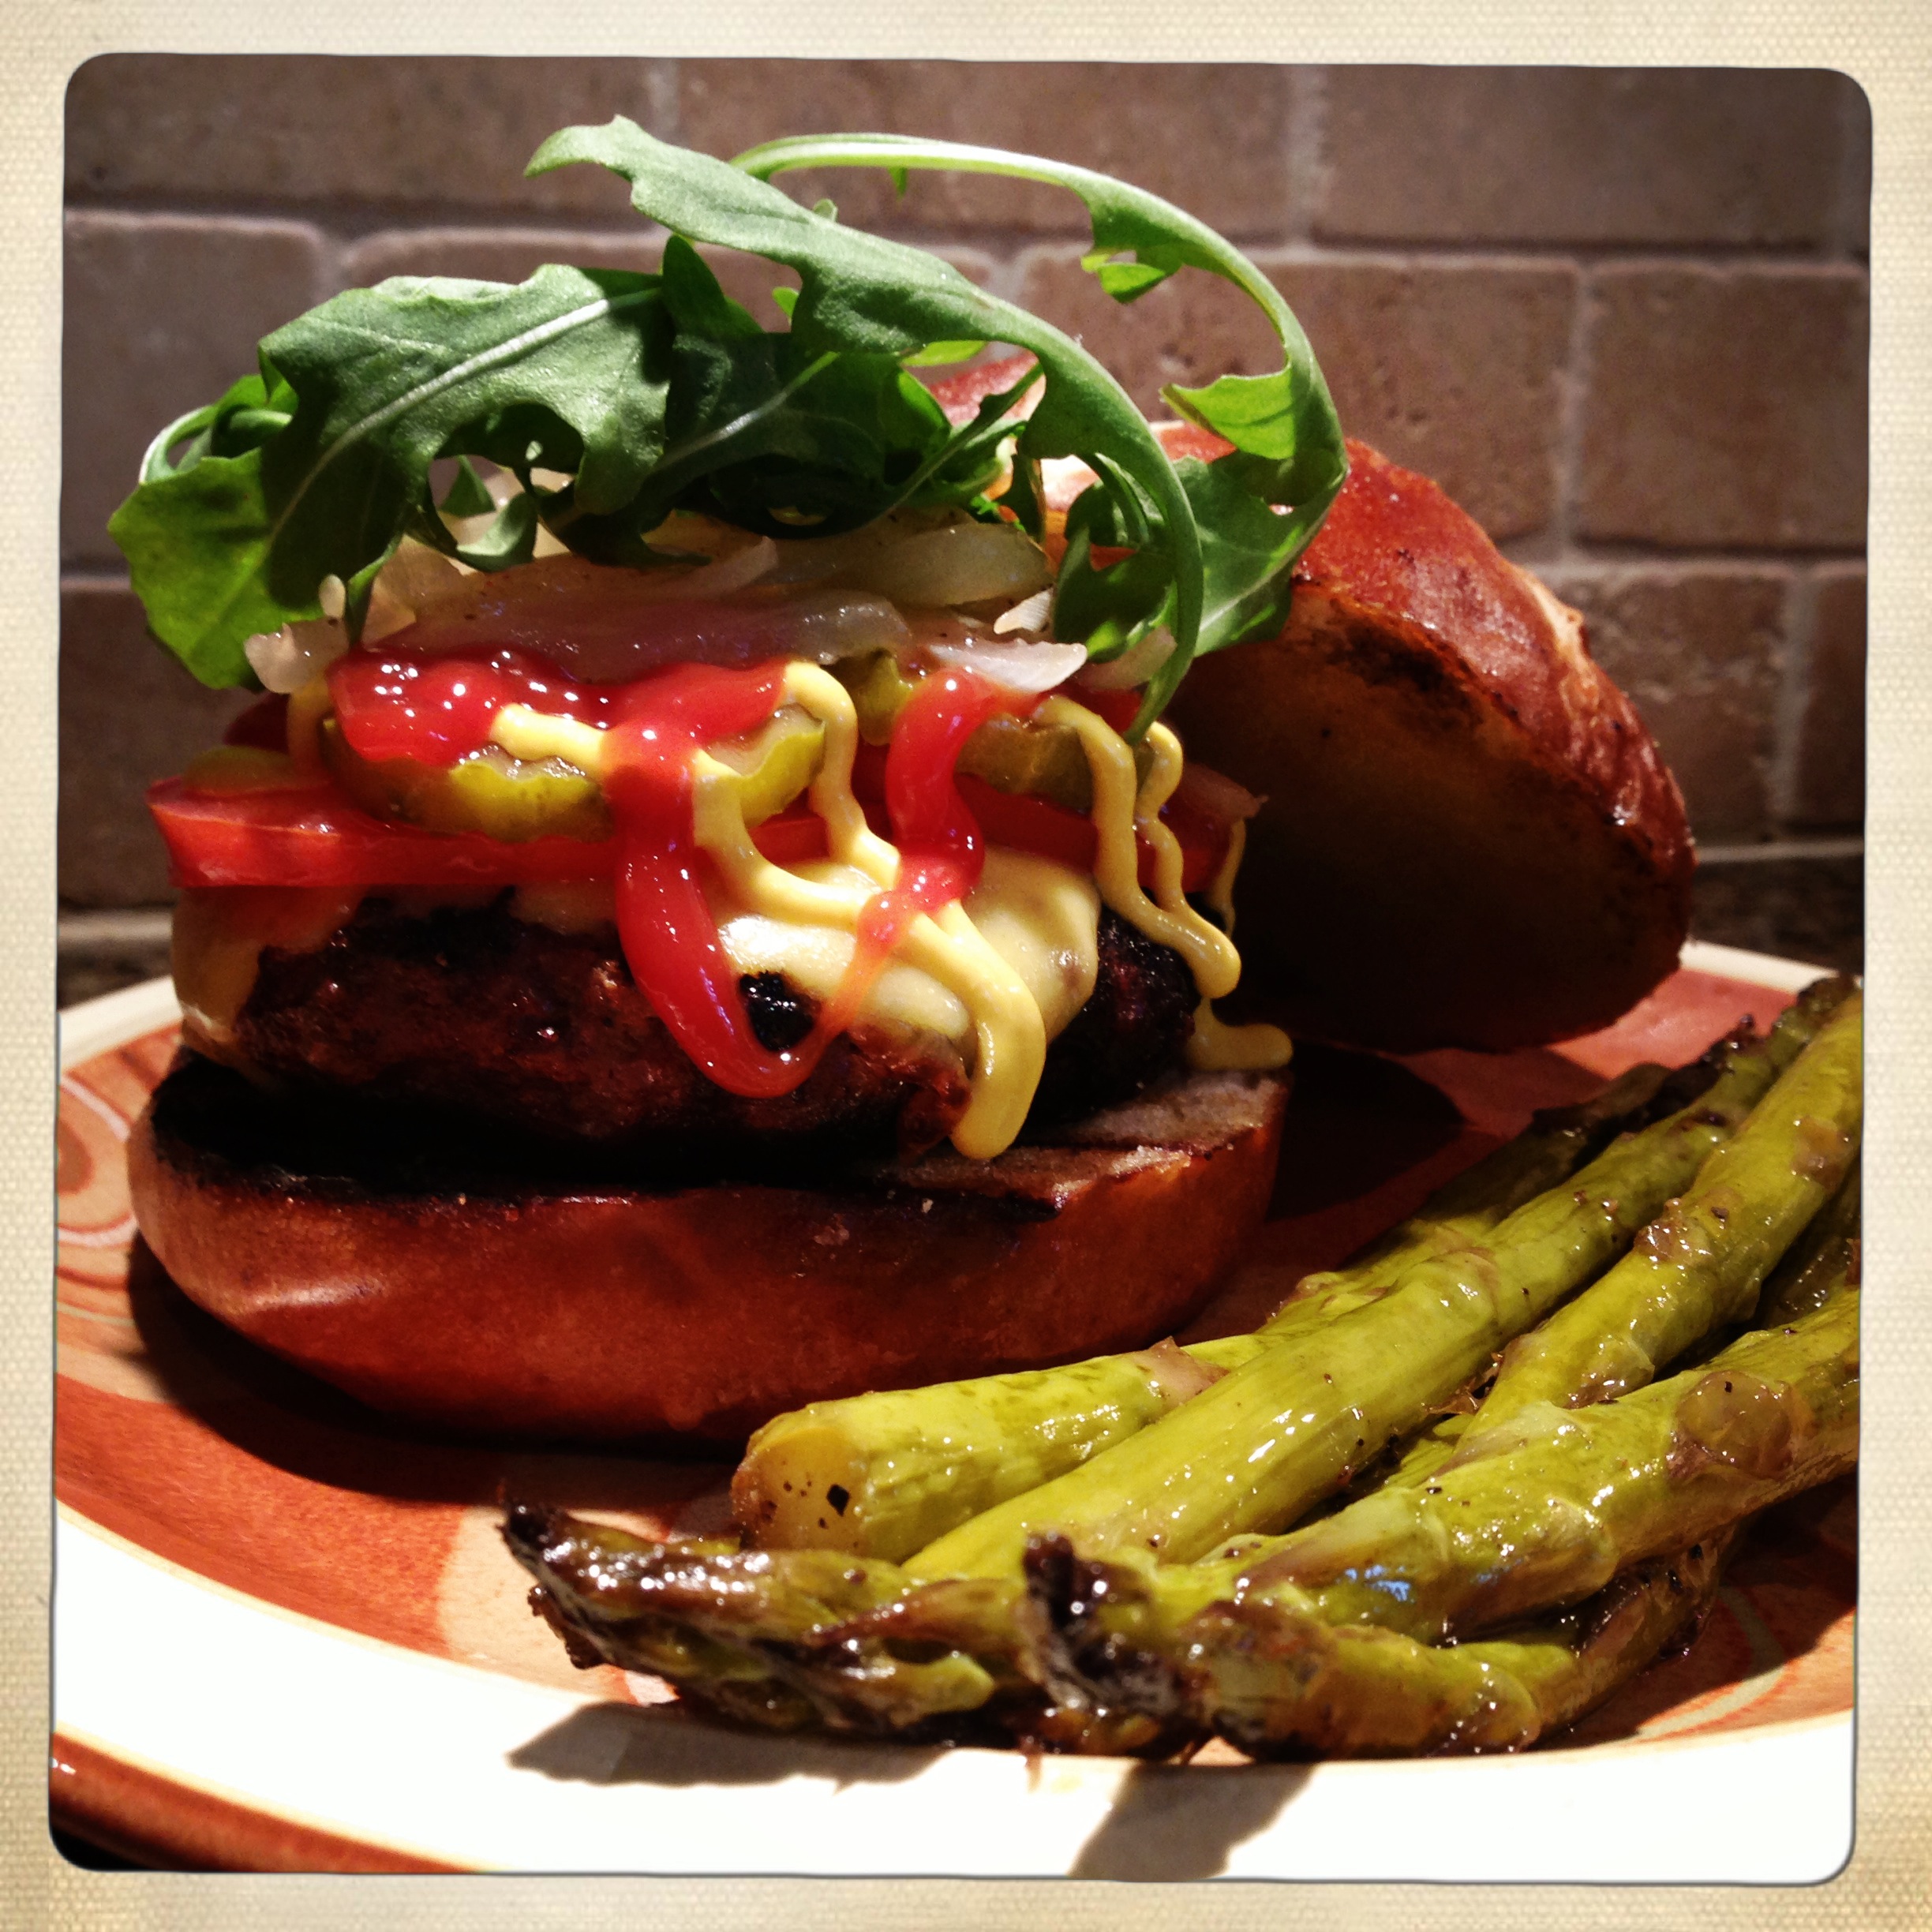
I love burgers because they’re an open canvas. You can put just about anything onto a burger and have it taste amazing. These burgers were topped with a thick slice of American cheese, the grilled onions, dill pickle chips, sliced tomatoes, arugula, ketchup and yellow mustard. Paired with the grill-toasted pretzel bun, it was amazing!
The salty, tender asparagus paired with this burger was more than enough to make french fries completely unnecessary. With good, fresh ingredients and a vegetable side, a burger is not only a delicious meal, but it’s a very healthy meal for eaters of all ages. I admit, I had peas on back-up as I wasn’t sure if our little guy would go for the asparagus, but he tore into it like a champ. Much like the roasted brussels sprouts over the winter, we find that making a vegetable not typically loved by little ones can be successful if the preparation is perfect.
So, there you have it – the first meal of the grilling season. Admittedly, I waited longer than usual this spring to fire up the grill, but there will be plenty of grilling in the coming months here at Eats For All Ages – Enjoy!


[…] oil. Shake to evenly distribute oil and seasoning. (More detail on foil grill packets can be found here.) Slice the brats in half […]