Backyard Smoked Pulled Pork
7January 6, 2014 by Jason Rice MD
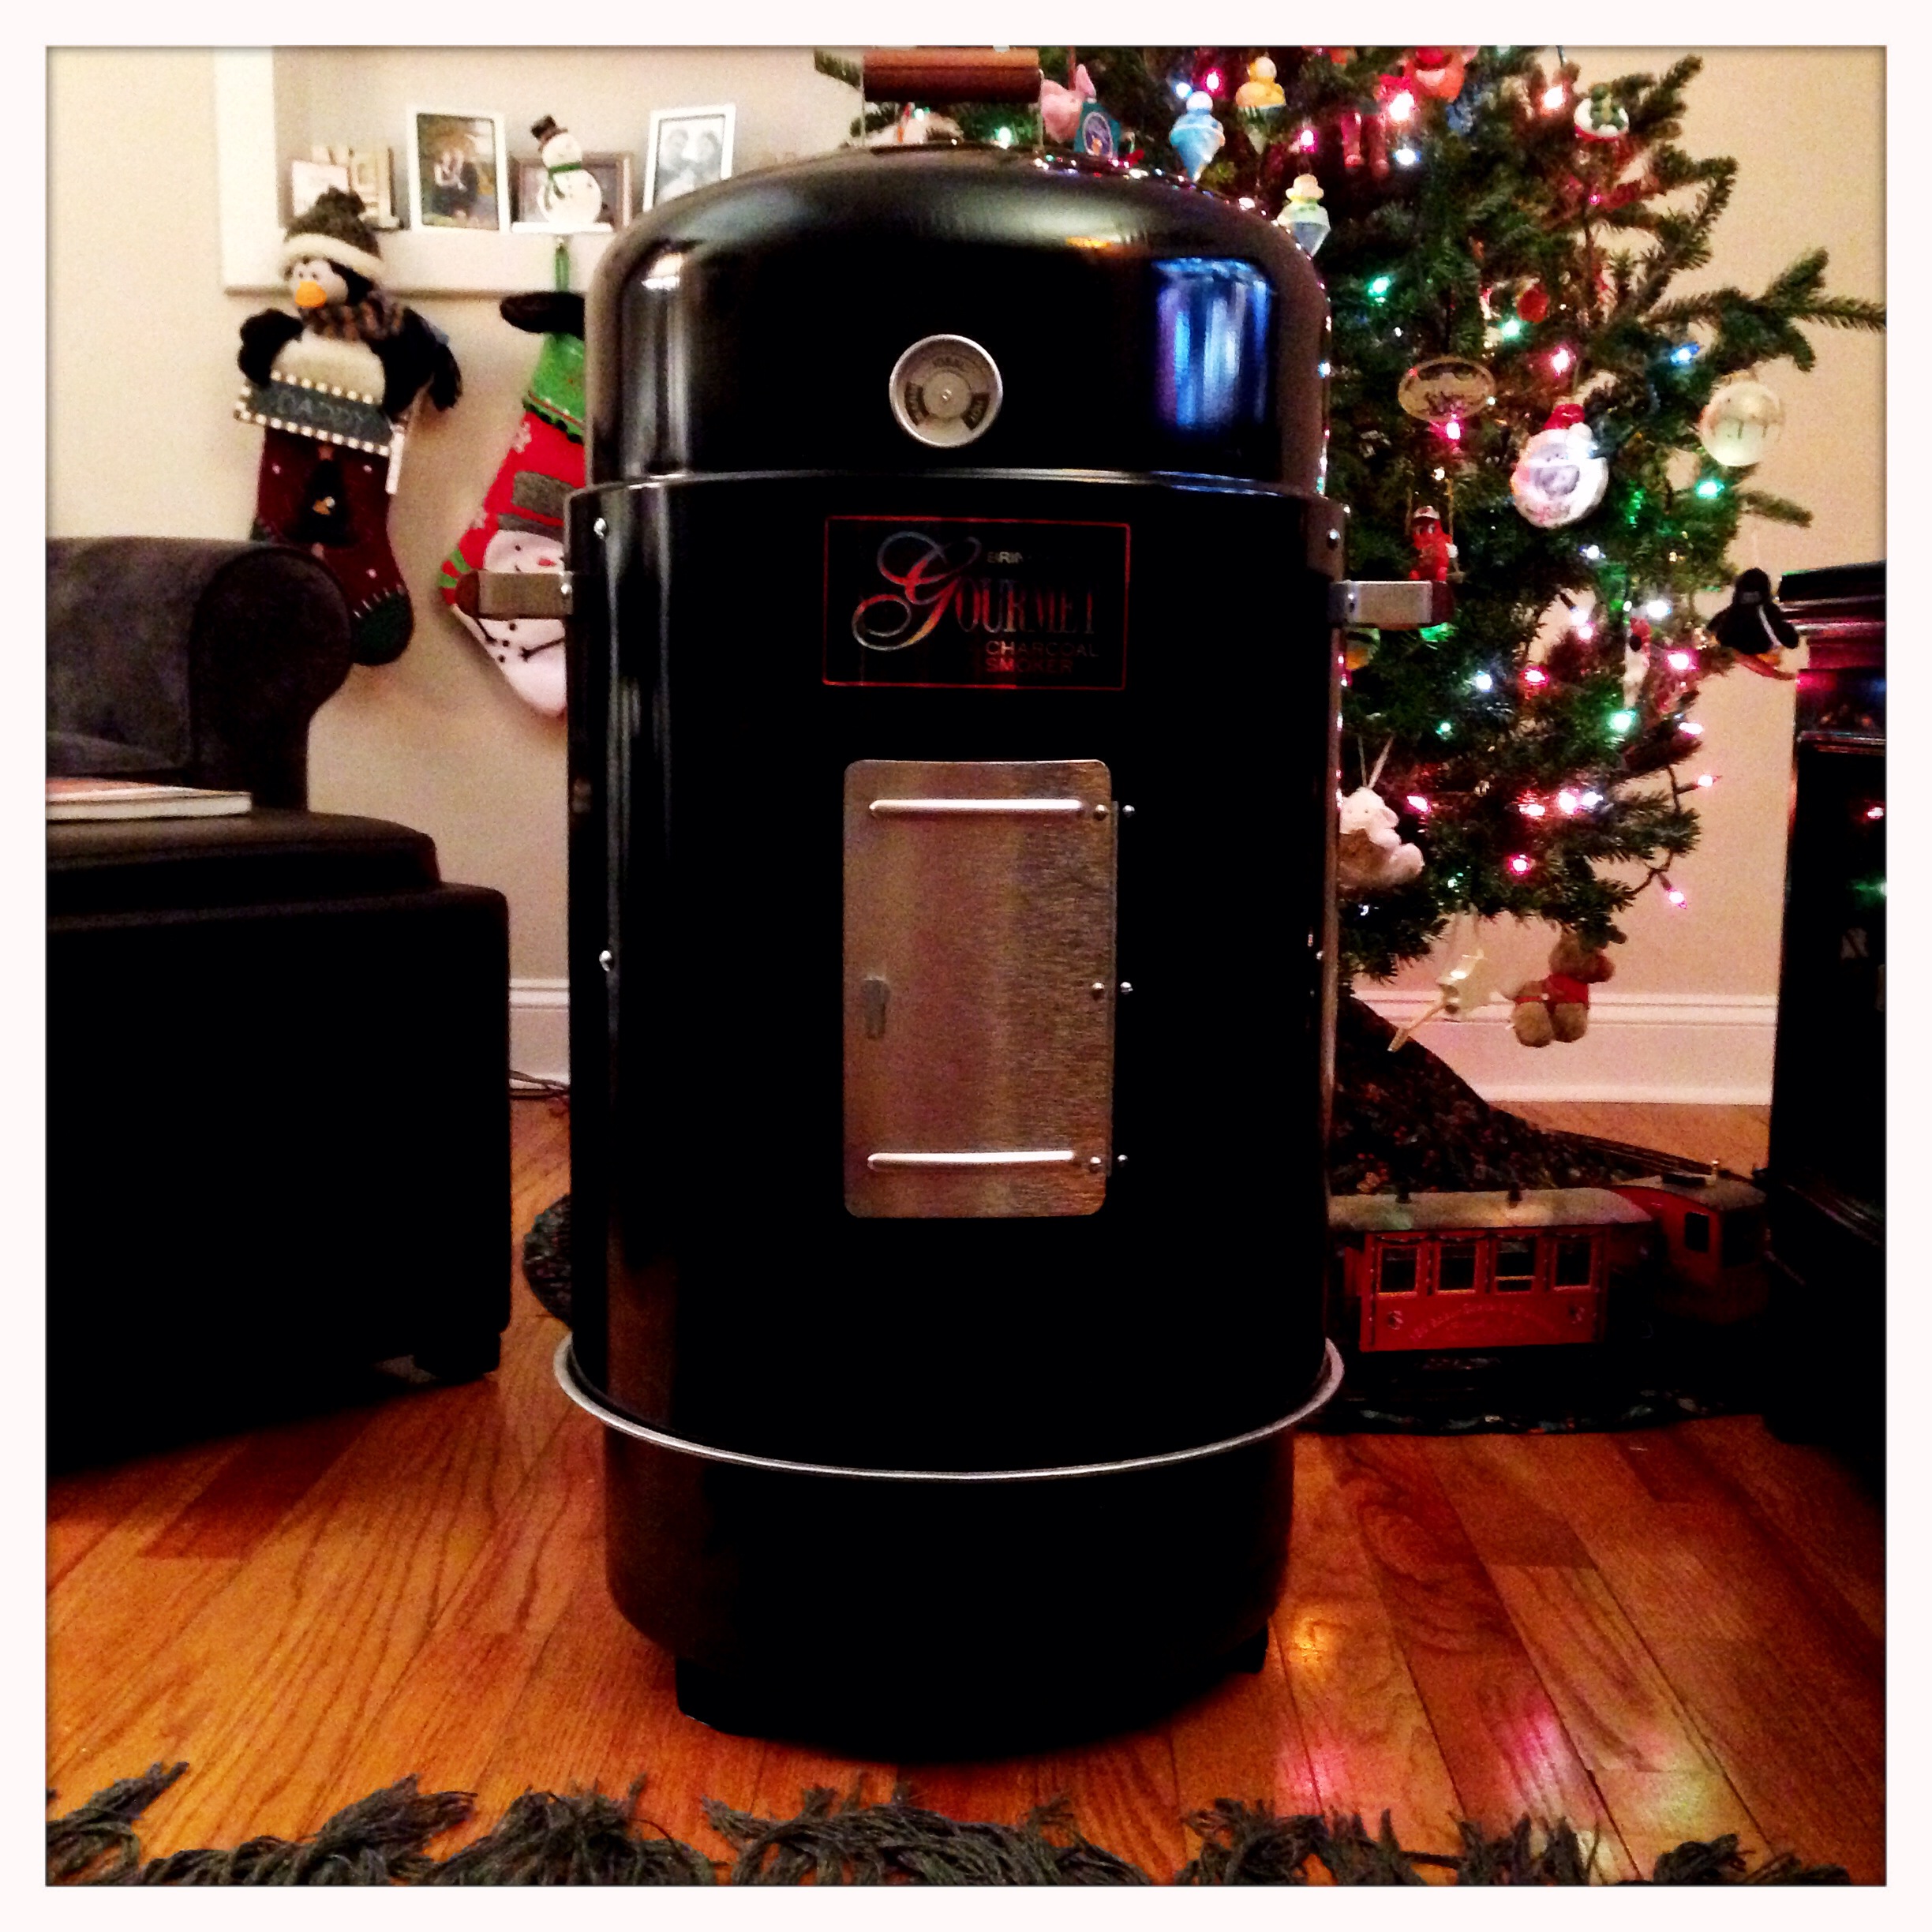
This year for Christmas, Mrs. Eats For All Ages got me a smoker.
You may recall my first attempt at smoking on this blog involved my gas grill and a little metal box full of soaked wood chips. While that chicken was delicious, it’s tough to do a real smoke on a gas grill. The chips burn up rather quickly, and there’s no charcoal to impart any smokey flavor when the chips aren’t full. This means a lot of opening the lid to reload the smoker box, which lets out heat and smoke each time.
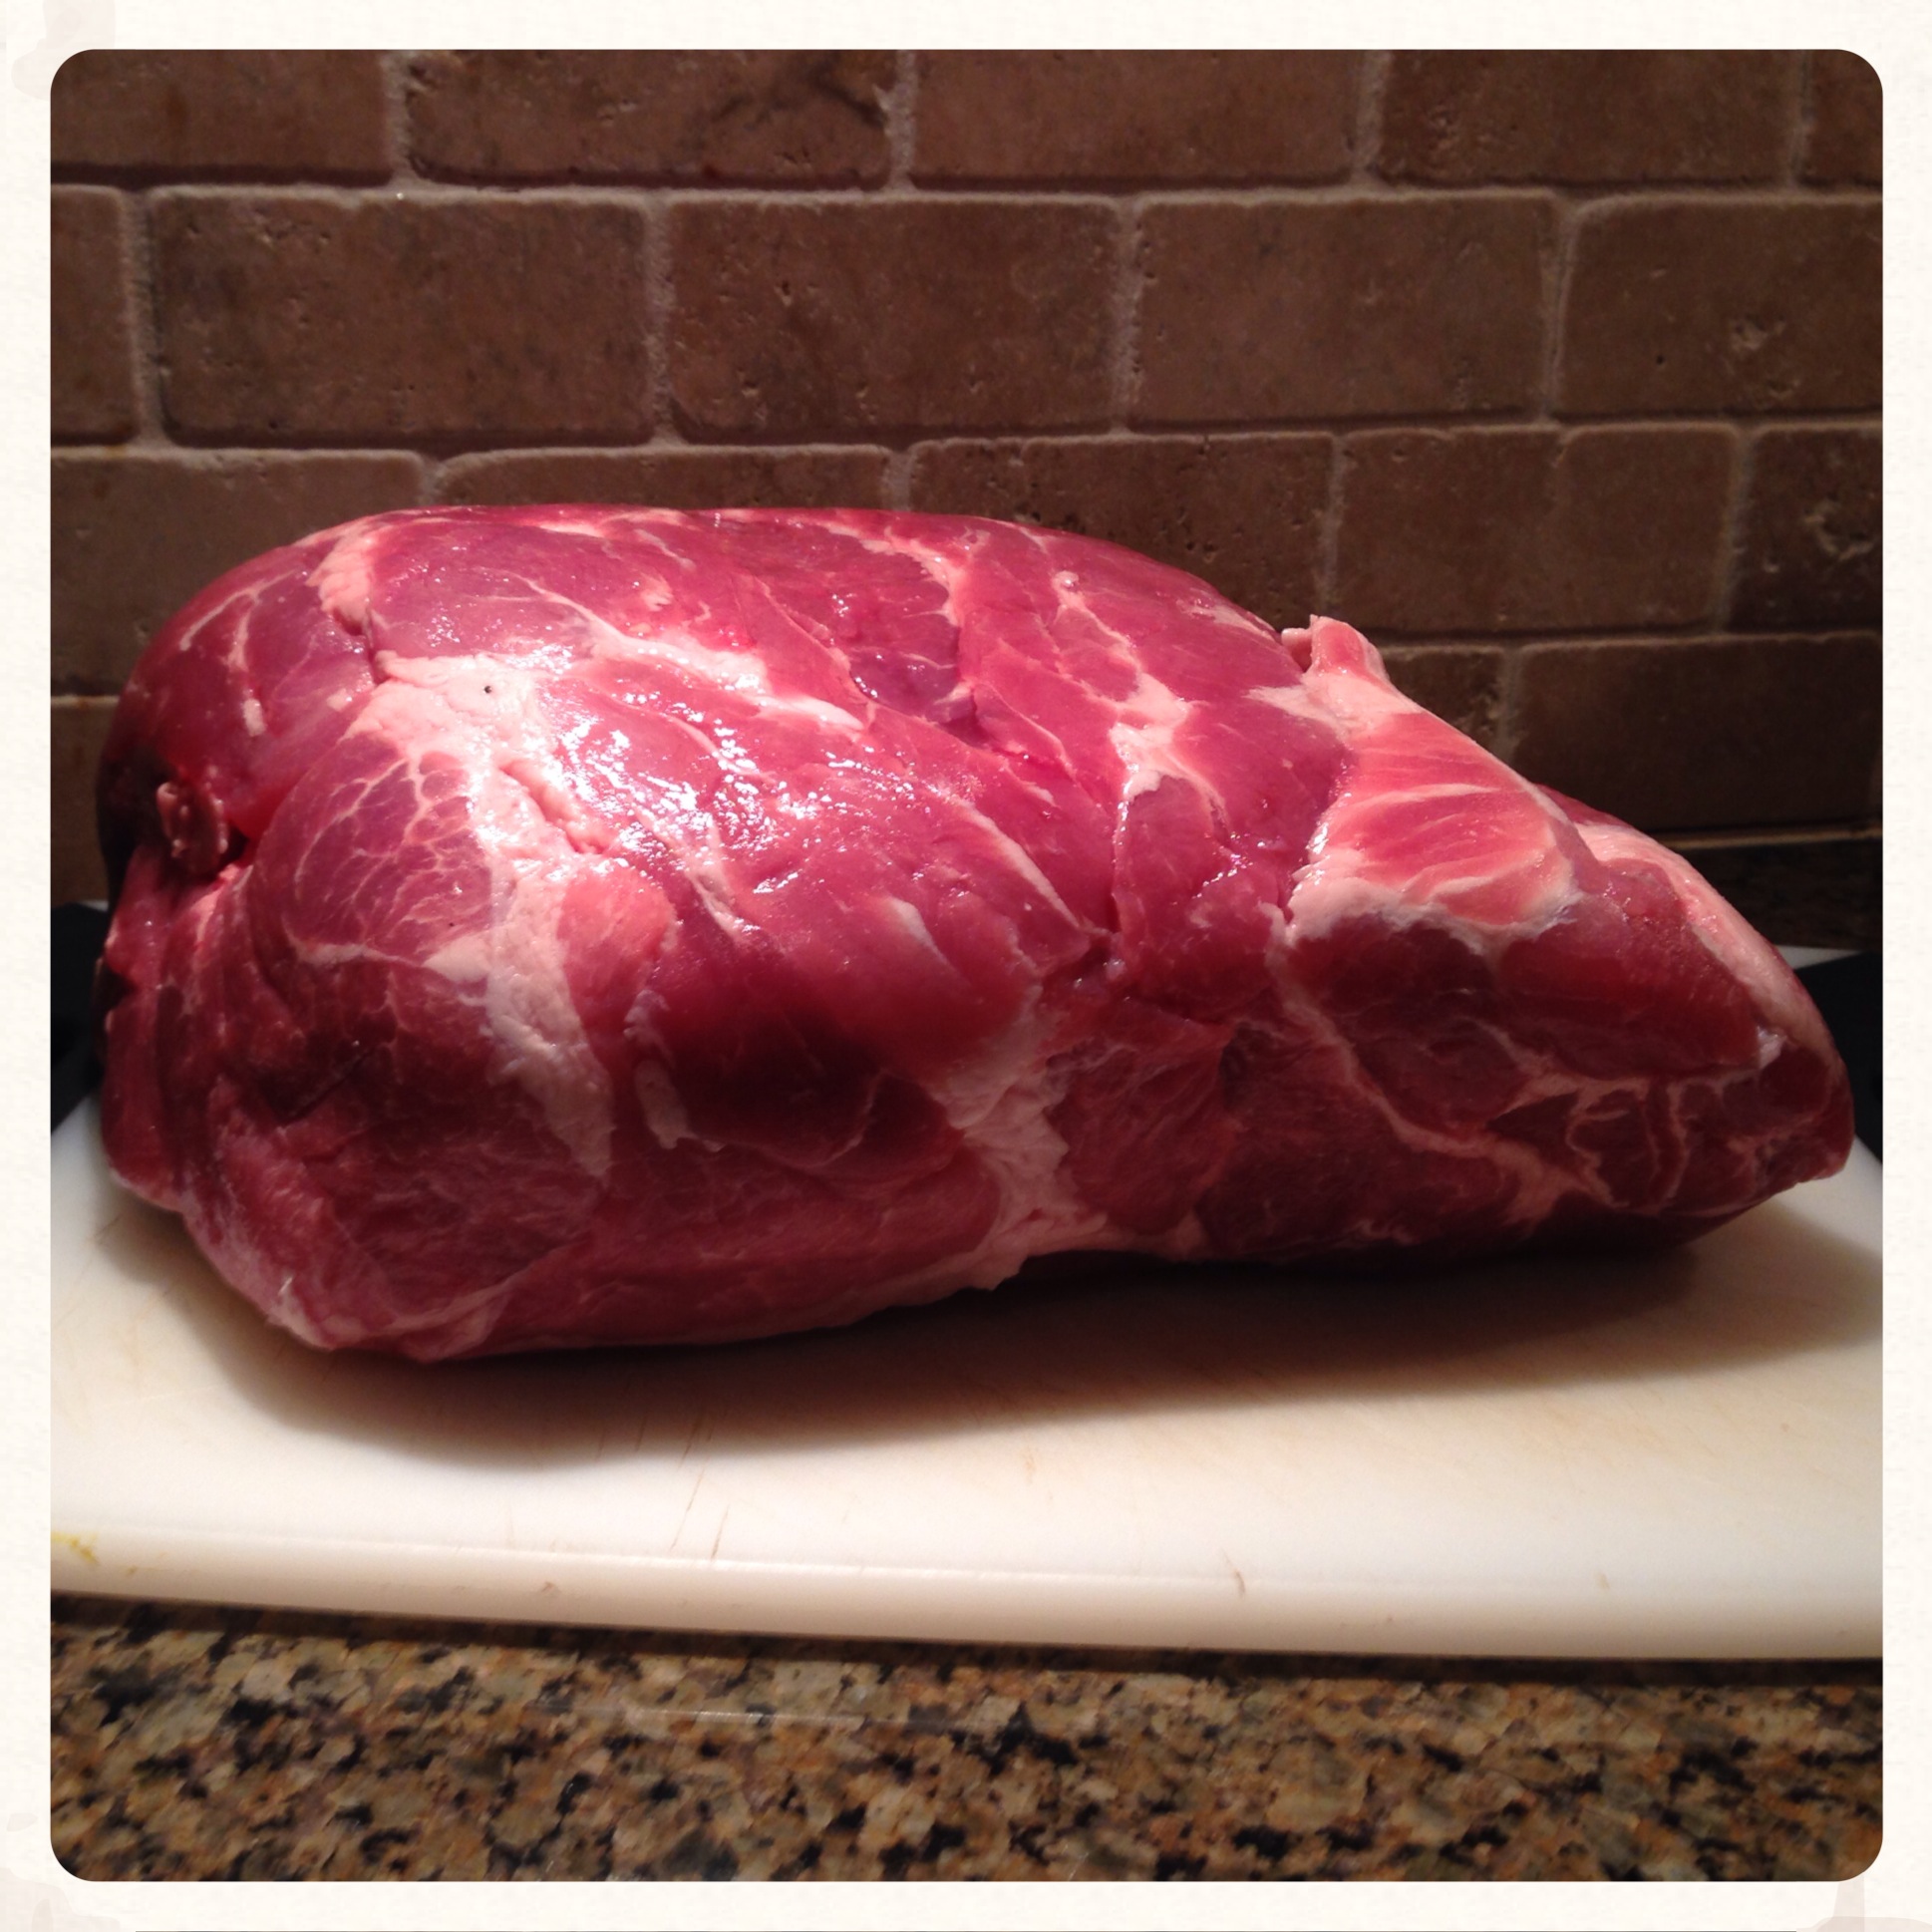
Weather has been tricky here with a lot of wind and snow, but I managed to find a good window a few days ago with temps in the 20s and about 10 hours with no snow, so it was time to inaugurate my new toy. I got myself a 7 lb bone-in pork shoulder (known as a Boston Butt), and a good amount of charcoal. I also made a few tweaks to the smoker itself based on recommendations from various sources (the most helpful of which has been BBQ Brethren – definitely worth checking out!).
As far as “recipes” go, smoking meat is not really a recipe kind of venture. However, this post will outline the overall process. I will be smoking plenty more in the coming weeks, months and years, and will hone my skills. I will try to cover various techniques that work well and also my failures to serve as warnings. BBQ is great family food – the process can be enjoyed by kids and adults alike, and the resulting meat is tender, juicy and incredibly flavorful. Let’s get going!
Ingredients:
- Bone-in pork shoulder, Boston Butt
- Yellow mustard
- BBQ rub of your choice (mine is covered below)
- Worchestershire sauce
- Apple cider vinegar
- Wood chunks for smoke (I used applewood)
Prepping the Smoker:
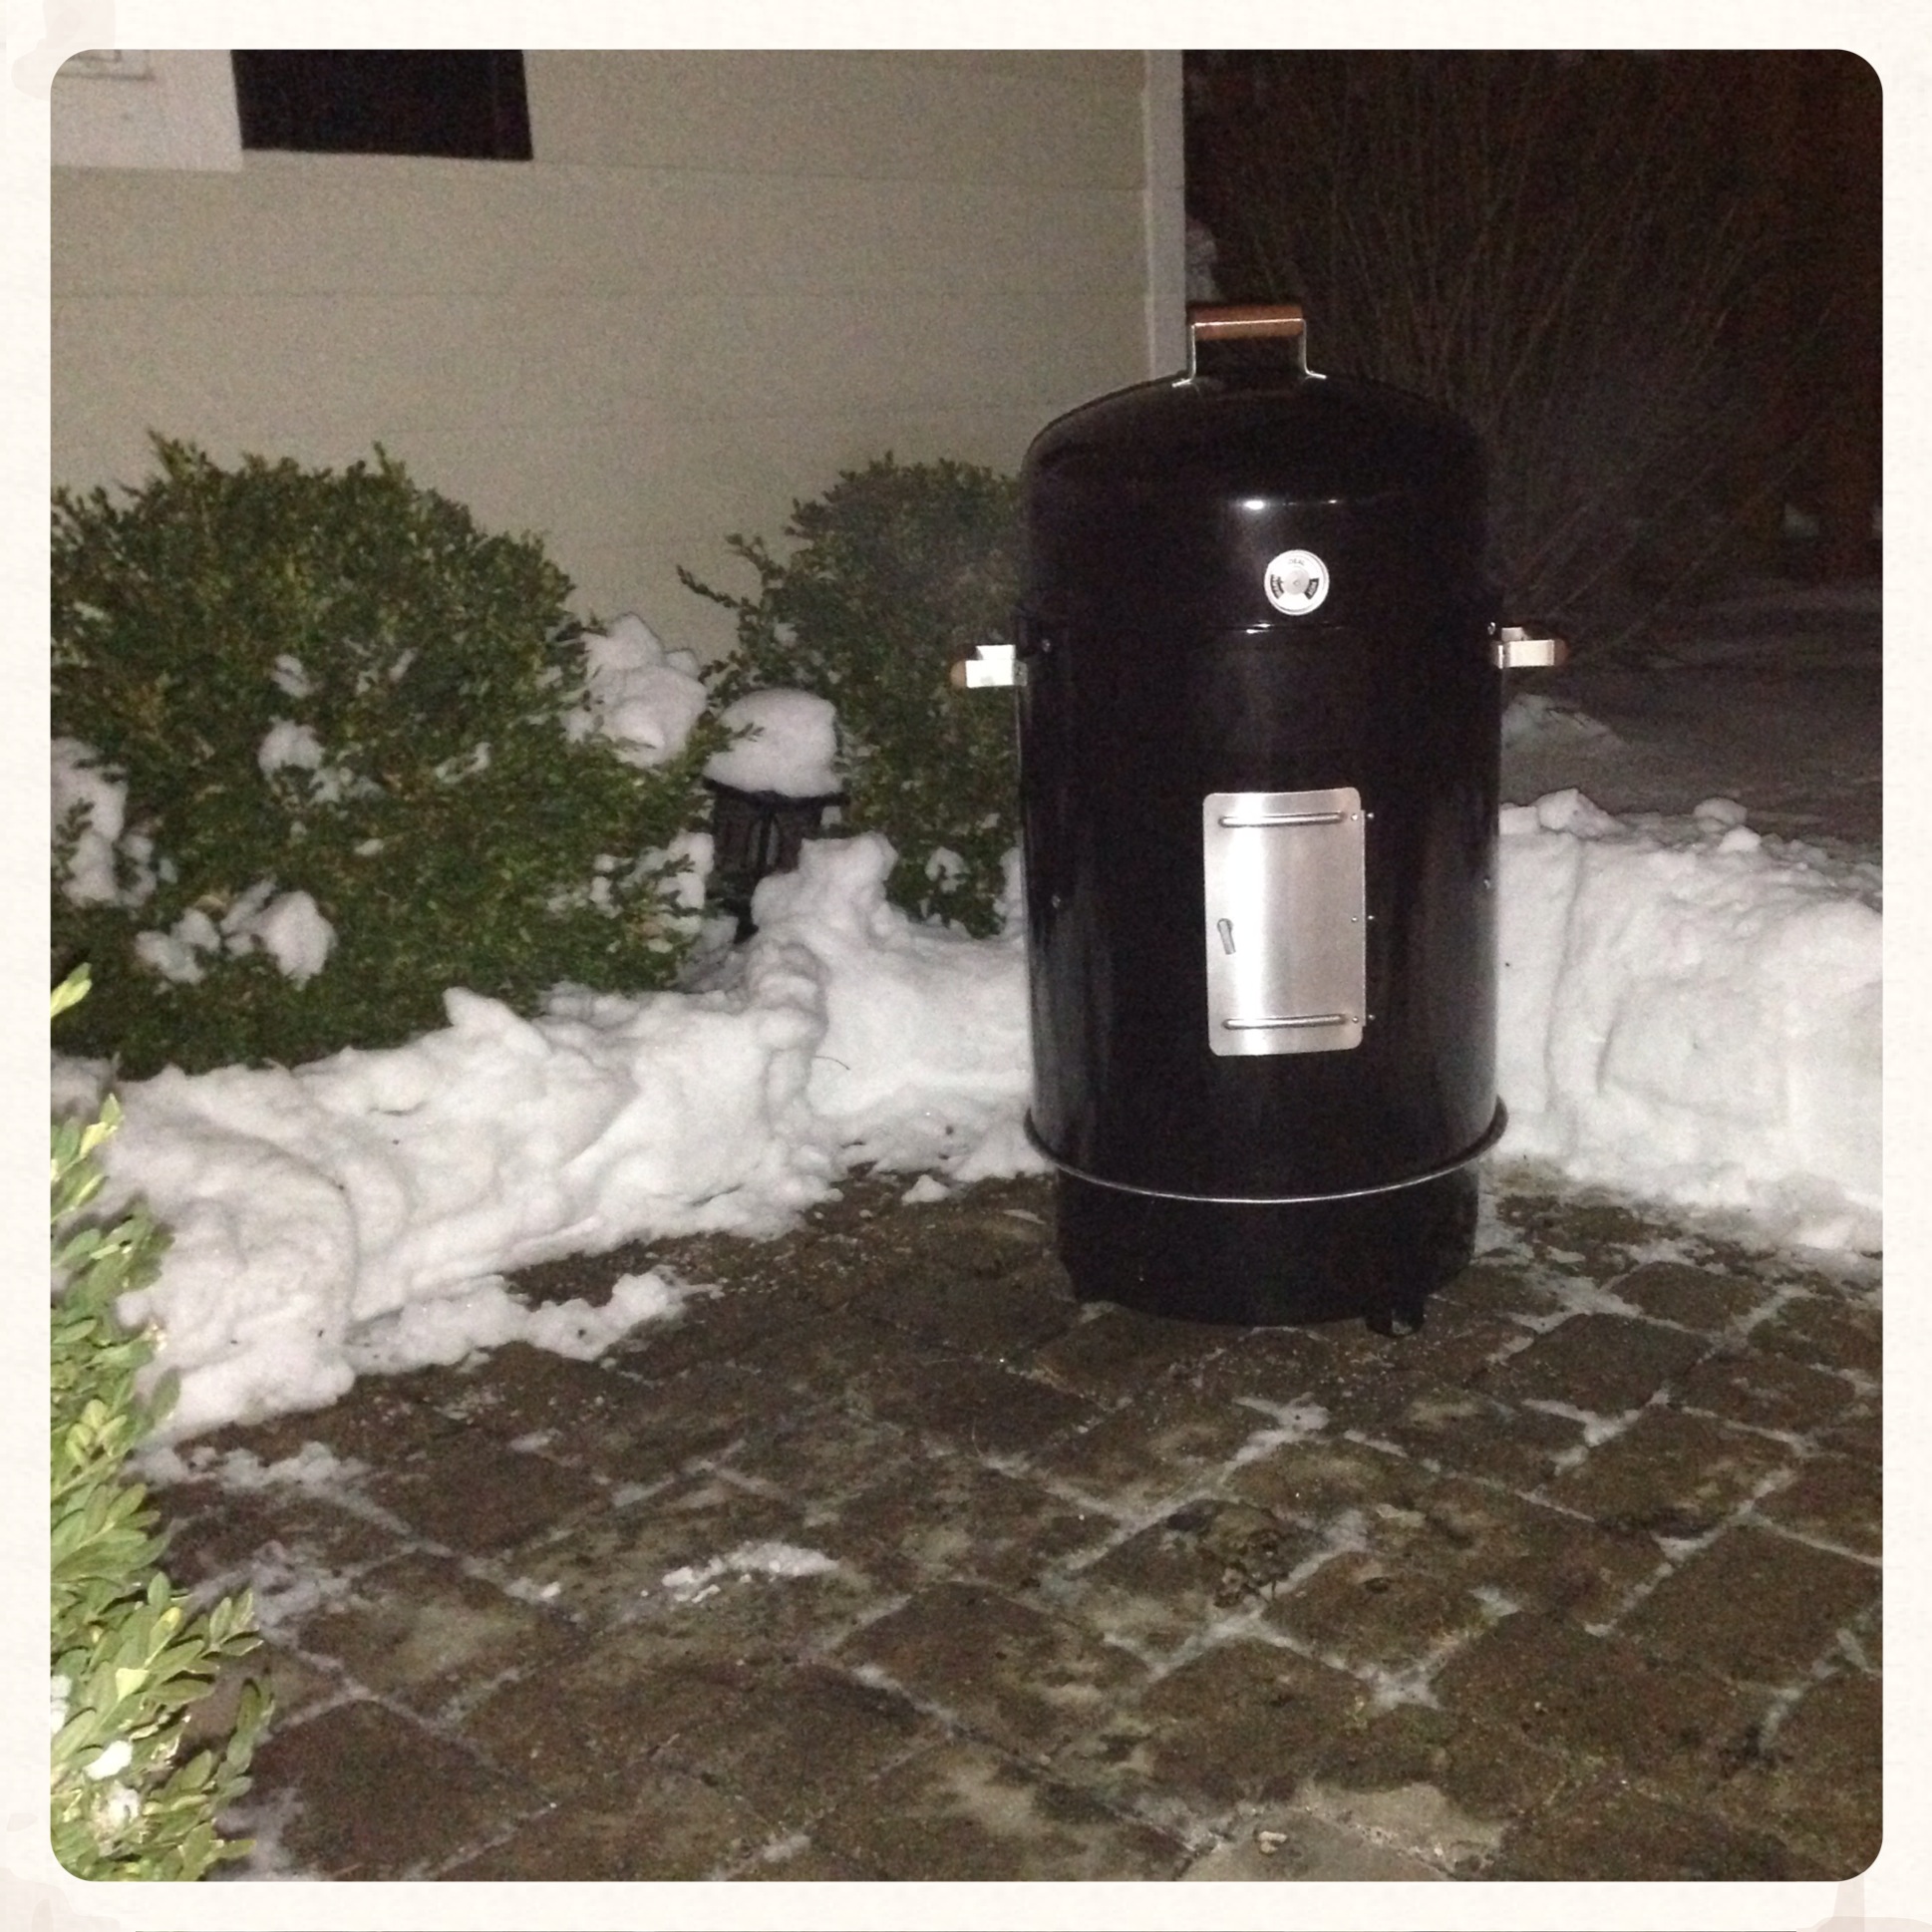
Before I get into making the meat, I’ll go over a few steps to getting the smoker ready. I’m using a Brinkmann Gourmet Charcoal Smoker. After my first full use, I’m very happy with it. If you search the web, you will find dozens of modifications people have made to this smoker, but one of the best (and the only one I’ve done so far) is to add a grate in the charcoal pan to allow the ash to drop through without snuffing out the coals. I purchased a grate and 3 s-rings at Home Depot. I slipped the s-rings into the holes in the charcoal pan and hung the grate from them. No tools, no struggle, done in 3 minutes.

Next up, since it’s winter, was getting a space cleared out to do my work. We had a fair amount of snow on the ground, so I shoveled out a circle big enough for the smoker and left myself some room to walk/work as well.

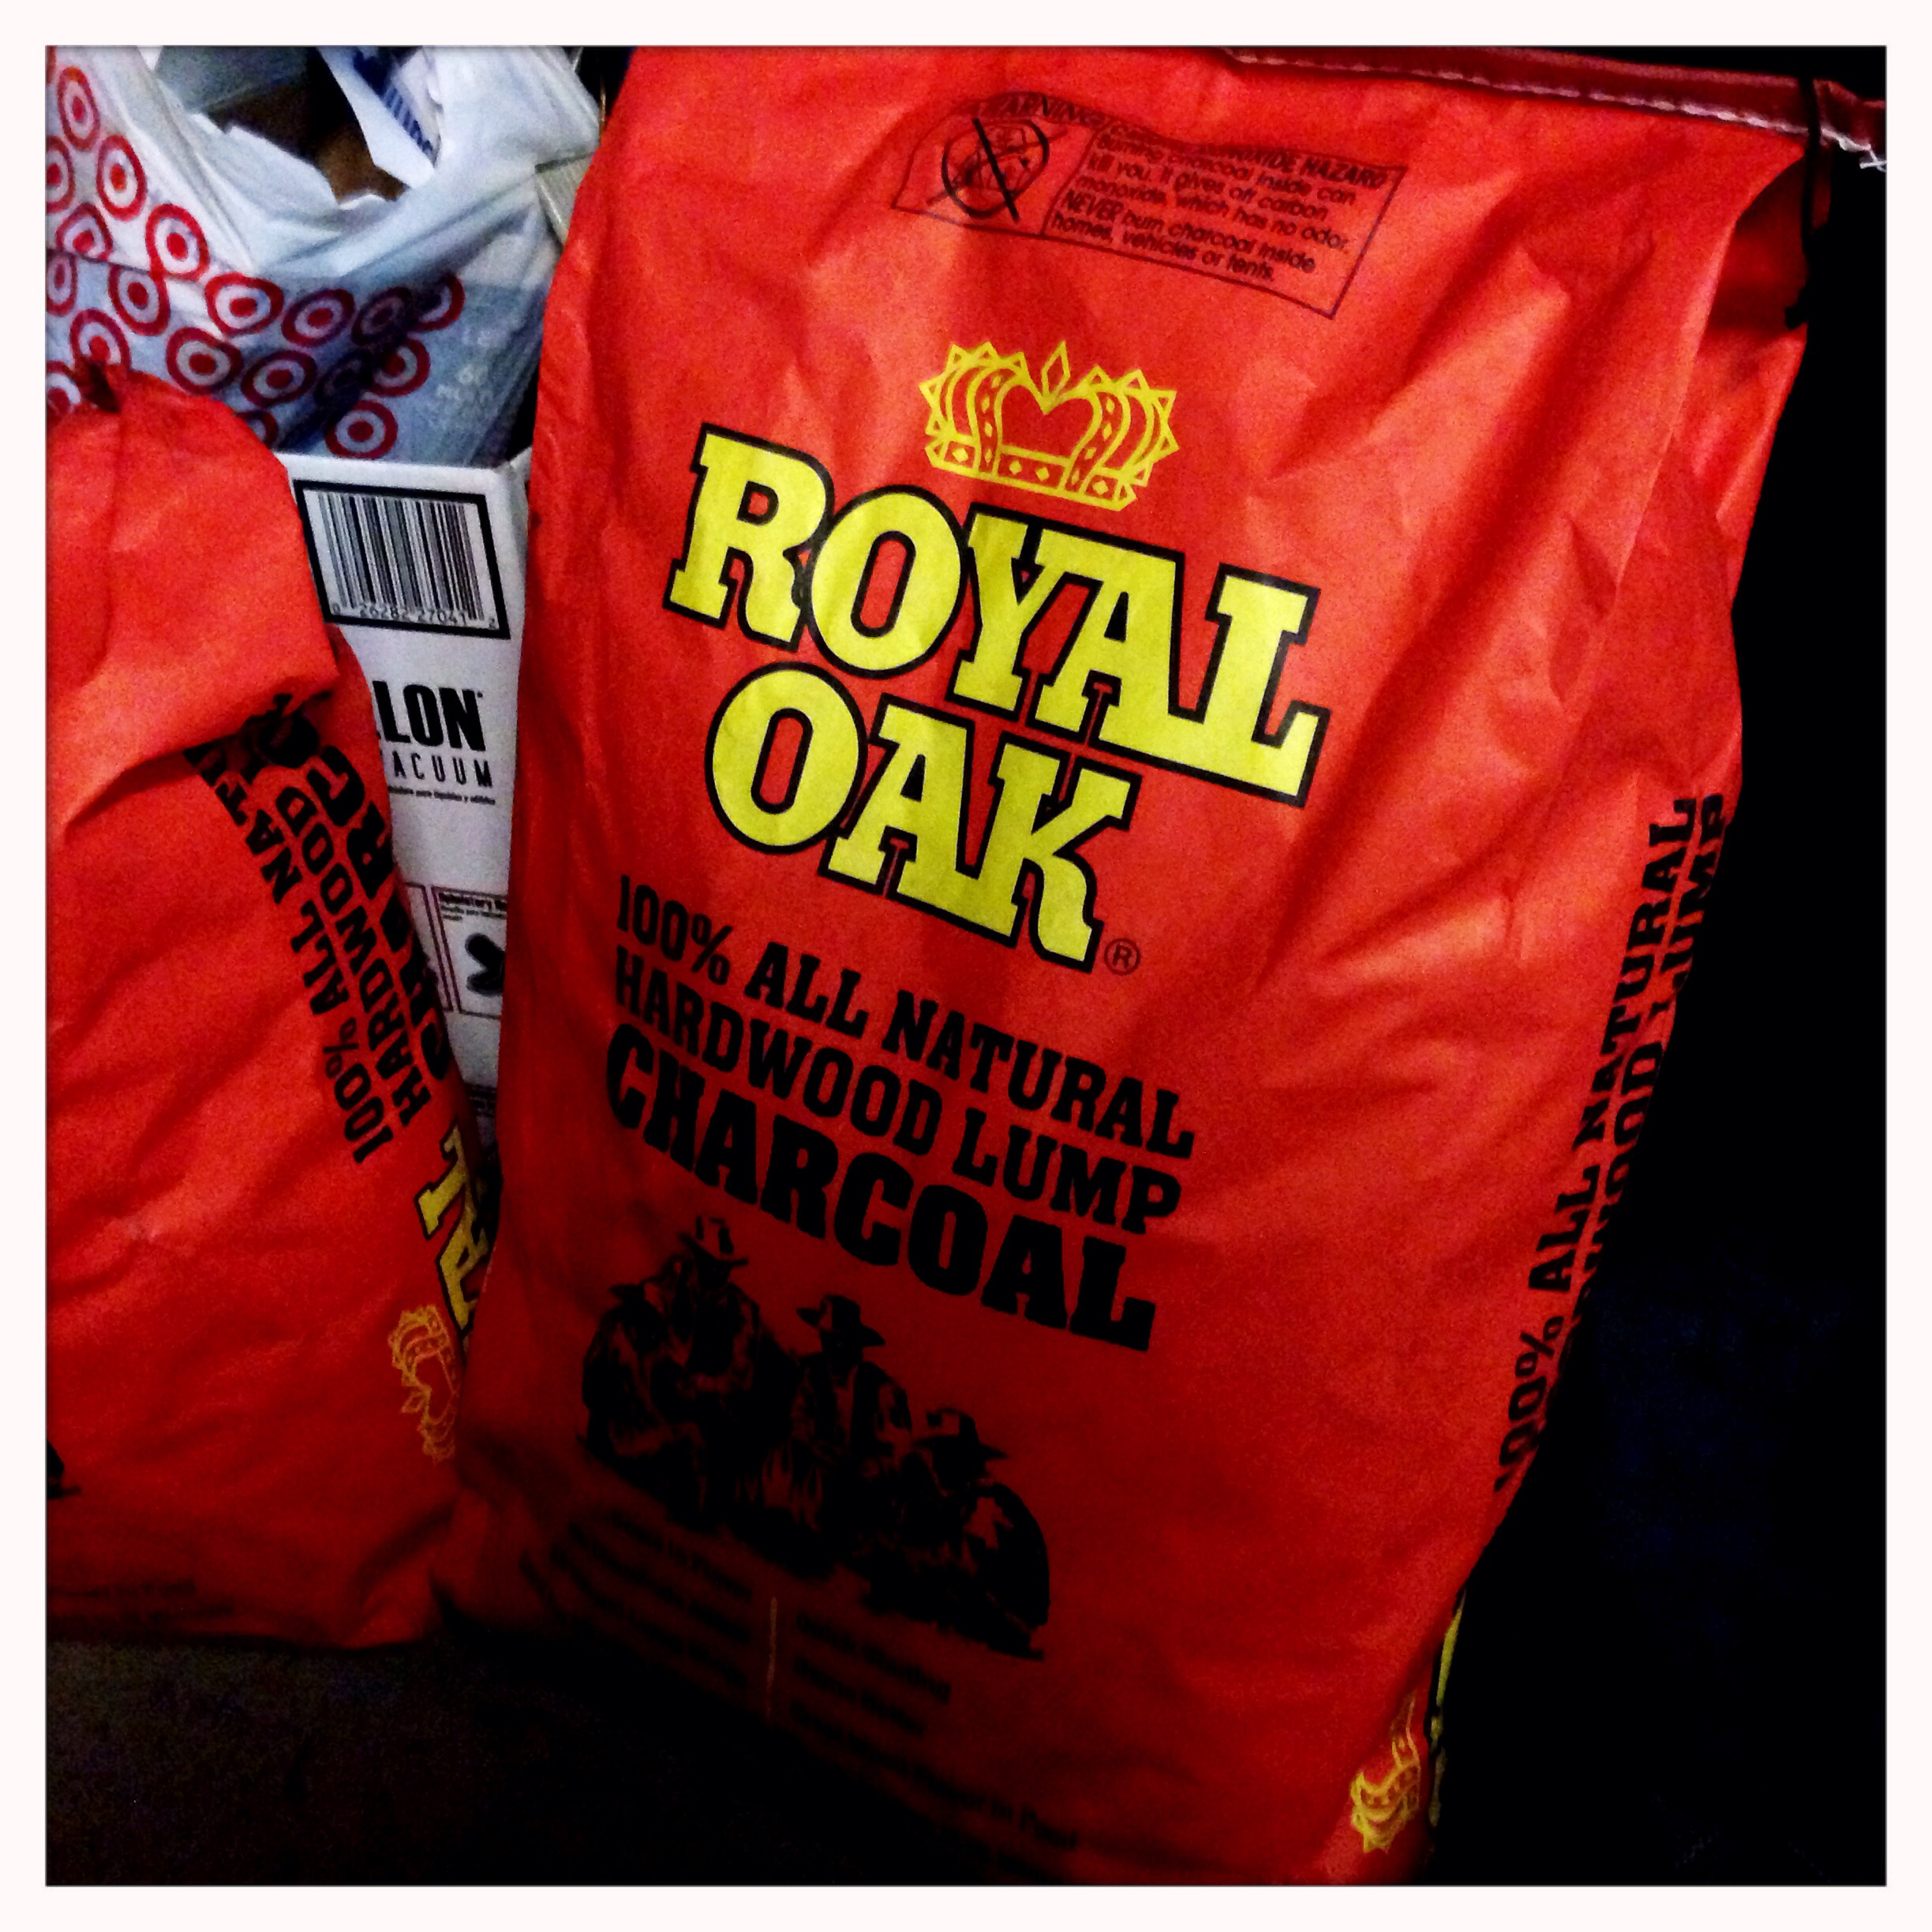
As far as the charcoal, after much research, I settled on natural lump charcoal. While it may not burn as uniformly as the manufactured briquettes, there are no artificial ingredients or binders, and the flavor is supposed to be much better. Even in winter in the midwest, I had no trouble finding a few bags of good lump charcoal at Home Depot.
As smoking is a low and slow type of cooking, it’s important to be able to maintain an even temperature for long periods of time. There are many schools of thought on this as well, but I chose to follow the Minion Method, which involves filling the charcoal pan with unlit coals and adding lit coals to the pile. Thus, the unlit coals slowly light in succession, avoiding big temperature swings. I used a chimney starter to get my coals roaring hot before adding them to the smoker.
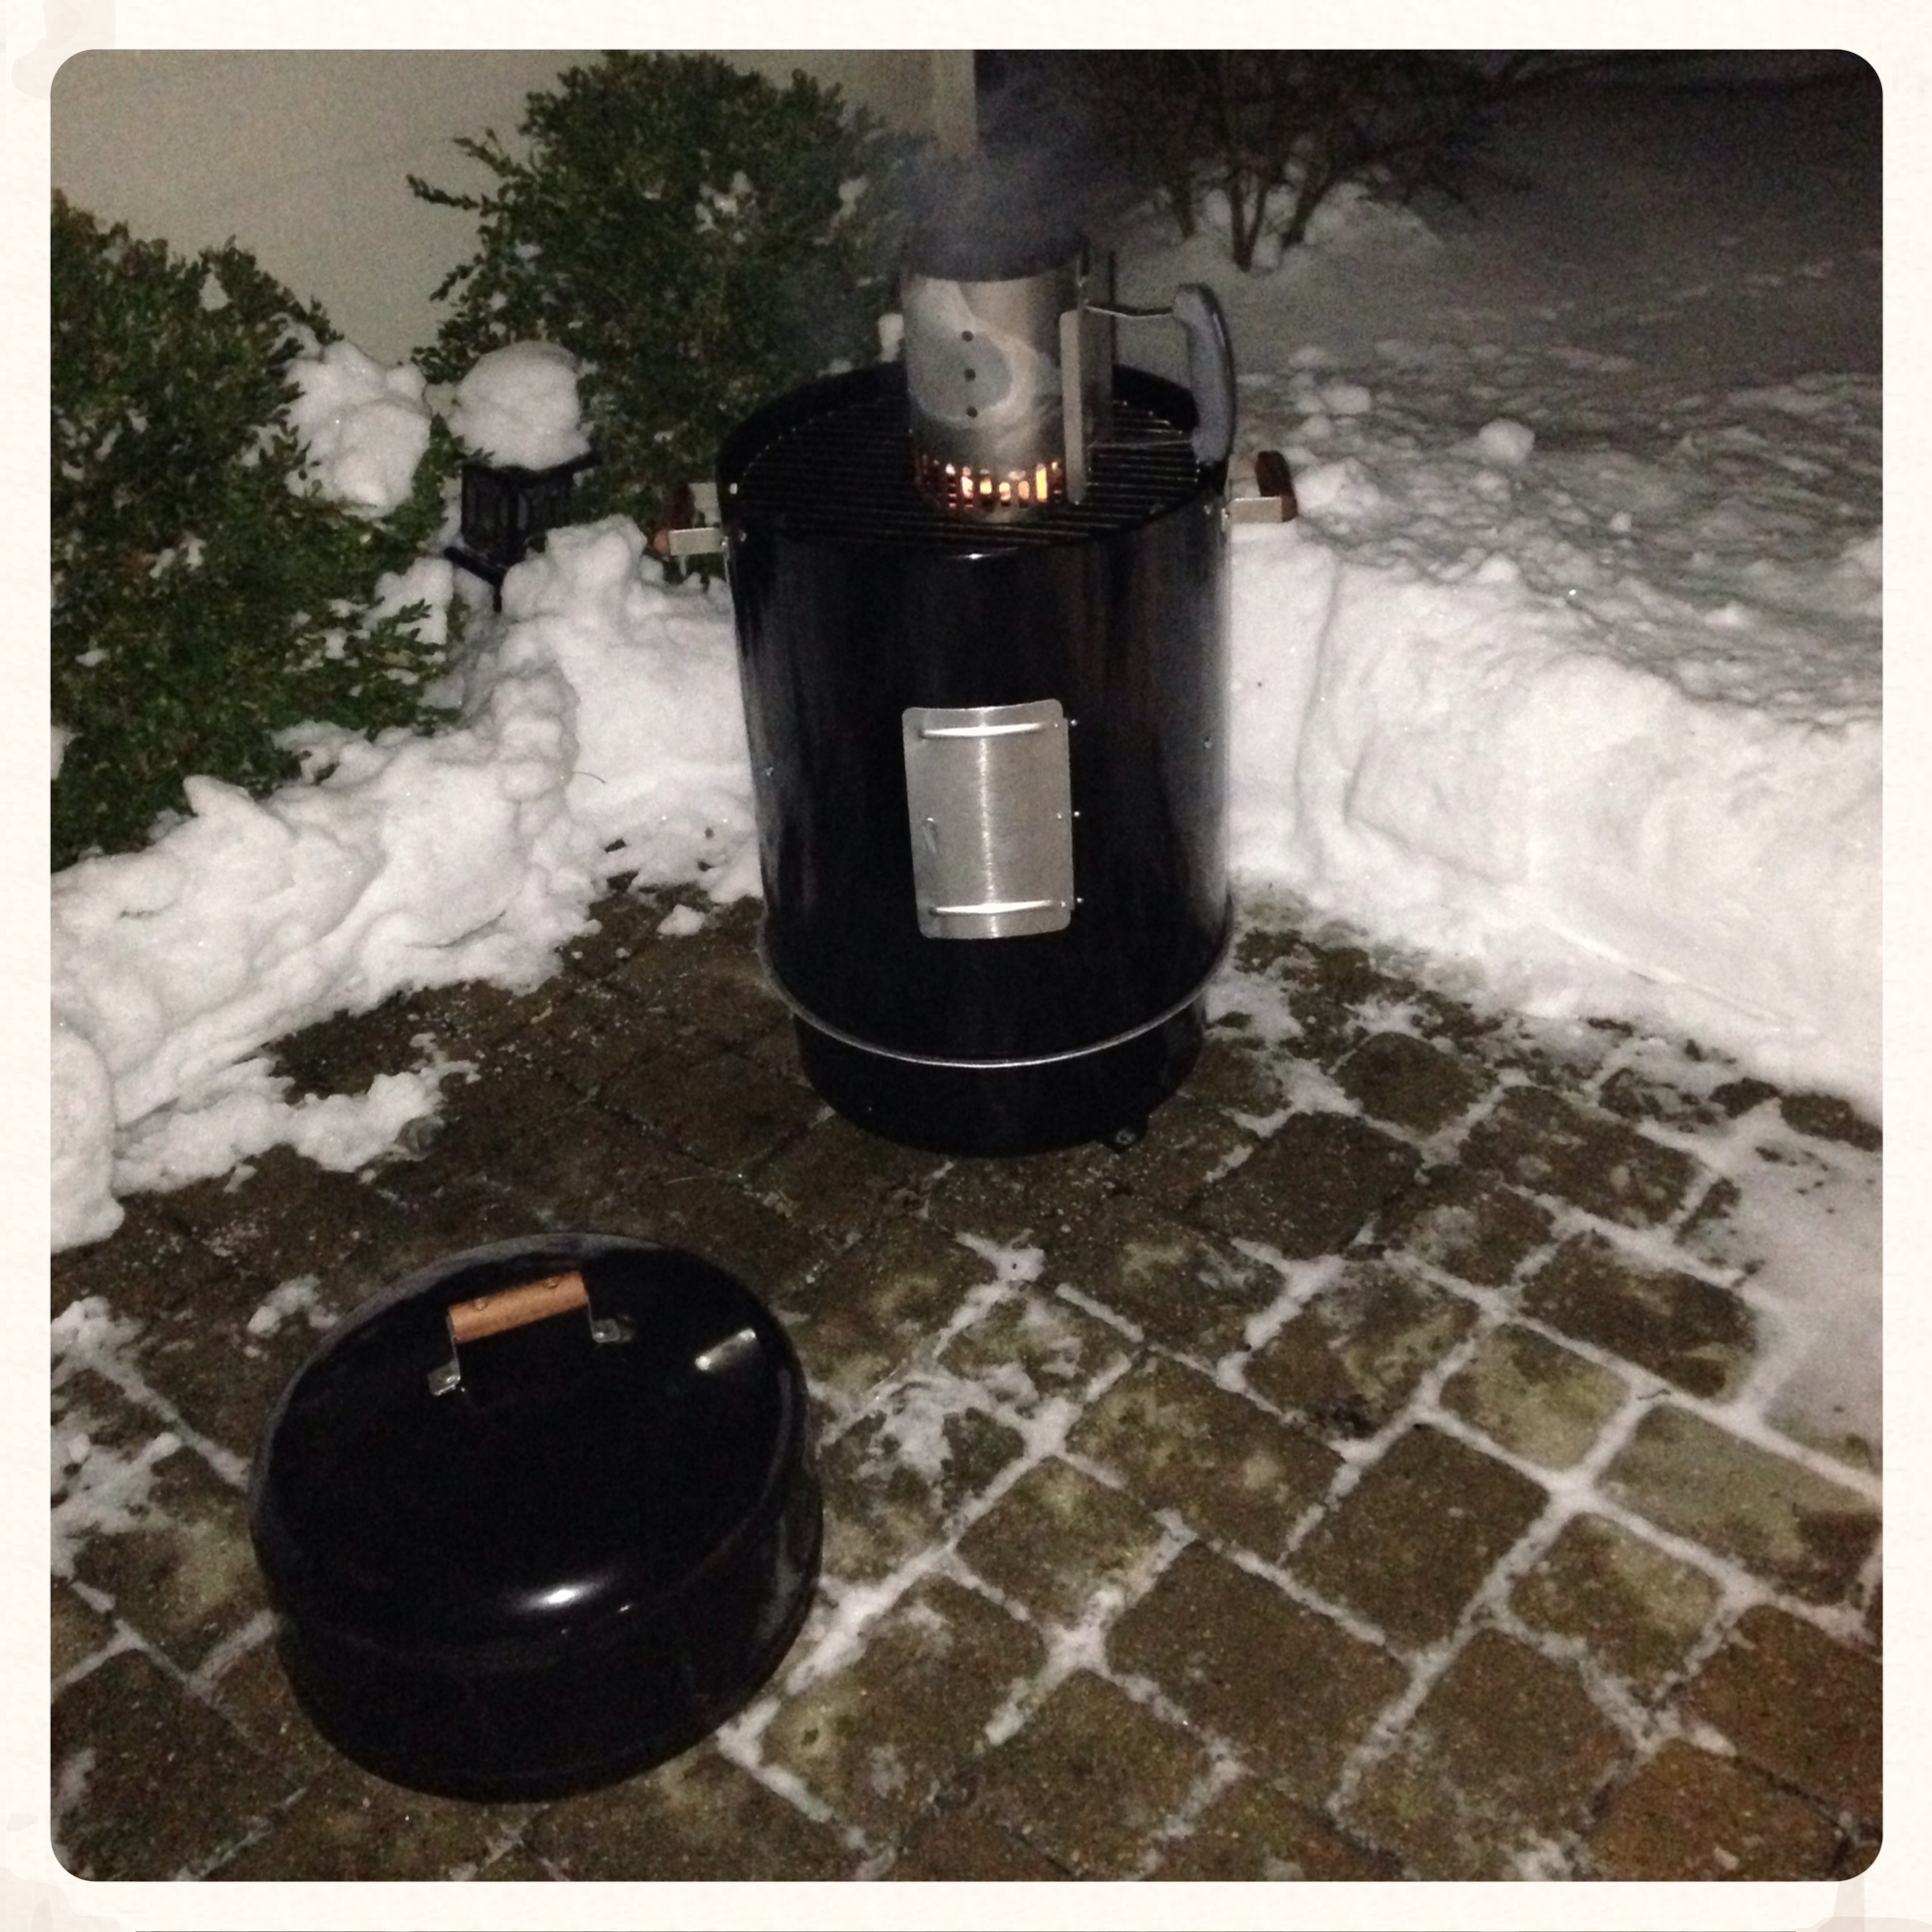
Once the coals were hot, I added them to the center of the unlit coals.
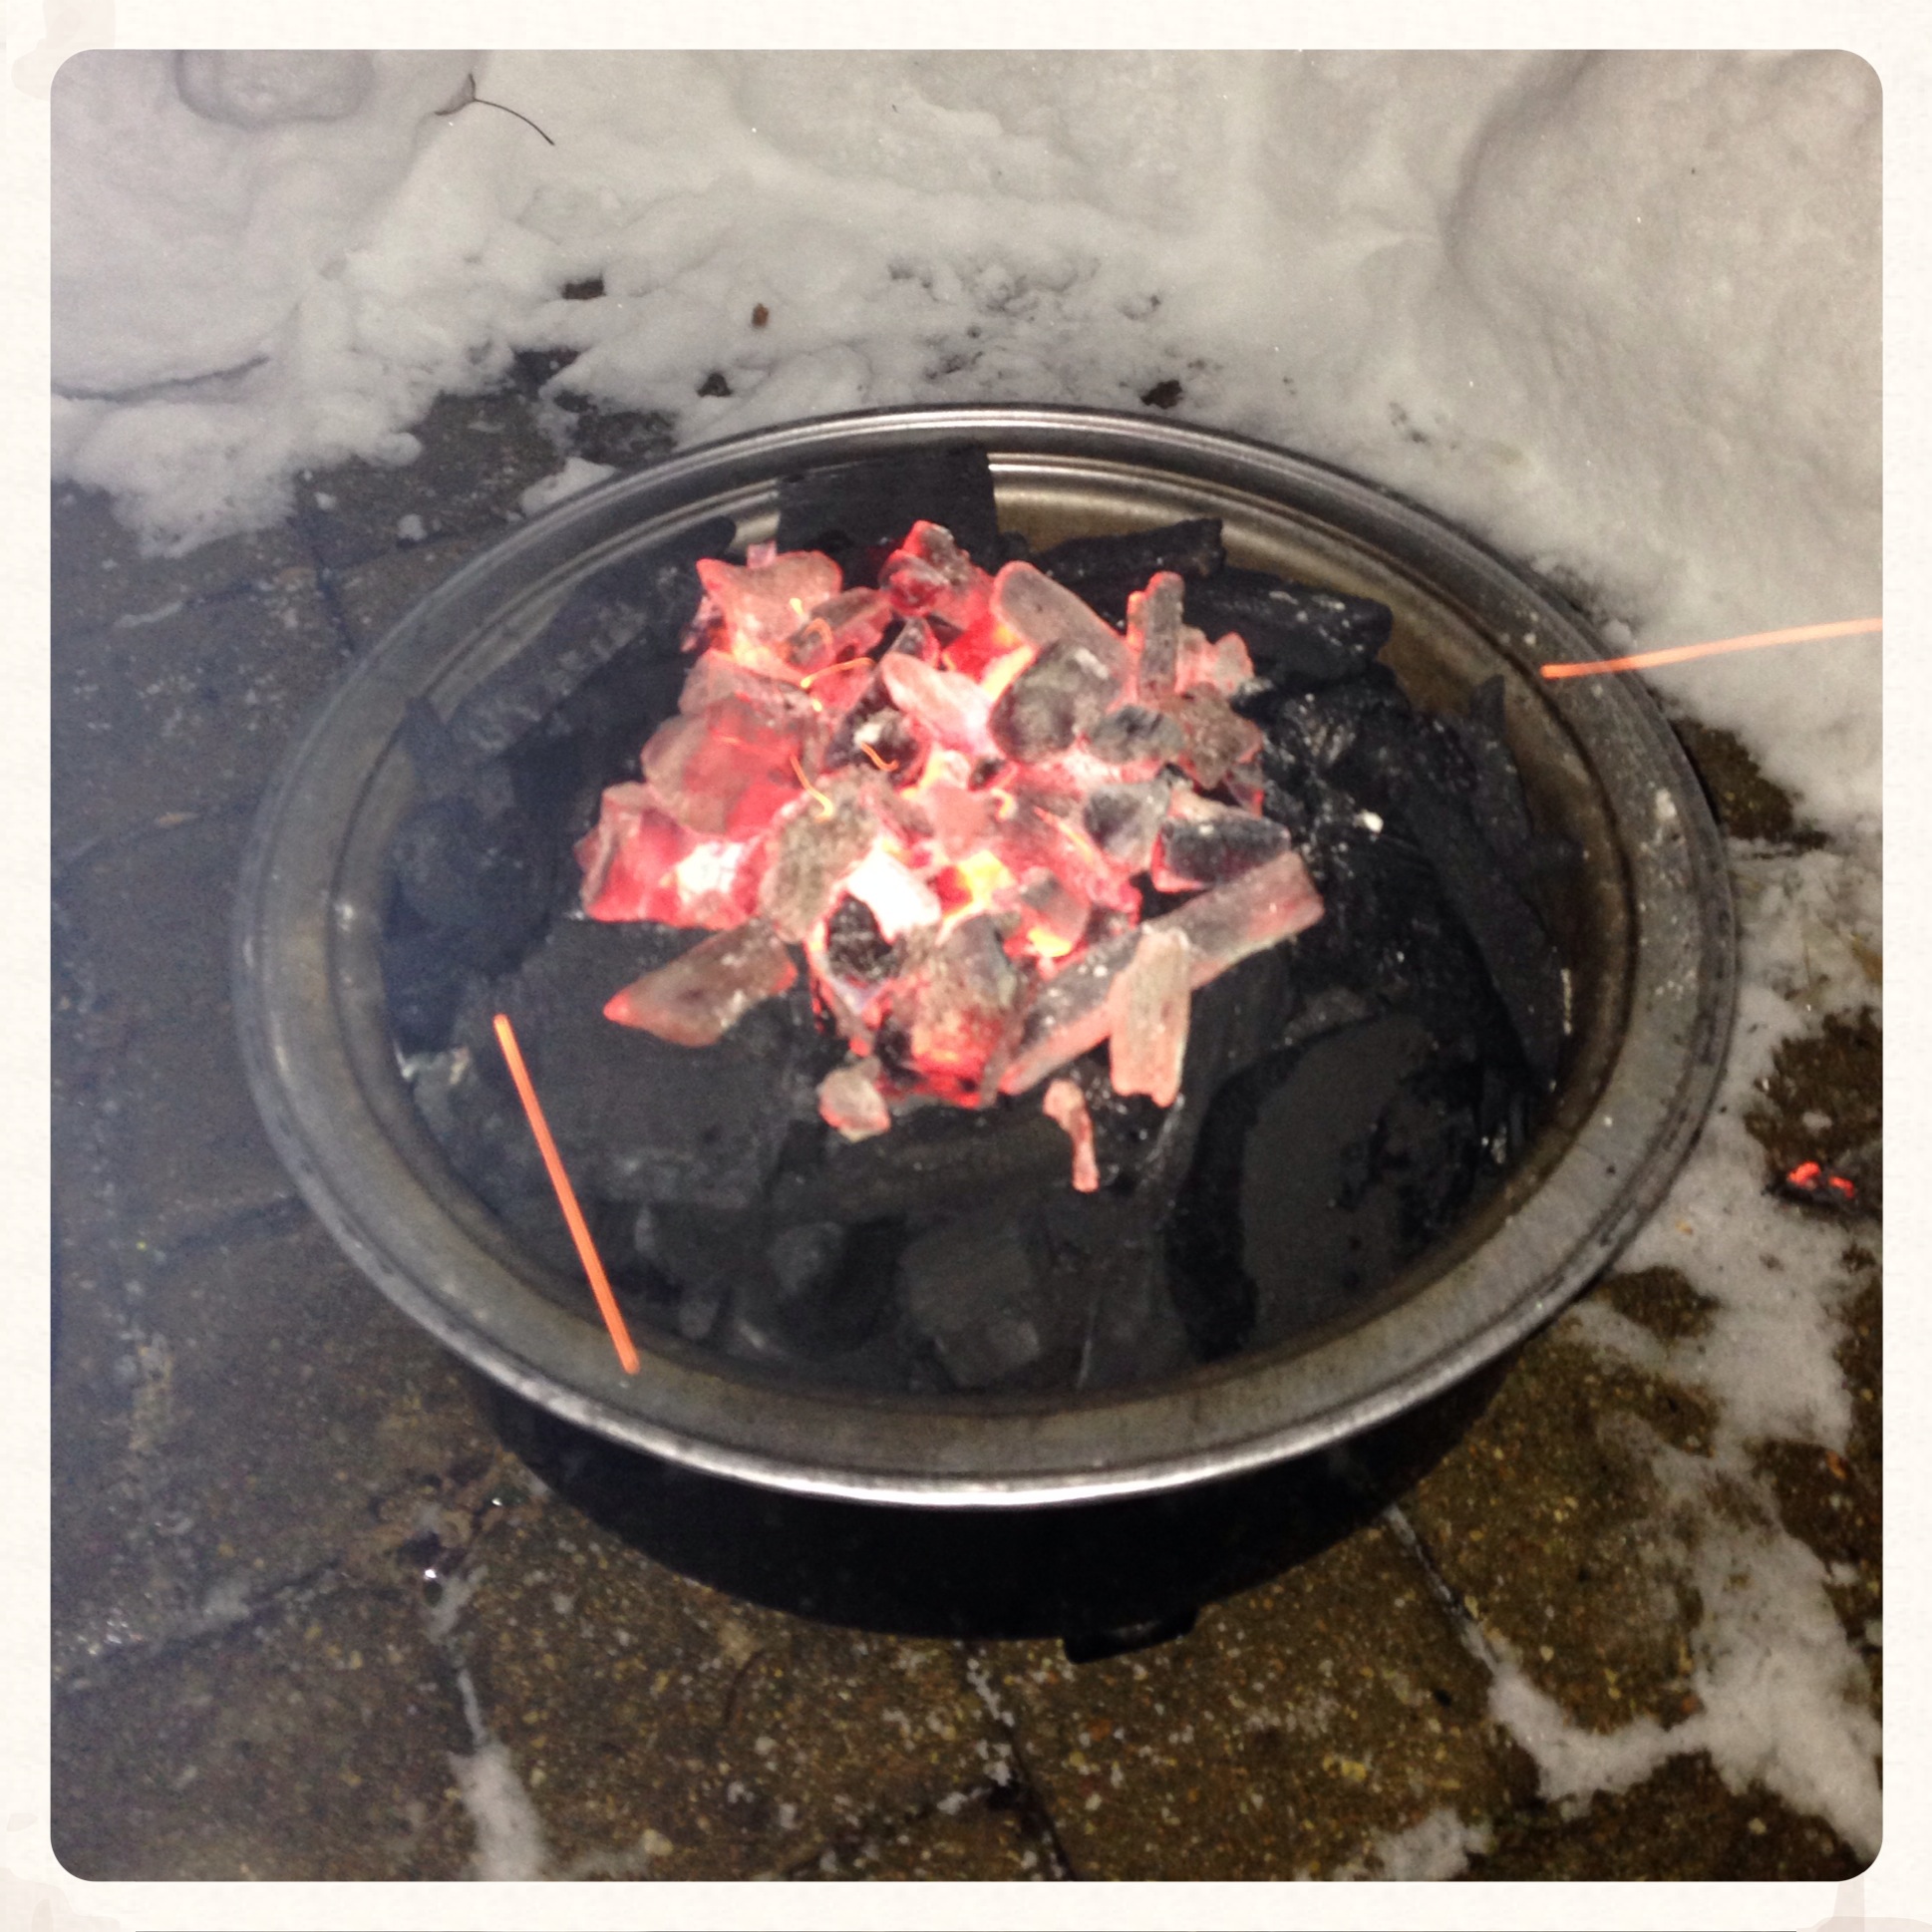
I didn’t add any of the wood chunks yet as I just wanted to get the coals going and let the whole thing warm up while I tended to the meat. I put the body of the smoker back on, and headed inside to work on the meat.
Procedure:
There isn’t much prep involved with the meat. Pretty much, it just needs some seasoning. Plenty of people will say that the purest way to smoke a pork butt is to just add a little salt and pepper and let the smoke be the seasoning. I wanted to do a little more, though, so I went with a rub.
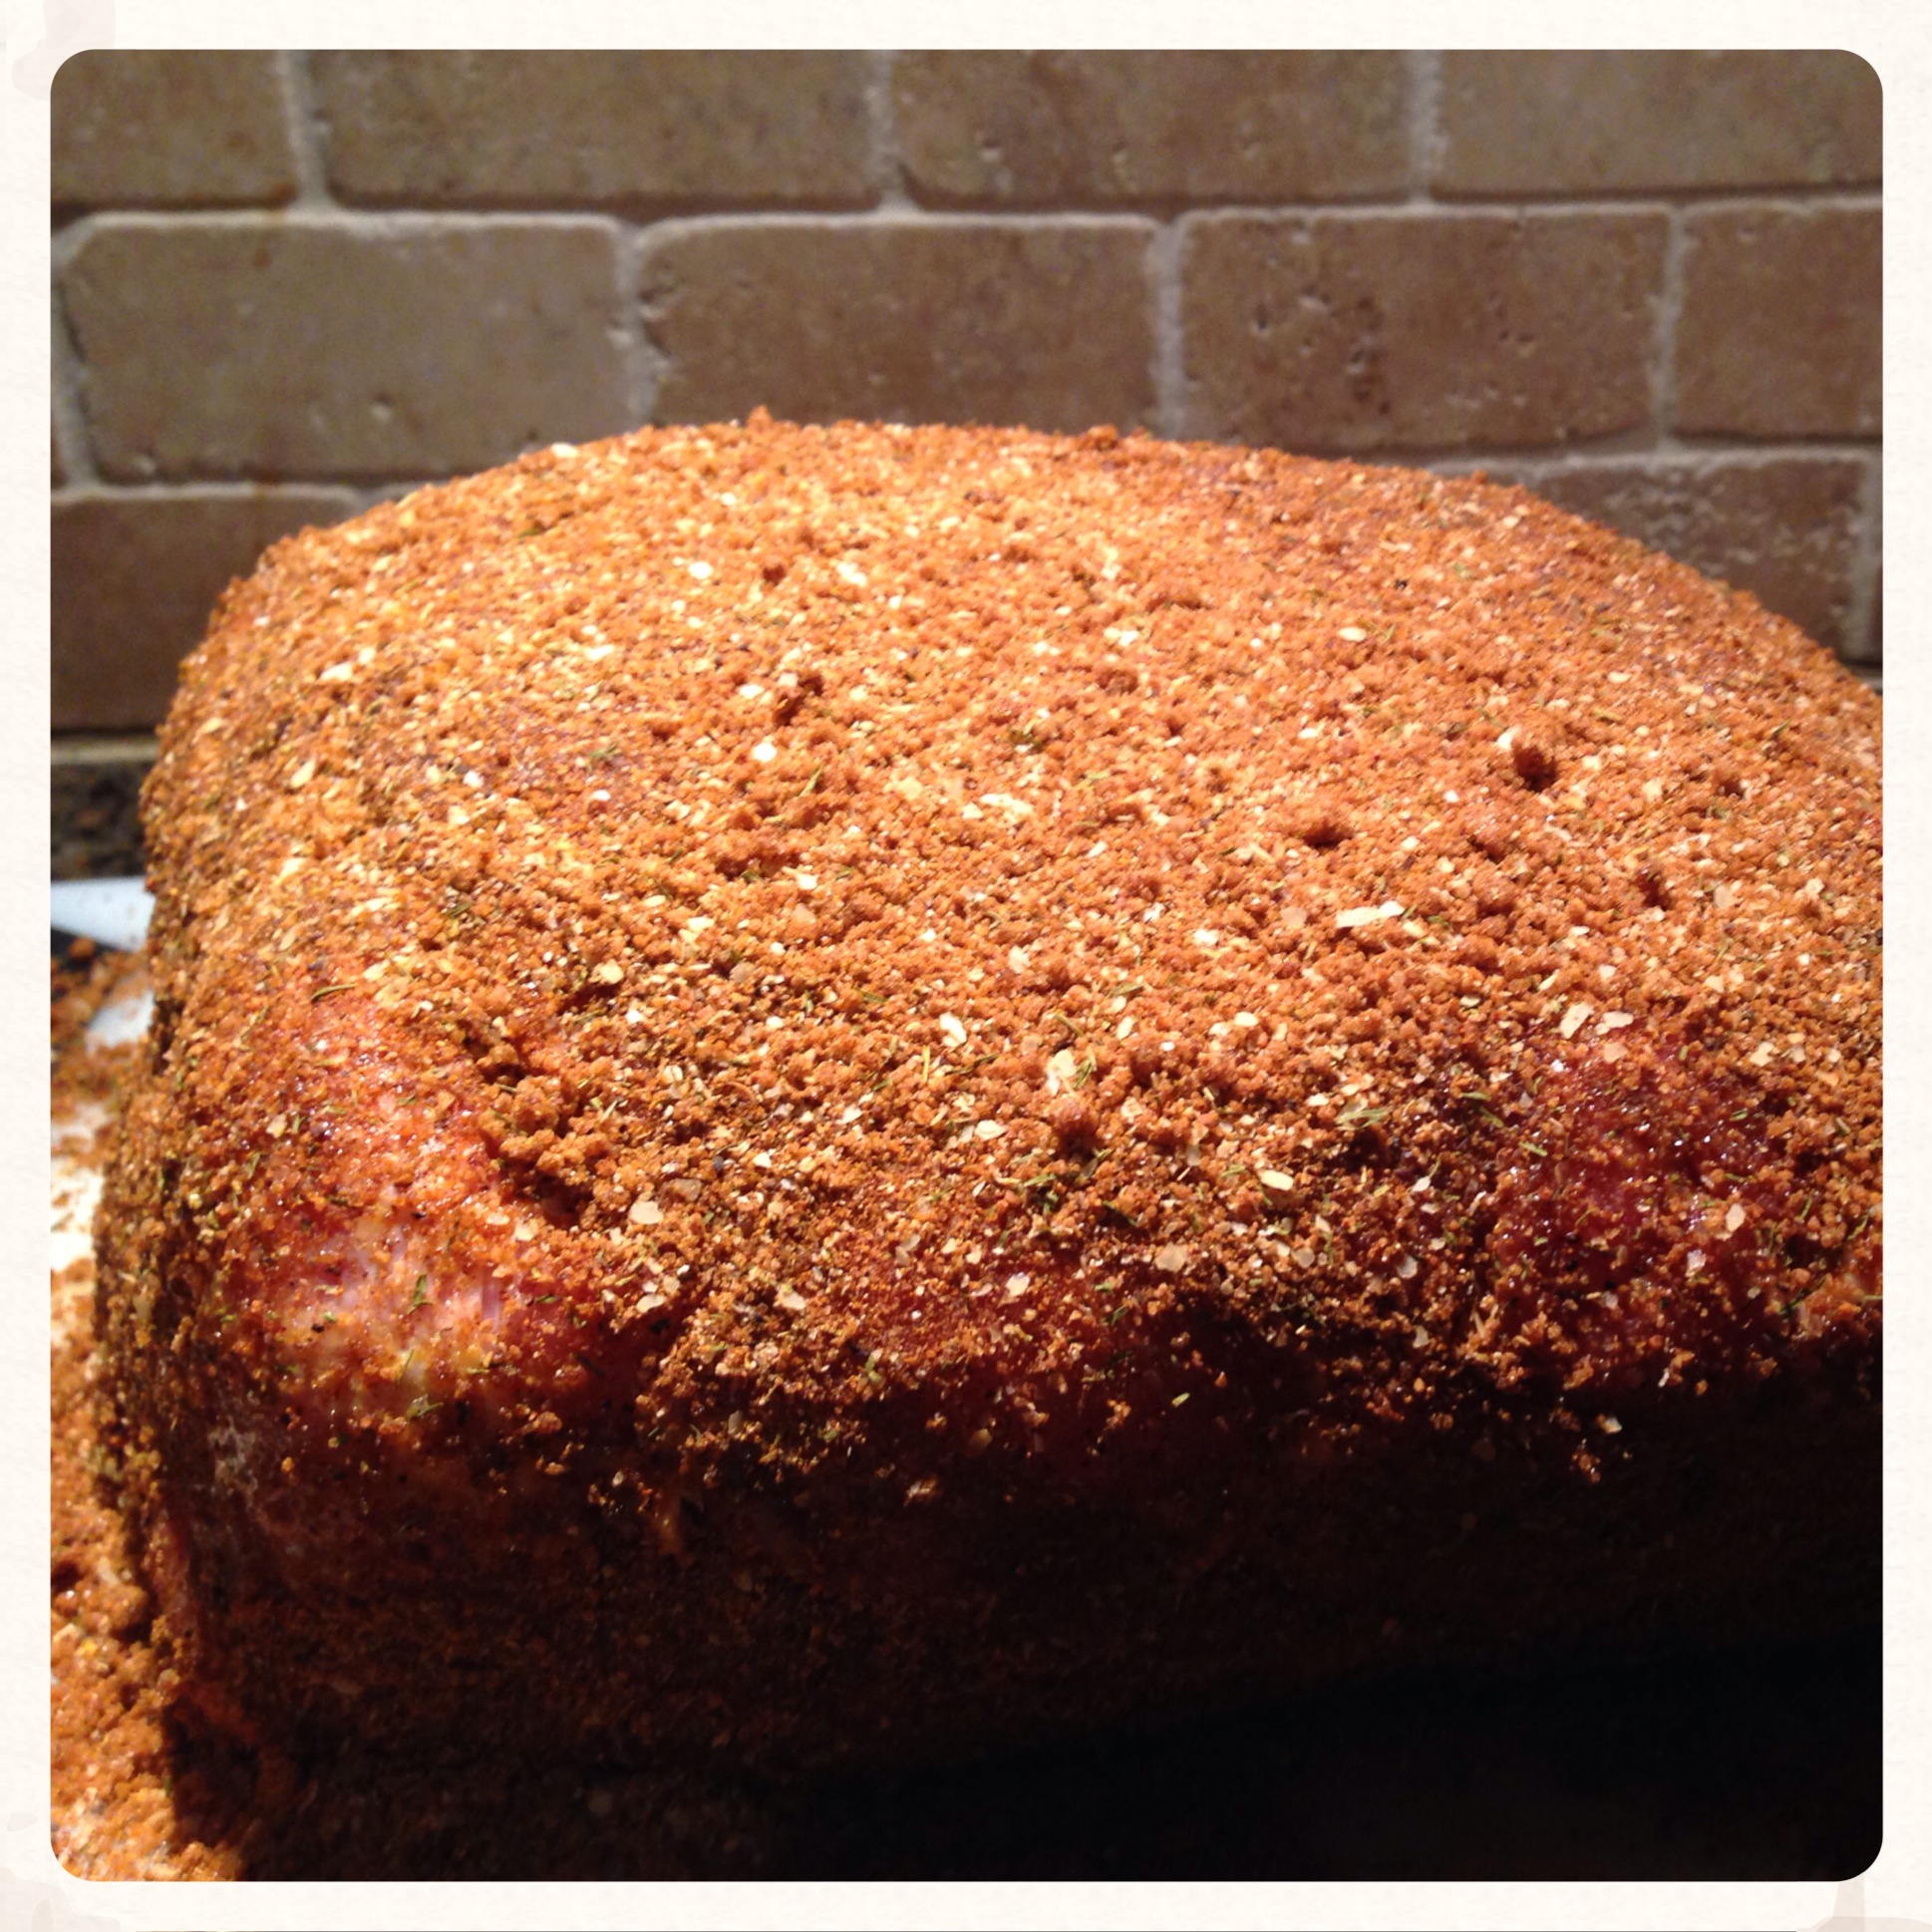
Before adding the rub, slather the entire shoulder in yellow mustard. The goal is to completely encase the meat in rub, so you want to coat the entire shoulder in mustard to allow the rub to stick. The mustard mostly evaporates during cooking, so don’t worry too much about the mustard flavor if it’s not your thing.
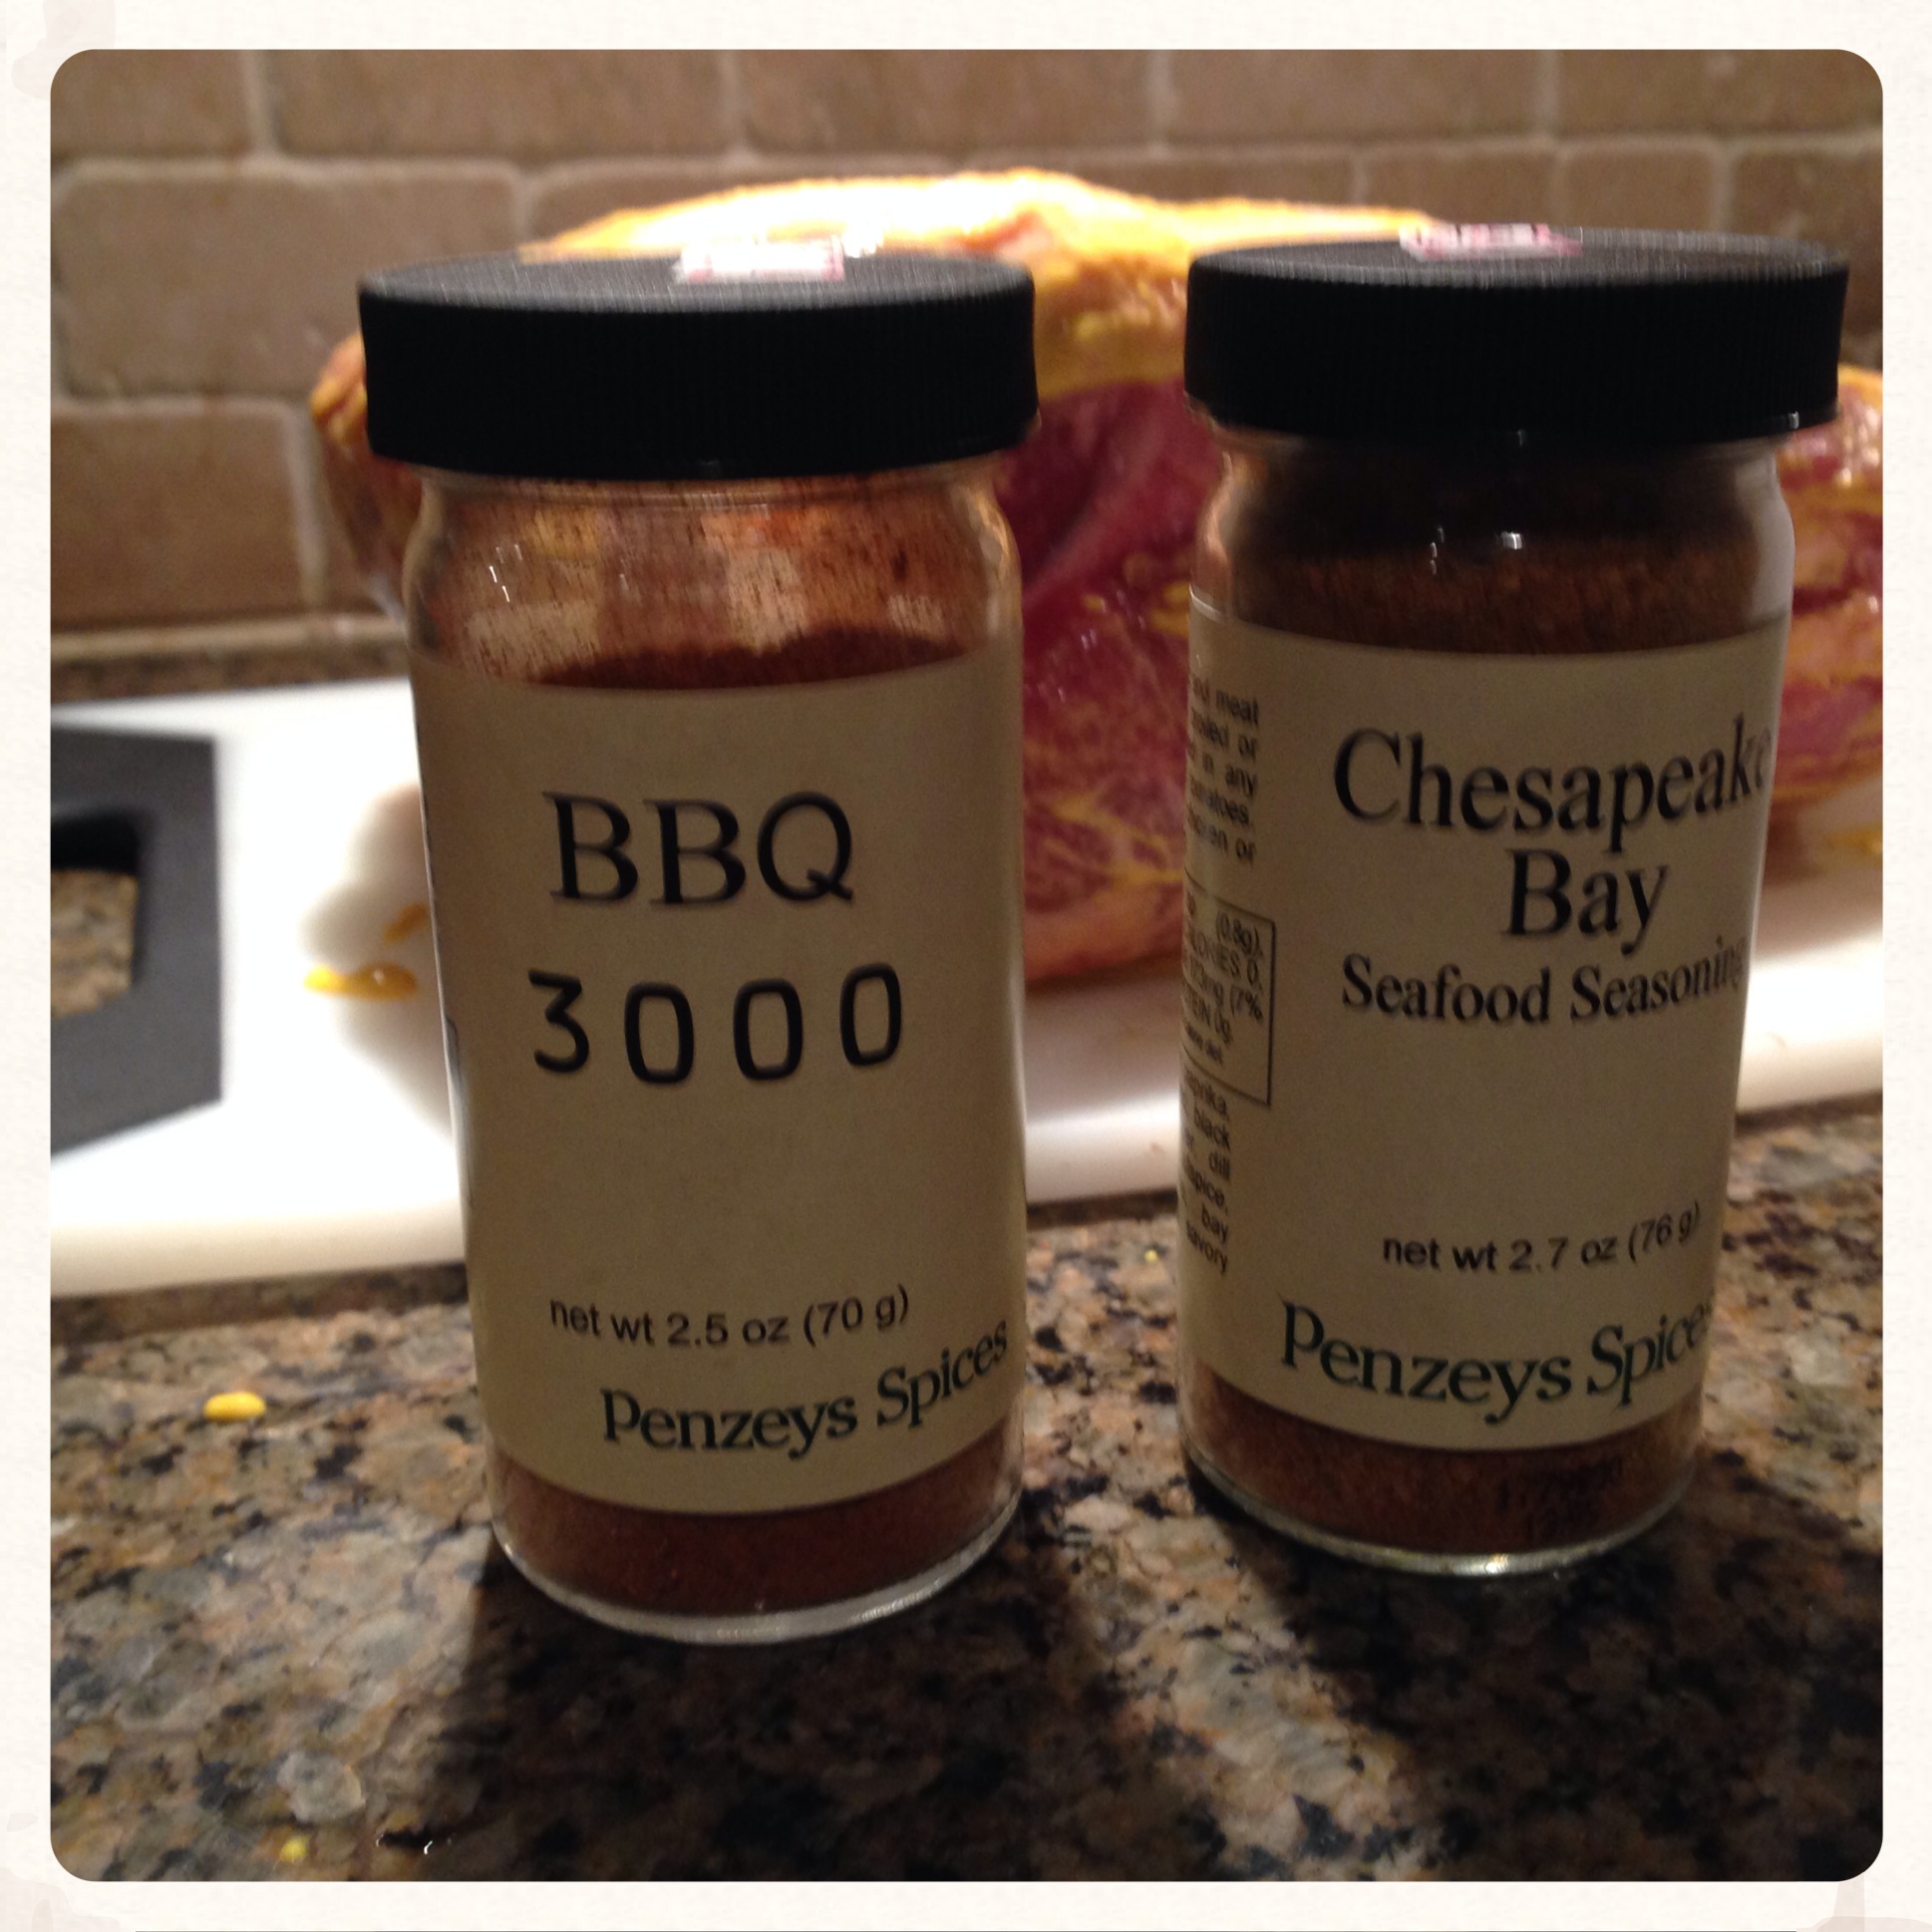
My rub consisted of dark brown sugar, BBQ 3000, Chesapeake Bay seasoning and some fresh ground coffee. I mixed it up in a bowl in a ratio of 1 part brown sugar to 1 part spices, with the spices being mixed in about equal percentages. (In other words, 3 parts sugar, 1 part BBQ 3000, 1 part Chesapeake Bay, 1 part coffee).
In retrospect, this was too much sugar. Next time, I will increase the spice blend and cut the sugar way back. It tasted great, but the bark got a little dark due to the high sugar content.
(EDIT – 3/4/2014: I have since worked out a much better rub recipe. It is also simpler. My current pork rub of choice is as follows:
- 2 parts Old Bay (or Chesapeake Bay as above)
- 1 part ground light or medium roast coffee (dark roast is too smoky)
- 1 part turbinado sugar (“raw” sugar)
The balance of spice to sweet is better, the raw sugar doesn’t blacken as fast as the brown sugar and the bark comes out much better. As far as the spice blend, the Old Bay is cheaper, but the Chesapeake Bay is tastier.)
Once the meat is coated with mustard, pack the rub onto the shoulder, working it around to cover as much of the meat as possible. This is a little messy, so be ready to clean up some rub that escapes.
Head back out to the smoker, and toss one or two chunks of wood onto the coals to create some flavorful smoke. As mentioned above, I used applewood. Hickory, pecan and cherrywood are popular as well.
My smoker doesn’t have a numeric thermometer, just a dial that says “warm,” “ideal” and “hot,” but we’re looking for a temp between 225 and 250 (which is rumored to be between the I and the E of IDEAL). Estimate 1 to 1 1/2 hours of time on the smoker per pound. You will also want to add another chunk or two of wood every 45-60 minutes to keep the tasty wood smoke flavor going. (Note: many people soak the chunks before smoking – but this isn’t really necessary with big chunks. If you’re using chips, those definitely need to be soaked first, though.) Most important, minimize the amount of time you open the smoker. Mine is set up such that I can lift the whole body off to add charcoal if needed, which traps heat/smoke inside rather than lifting the lid. There is also a little door on the side, which is perfect for adding wood chunks, but a little small for adding loads of charcoal. I have a hard time not looking at things while they cook, but resisting the urge to open the lid keeps the smoke inside, and your restraint will be rewarded!
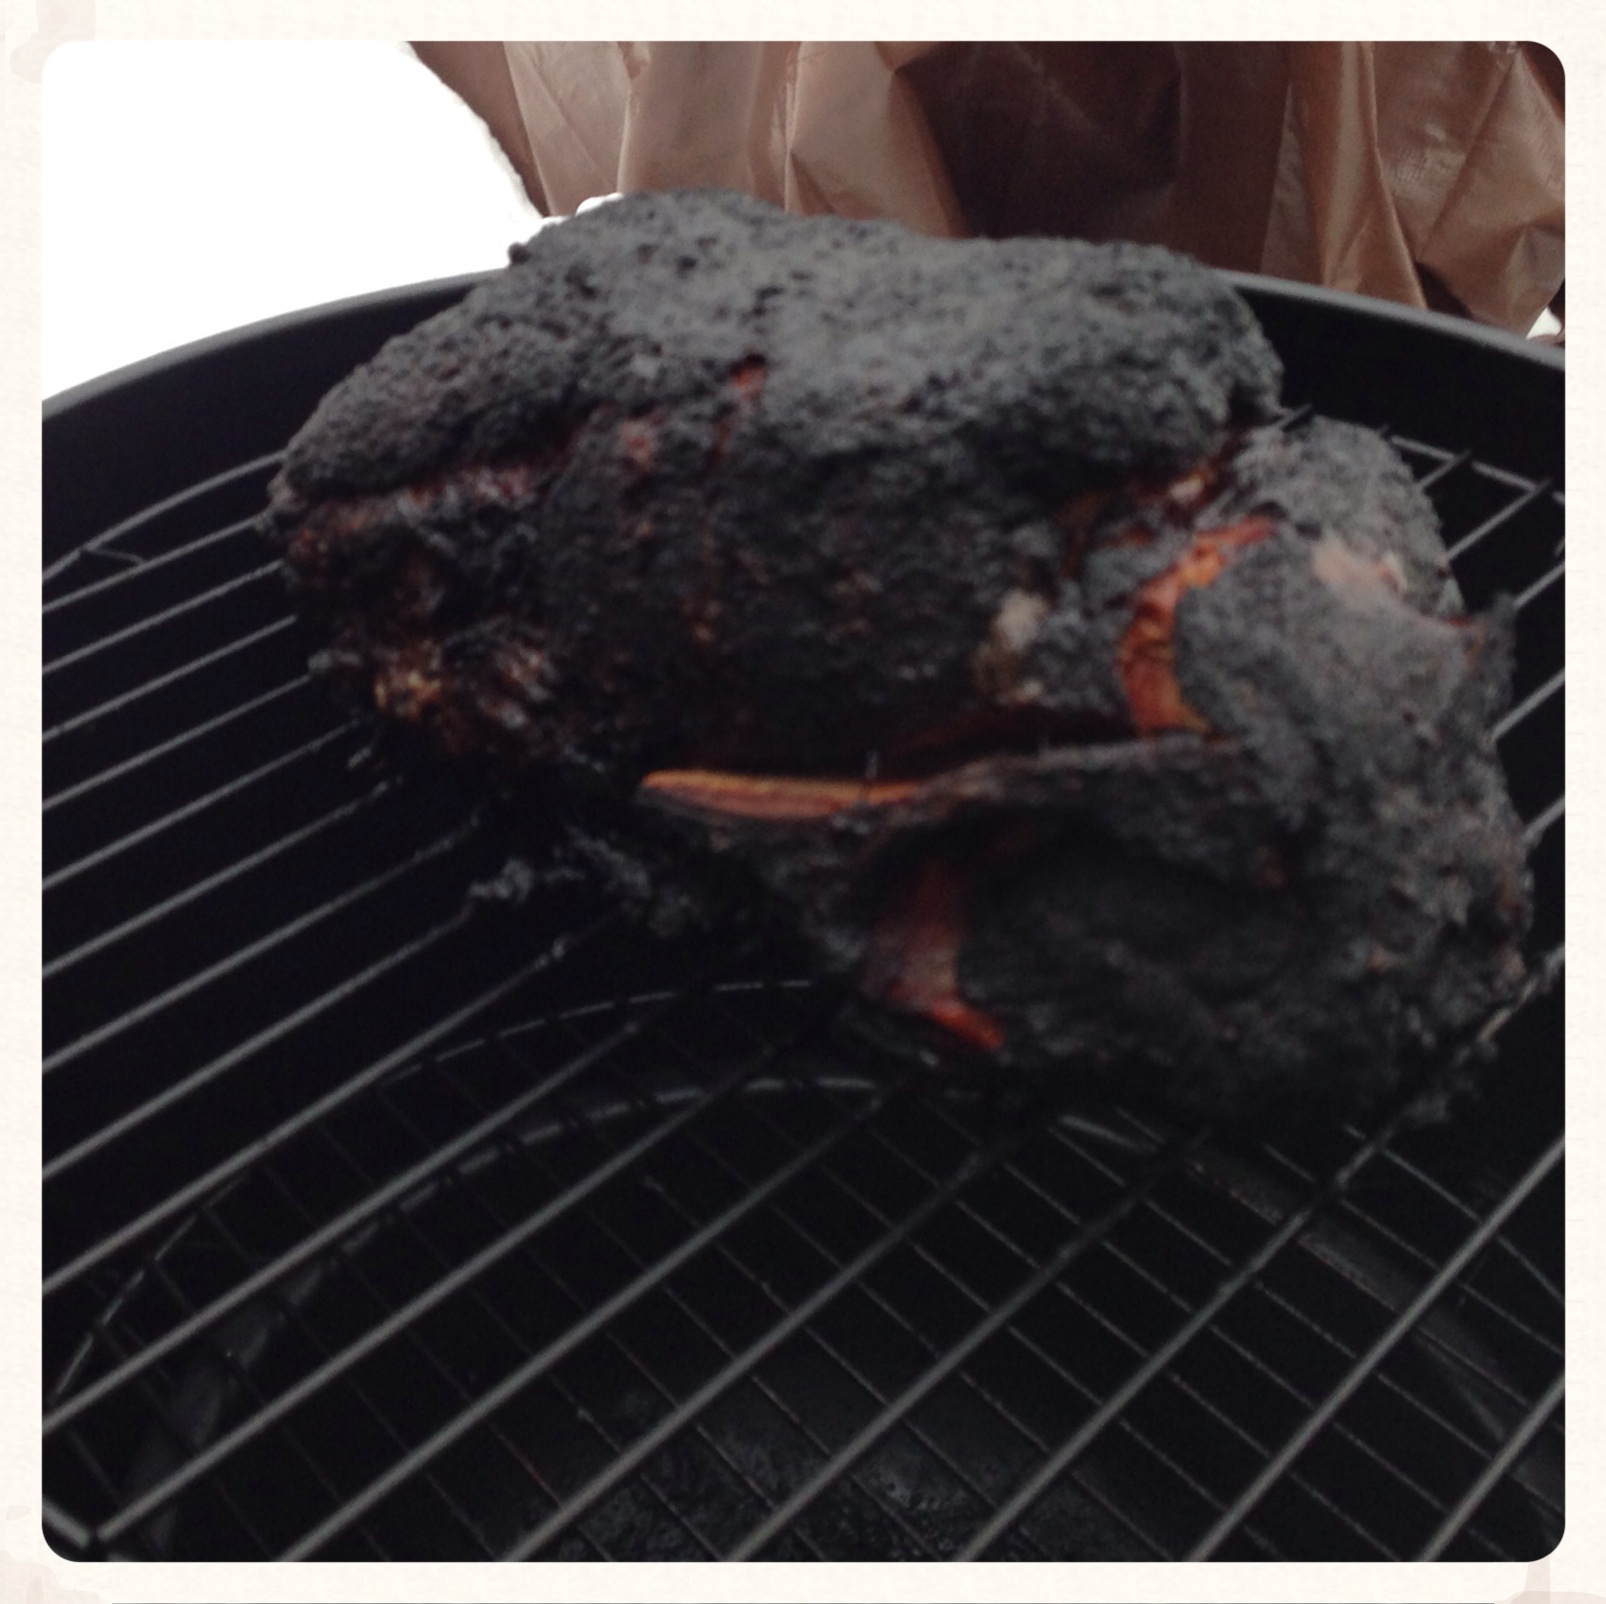
Once the internal temperature hits 195-200 degrees, you’re ready to move it off the smoker. If for any reason you can’t keep the smoker at temperature, you can always move it into the oven to finish it as well. After the first 4-5 hours, you won’t be adding much smoke flavor anymore, so there’s no harm in putting it in the oven. For this shoulder, I pulled it off the smoker when the internal temp was 195. I placed it into some foil and splashed a little worchestershire sauce and cider vinegar inside the foil.
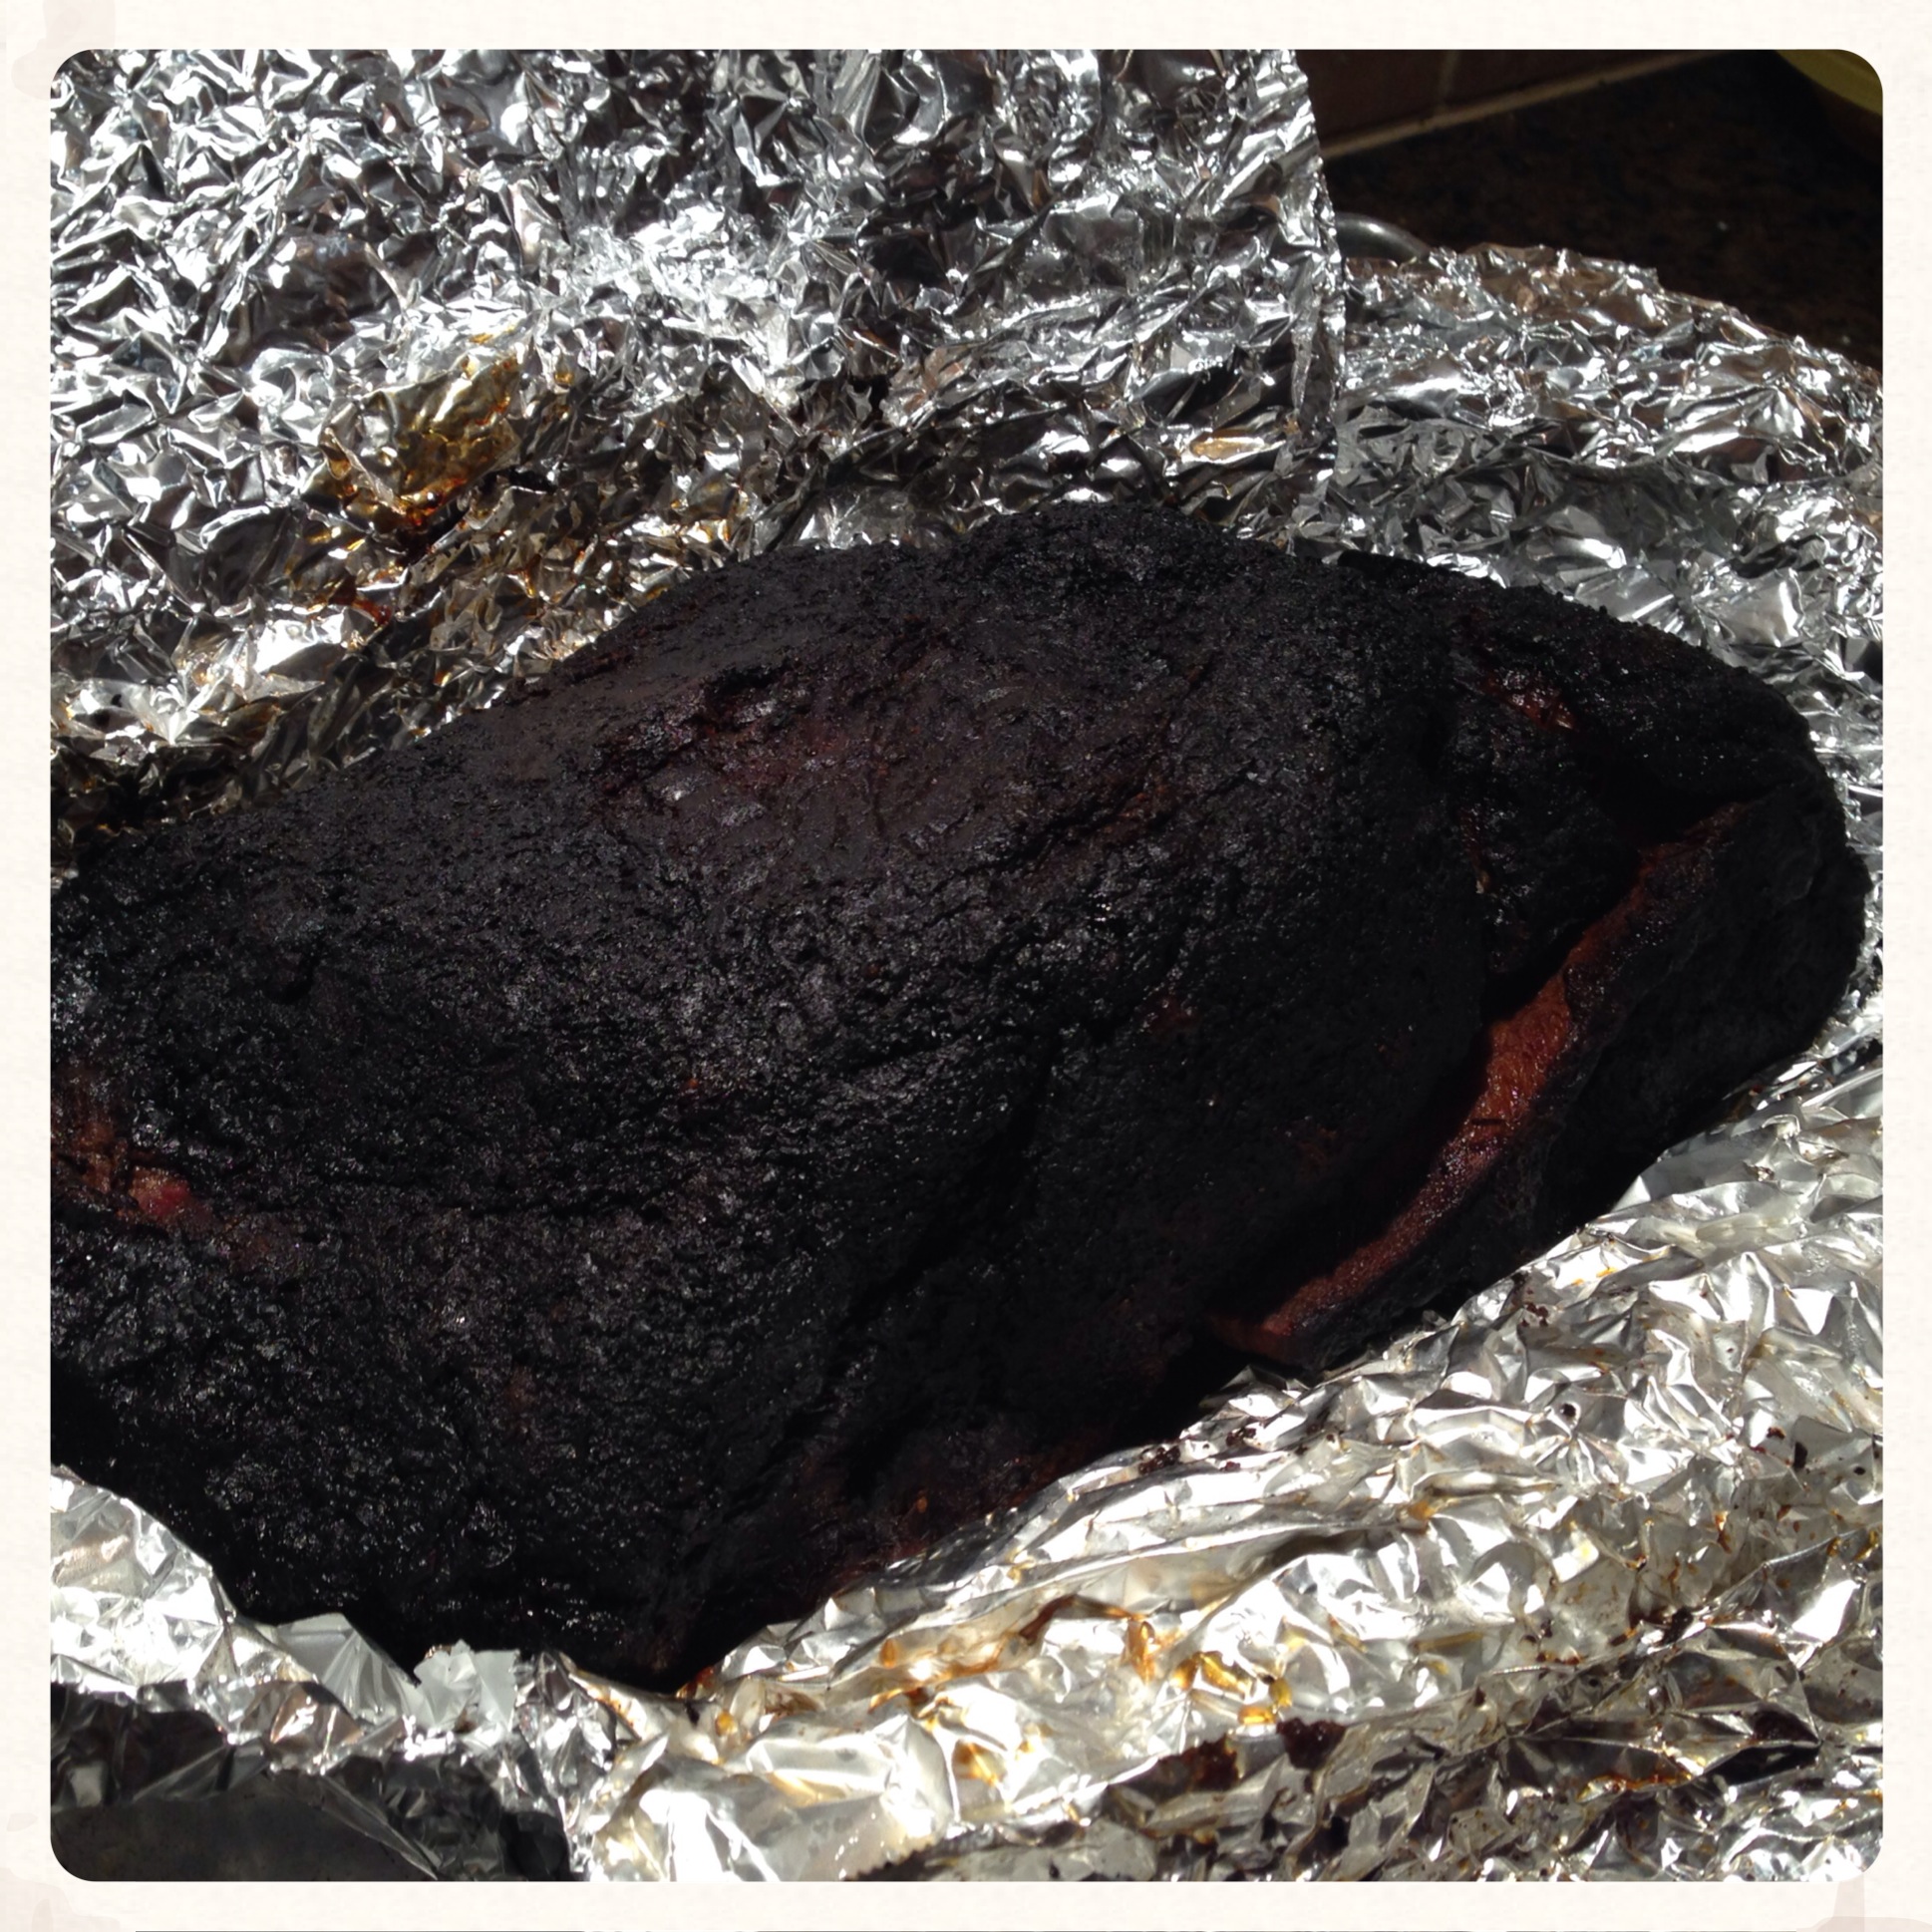
Then I tightly wrapped the shoulder with the foil to trap the juices, and I put it in the oven at 275 for about an hour and a half. After that, wrapped the pork (still wrapped in foil, do NOT open the foil here) in two clean t-shirts and placed that inside a cooler to rest. I filled the rest of the cooler with crumpled paper to fill the space, and held the lid down with an iron skillet.
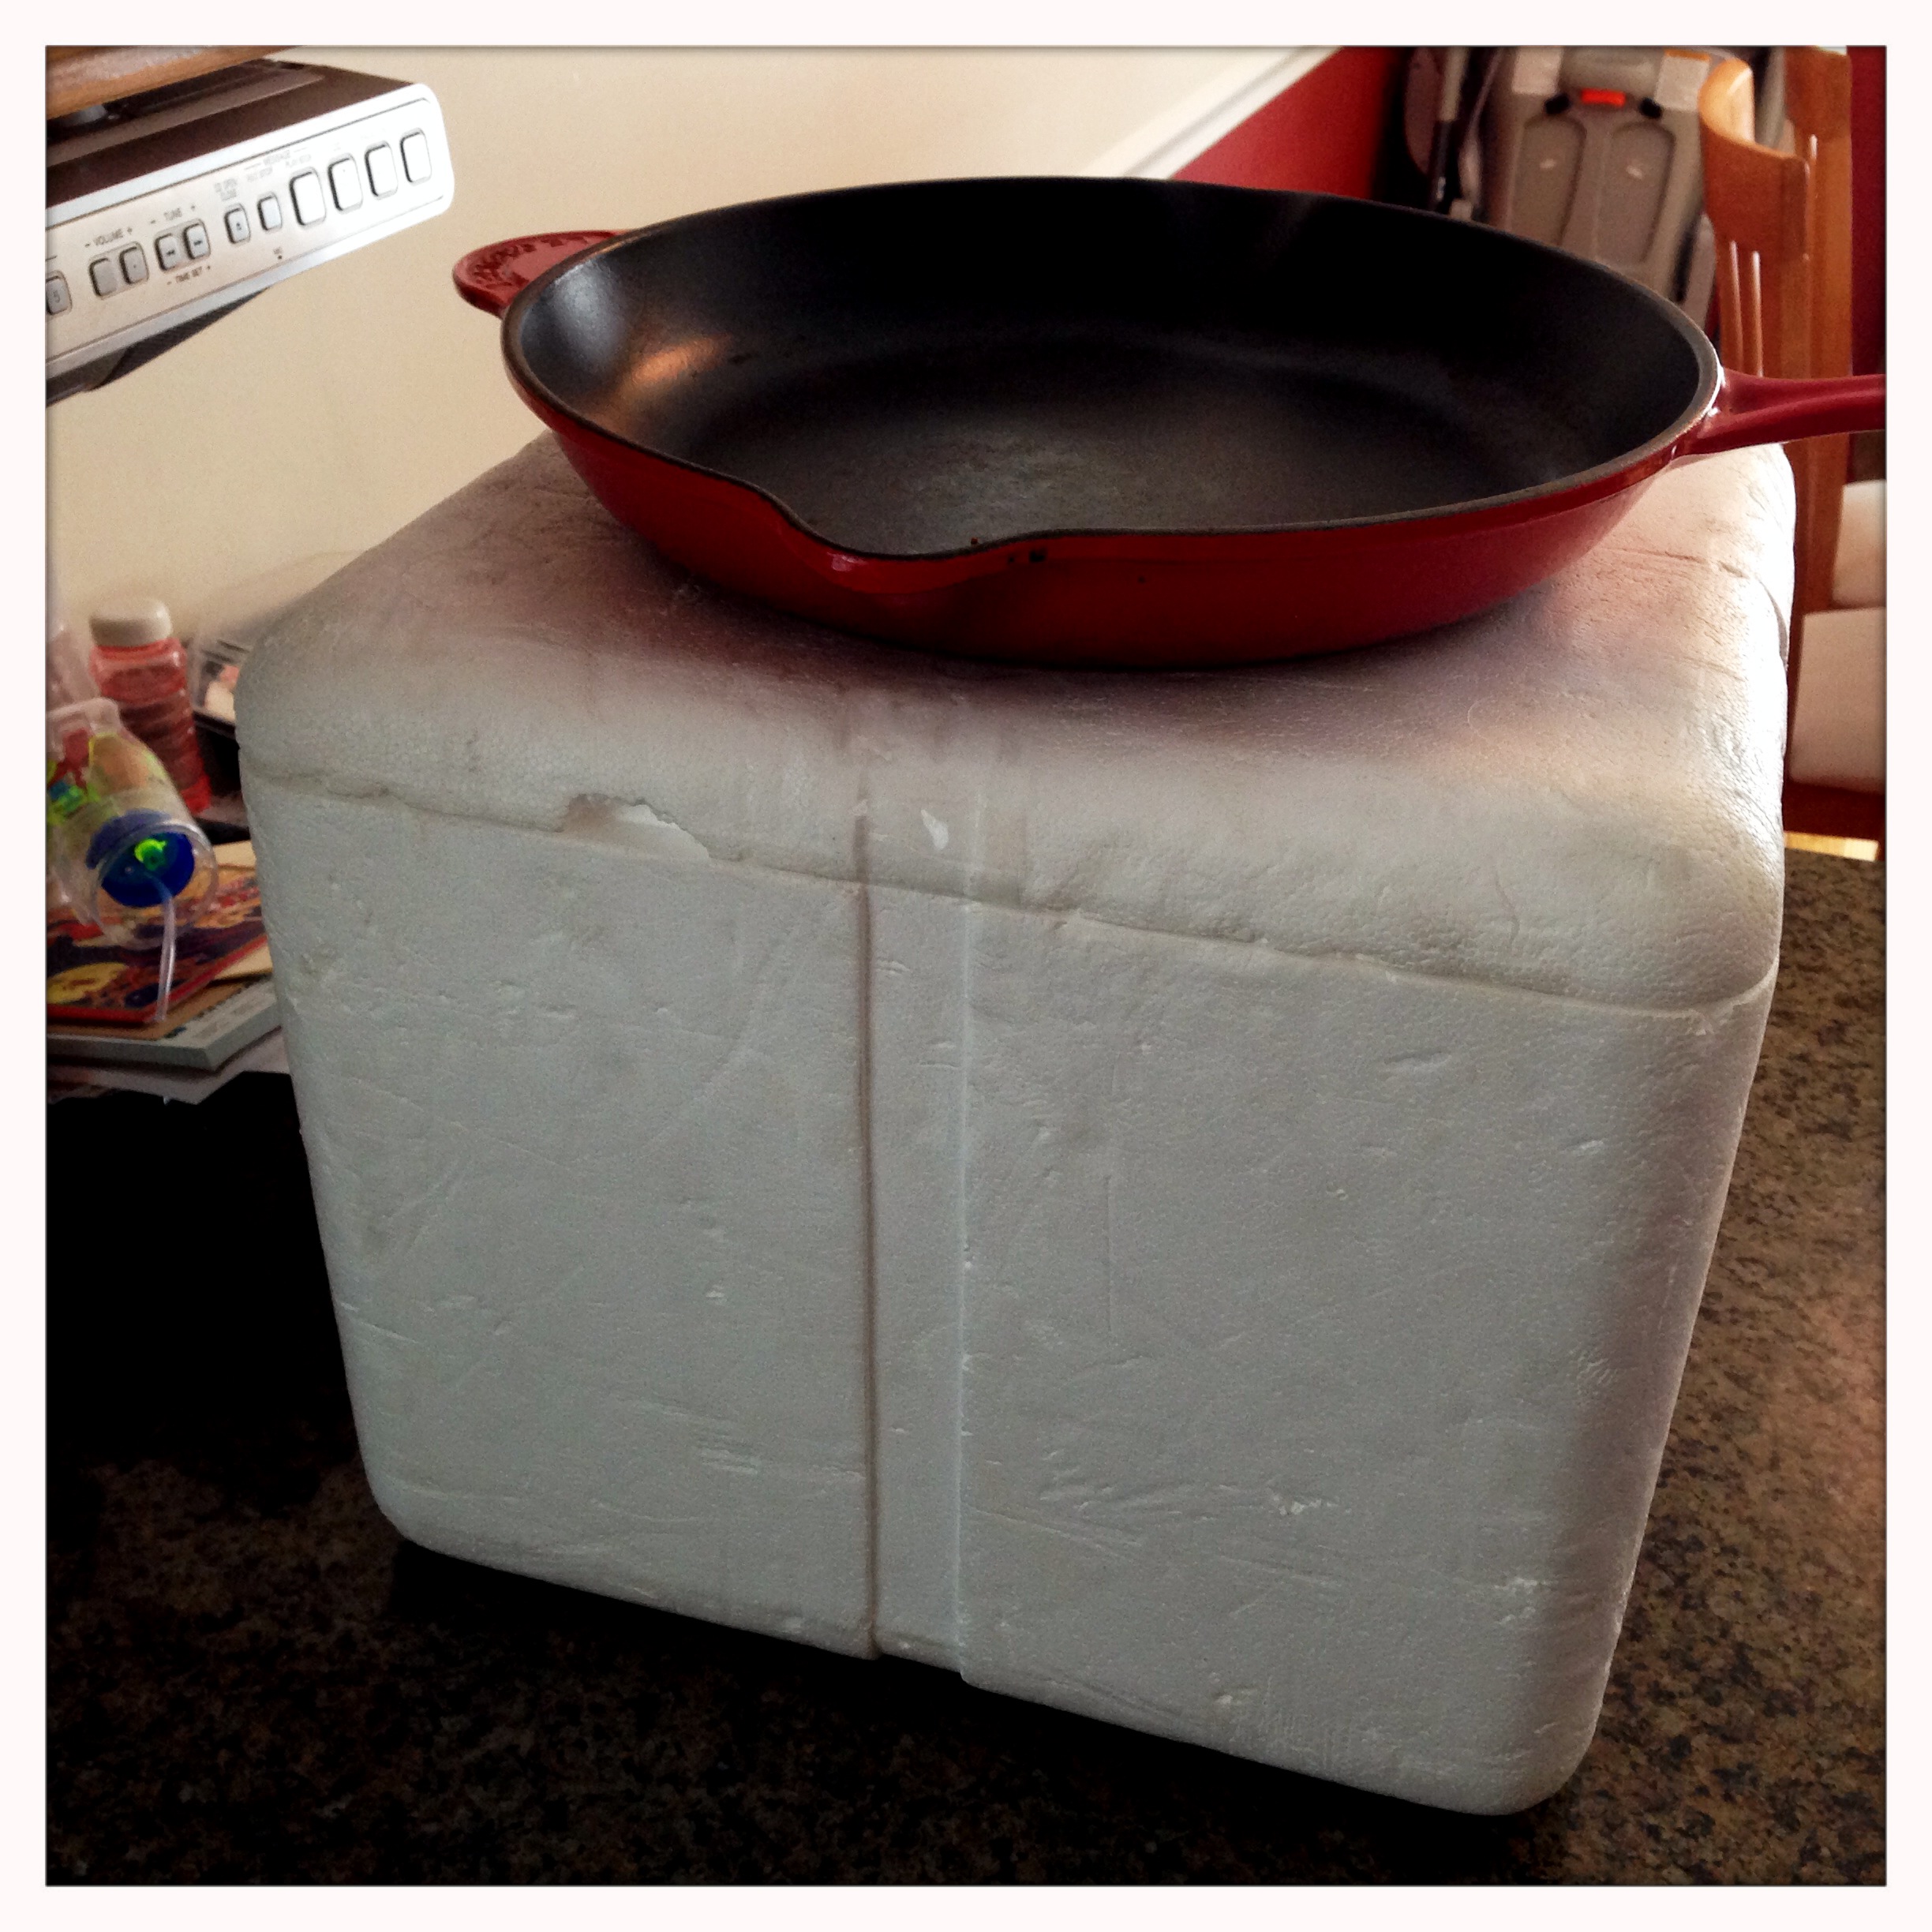
You can keep the shoulder hot in this set-up for 4-6 hours so that it will be ready whenever it’s time to eat. I kept mine in the cooler for about 5 hours, and it was still almost too hot to touch when I pulled it out.
I cracked into the bark, and there was a beautiful pink smoke ring inside, and the meat was tender, juicy and piping hot. (Note: If you’re new to smoking, remember that the pink meat along the edge is a product of the smoking process and does NOT indicated the meat is undercooked.)
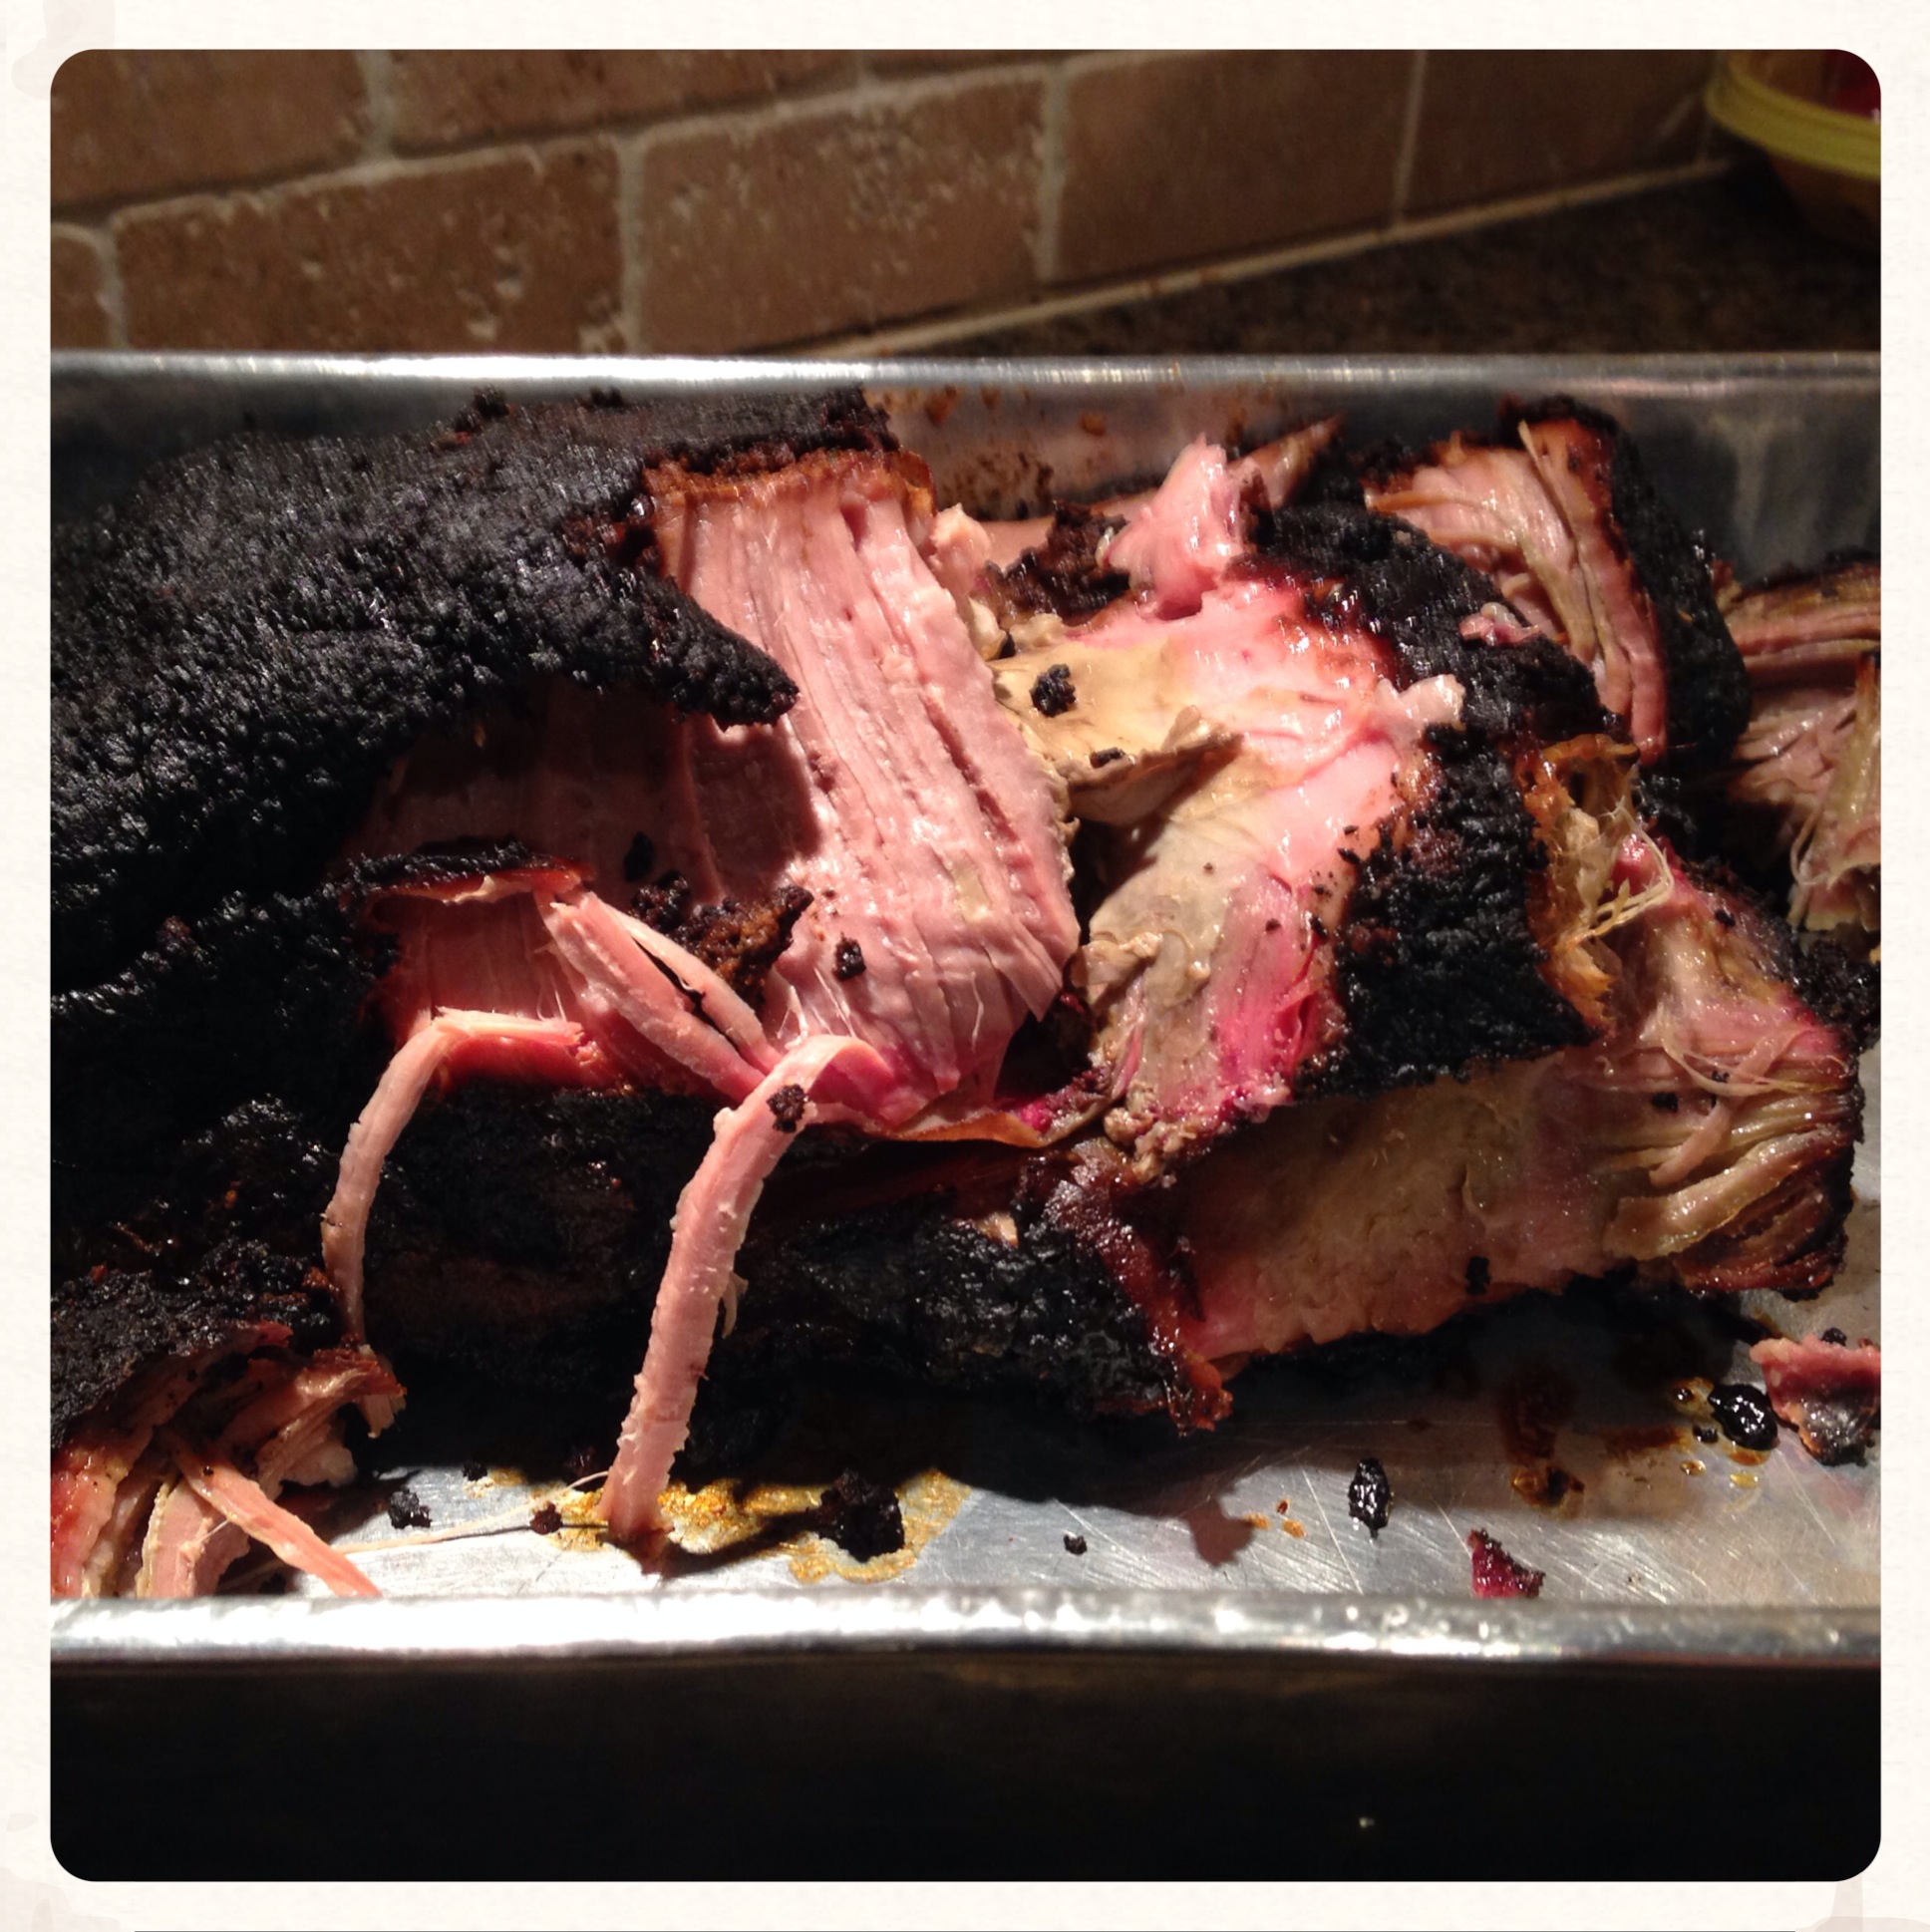
You can break the meat up by hand or with a couple forks. There’s no “right way” to pull the pork. You can break it into big chunks or tiny shreds based on your personal preference.
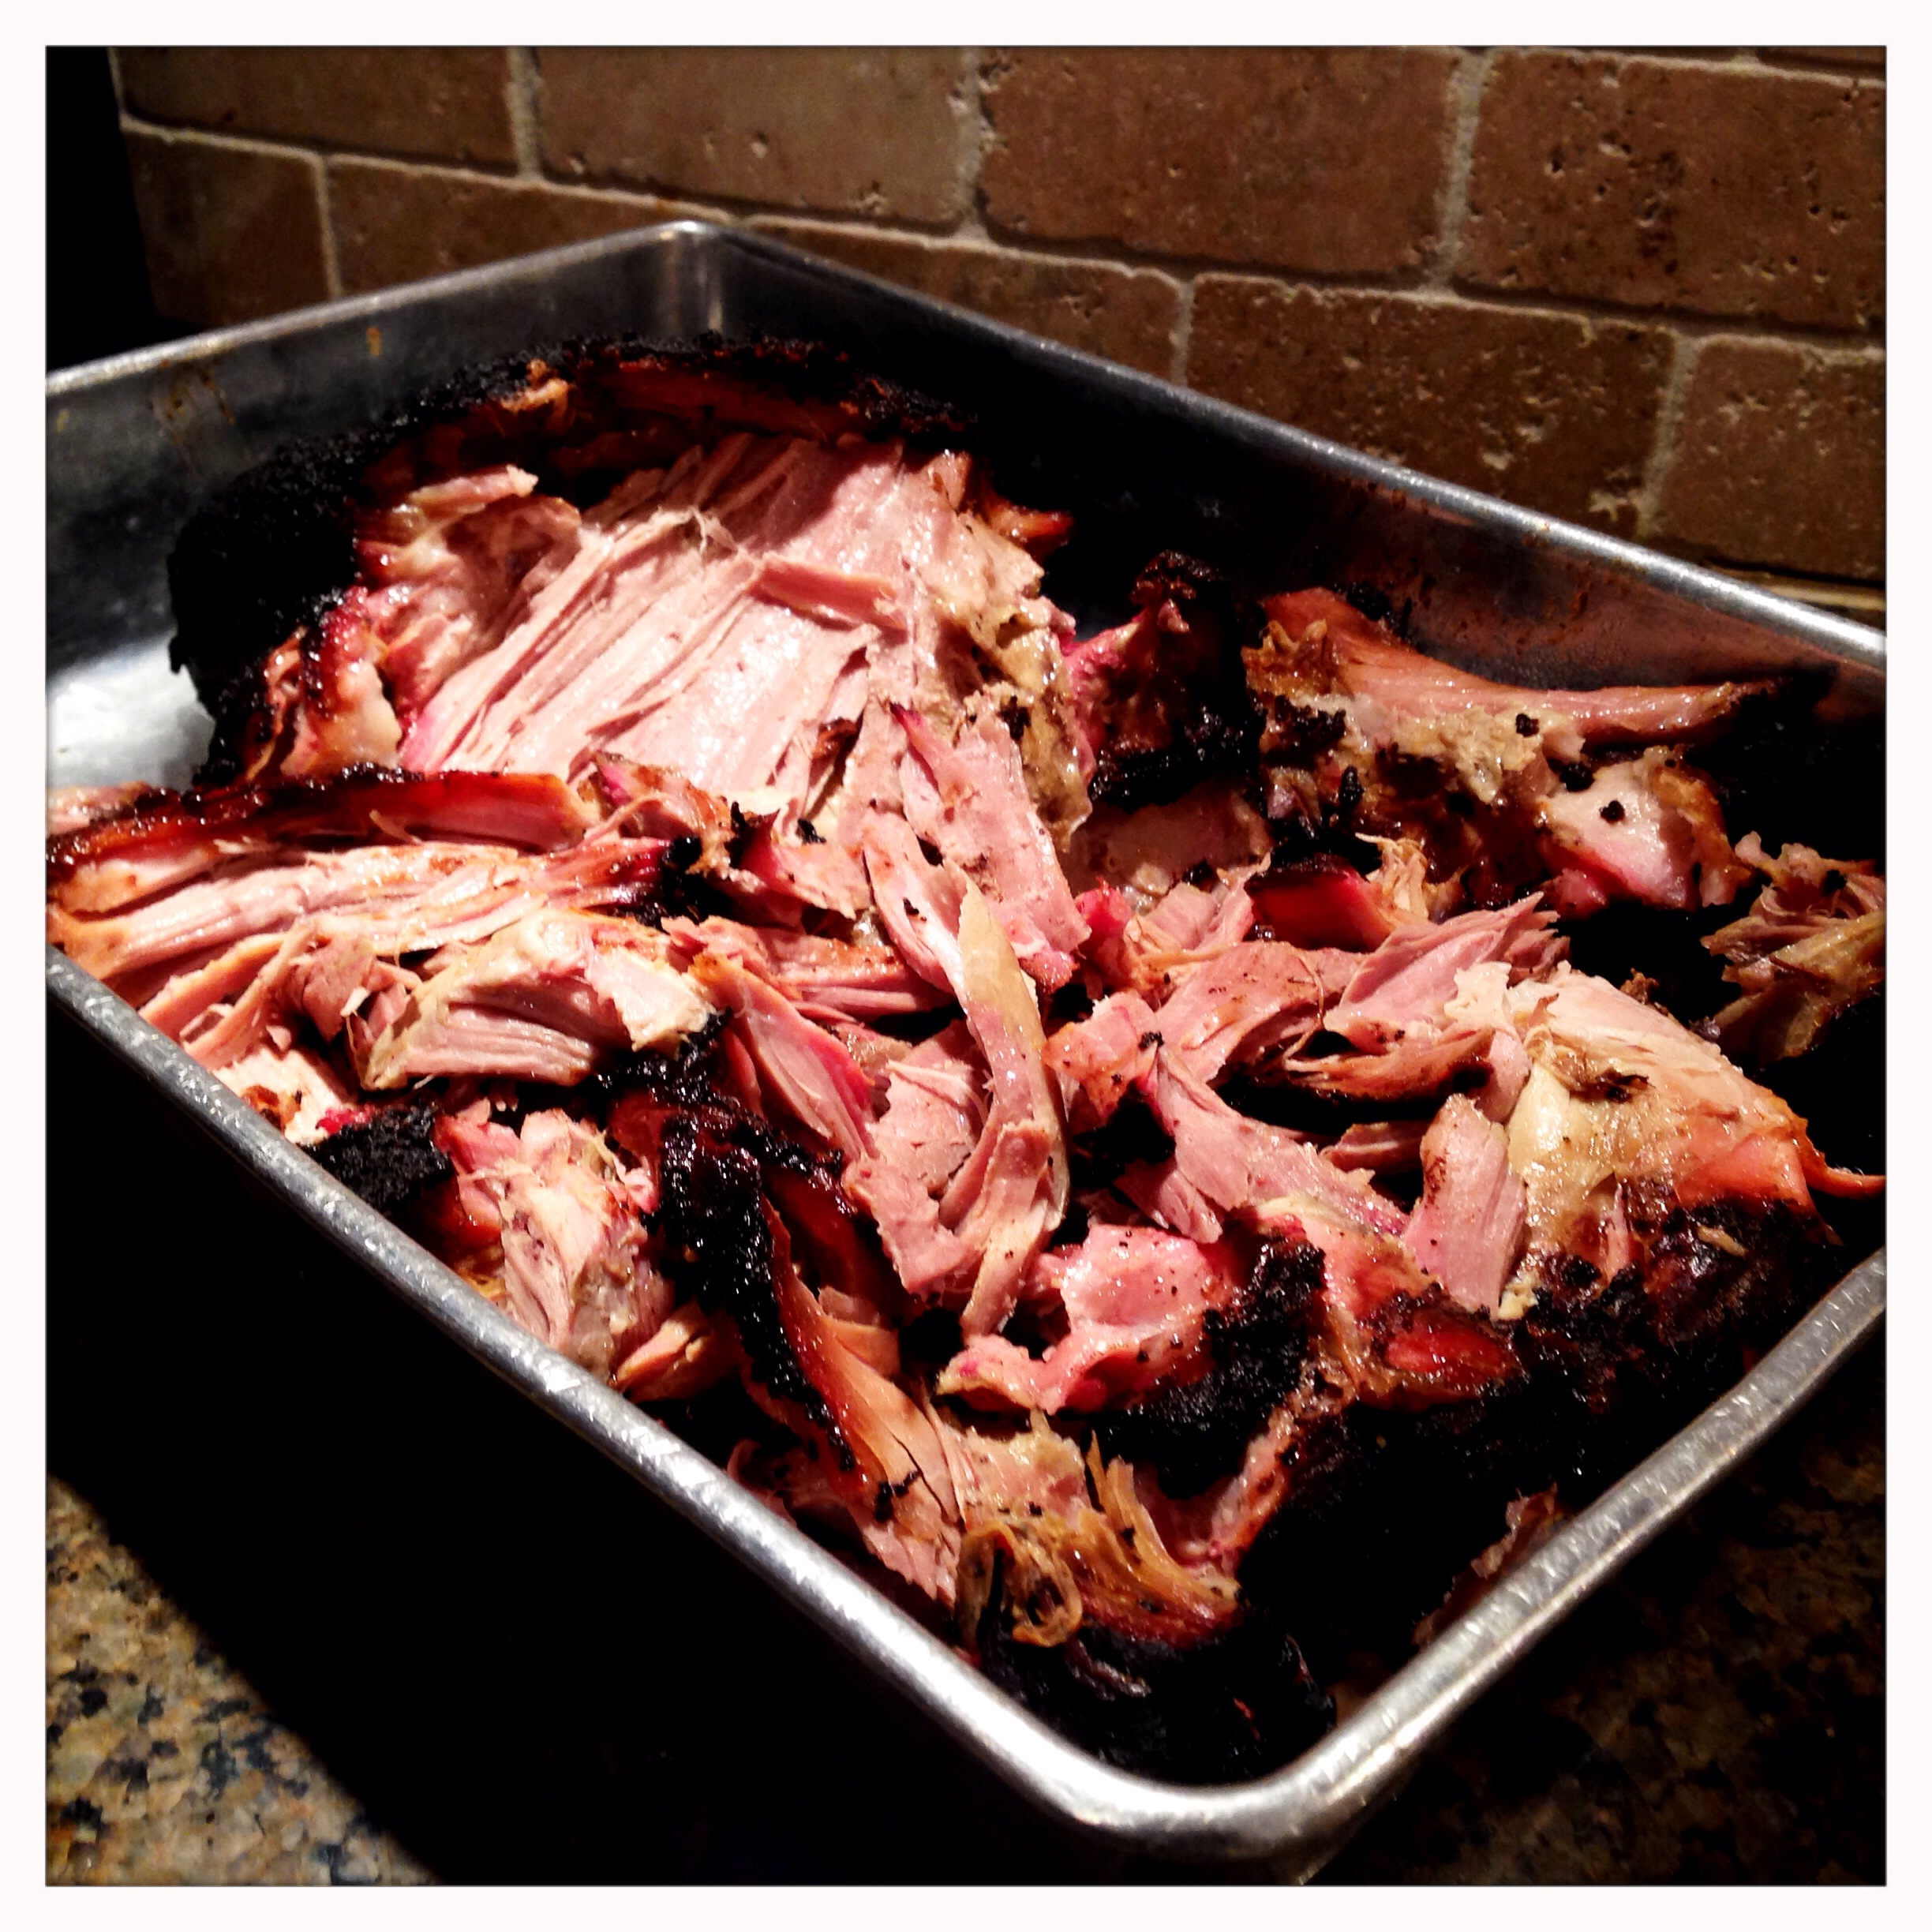
Break the meat up into the size pieces you prefer.
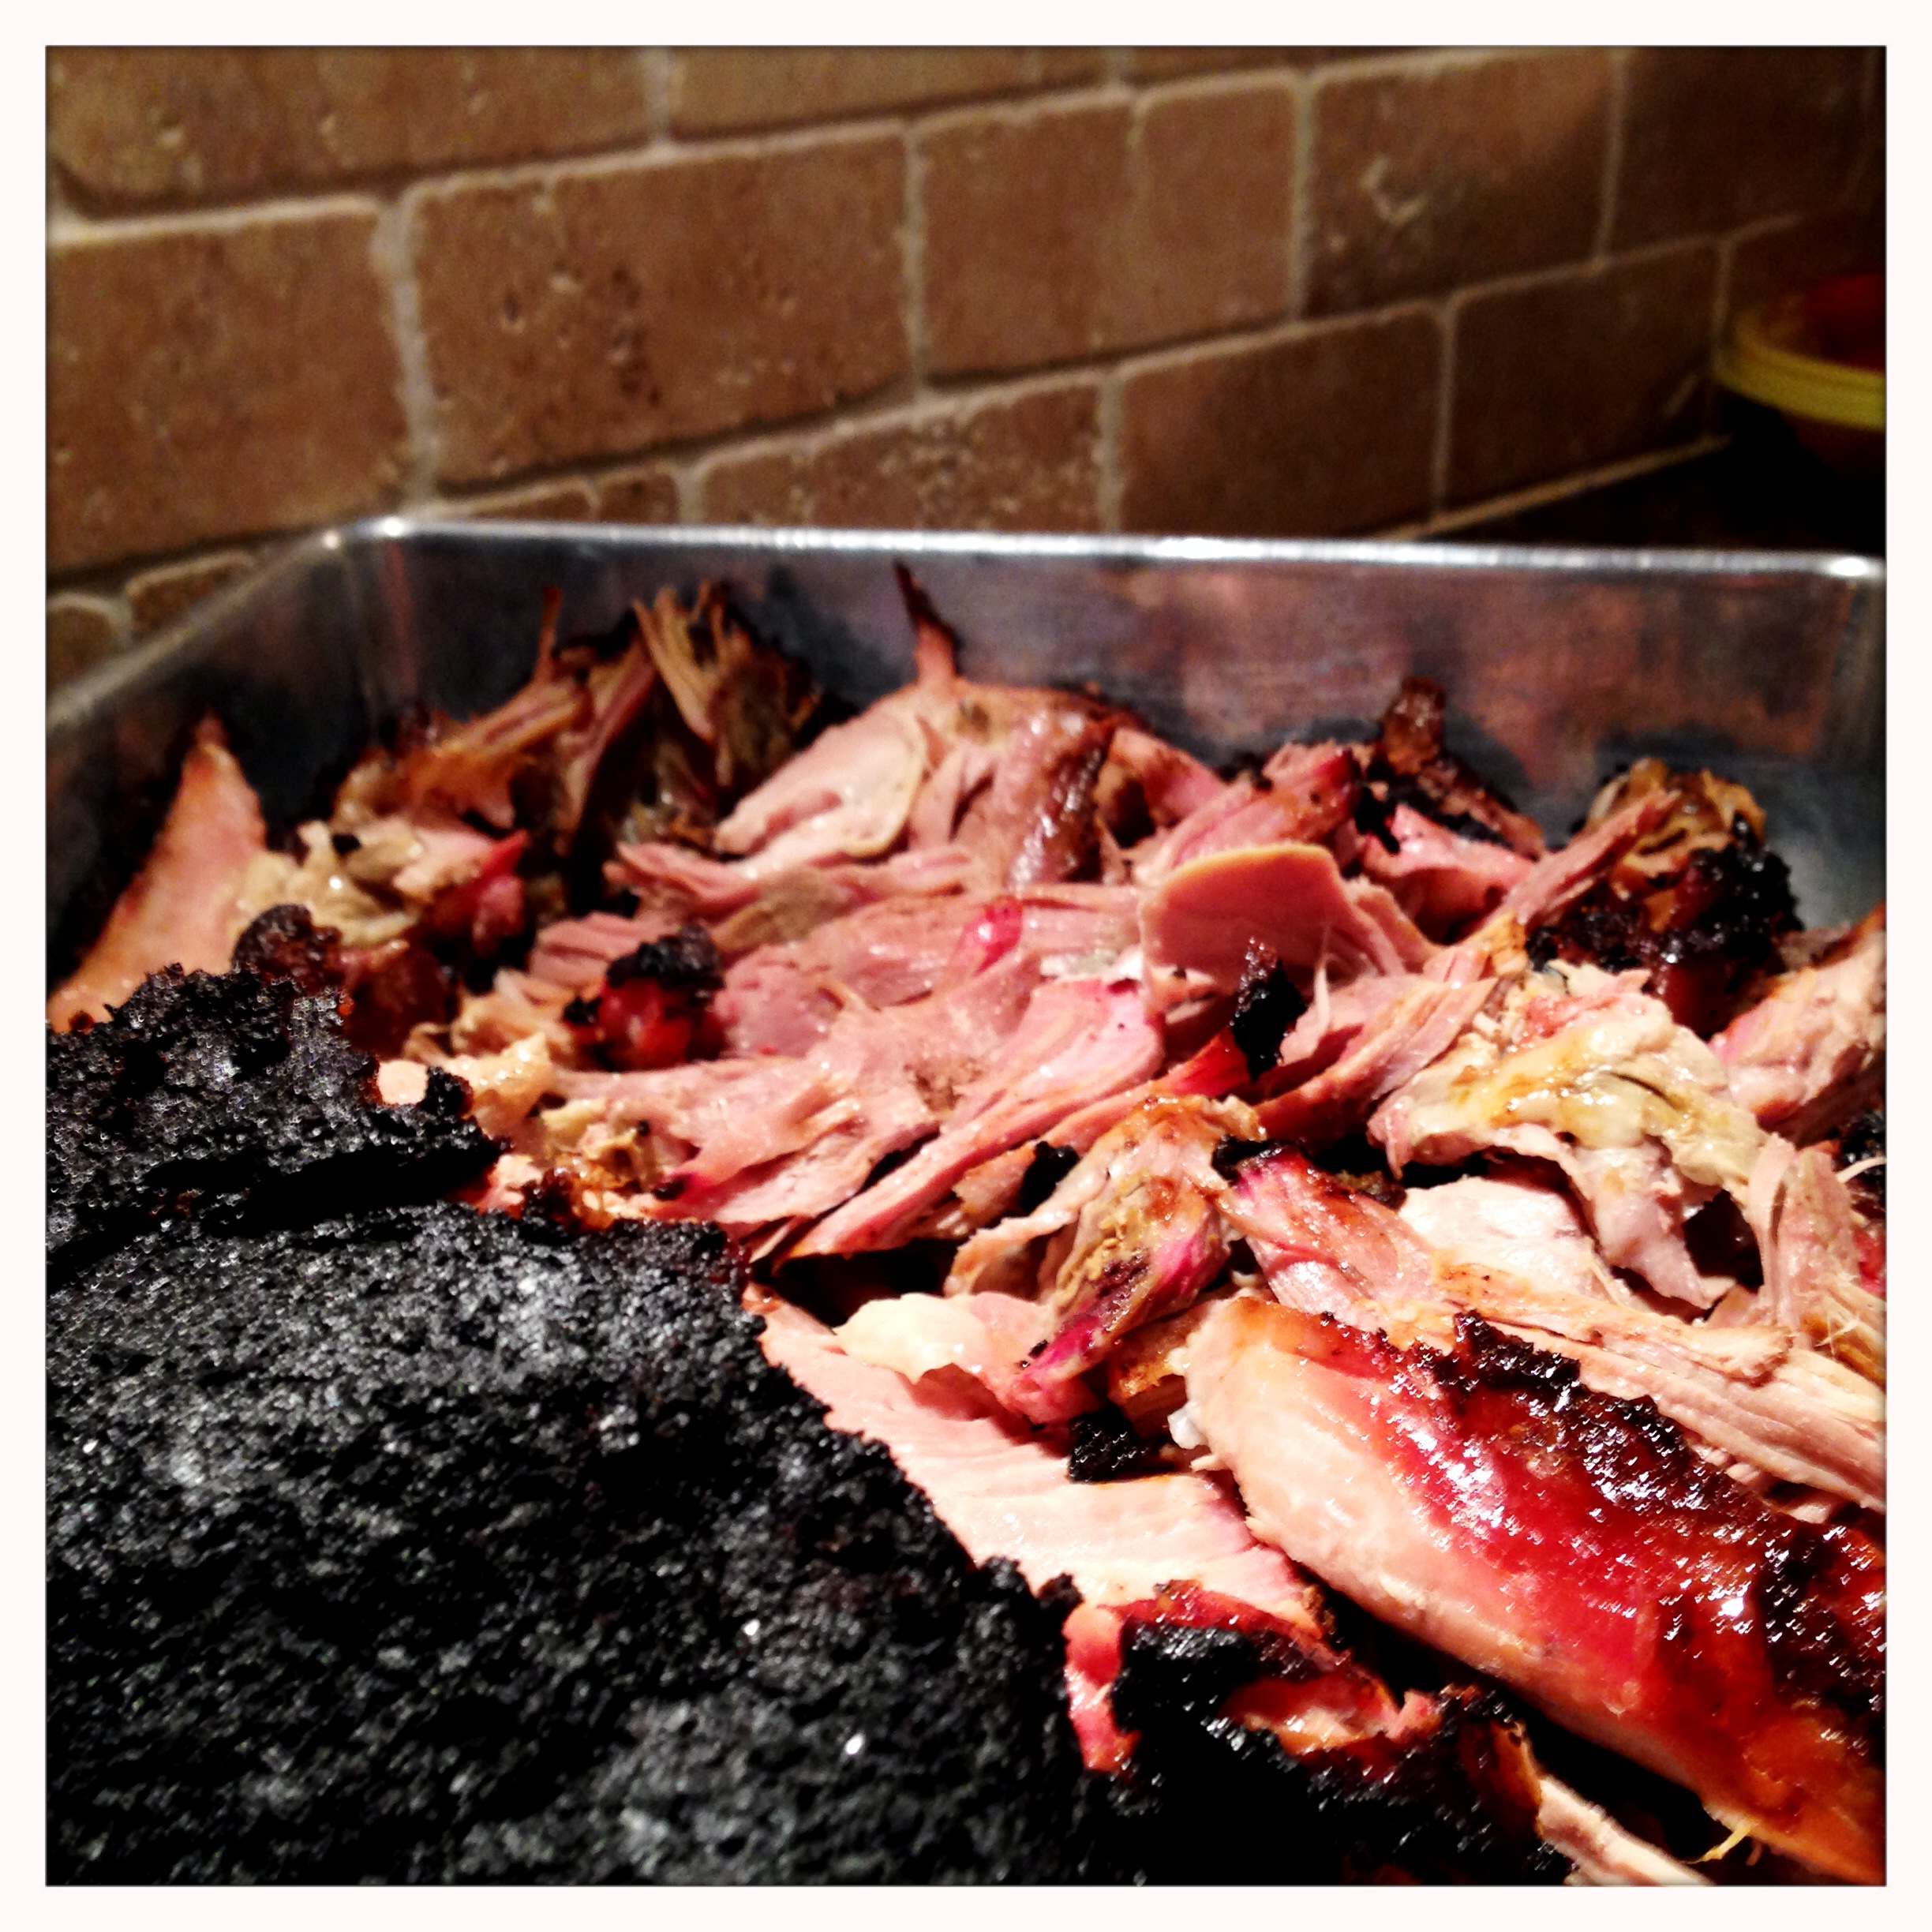
As you pull the pork, mix the bark (the dark crust that forms) into the meat to distribute the flavors of your rub and the char into the meat.
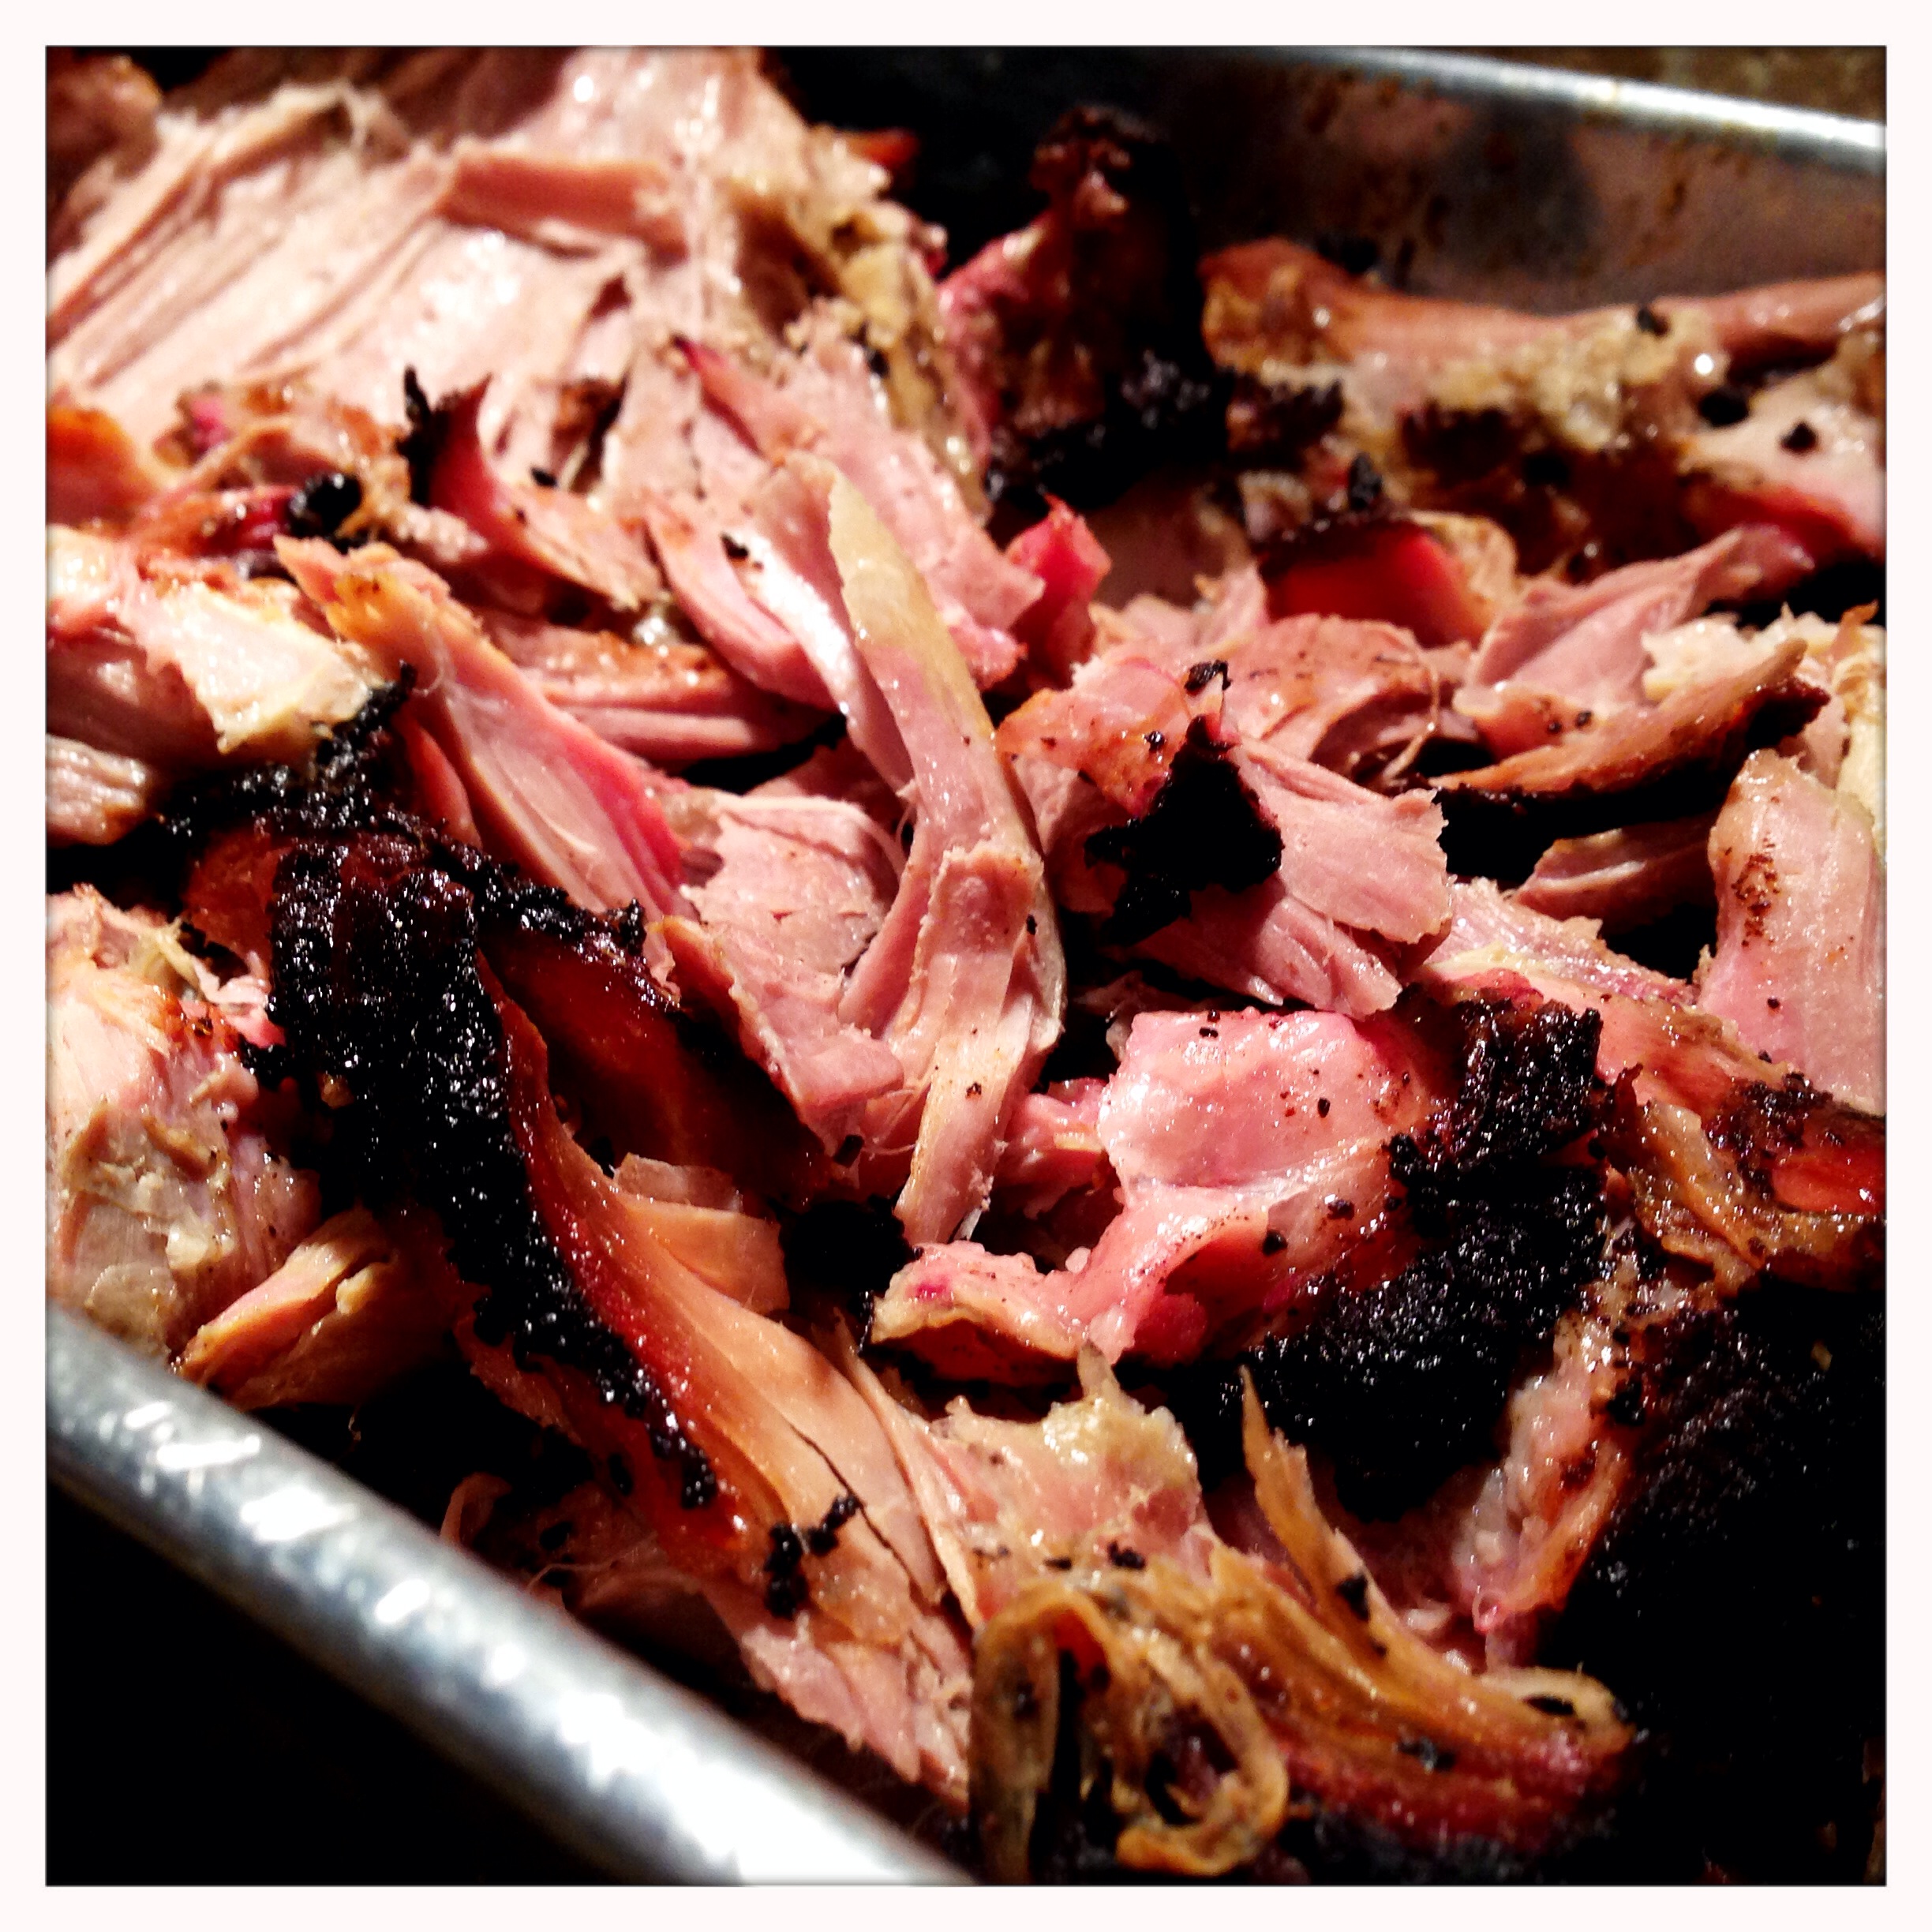
A nice, drool-worthy close-up. I think this photo should sell a thousand smokers easy…
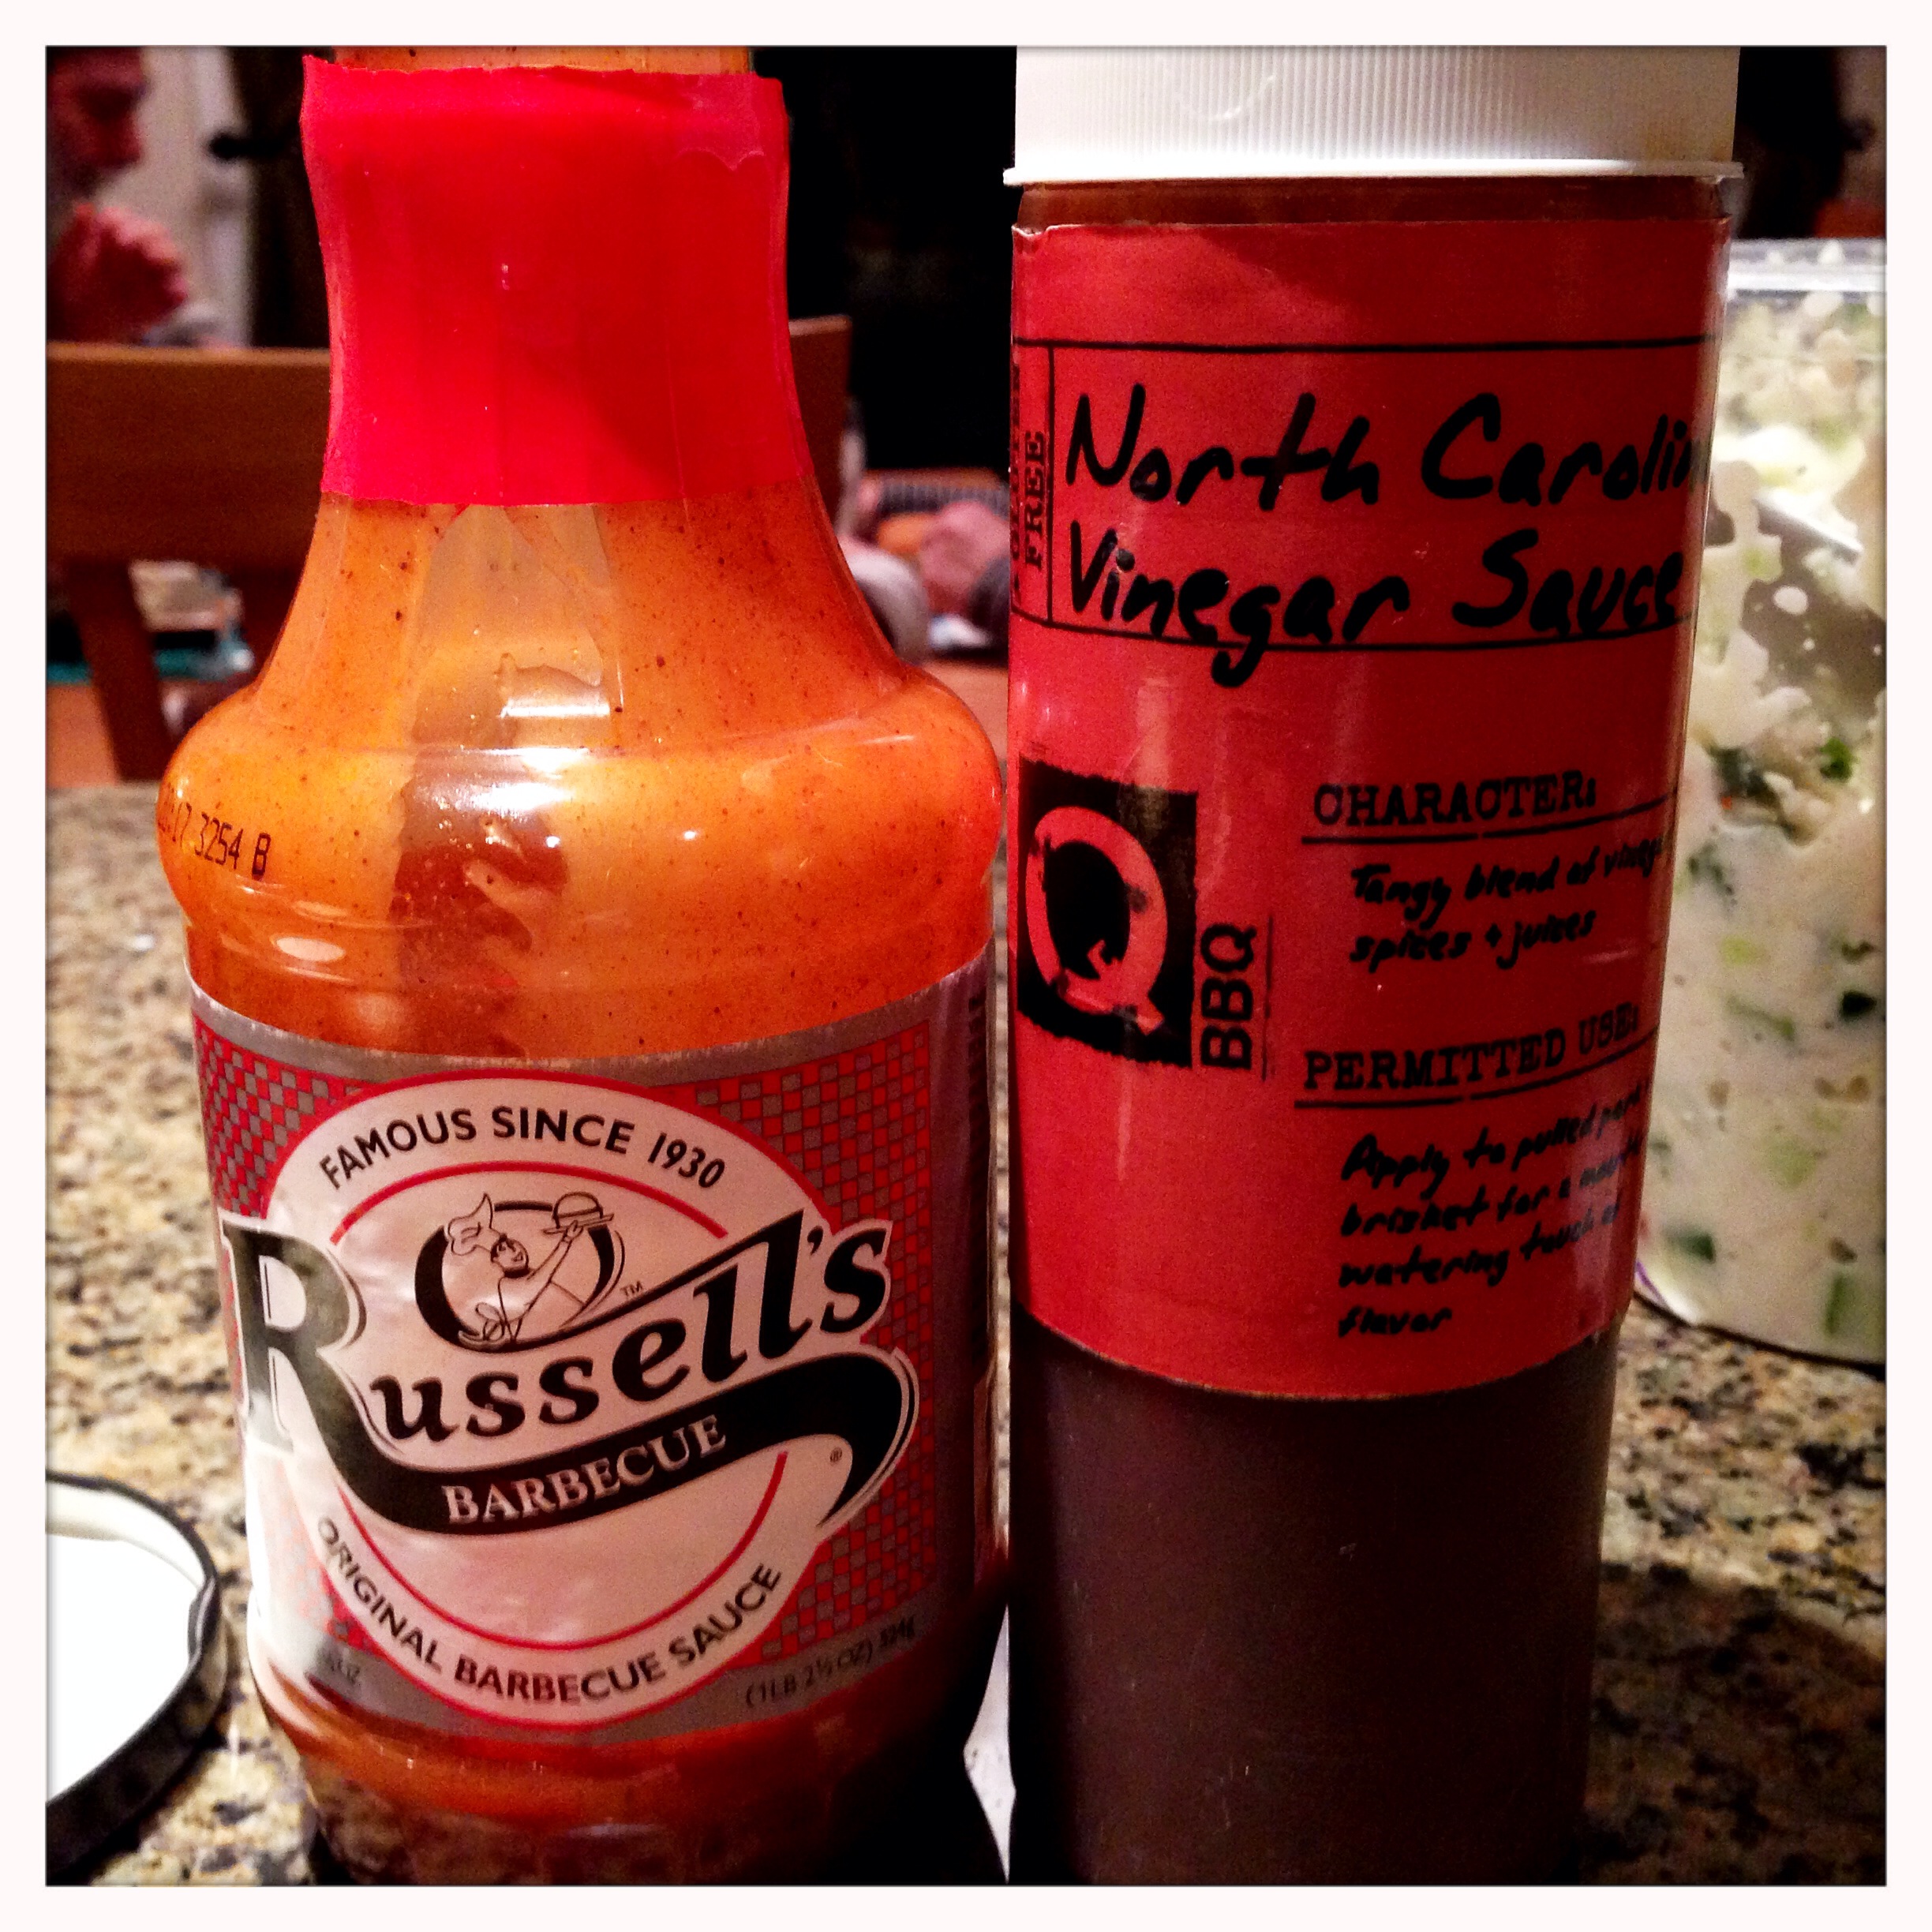
Serve this up however you like. I like pickles with my pulled pork. I also served up some potato salad and slaw. We made sandwiches with the pork, and added a little BBQ sauce as well. The pork tastes excellent even without the sauce, but feel free to experiment with different sauce styles. I prefer a carolina vinegar style sauce, but I also have a local sweet sauce that is delicious.
I may, down the road, work on a recipe for a sauce, but for now I’m happy with other people’s sauces and spending my time honing my smoking skills. If you’ve ever thought about getting yourself a smoker, I can’t recommend it highly enough. Go out and do it, you won’t regret it. Not only does it make great Eats For All Ages, but it’s an excellent way to spend some family time together given the long cook times. Enjoy!


For those looking at the pictures, and wondering about that burnt looking surface, fear not. It’s just “bark”, and though a little darker looking in these photos, it is actually a DESIRED result of the cooking process, and does not impart any “carbon/coal” flavoring whatsoever. This first cook, on an entry level and quite modest cooker at that, came off wonderfully, by observation, I must say.
And to continue, there is a phrase in the BBQ world: “It’s the cook, not the cooker”. This man, ladies and gentlemen, can cook.
Thanks! The complement is much appreciated – very excited to get further into the world of BBQ. I had a blast with my first attempt, and we all had a great time eating it – more to come for sure!
what a great christmas gift!! cool
[…] 1 lb of BBQ pulled pork […]
[…] first time for a BBQ not too long ago, and they were excellent. The main course for the meal was pulled pork, and these all went onto the smoker while the pork shoulder was resting. They made for a great […]
[…] BBQ sauce I’ve been working on, smoked BBQ brussels sprouts and an update on my previous pulled pork […]