The Paddy Melt
Leave a commentMarch 17, 2014 by Jason Rice MD
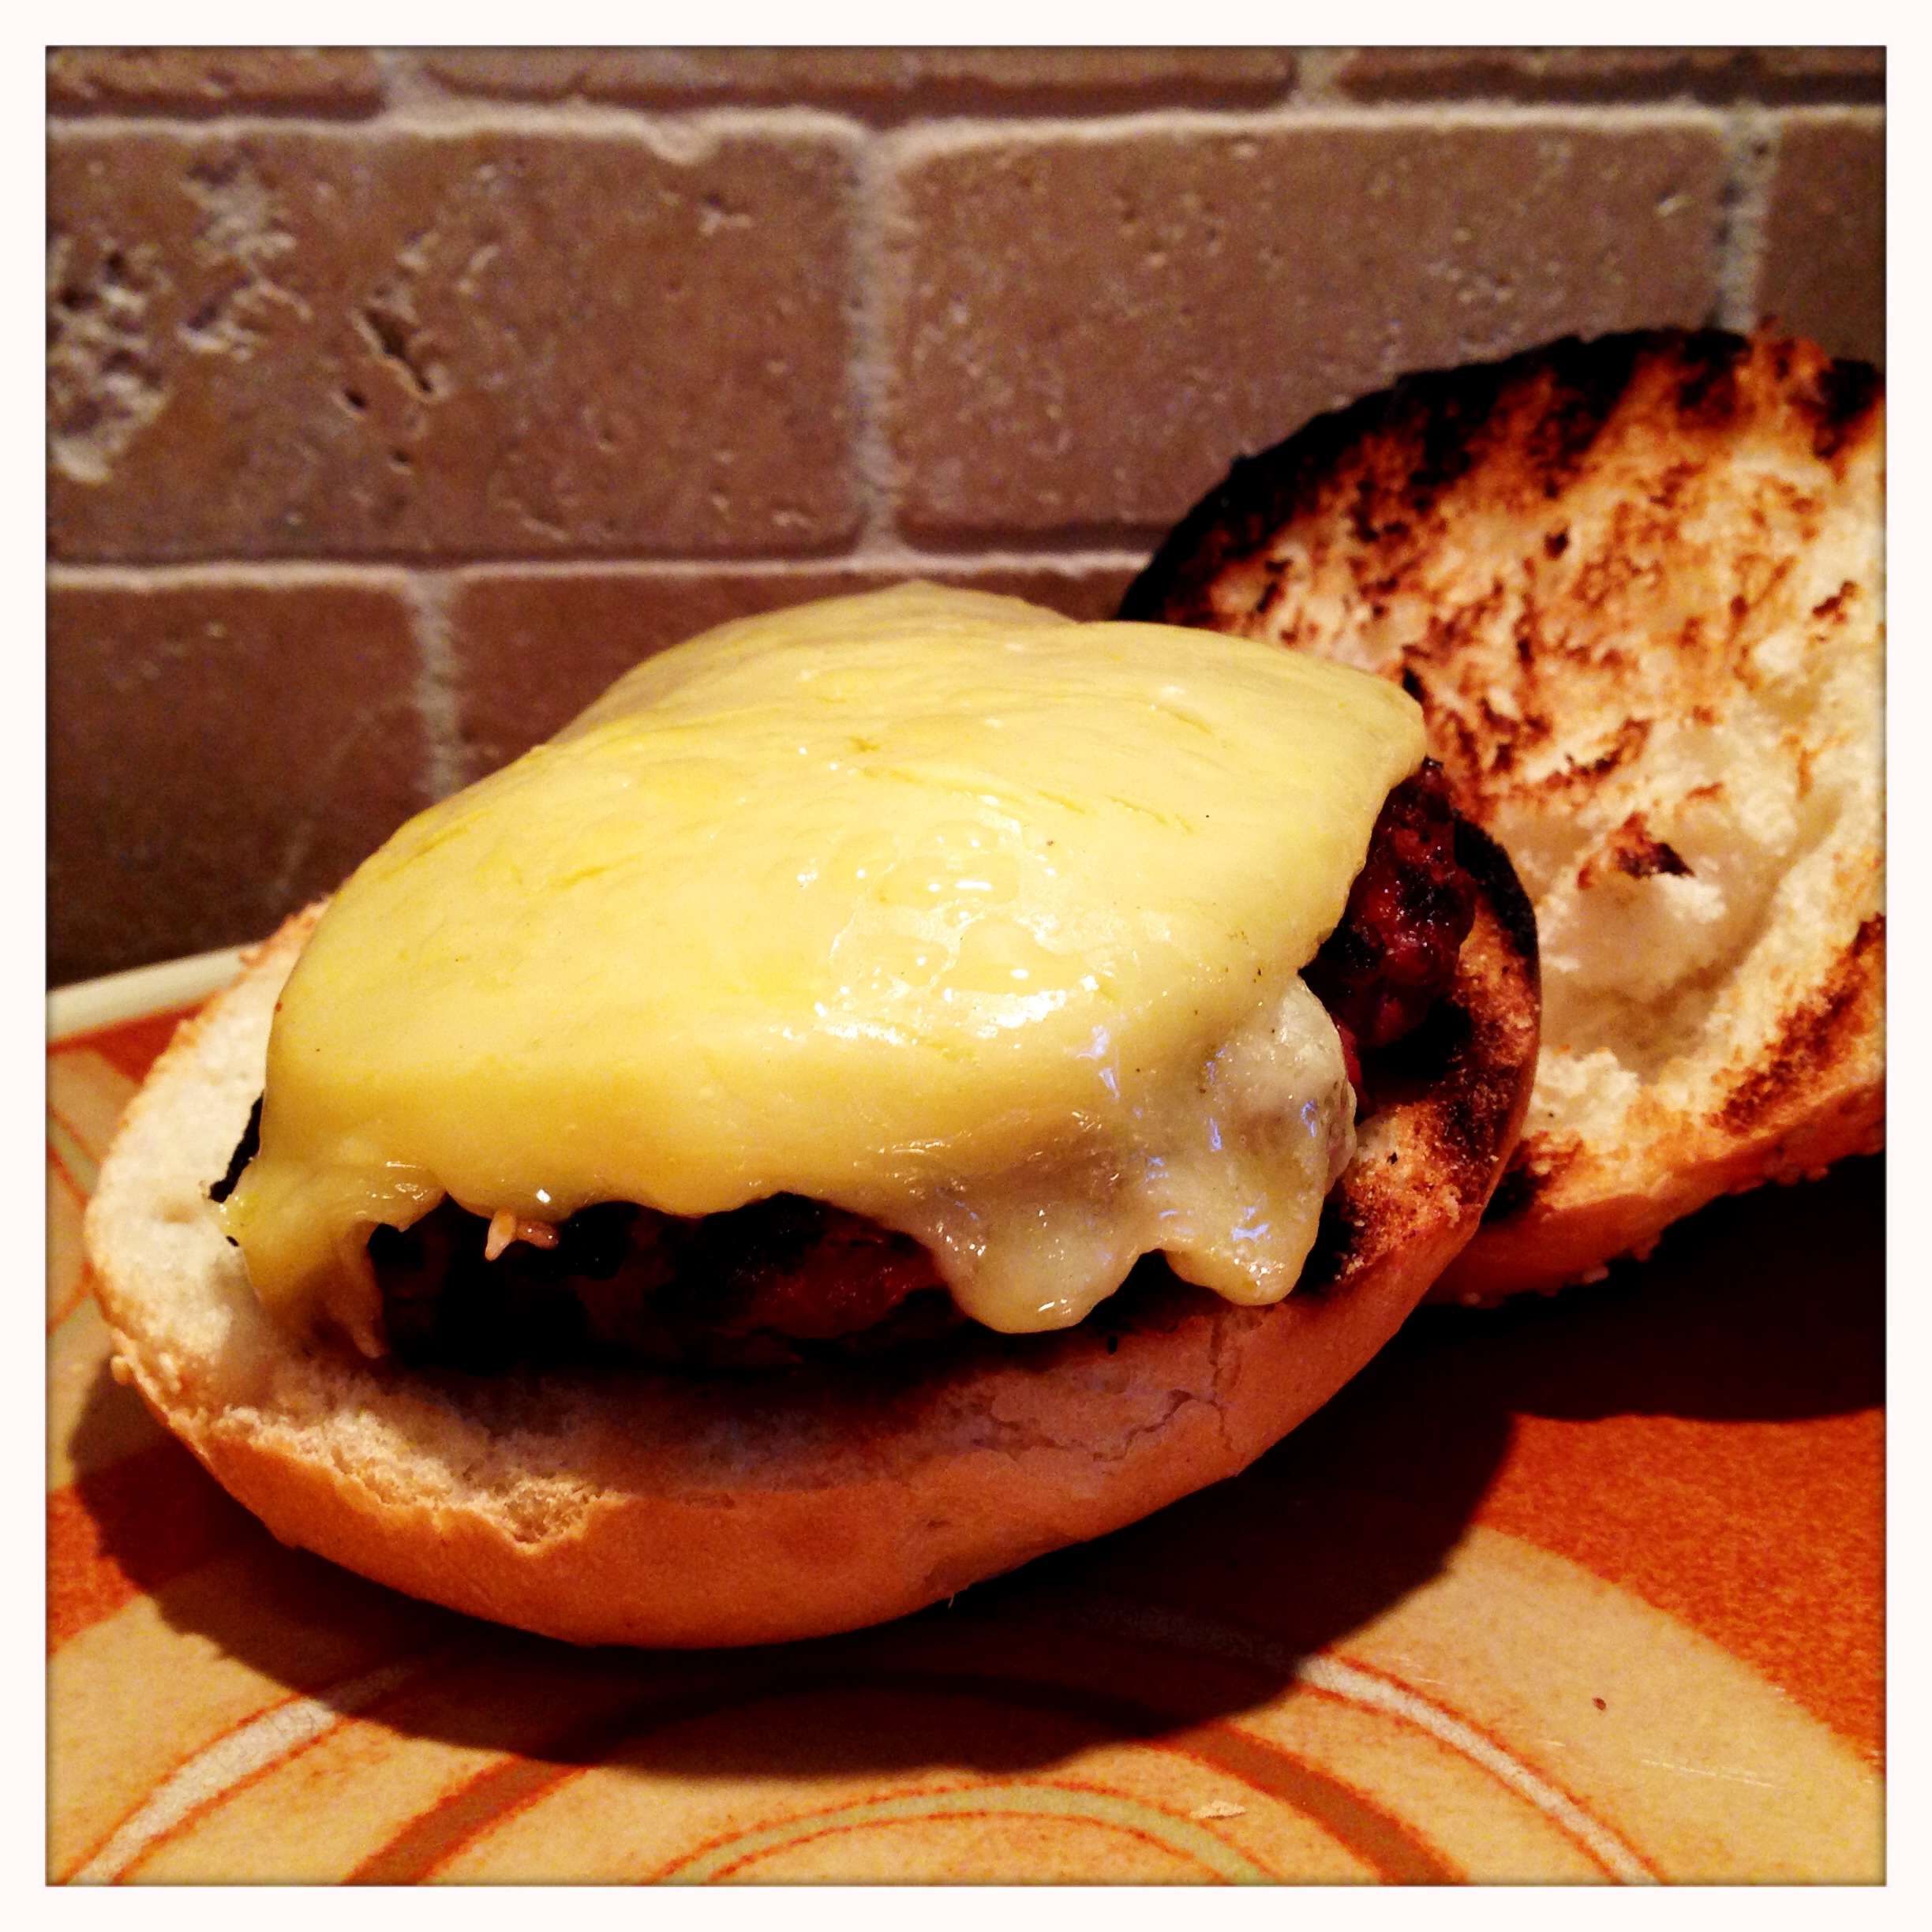
To honor St Patrick’s Day, I decided to make some burgers topped with Irish cheese. To be more specific, Irish cheese was on sale because of St Patrick’s Day, but you get the idea.
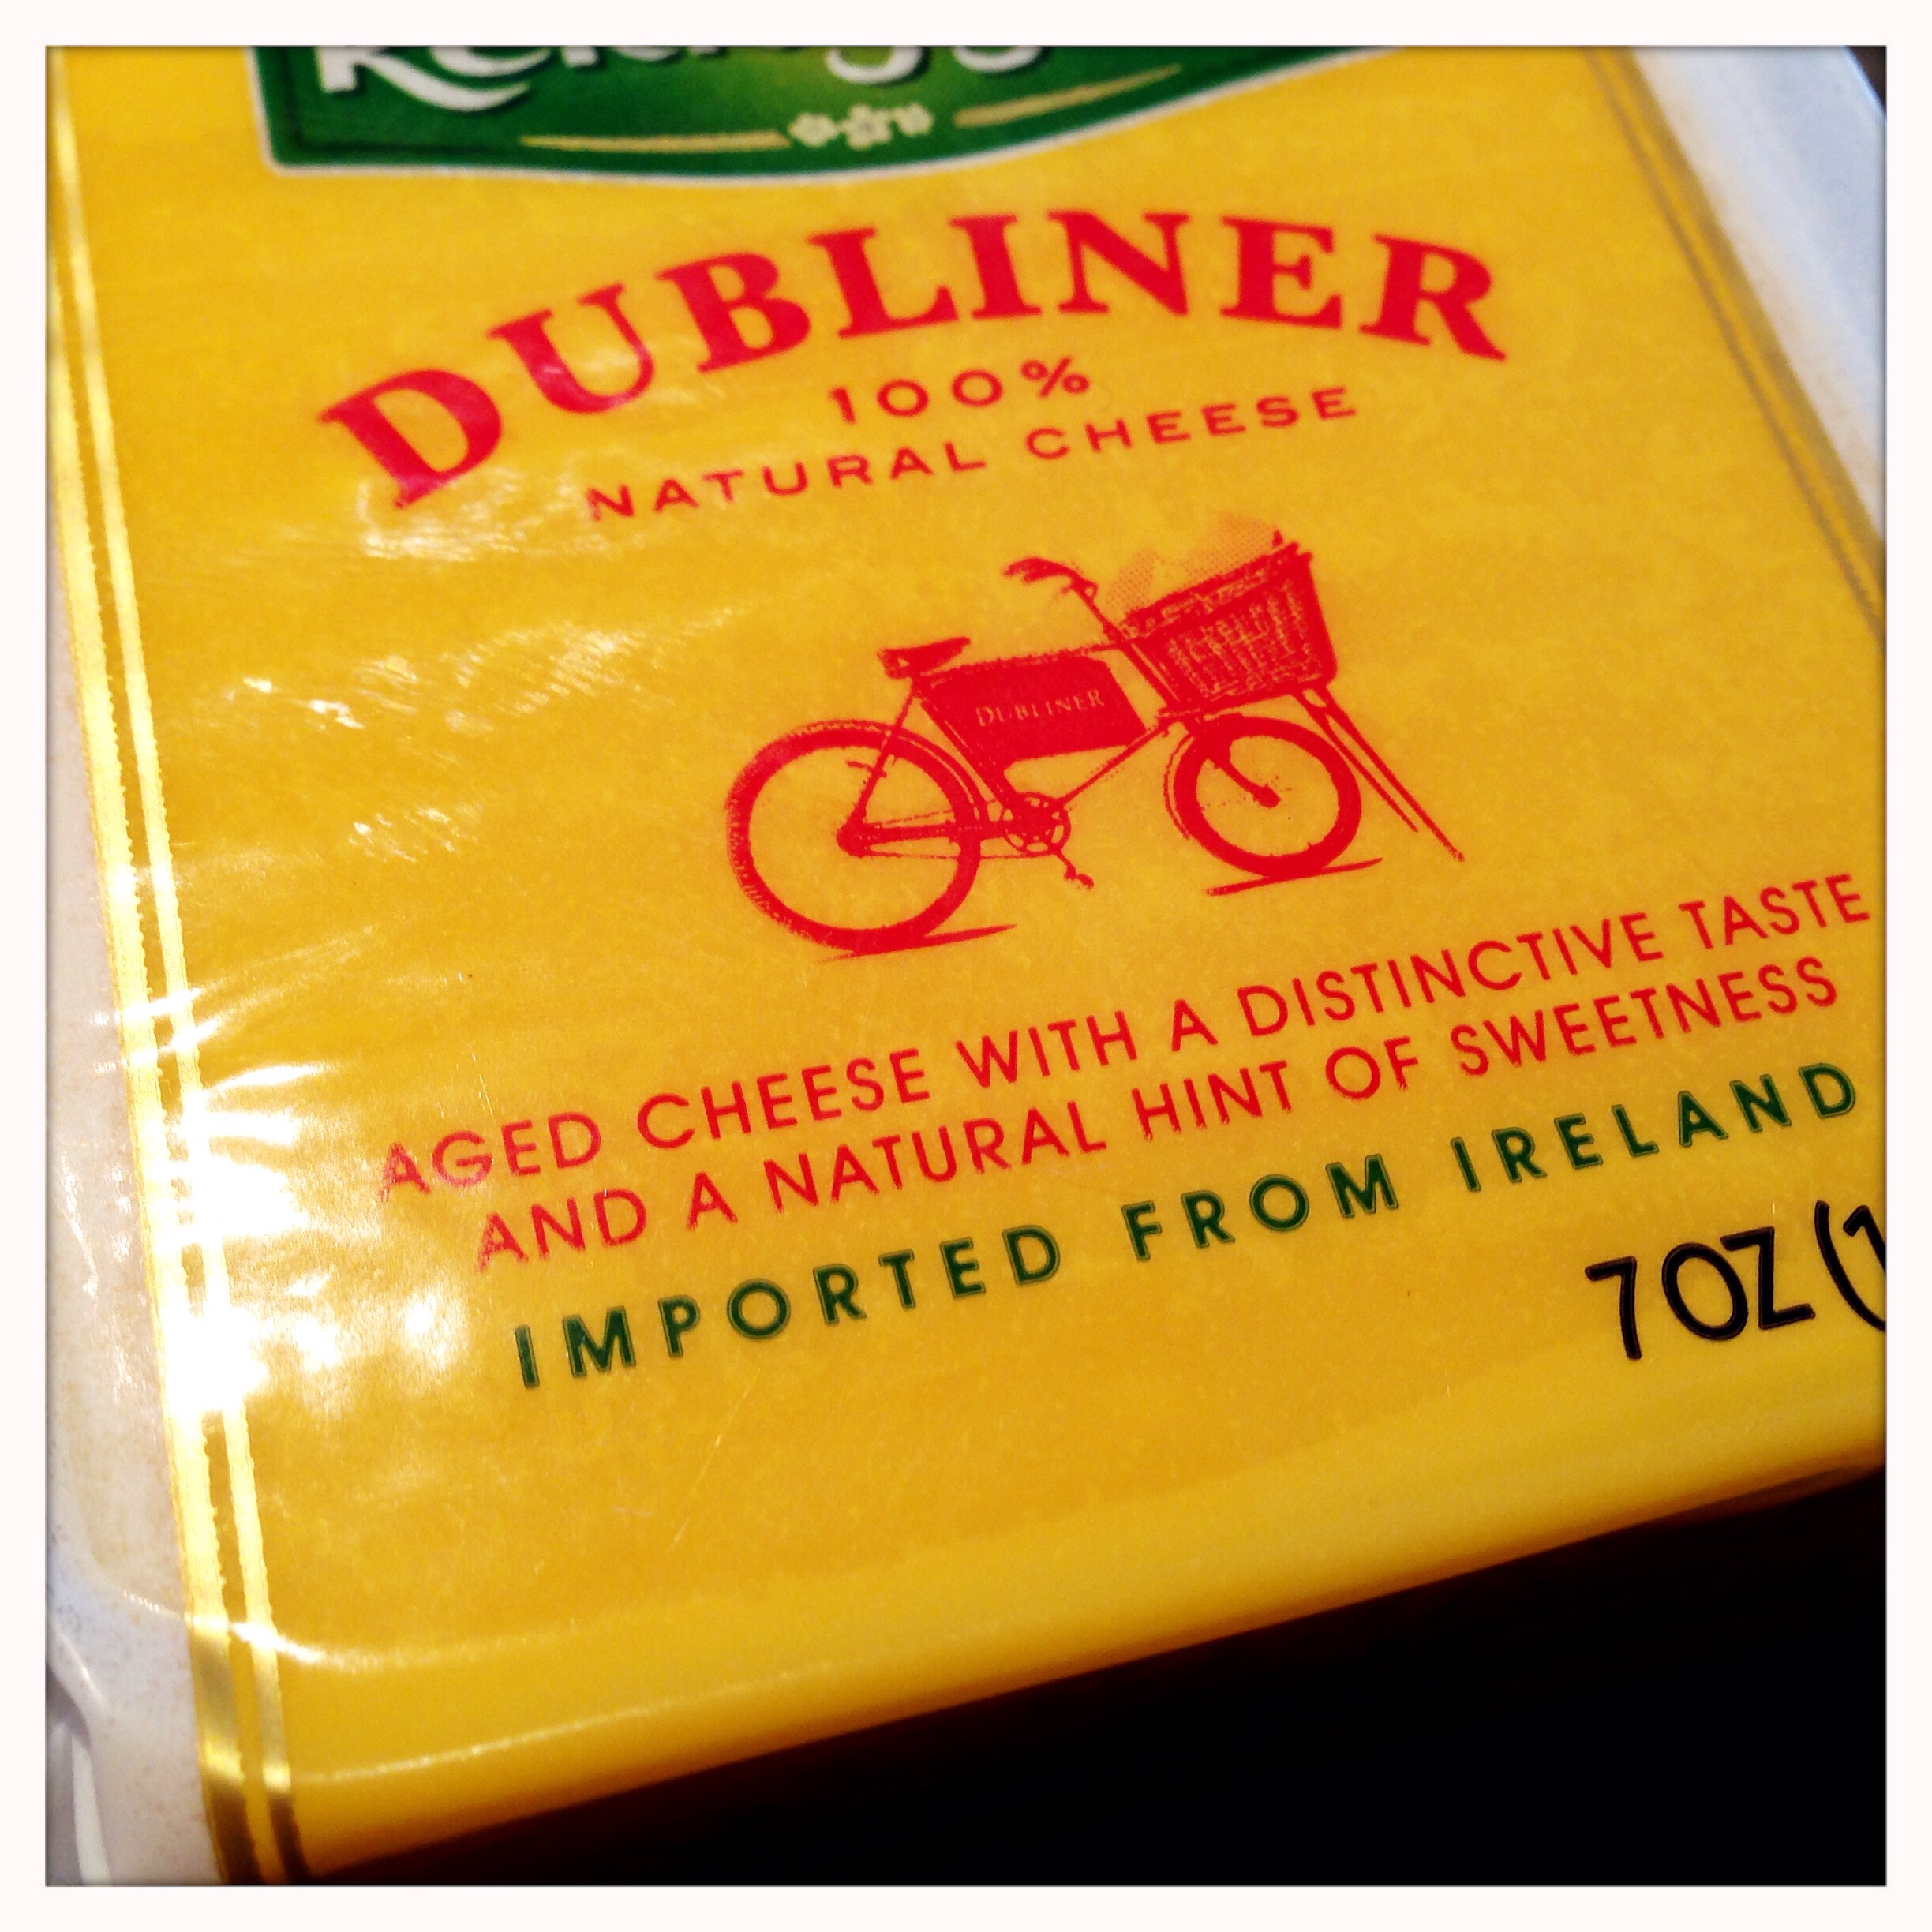
I went with a chunk of Dubliner, which is a firm cheese that melts well while holding its shape. It complements the char of the burger and cuts through the toppings very nicely. While this cheese is plenty delicious all by itself, it feels like it was made for burgers. If you come across a bit of it, definitely give it a try!
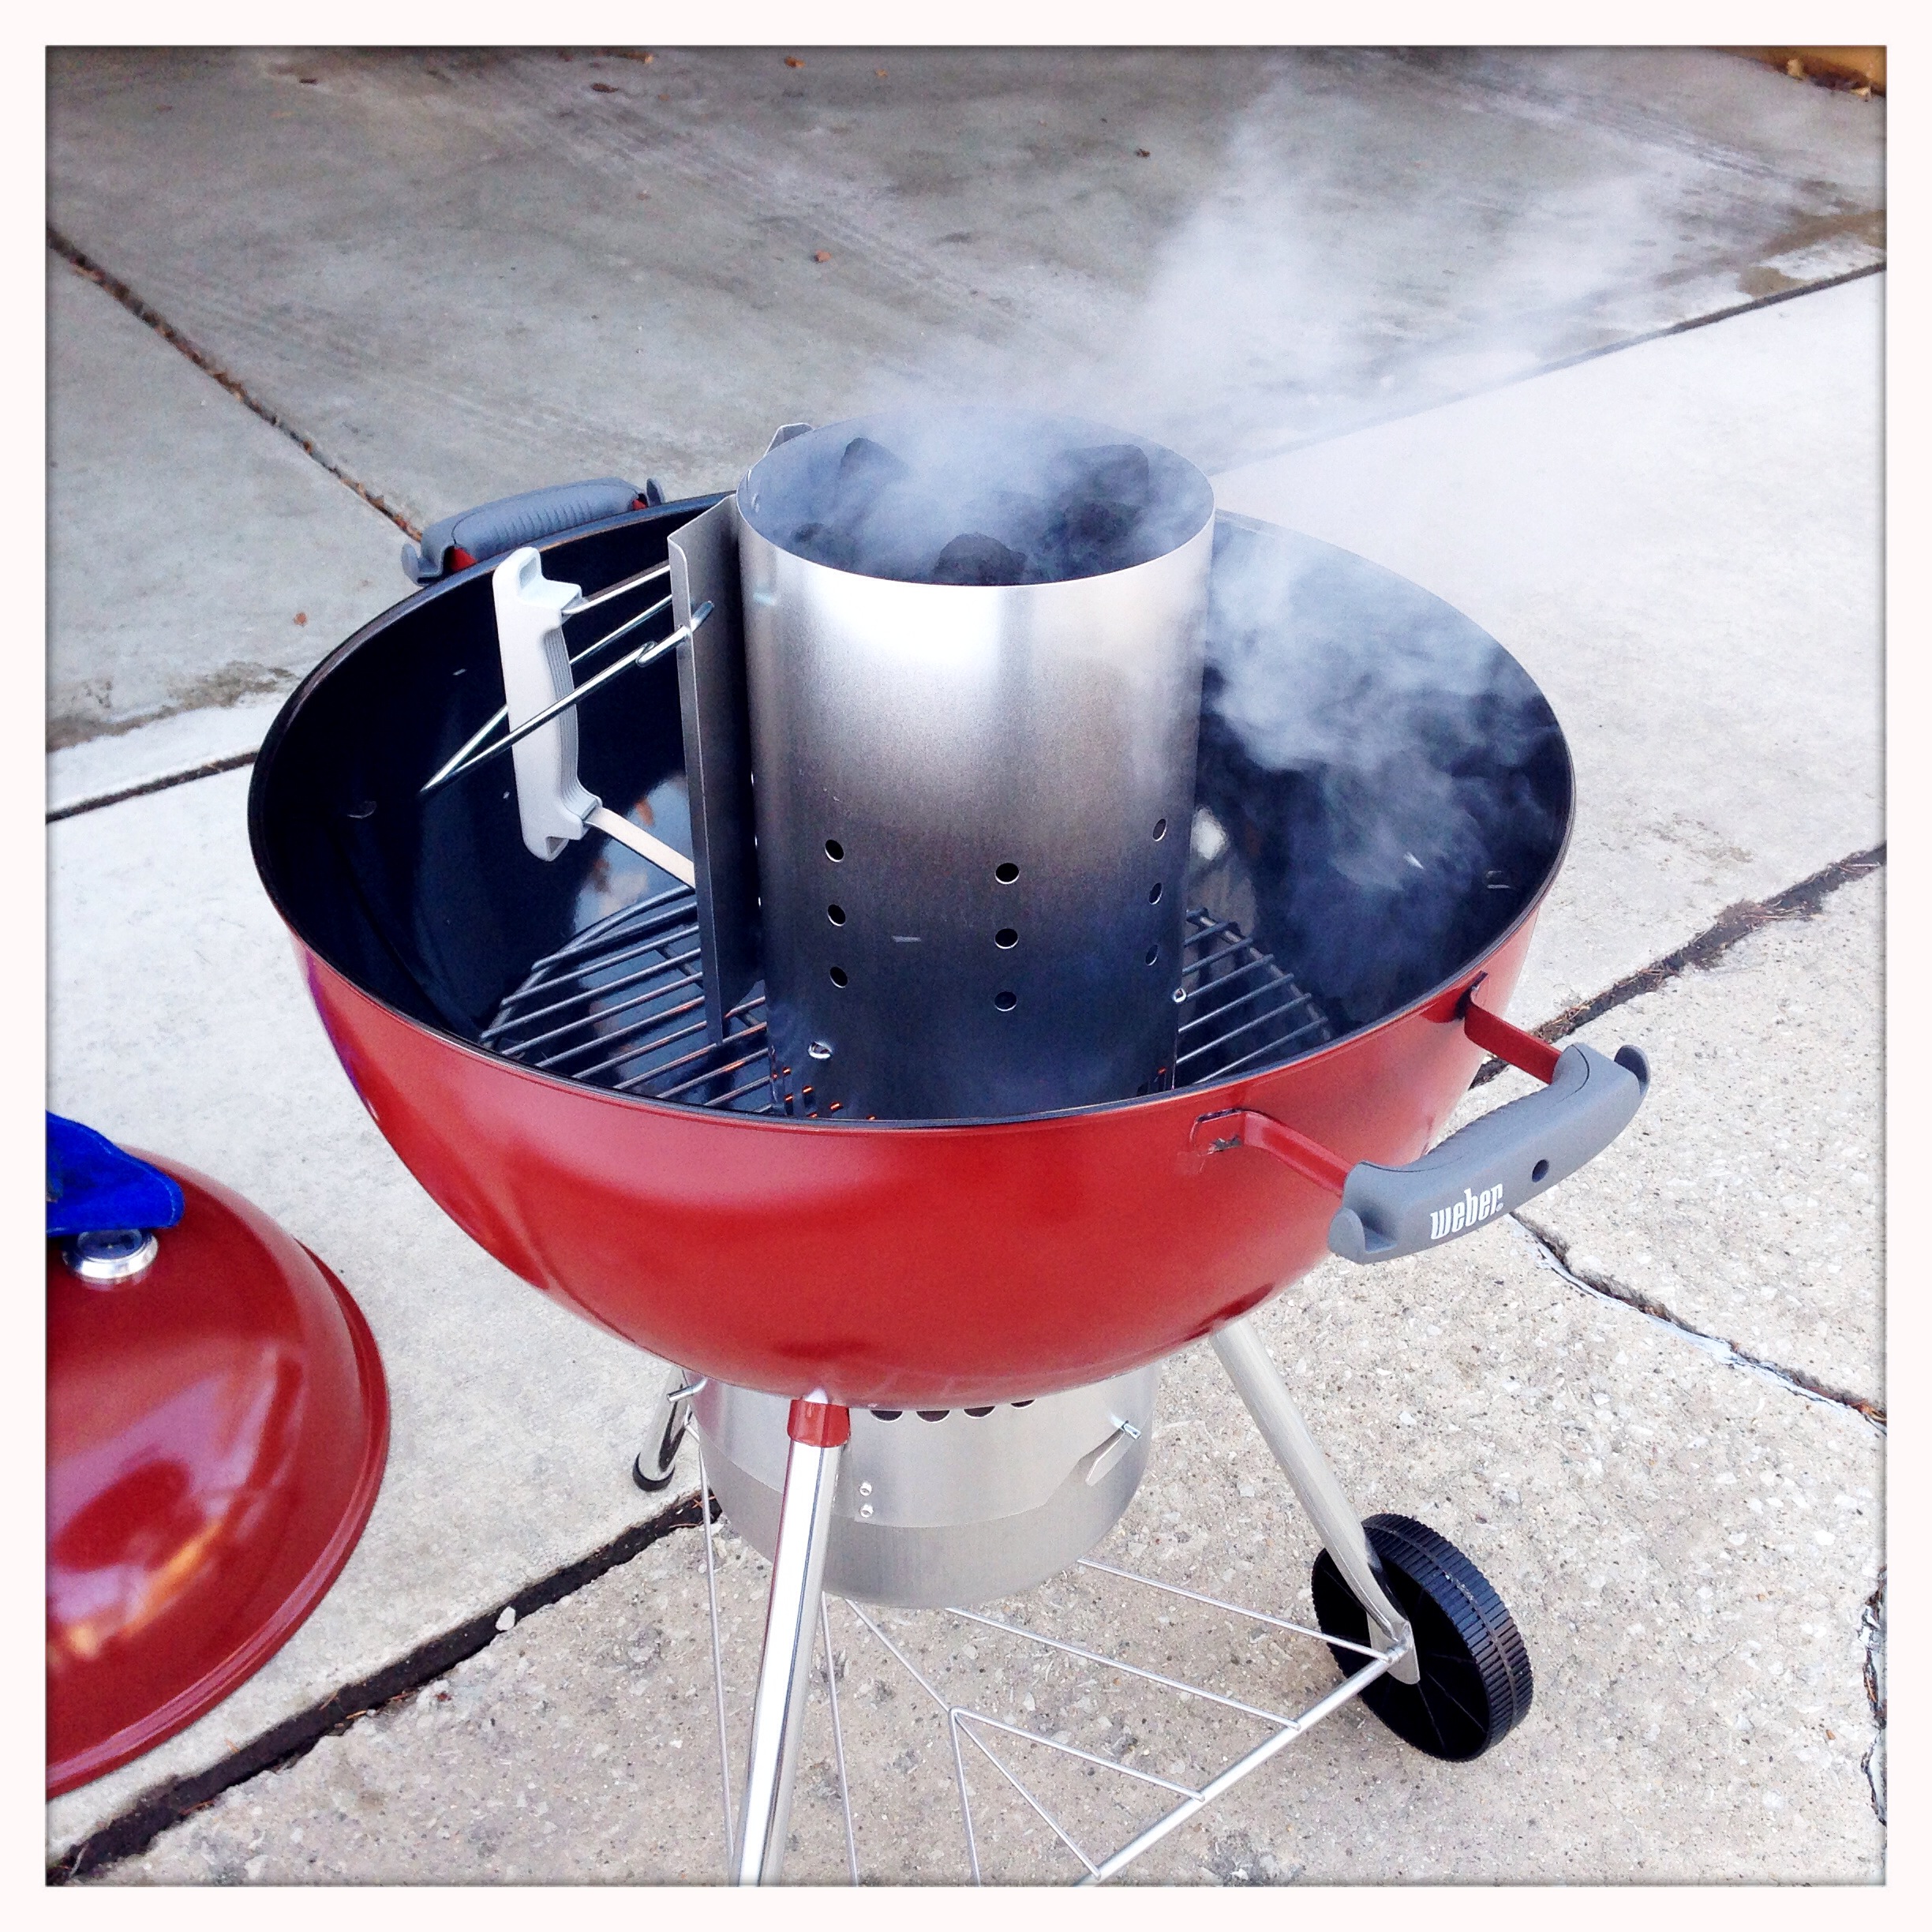
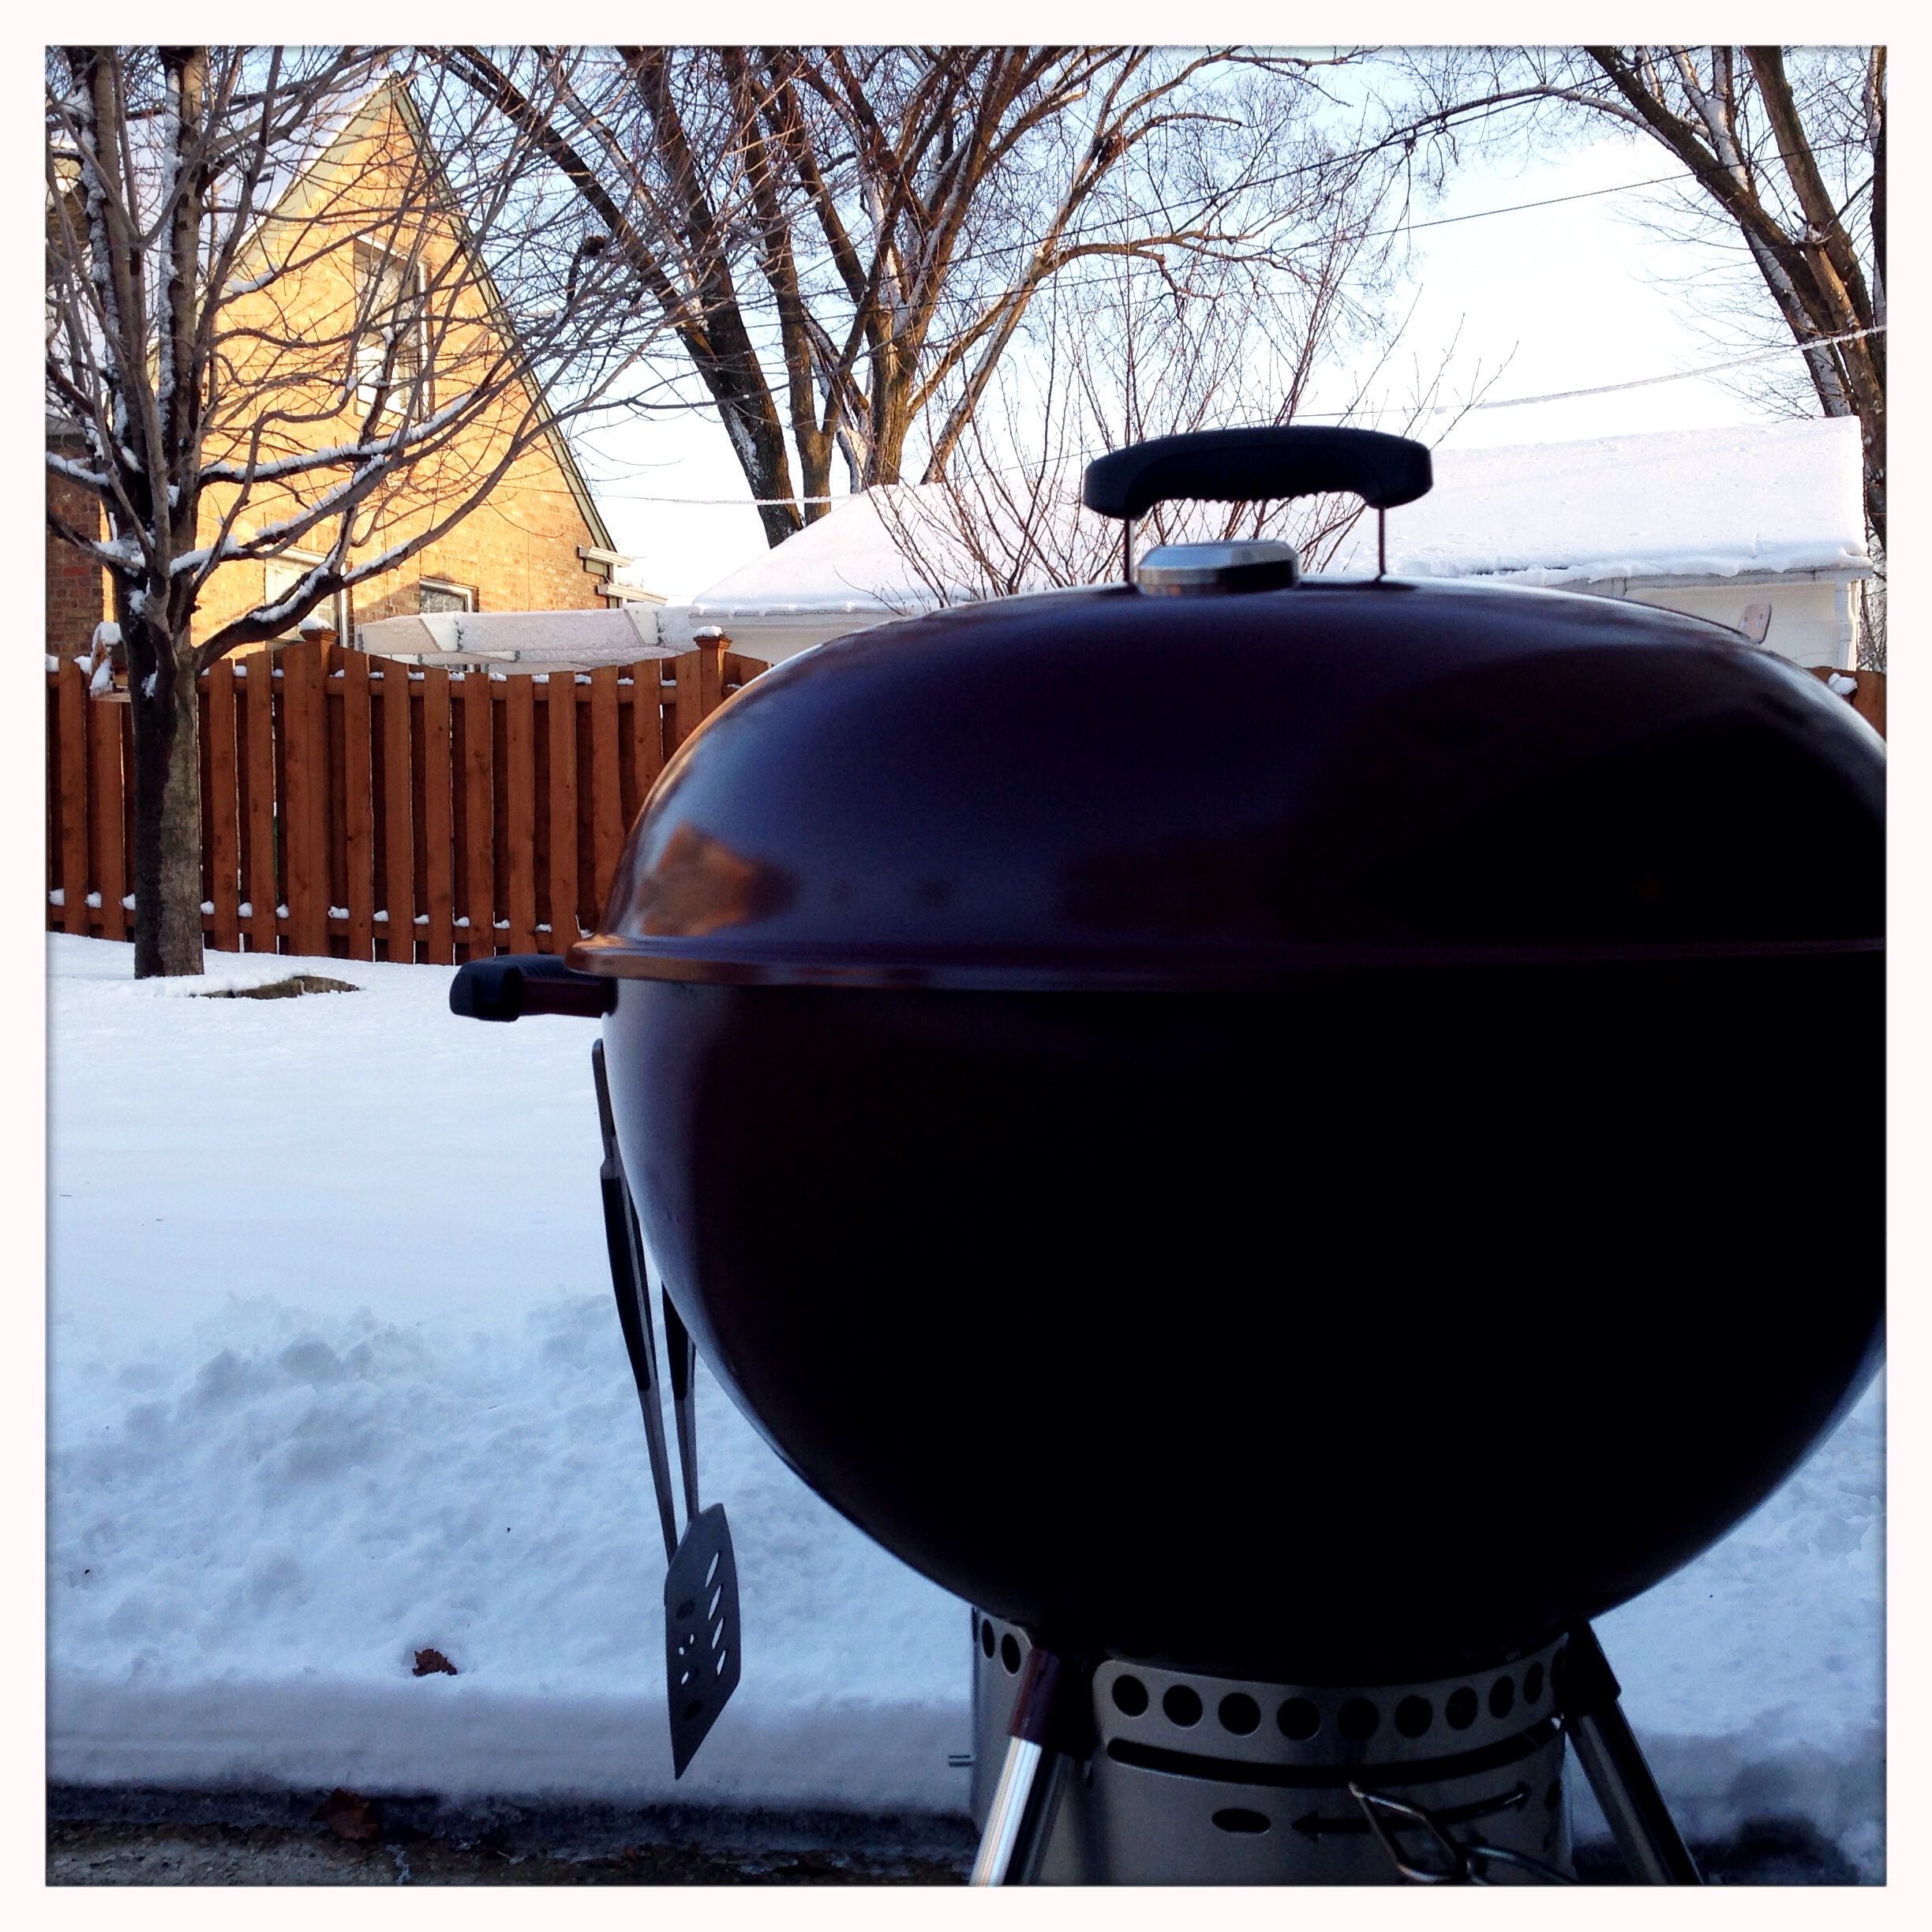
In addition to our general love of grilled burgers, this particular burger came about as a reason to try out our new Weber charcoal grill. This increases our outdoor cooking options to a charcoal smoker, a charcoal grill and a gas grill. While each has its benefits and drawbacks, having all three leaves us ready for nearly any outdoor cooking need that may arise. Gas is great for convenience on weeknights, but nothing compares to the flavor of food cooked over charcoal. Let’s get started!
Ingredients:
- Ground beef, 85% lean
- Dubliner cheese, sliced thick
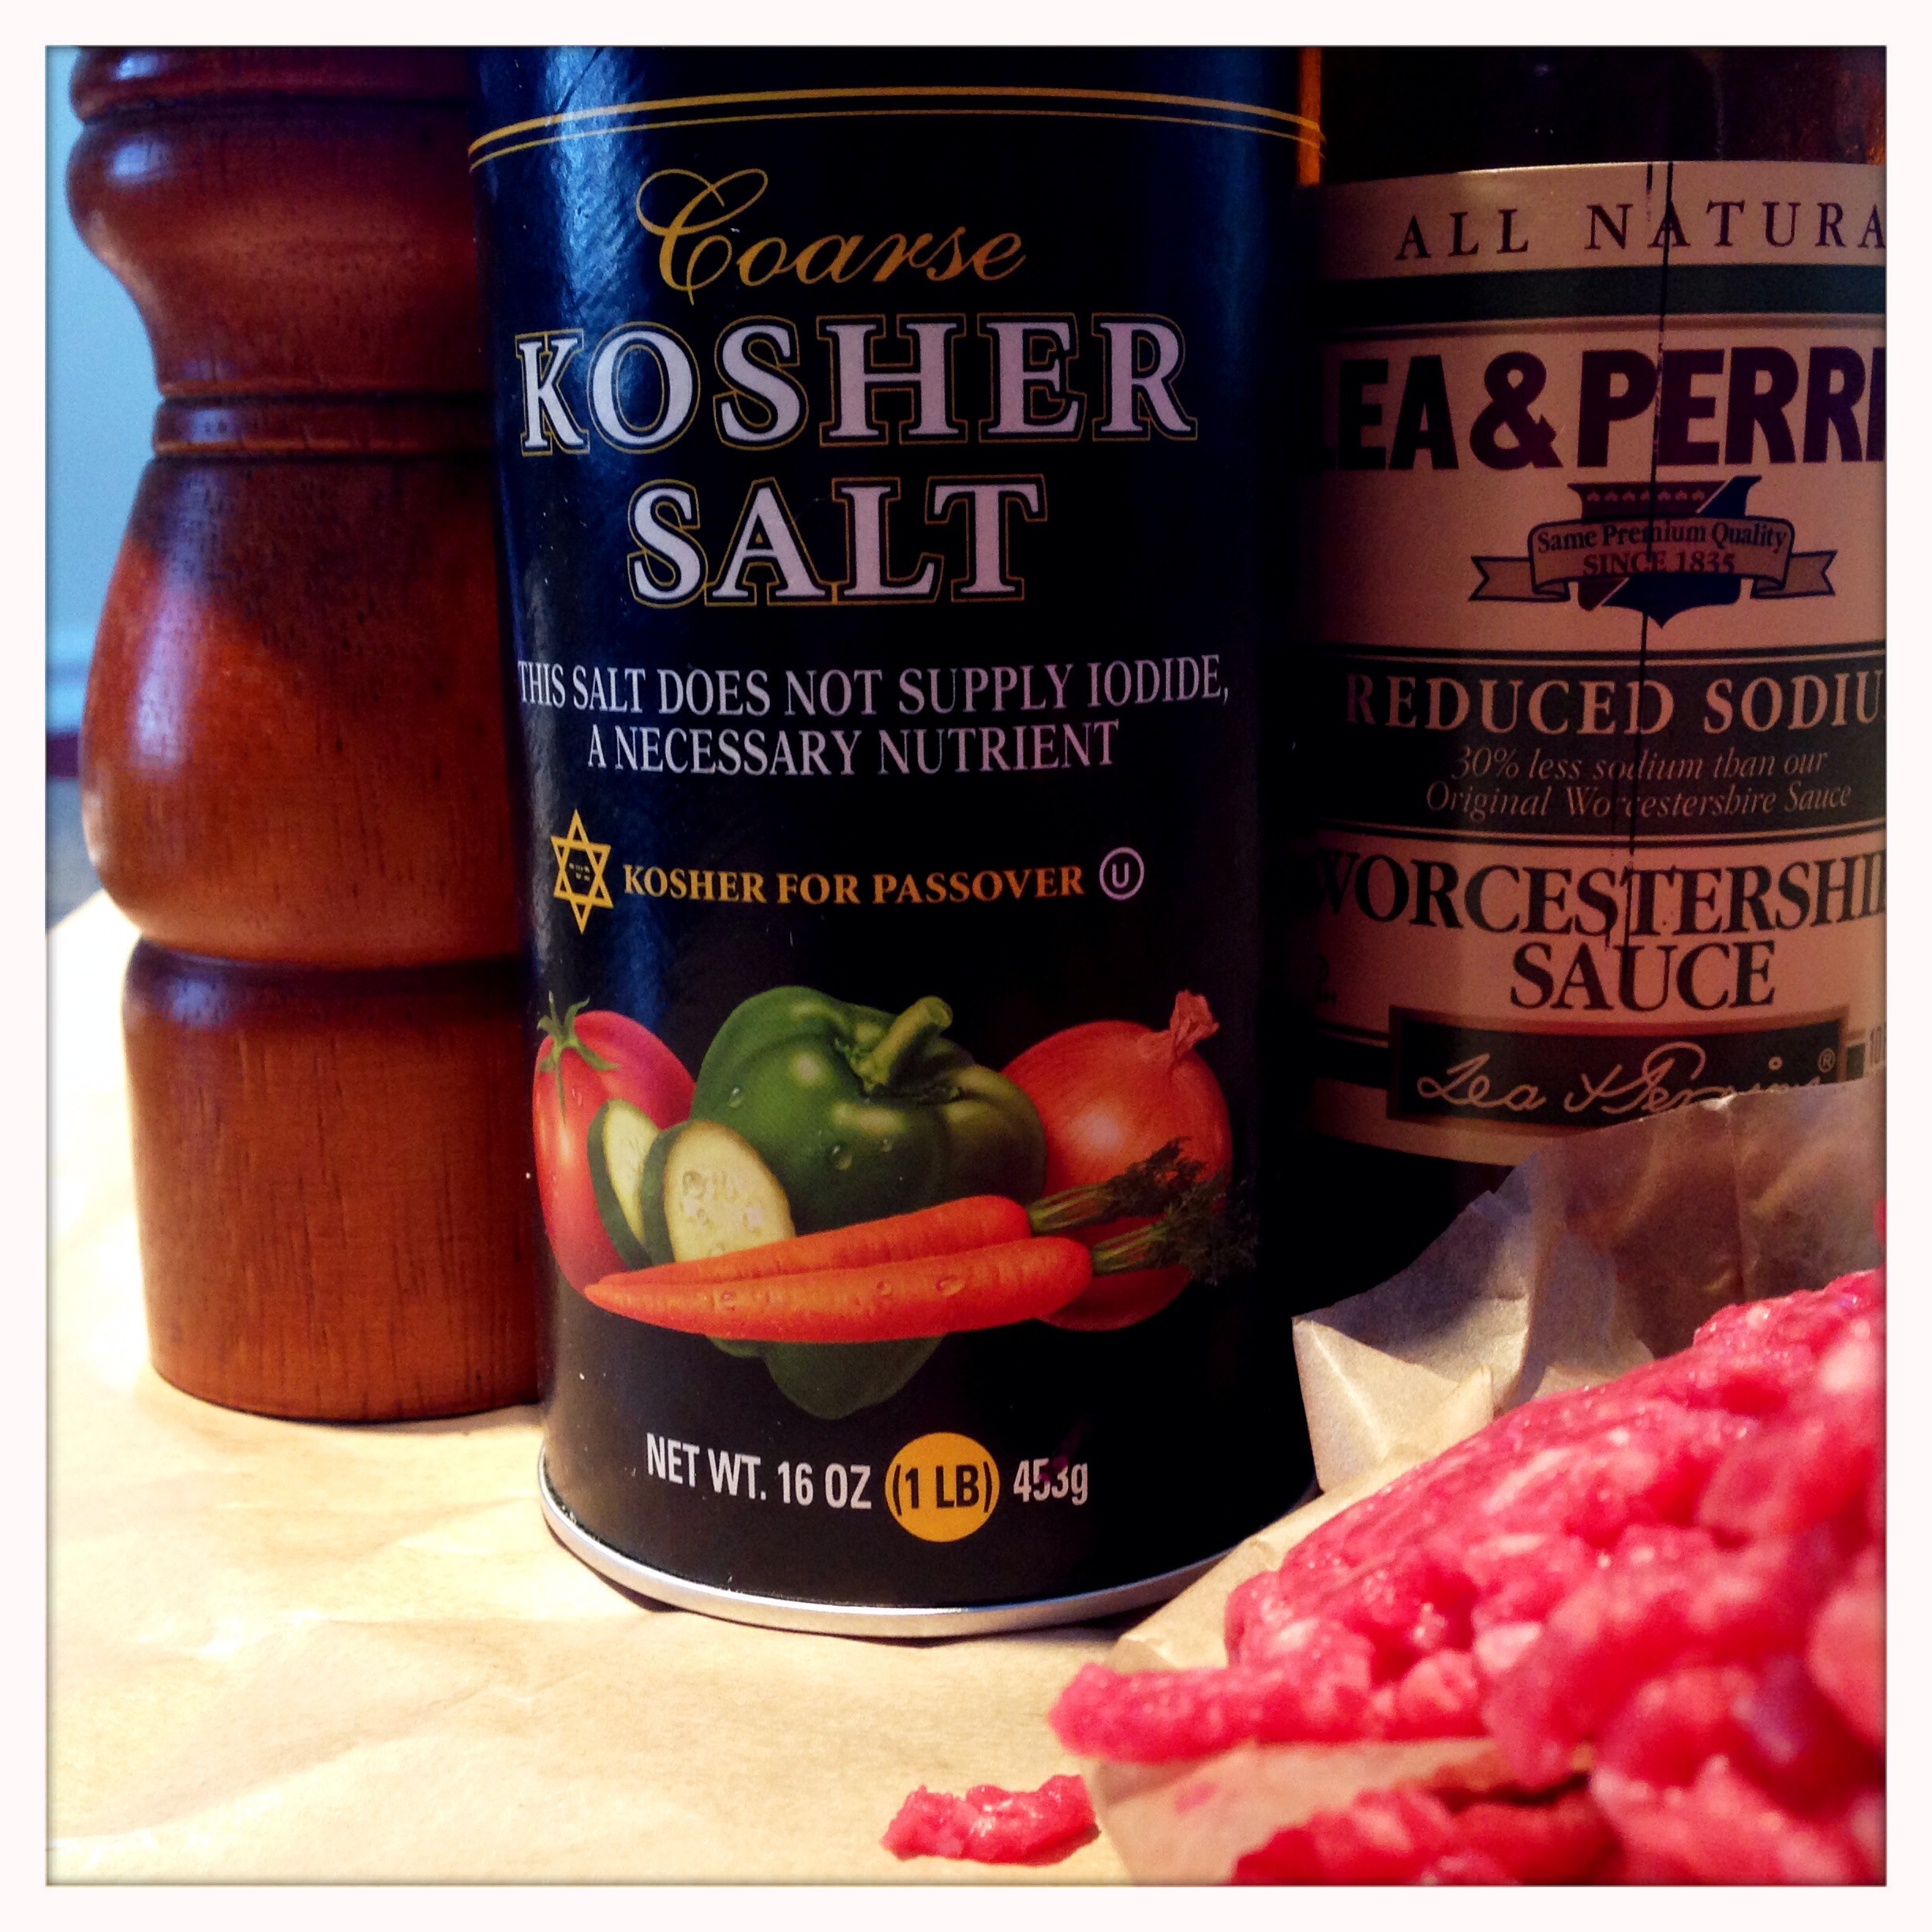
- Worchestershire Sauce
- Salt and Pepper
- Onion, sliced
- Tomato, sliced
- Pickles, sliced
- Ketchup and Mustard
- Fresh buns
Procedure:
As this is my first post on grilling over charcoal, I will touch on the process of setting up the grill and grilling itself a bit in addition to the actual burgers.
Since burgers don’t take much prep work, I get the charcoal going before I even start worrying about the meat. This gives the coals plenty of time to get nice and hot while I’m making the patties. There are lots of methods for starting charcoal, but nothing is as easy as a chimney starter. Fill the chimney with unlit charcoal, light some newspaper or a paraffin lighter cube under the chimney, and you’re all set.
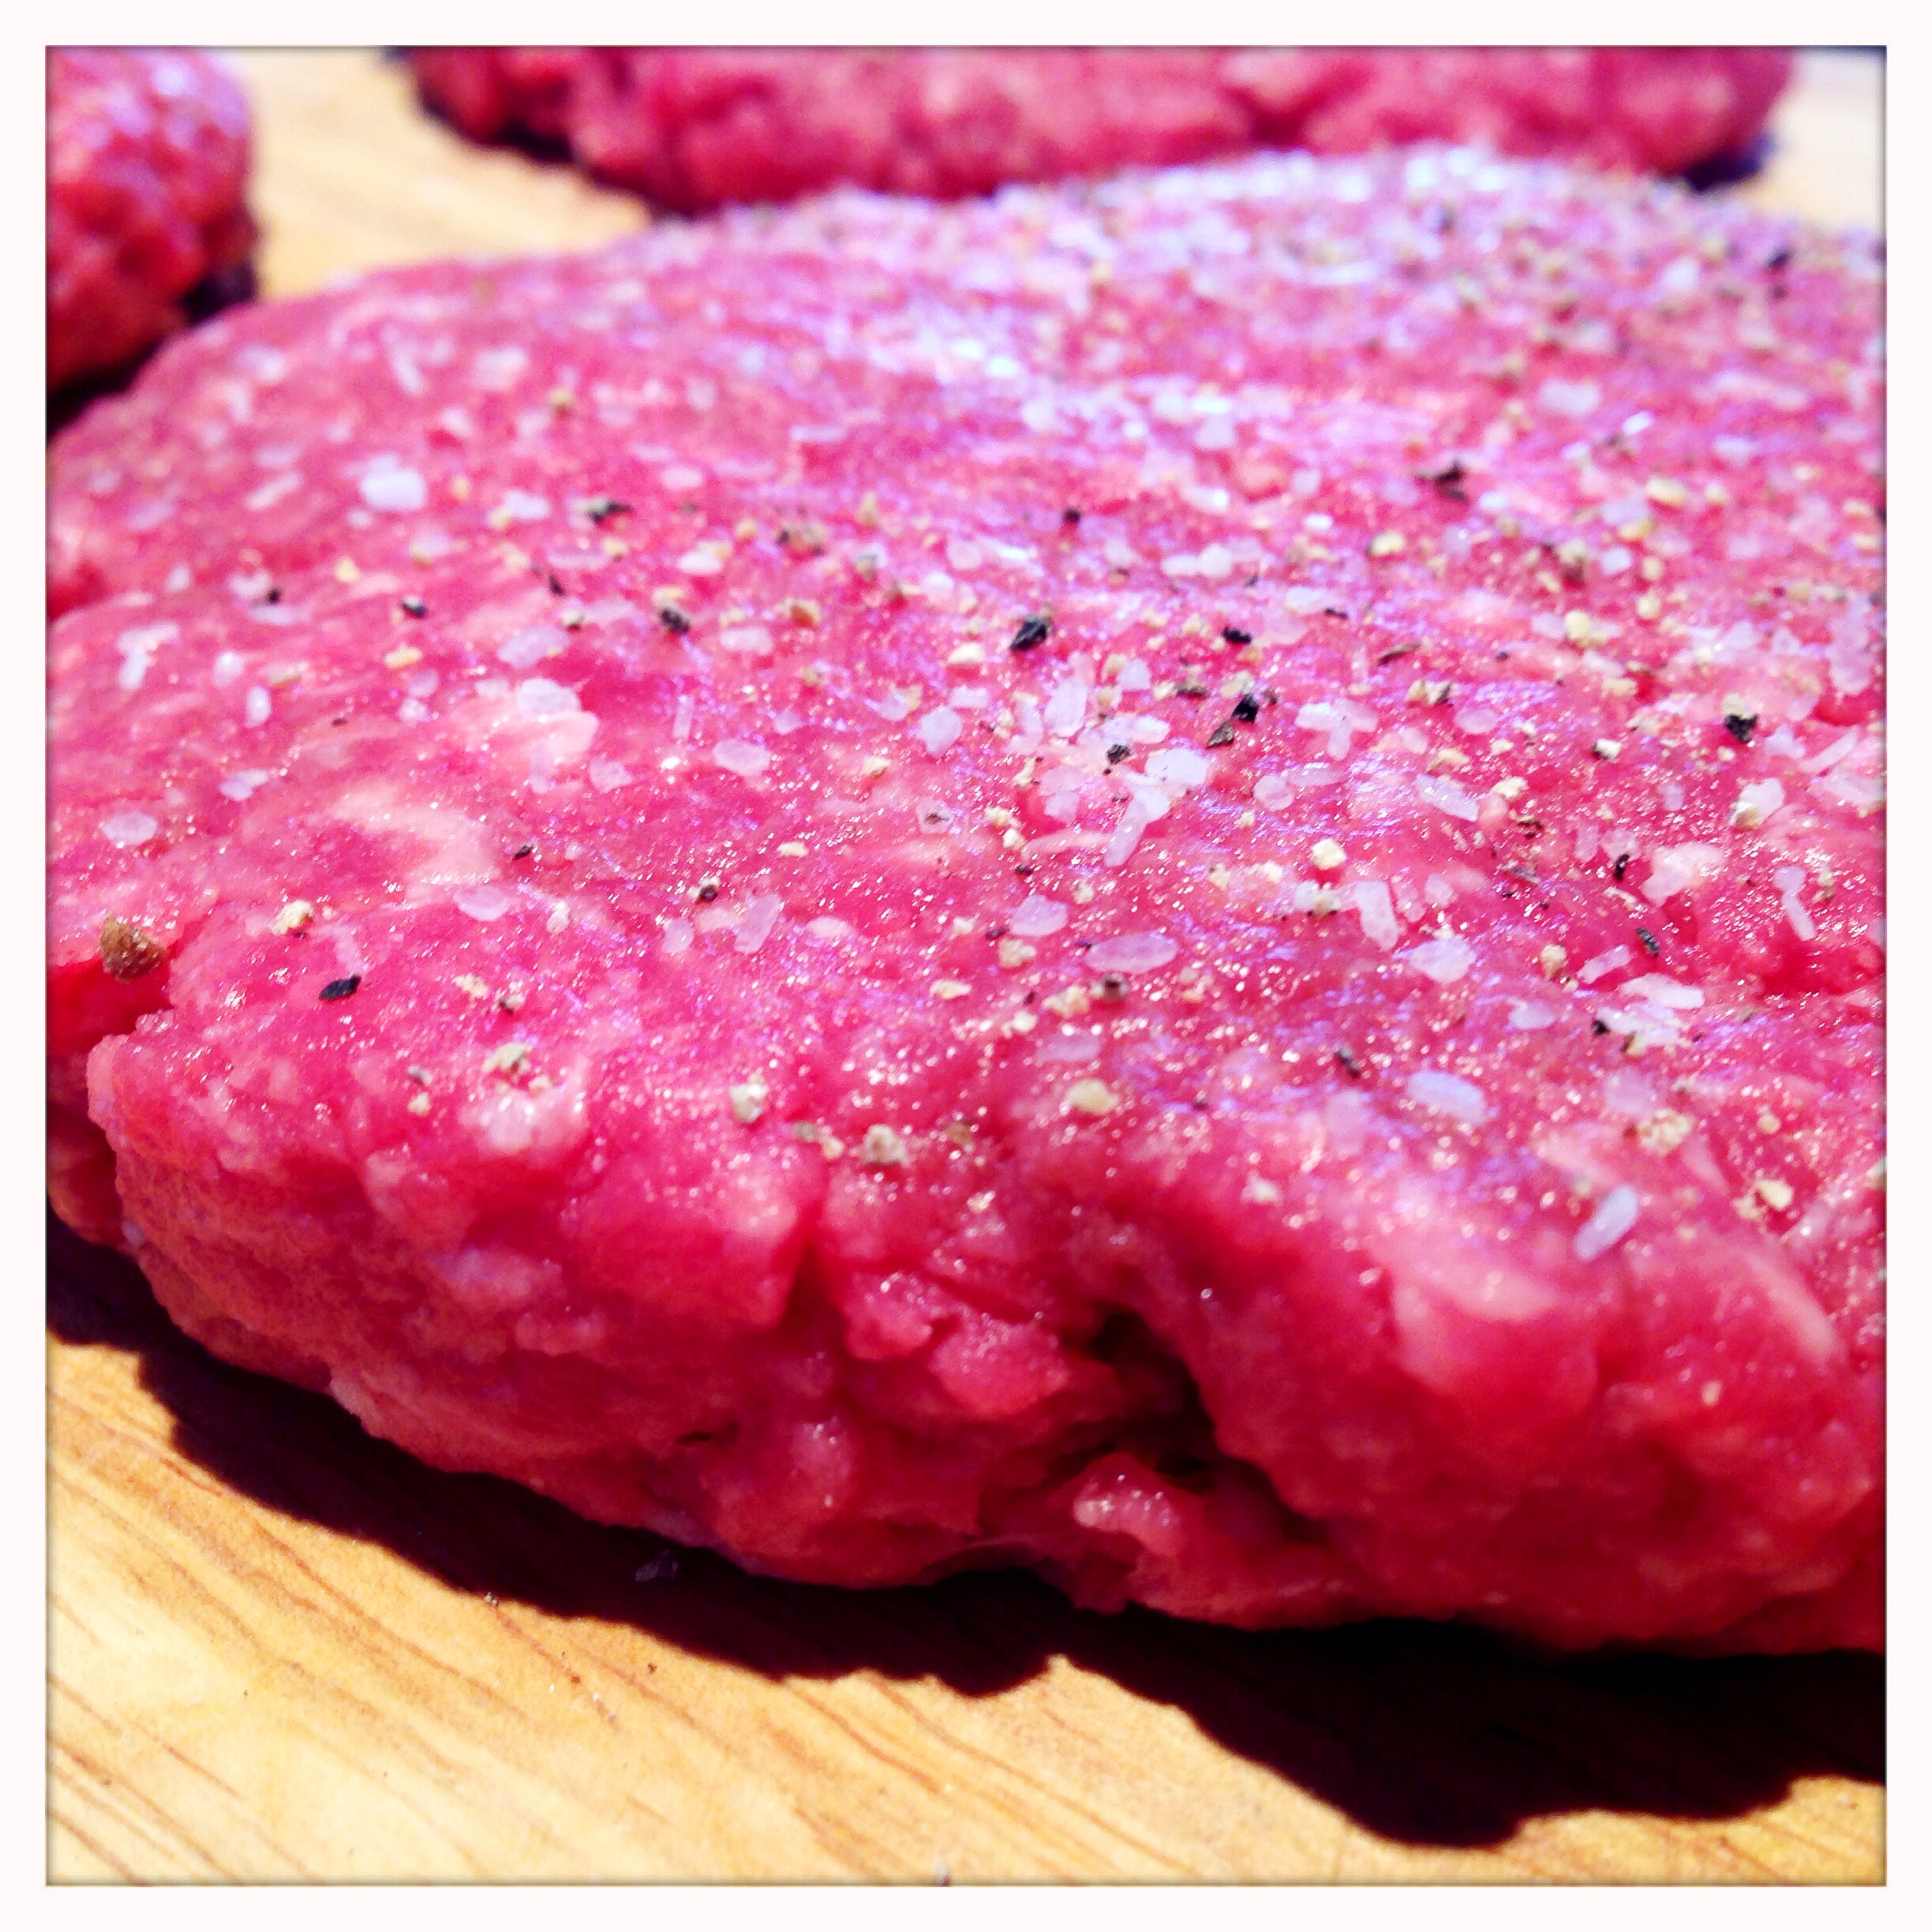
The charcoal will be ready to cook in 15-20 minutes, which is plenty of time to whip up some burger patties and prep your toppings. When grilling burgers, I never use anything leaner than 85% lean beef. In this case, I got my hands on some 85% lean wagyu chuck that was on sale, which was a real treat.
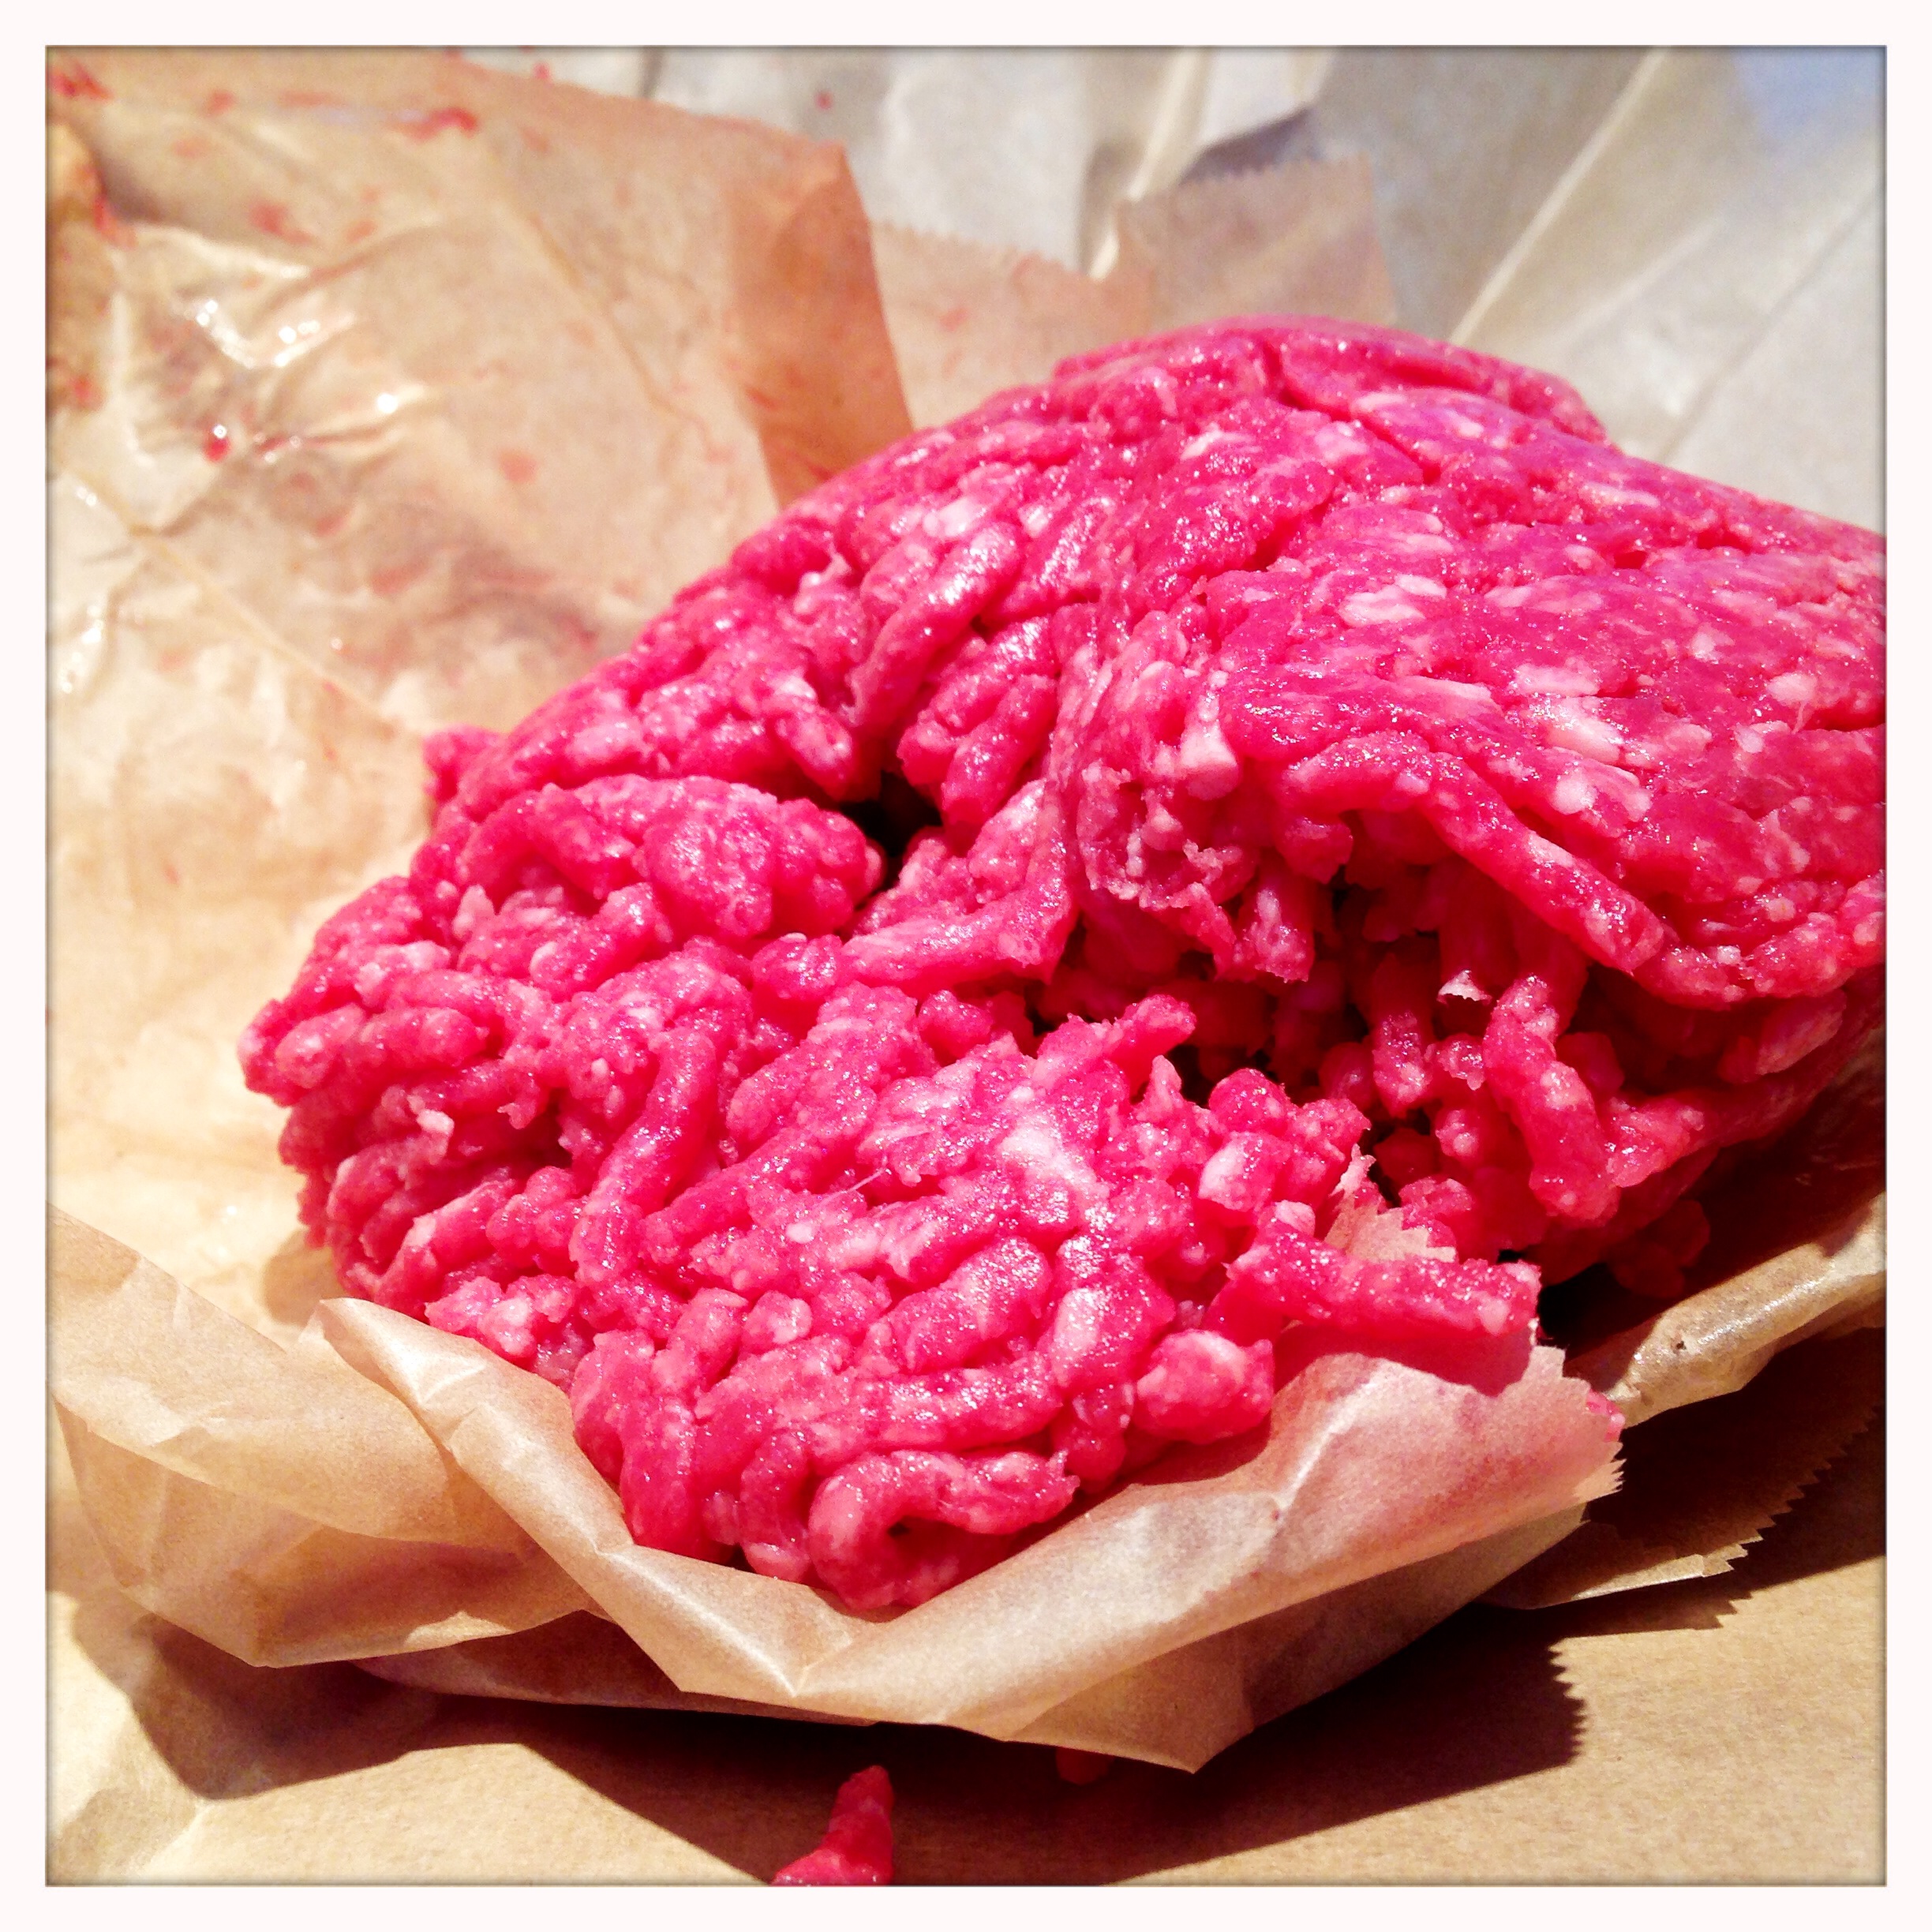
If you go leaner than 85%, the burgers don’t have enough fat to stay juicy while they grill. Remember that a good portion of the fat drains out of the meat when grilling, and doesn’t stay trapped in a pan with meat like it would on the stove, so you will still end up with a fairly lean burger when you’re done.
As far as seasoning, I work a few shakes of worchestershire sauce into the meat and form loose patties. Season both sides generously with salt and pepper, and that’s it. No fancy fillings or stuffing. No secret ingredients. Just delicious, high quality beef.
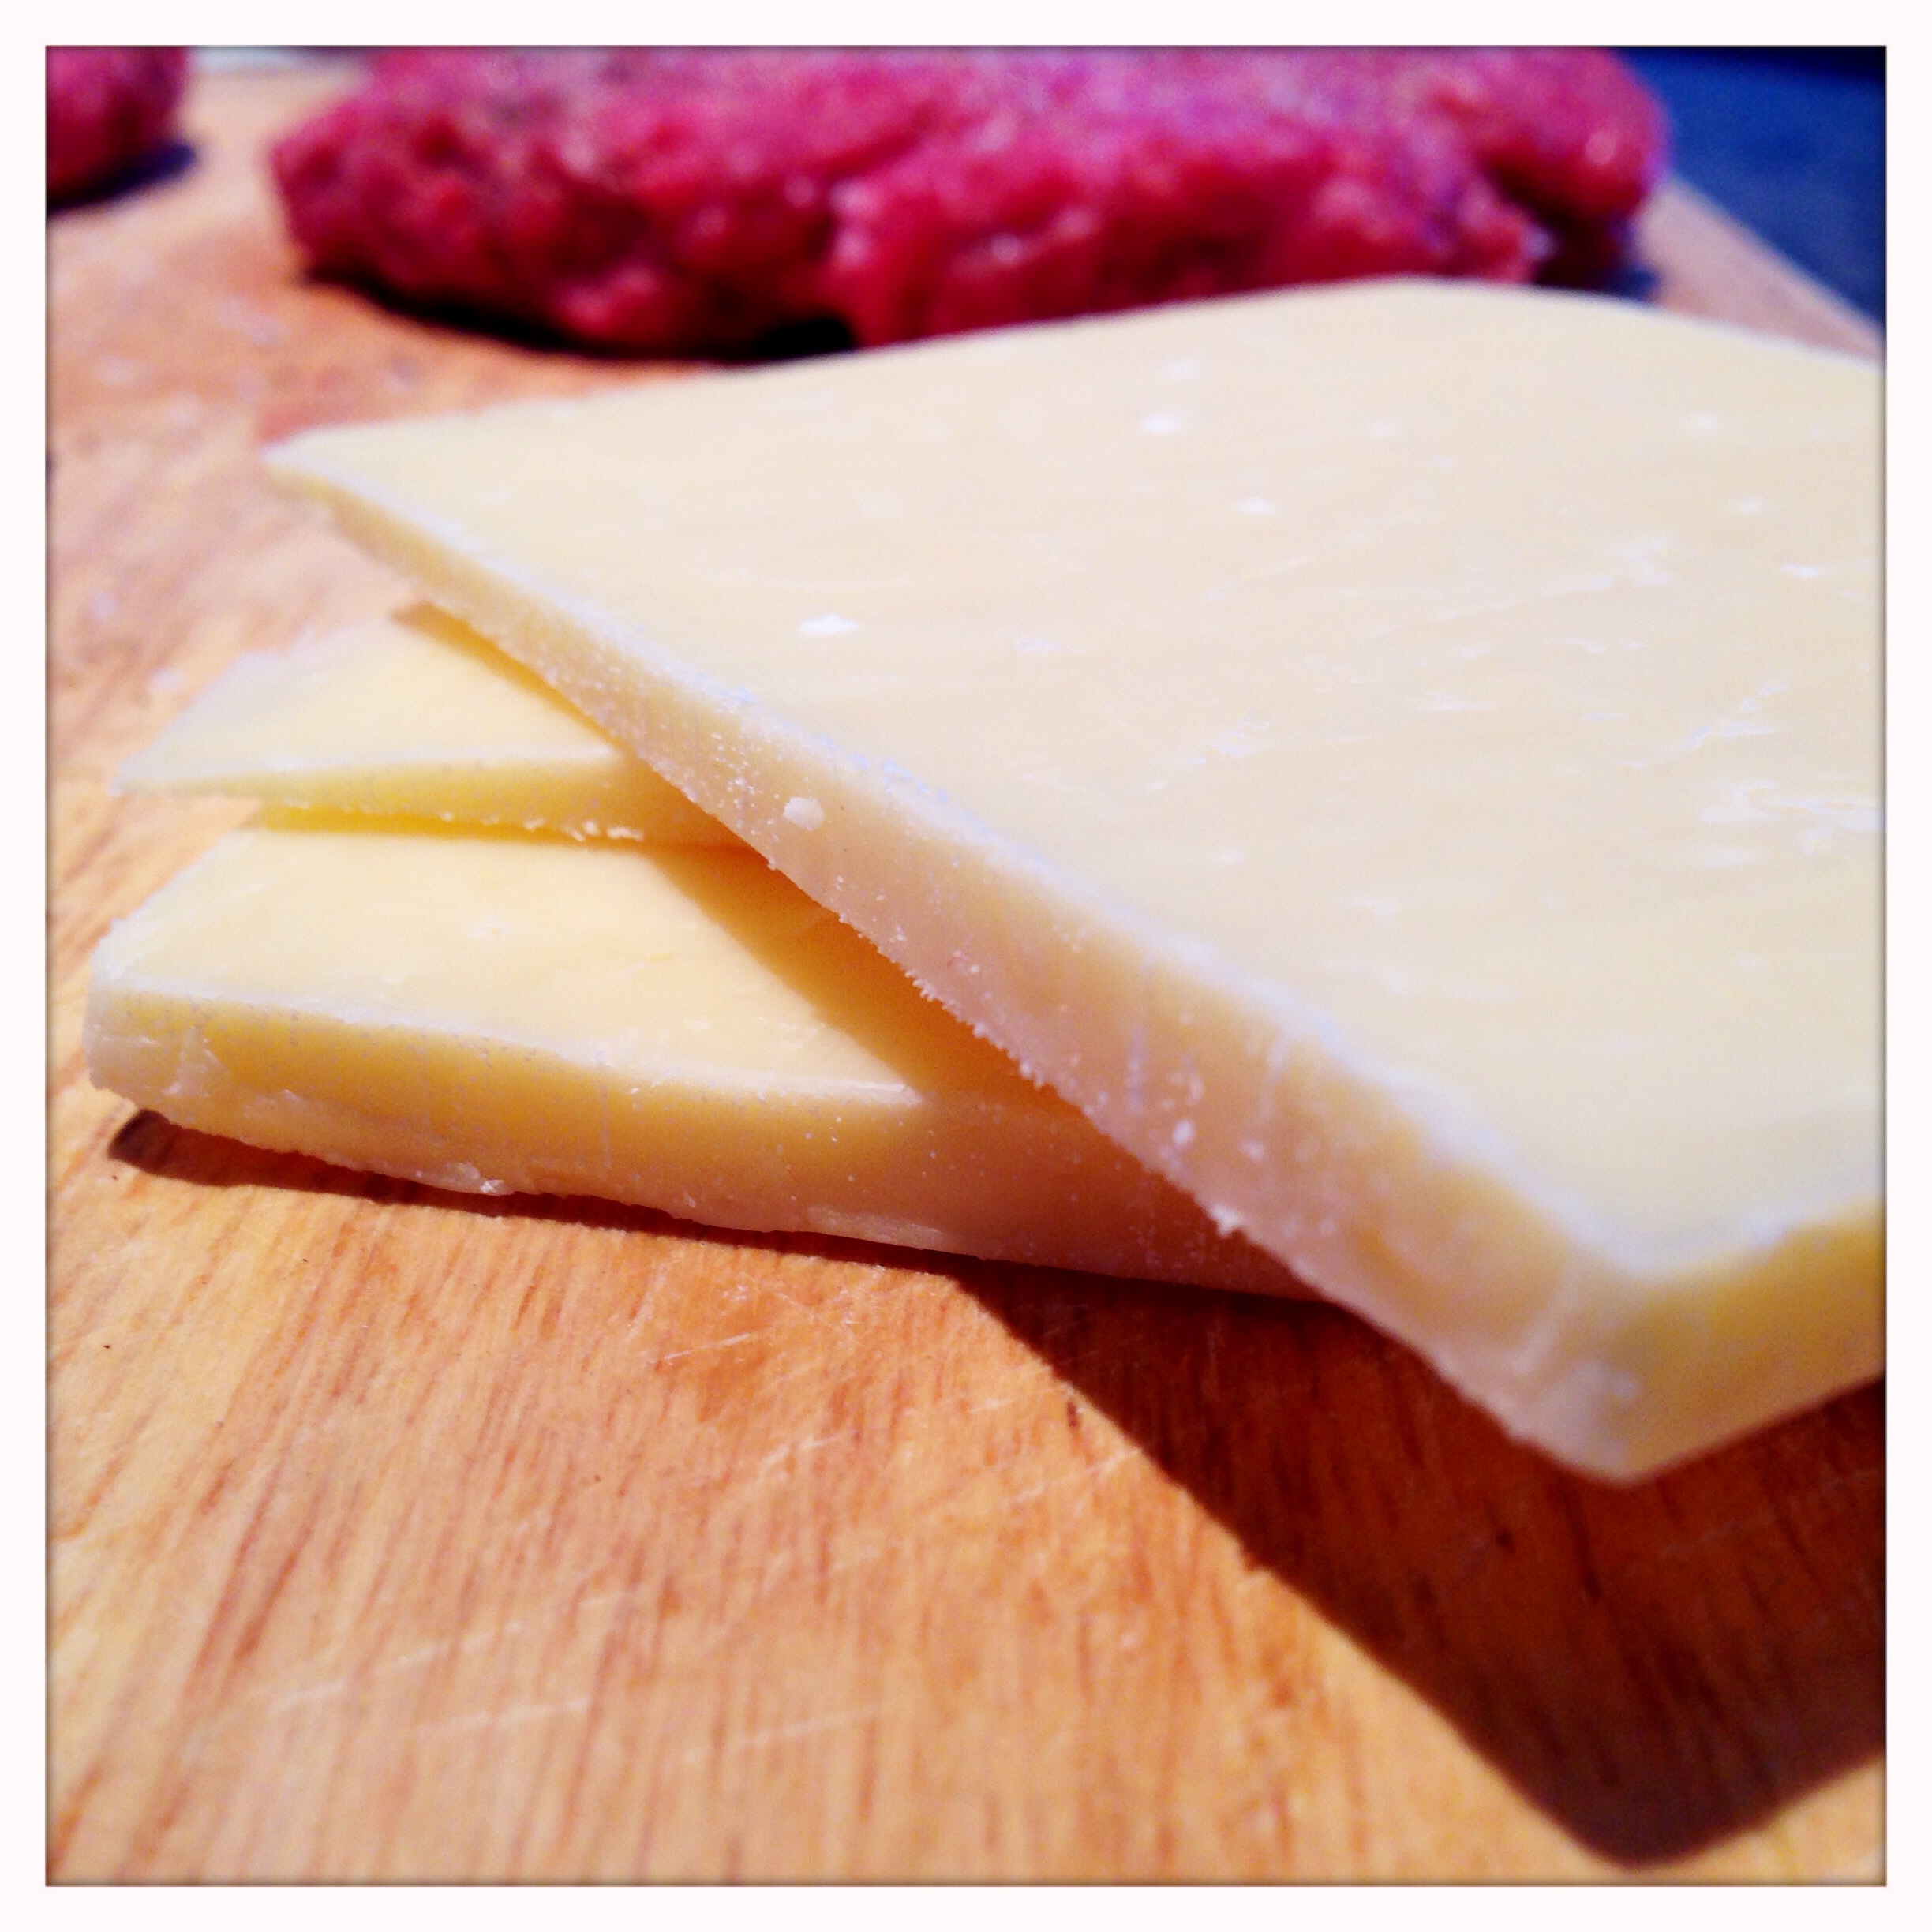
I always have all my toppings and condiments ready to go before I start grilling so that I’m not running around after the burgers come off the grill. As mentioned above, I went with a Dubliner cheese for these burgers, and it was a very good choice.
Slice the cheese into thick slabs. If the slabs look like they’re too thick, then you probably have the perfect thickness. The key is for the cheese to maintain some of its natural shape and texture even after melting.
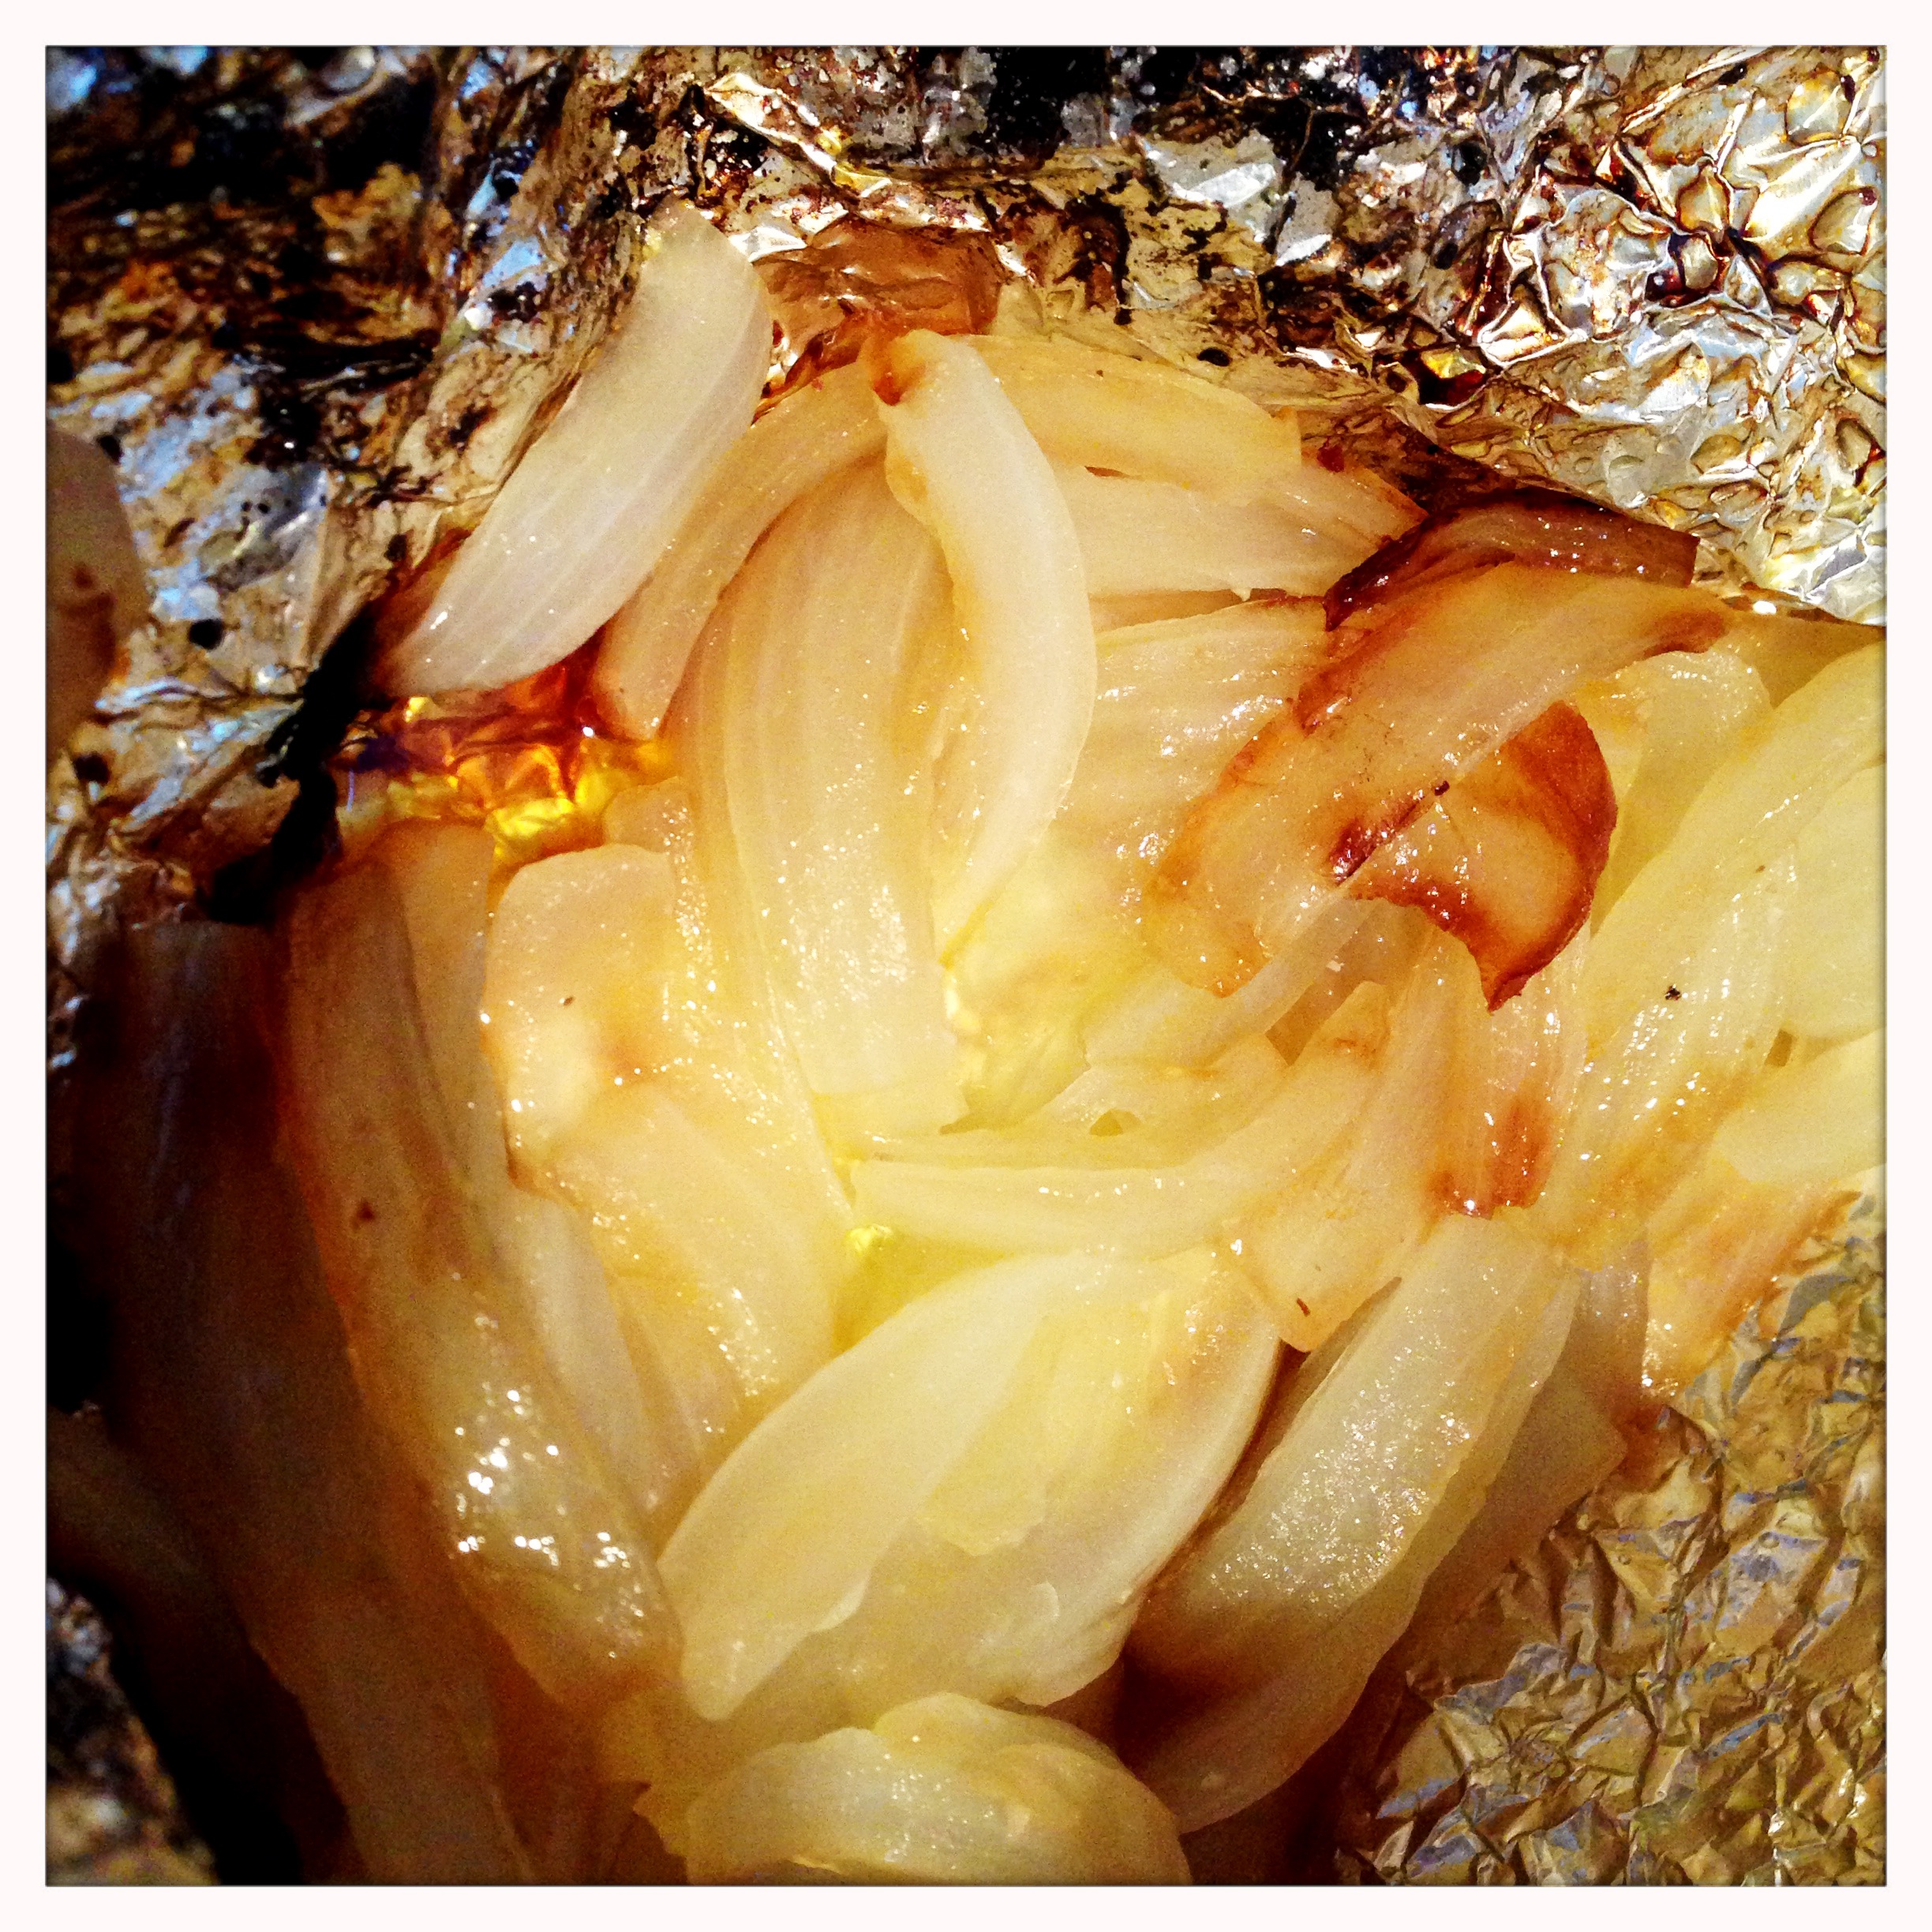
I also grilled some onions while I did the burgers. I do a very basic foil pack when I grill onions. Slice up the onions, and lay them on a large sheet of foil. Drizzle with a little olive oil, and season with some salt and pepper. Fold the foil over the onions, and seal the edges by folding them over until you have a nice little packet.
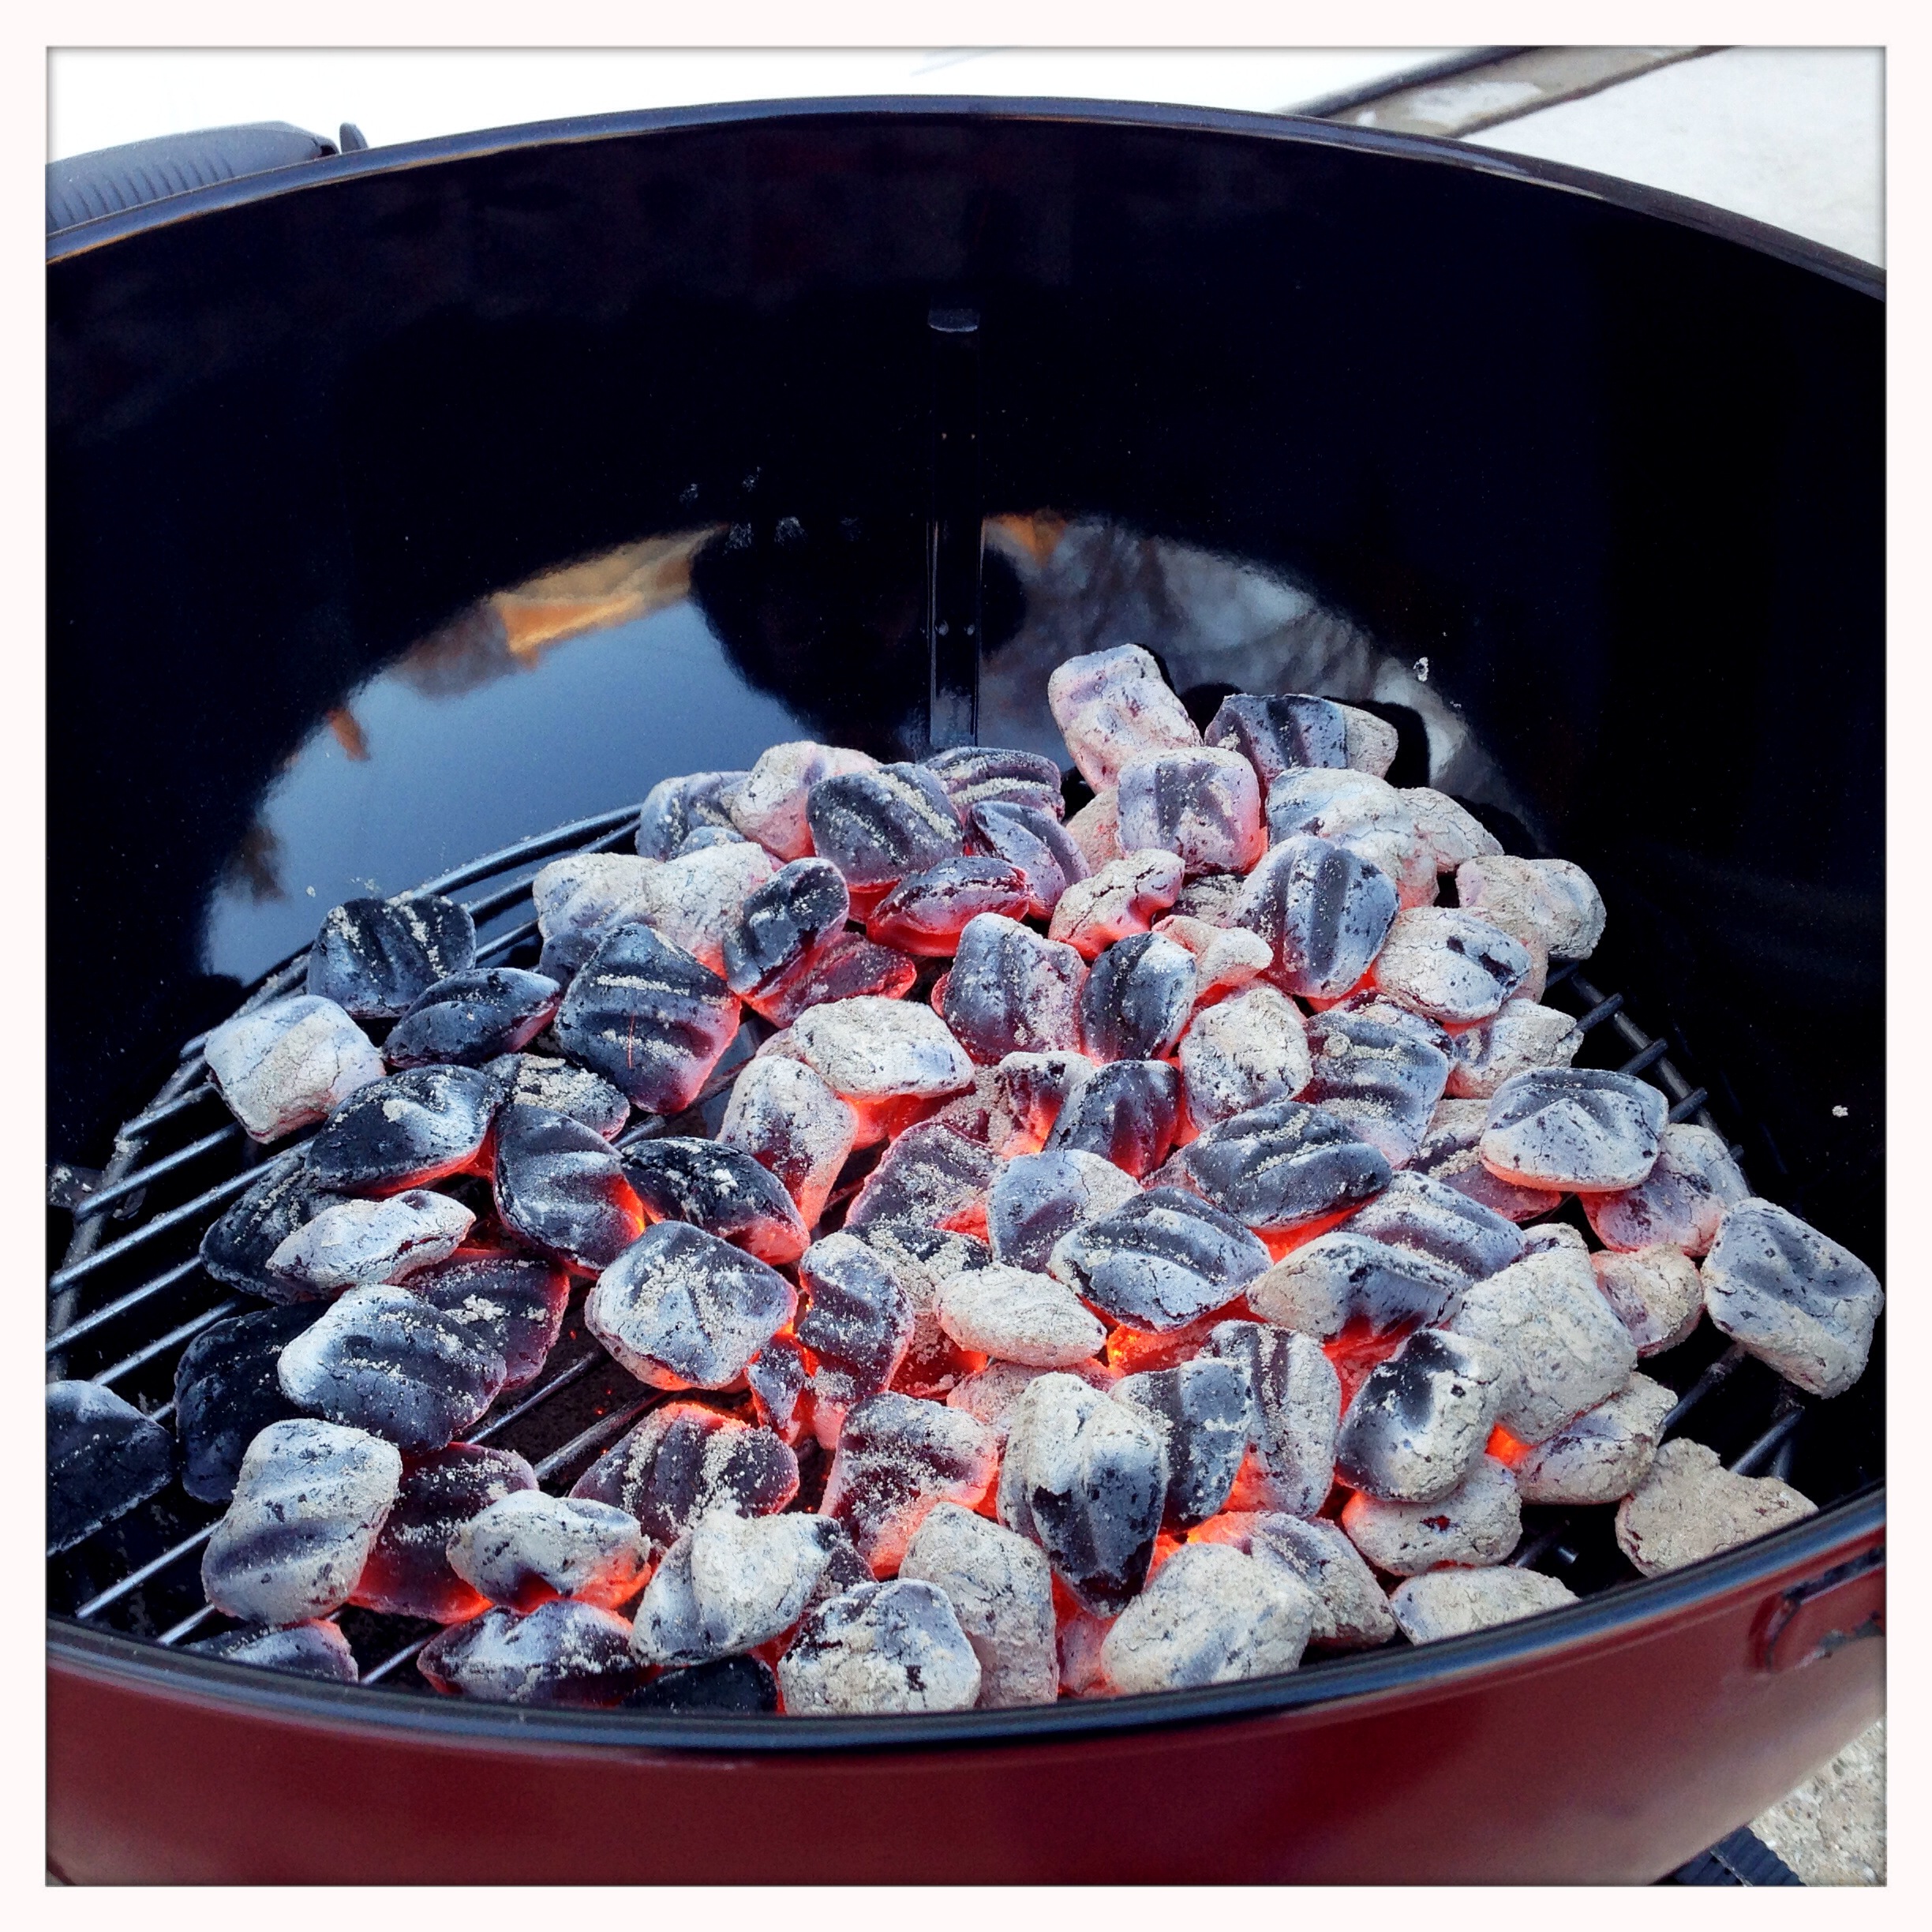
By now, the charcoal should be ready to go.
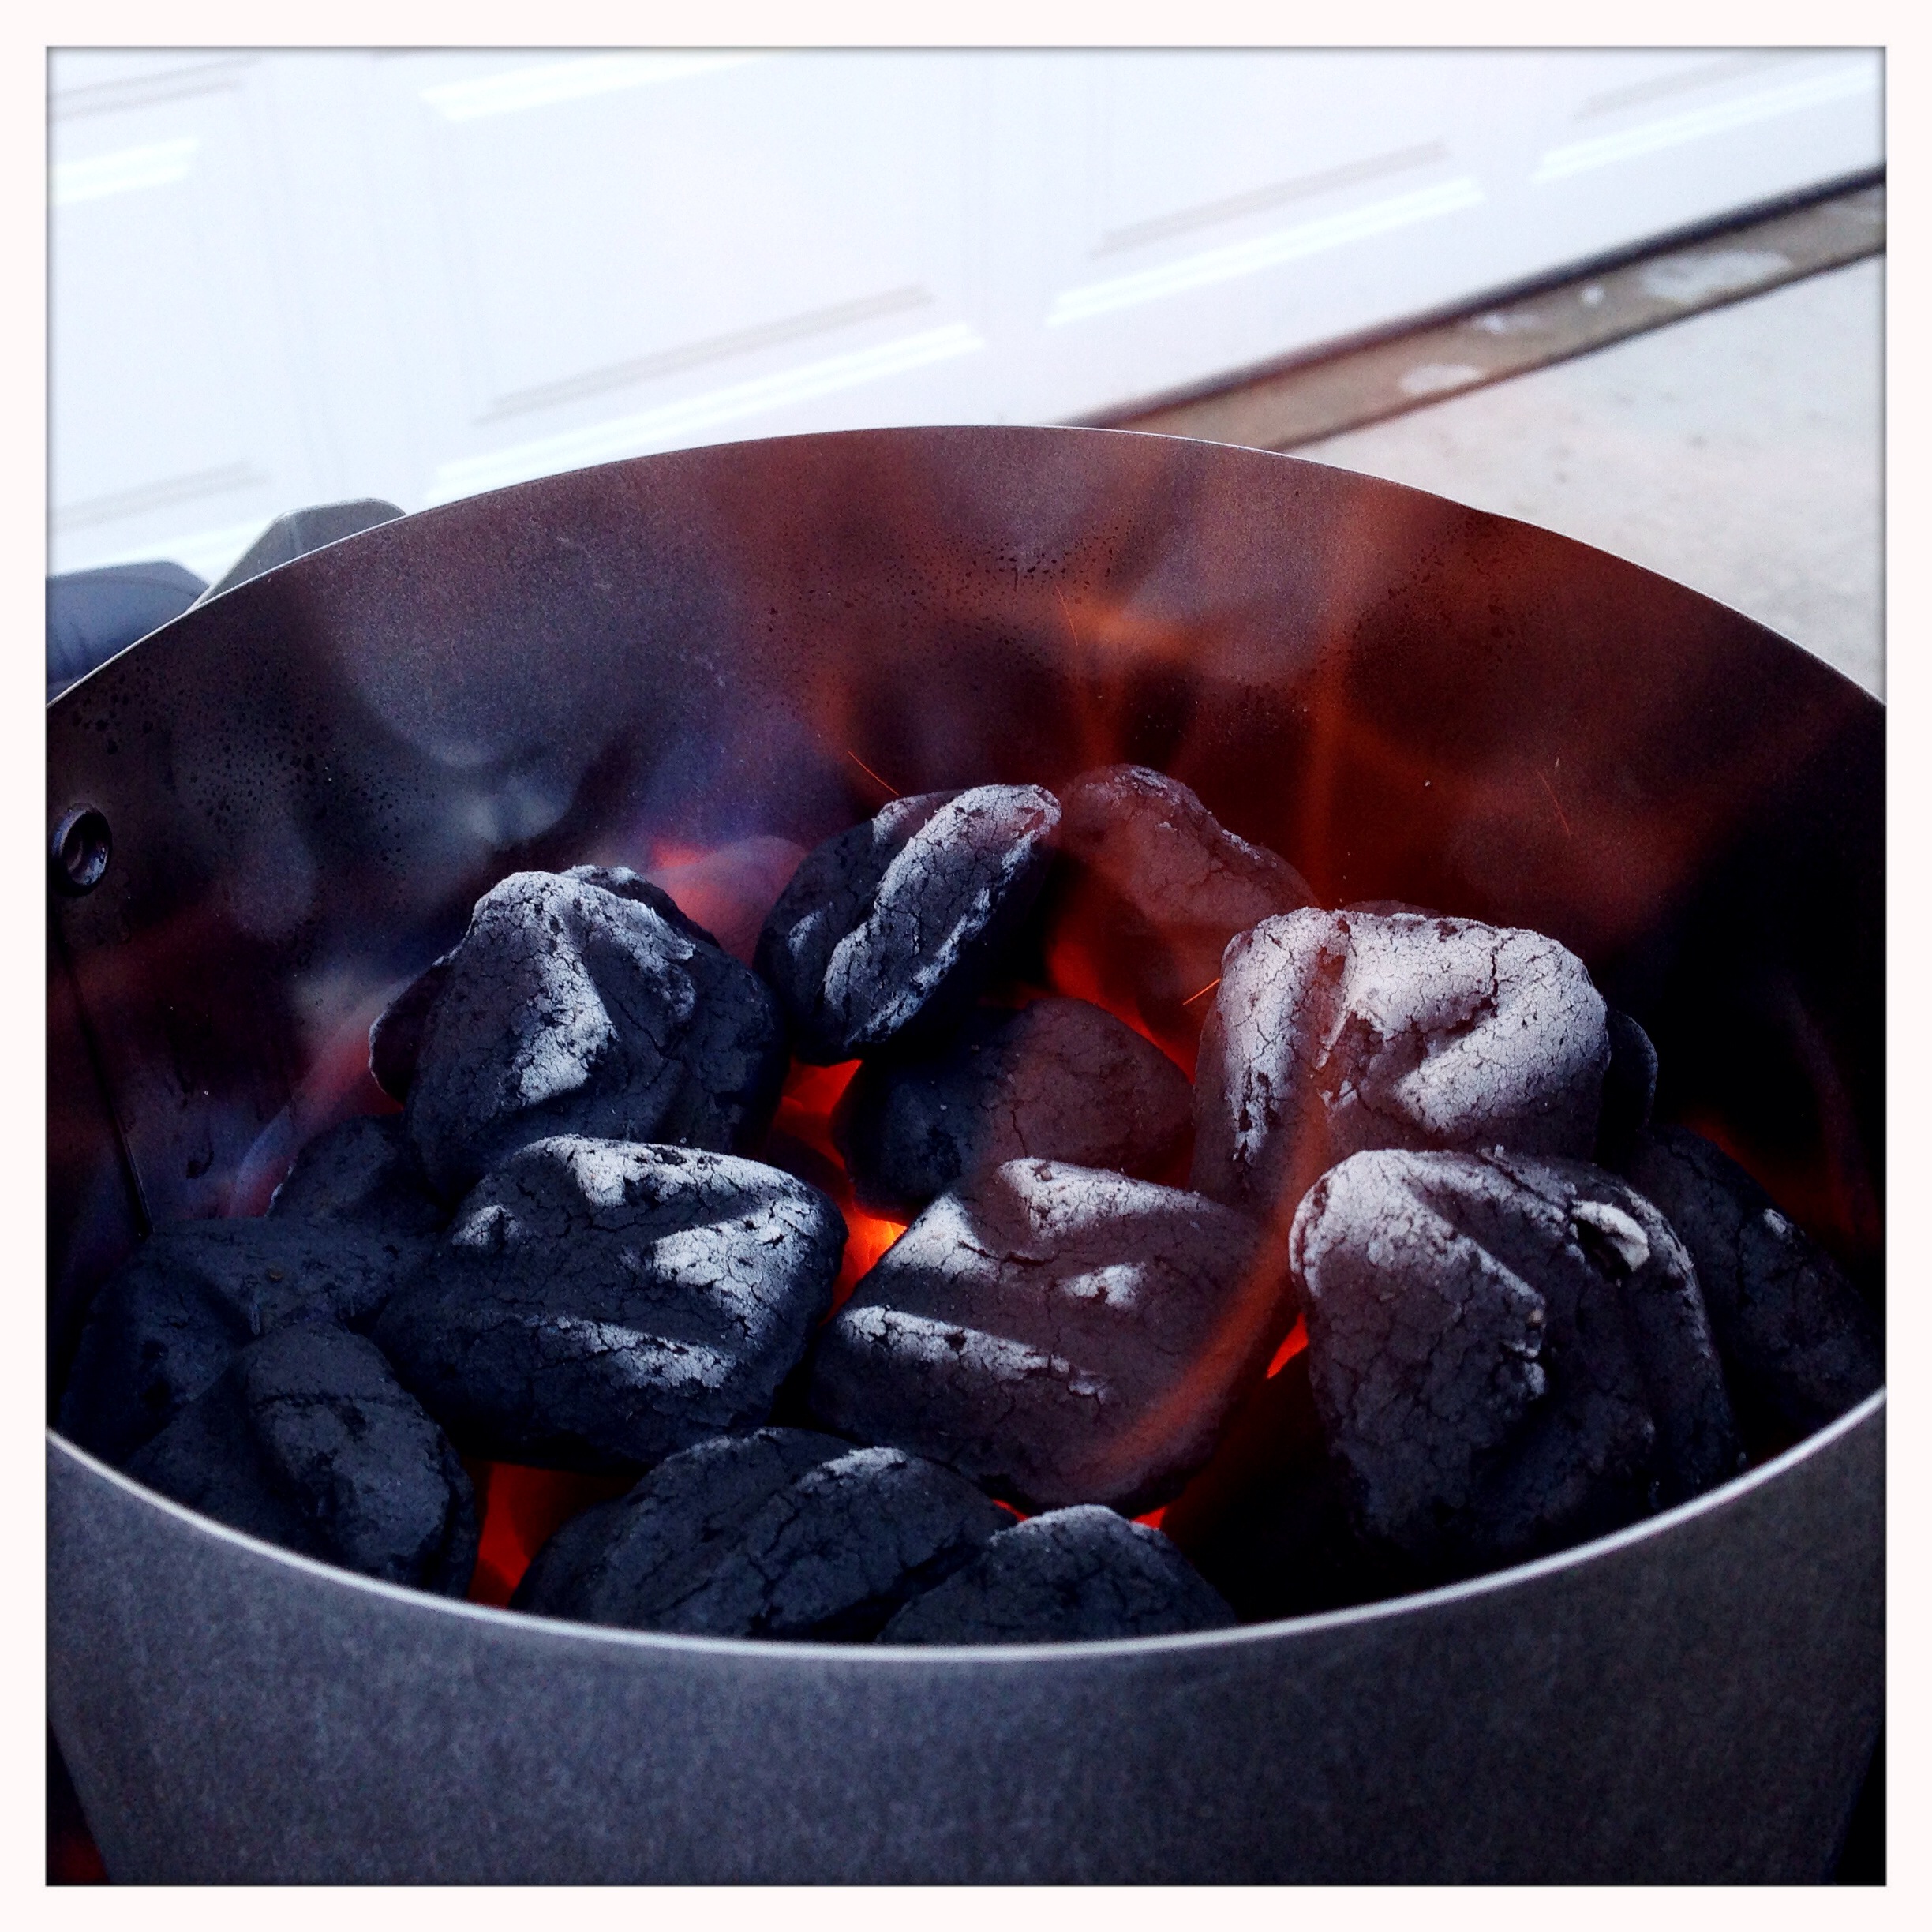
The coals in the photo above are just about ready. I am using 100% natural hardwood charcoal. This is close to lump charcoal in that there are no chemicals added, but it has the convenience and uniformity of a briquette. Once the flames reach the top and the top coals start to ash over, dump the coals onto the charcoal grate, and distribute them evenly. For smokier flavor, add a chunk of smoking wood (or some presoaked wood chips) at this point as well.
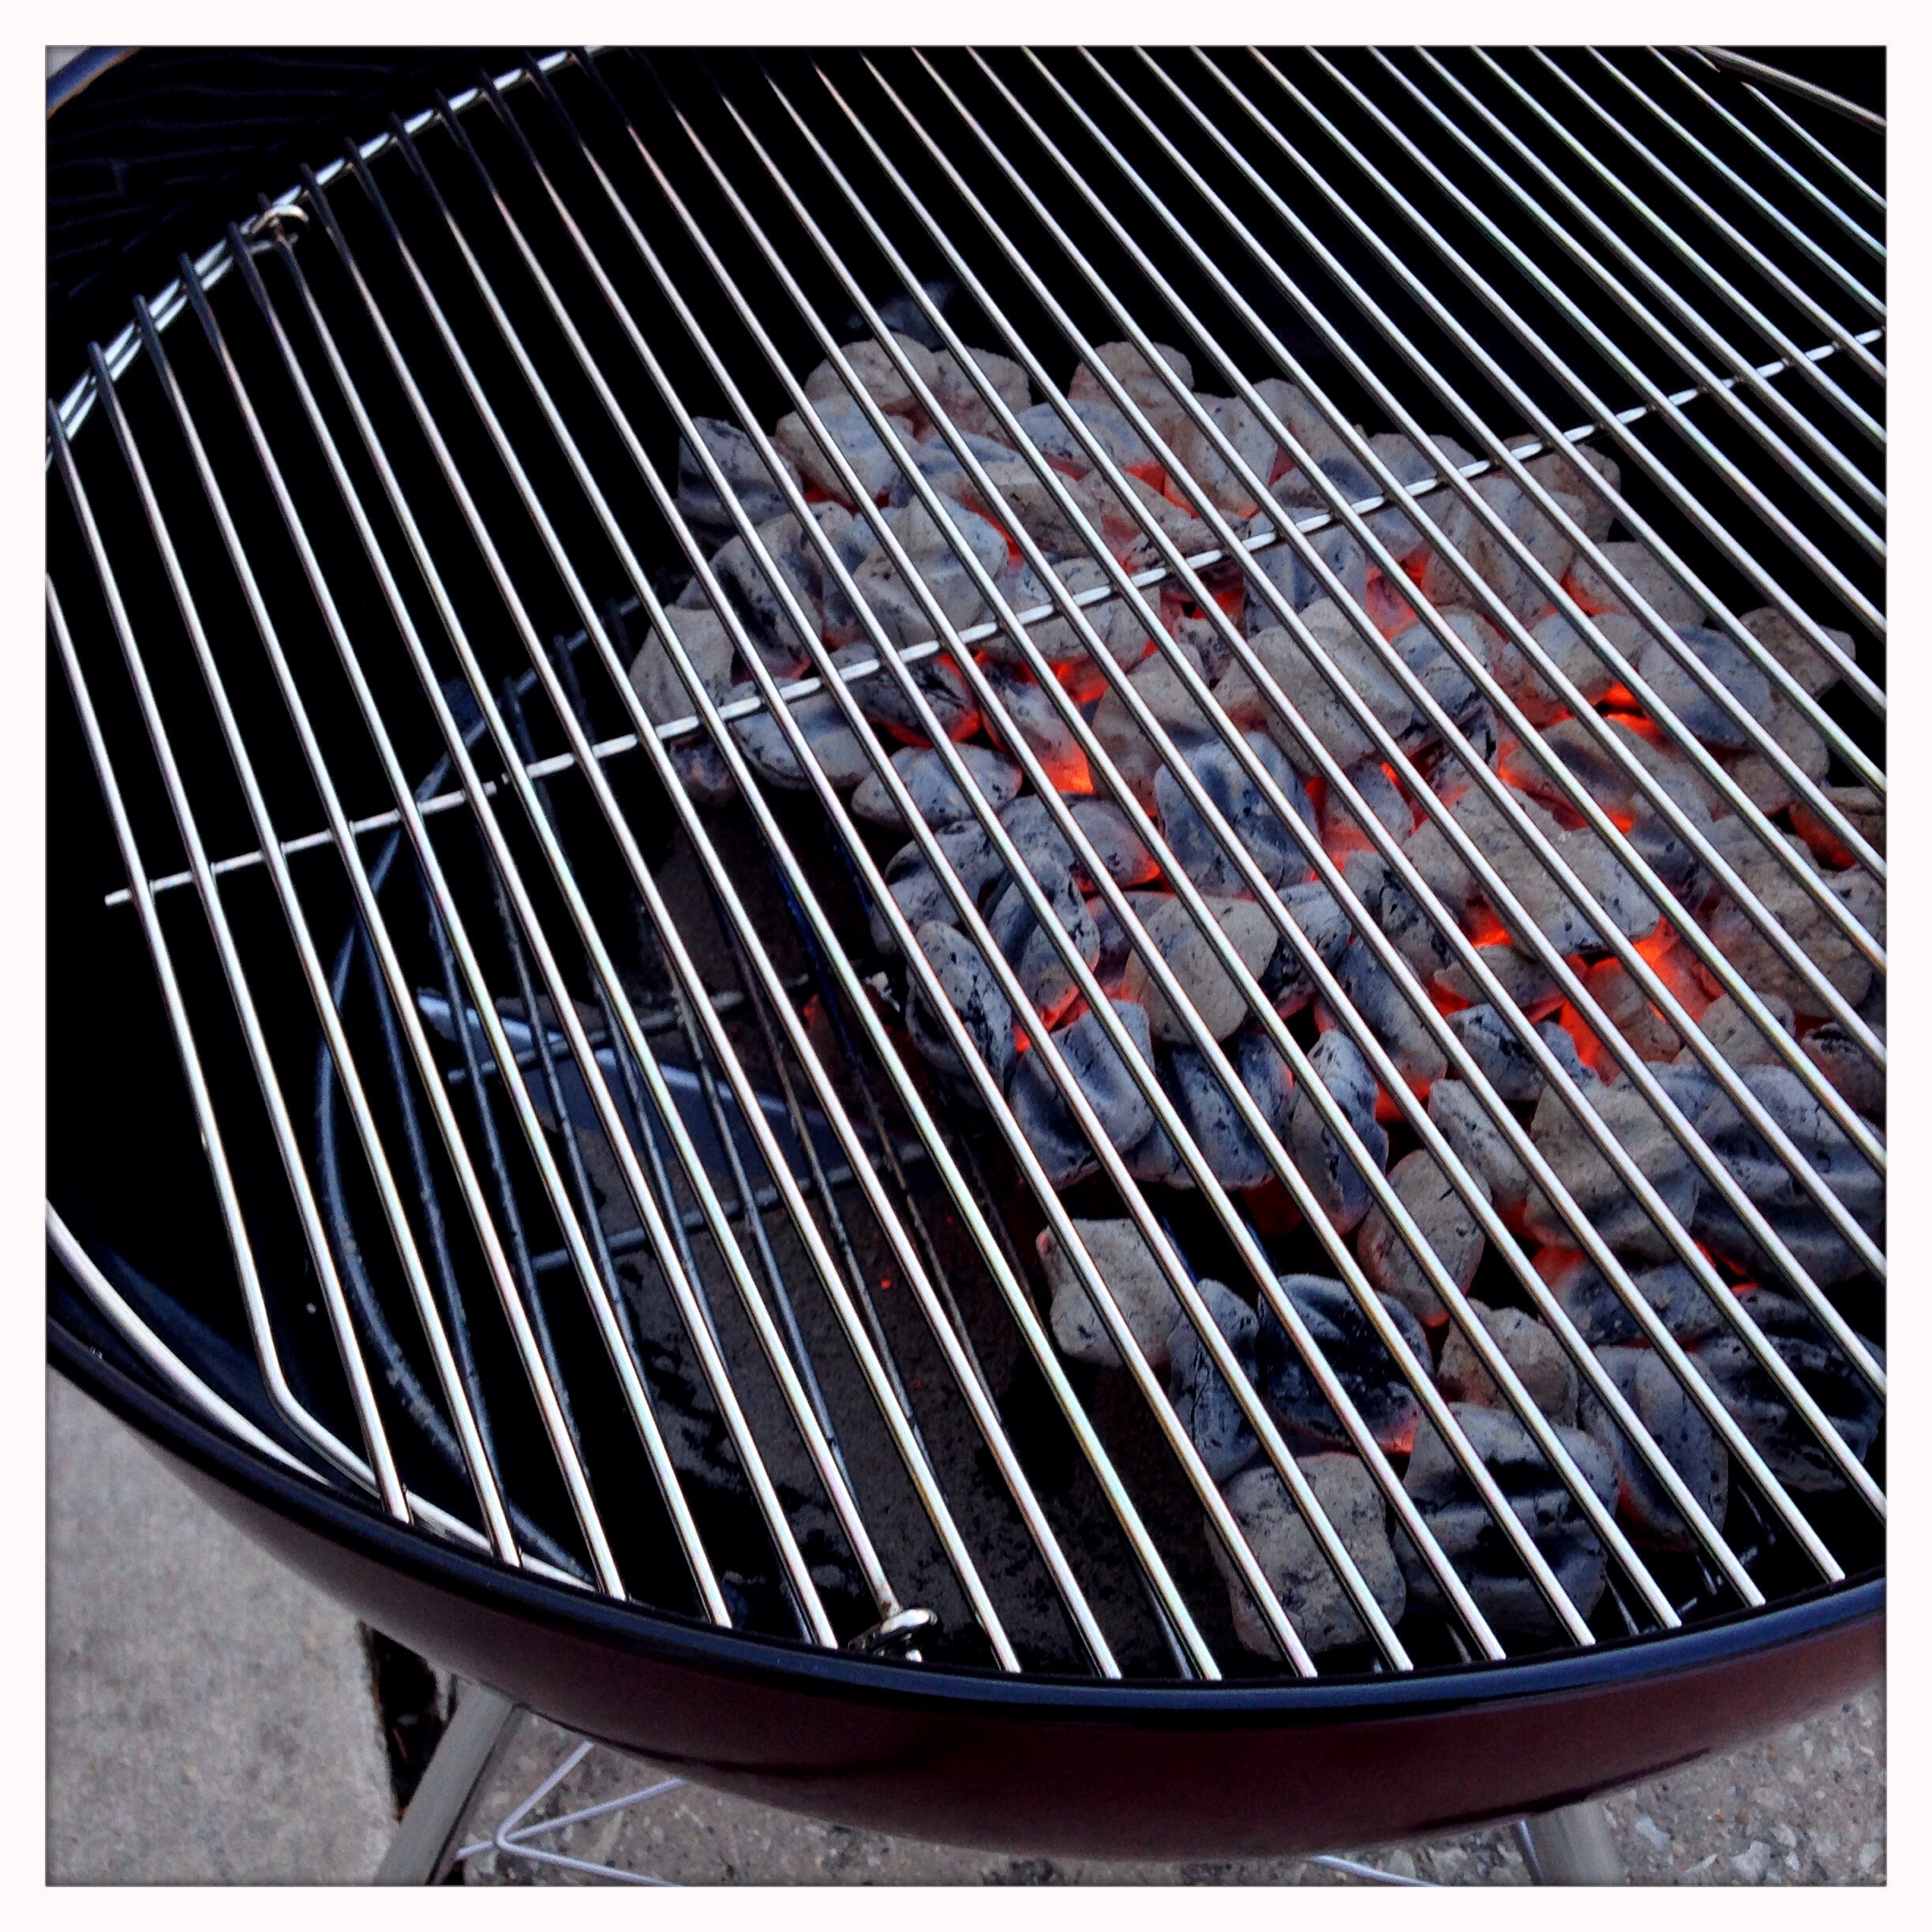
I like a two-zone fire so that I have a hot side for grilling and a cooler side for warming, melting cheese and holding items that are cooking too fast. This simply means arranging the coals to cover 1/2 to 2/3 of the grill grate and leaving the opposite side bare.
Place the burgers and onion packet on the grate directly over the coals.
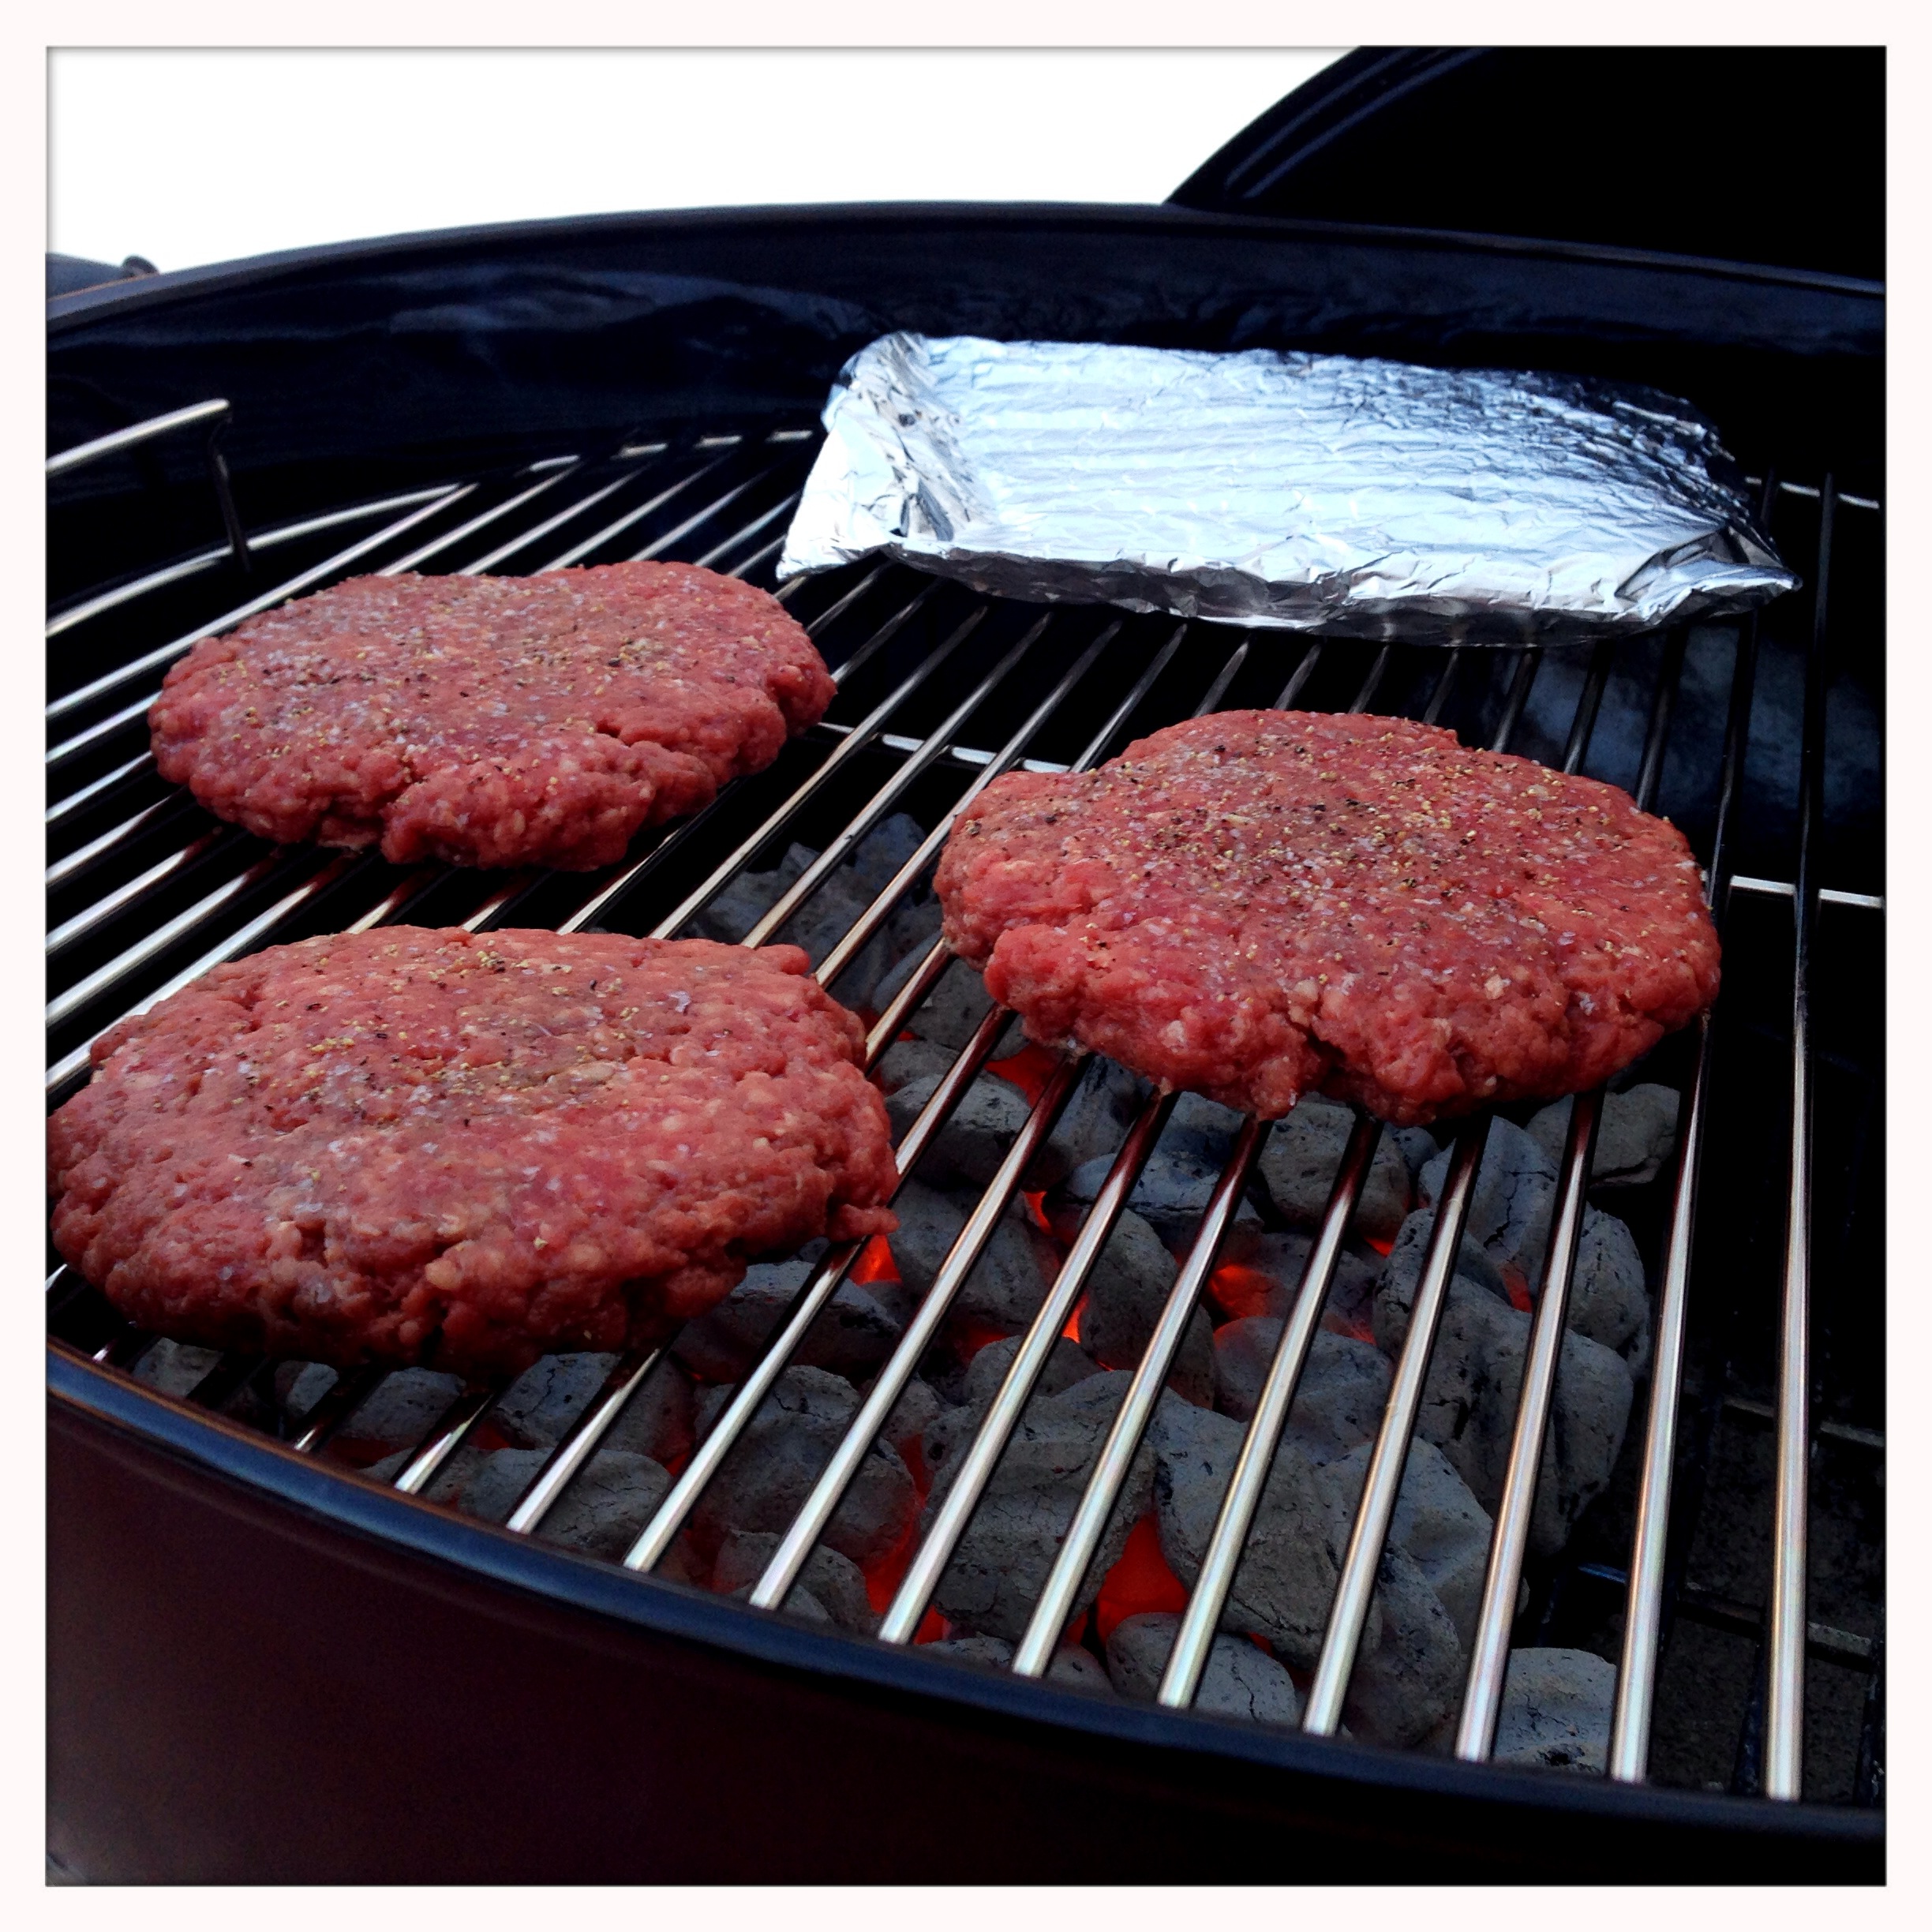
The burgers will need approximately 10 minutes of total cooking time, give or take based on your ambient temperature, grill temperature and meat thickness. Flip the burgers halfway through the cooking time, or after about 5-6 minutes. Flip the onions as well. Once the burgers are cooked through, transfer them to the cooler side of the grill, and top with the cheese.
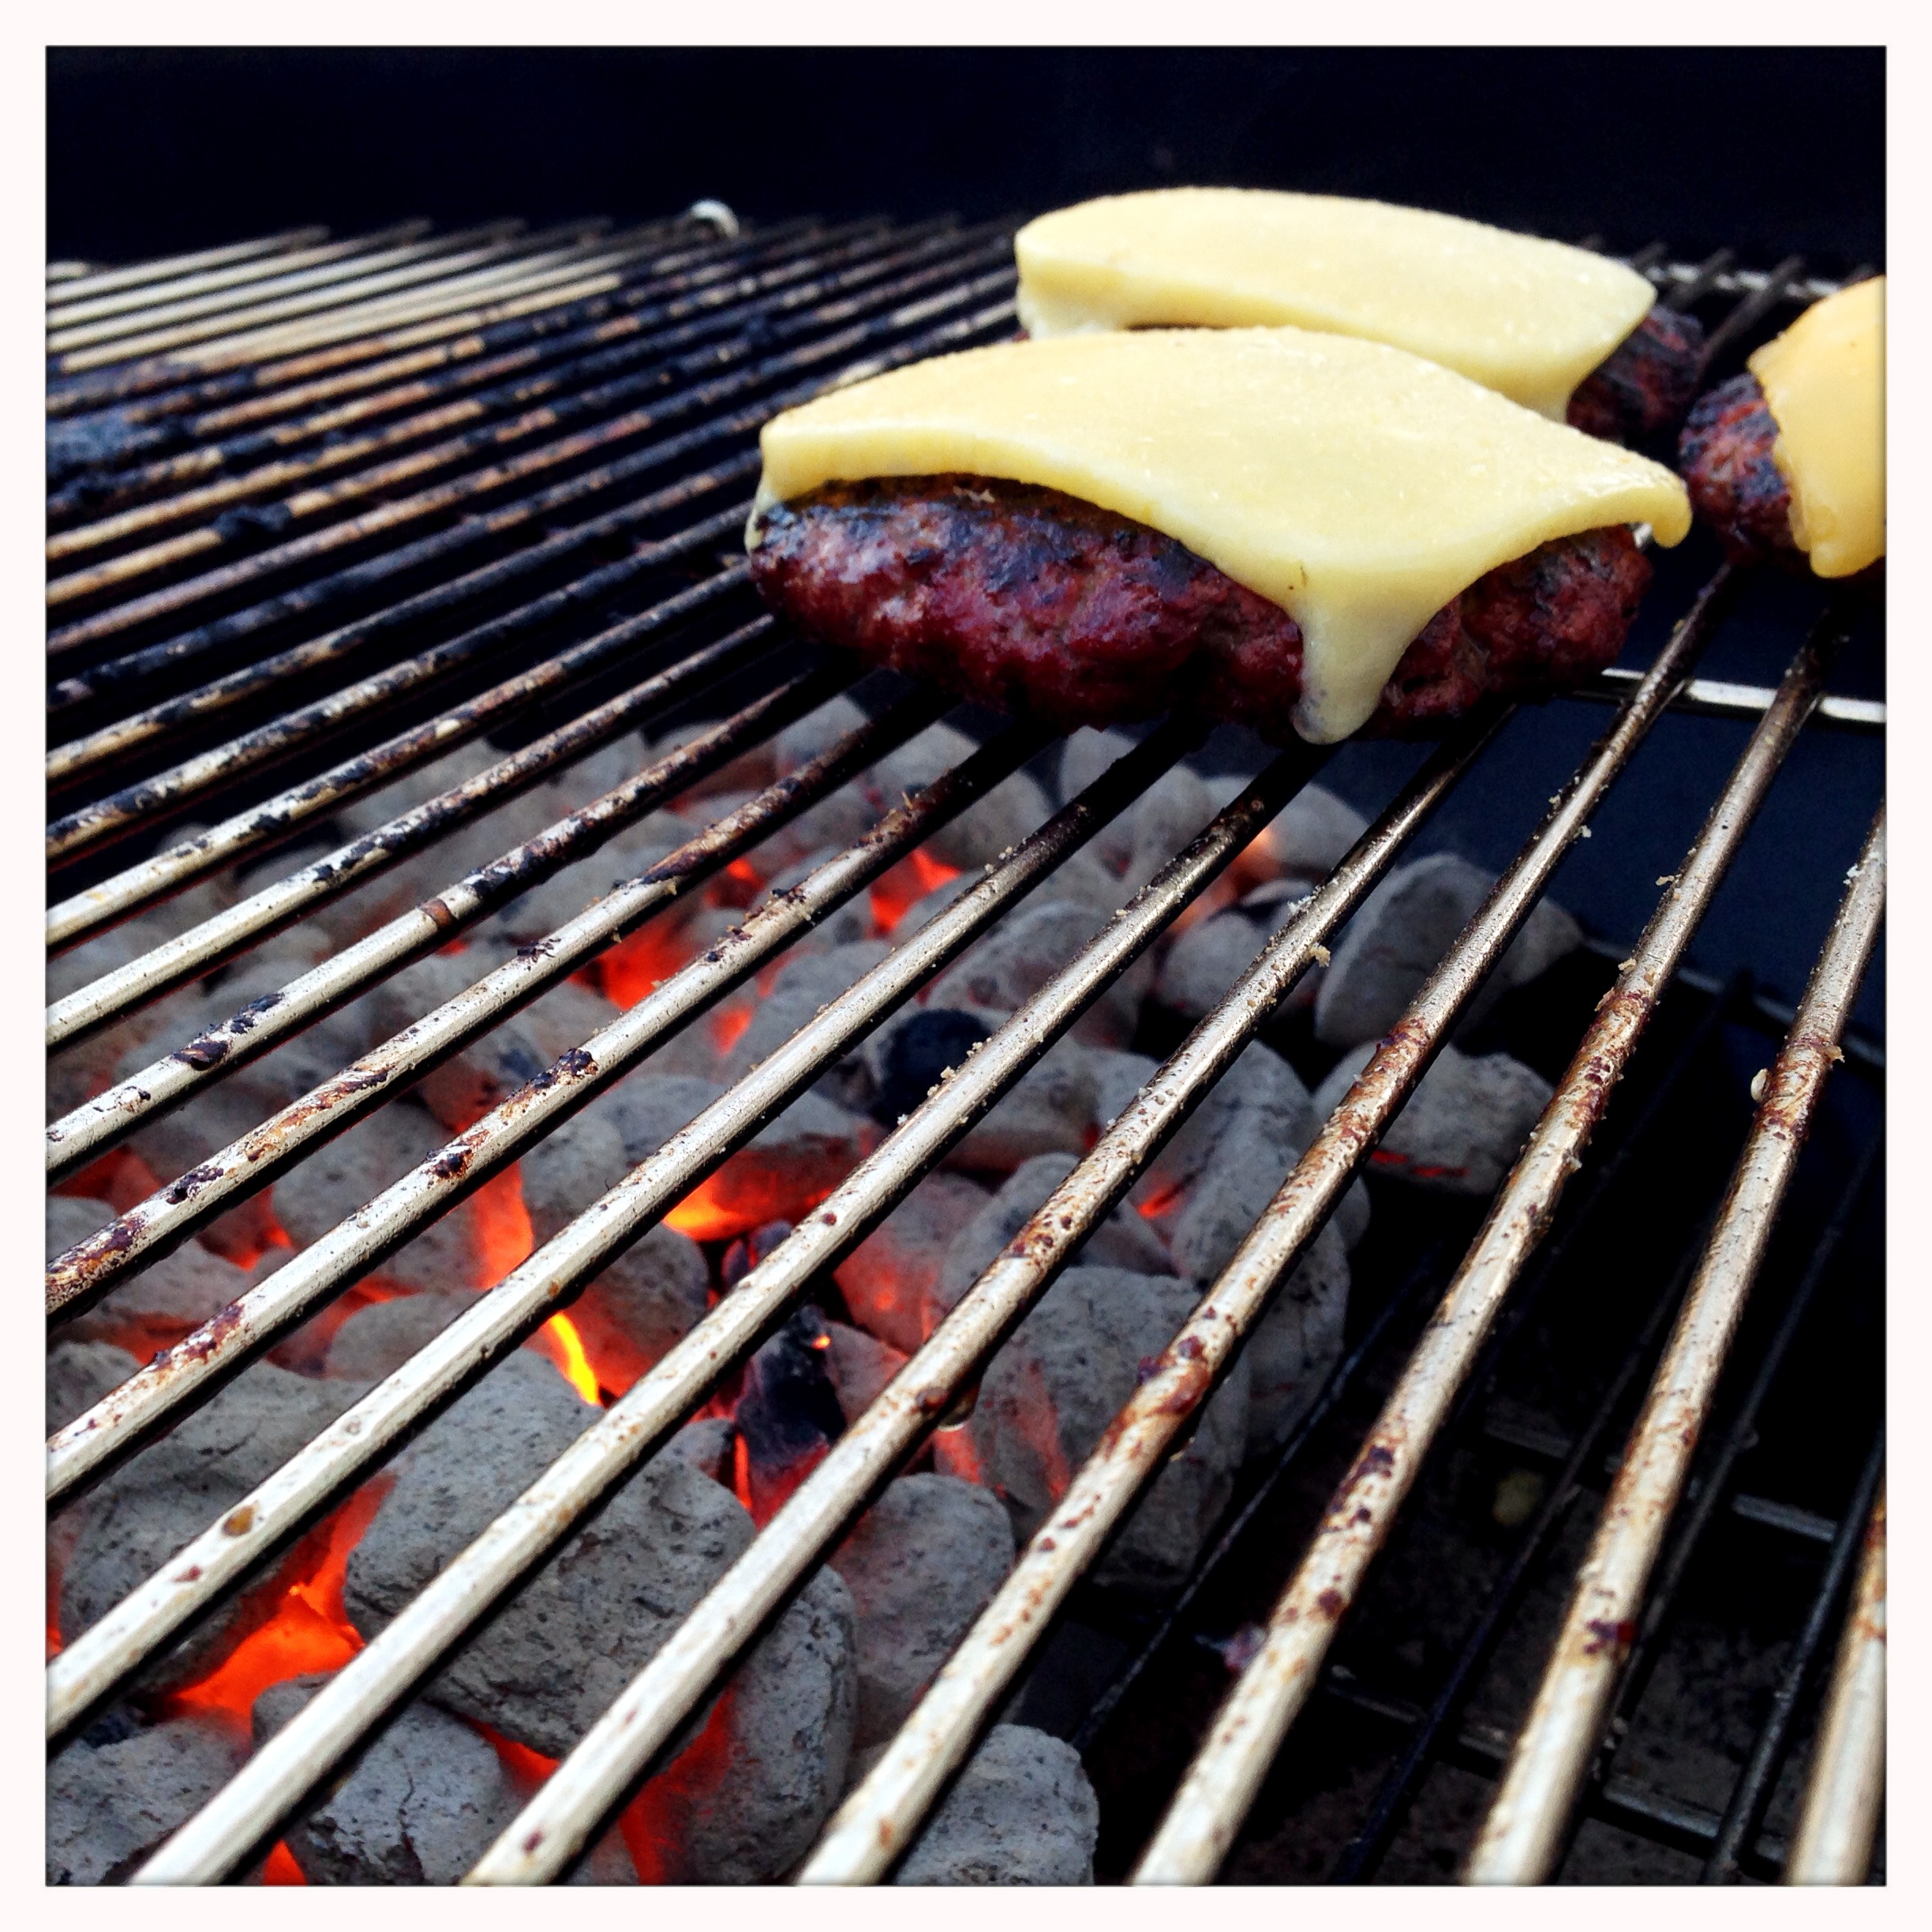
Cover the grill, and let the heat melt the cheese. By moving the burgers to indirect heat, the cheese will melt, but burgers will not get overcooked in the process. Keep the onion packet over the direct heat, as they do best with closer to 15 minutes of direct heat to get a little char. This is also the time to toss the buns on the grill for a minute or two if you like them toasted.
(Hint: You like them toasted.)
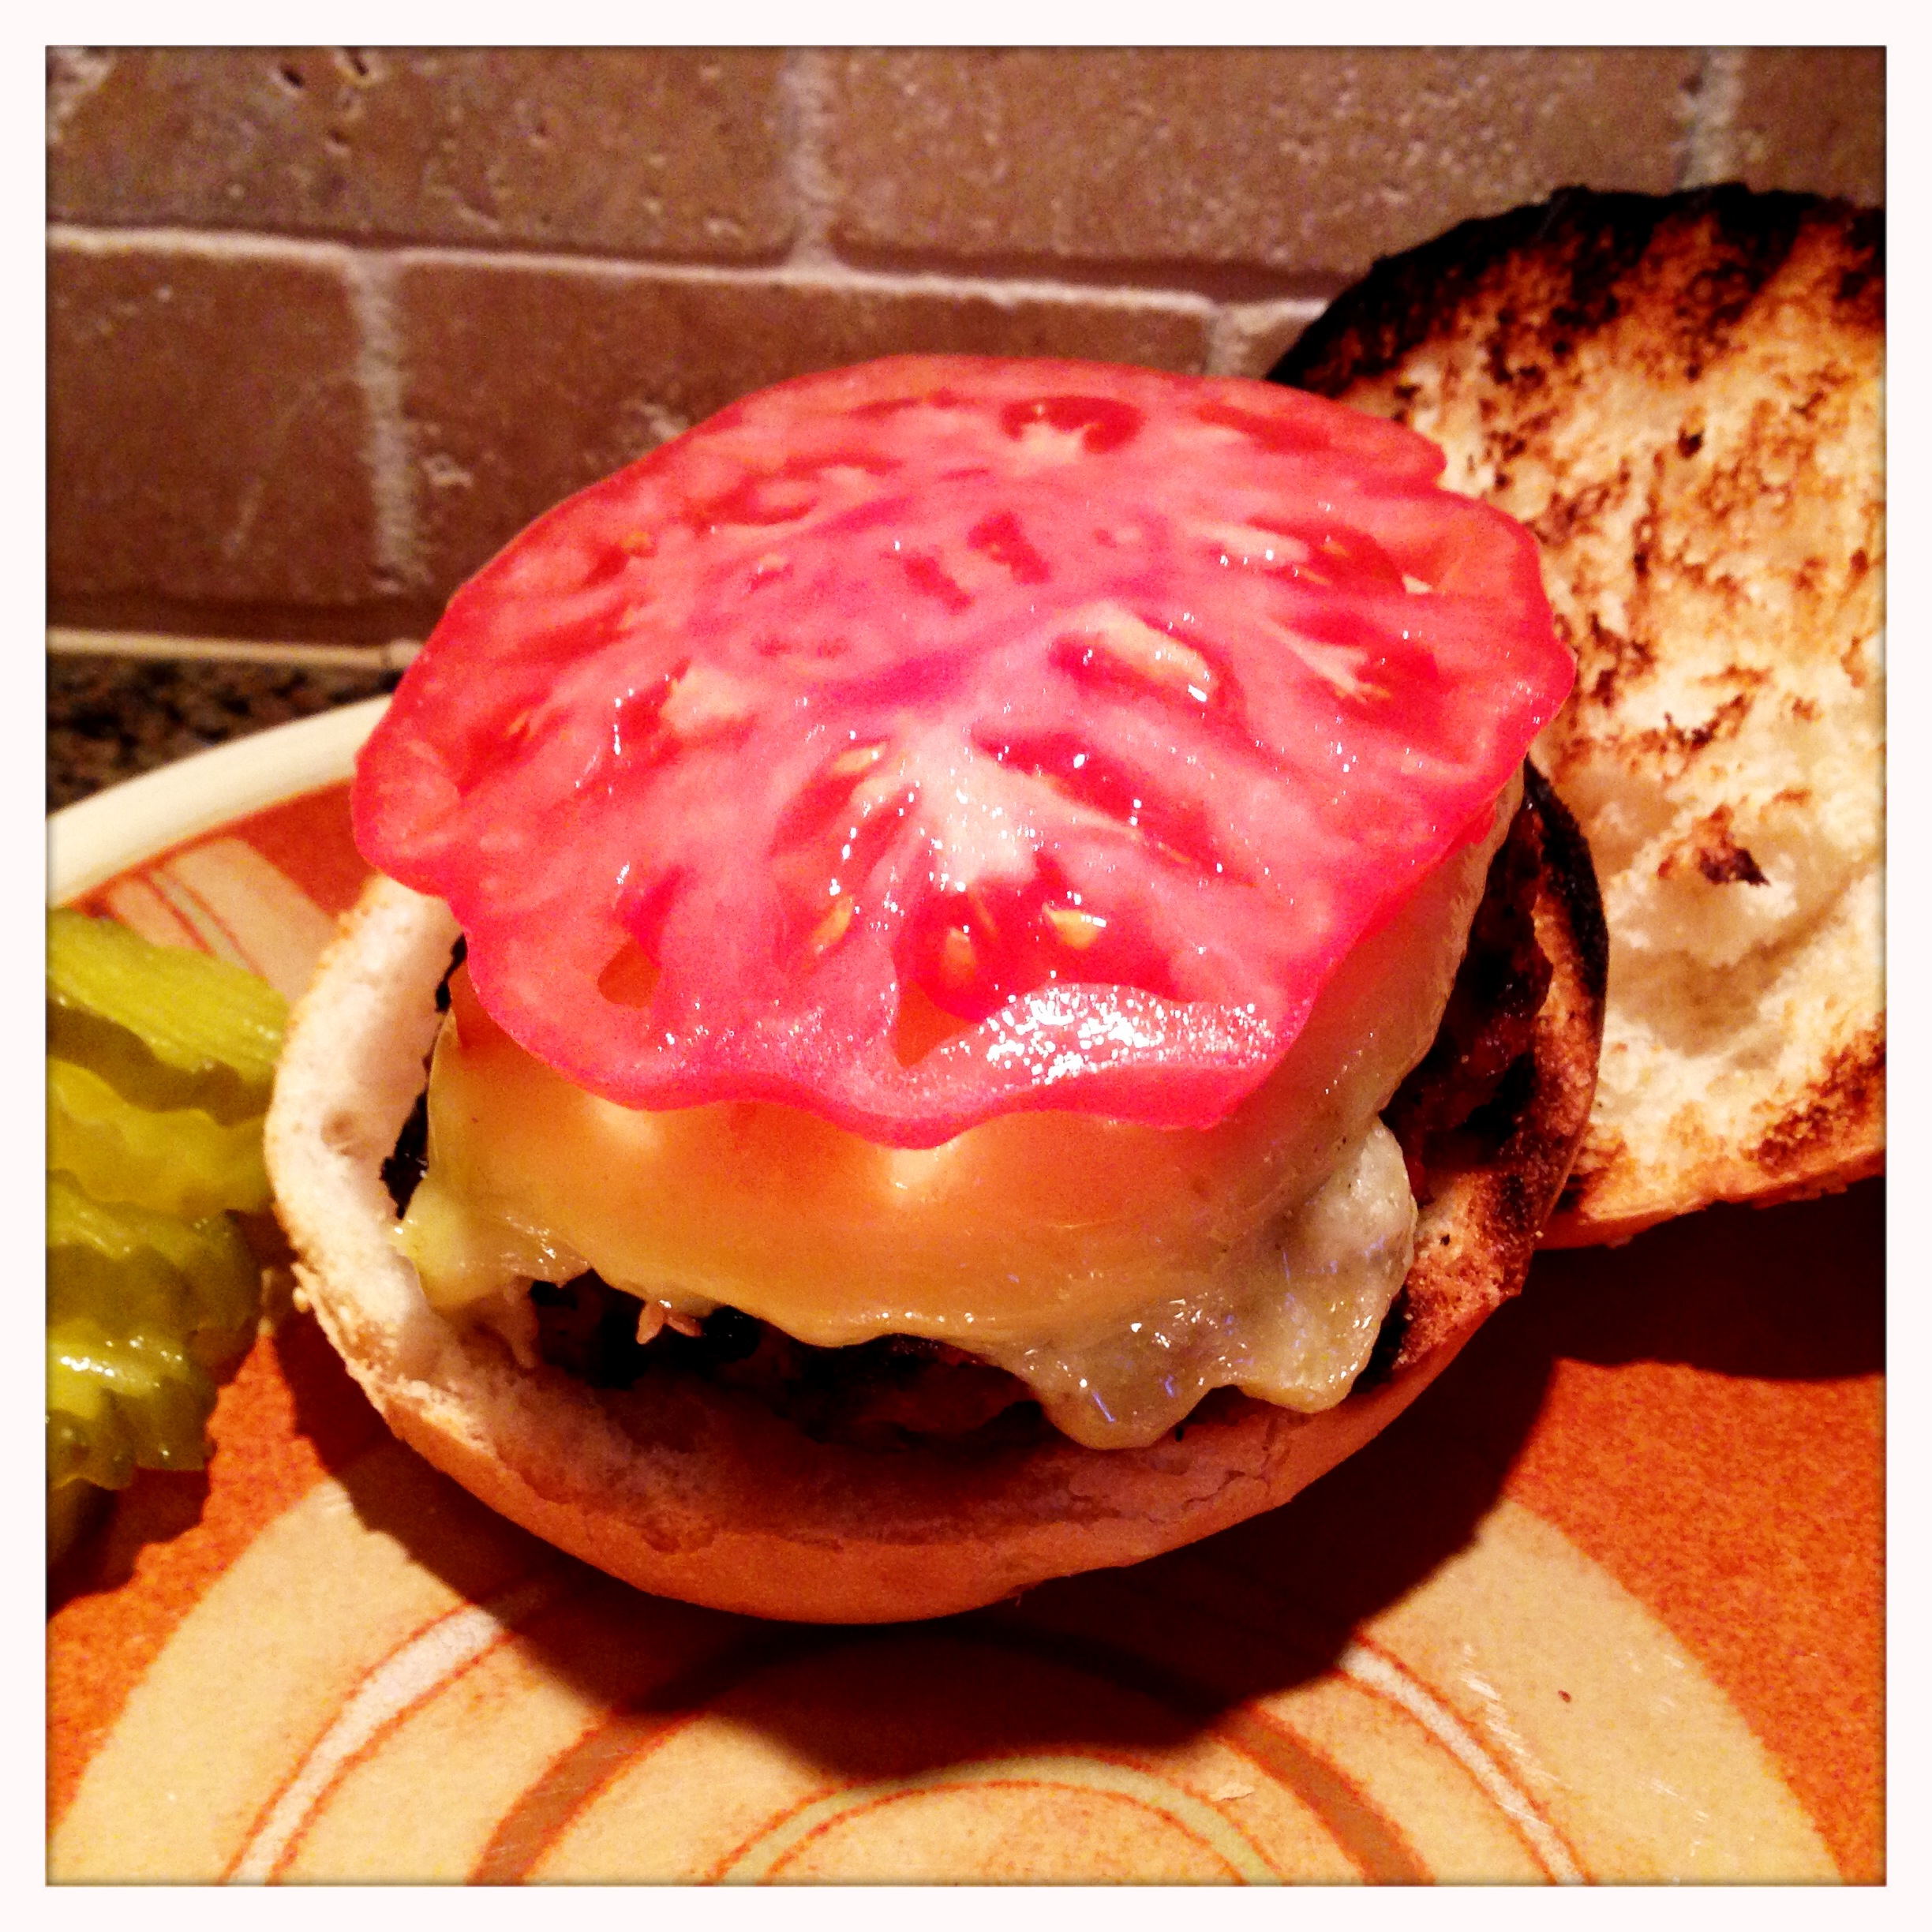
Once everything is grilled to your liking, it’s time to assemble your burgers. Open the onion packet carefully as it will be very hot and steam will escape when you break it open.
Top the burger with the toppings of your choice. If you can find them, large heirloom or beefsteak tomatoes take to slicing very well.
 Eaters of all ages love burgers, and nothing feels like summer and warm weather quite like a burger fresh off the grill. Even during this winter that feels like it may never end, a burger tastes like a comfortable summer evening.
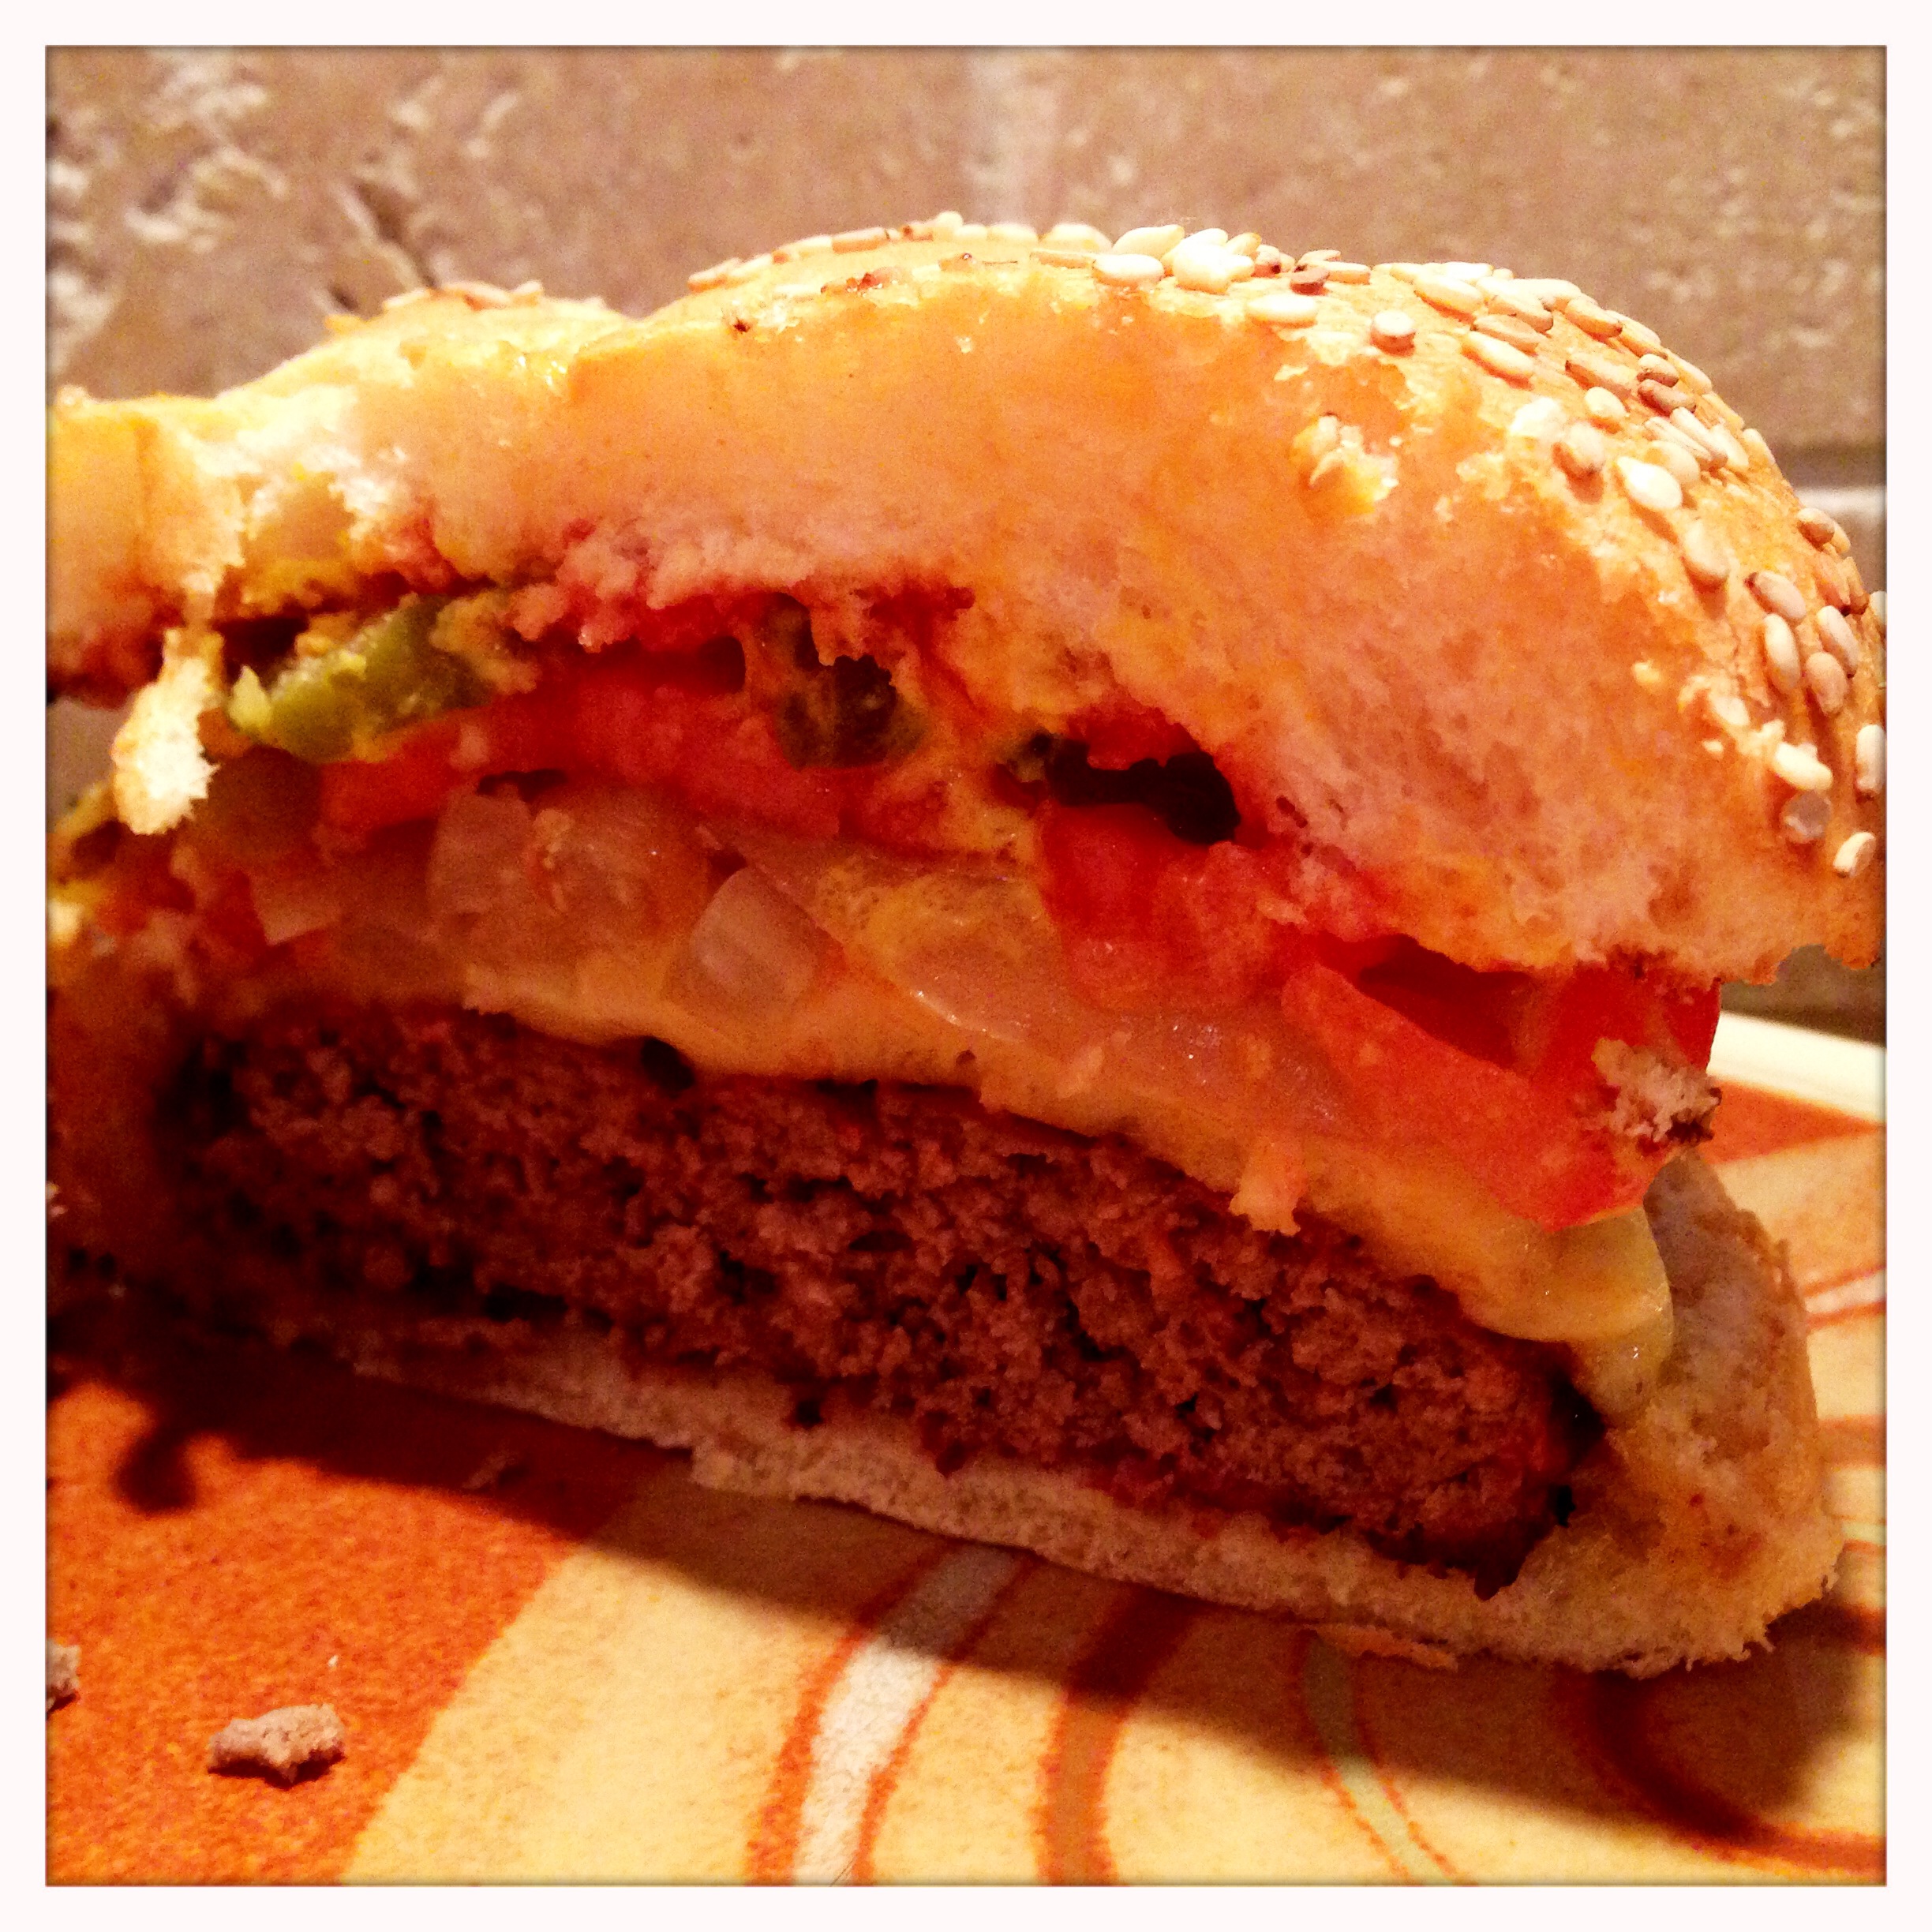
That’s about it for today. Hope this post motivates you to get outside and do some grilling, regardless of the weather. Grilling is a great way to spend time with family, and that’s what Eats For All Ages is all about. Enjoy!
Can’t you just smell that warm summer air…

