Have a Pita Pizza
Leave a commentAugust 27, 2014 by Jason Rice MD
Our little guy first sampled these delicious pita pizzas at a friend’s house, and now we are making them at home for ourselves.
This is a fun weeknight recipe that can be easily modified to please the tastes of everyone at the table. Because you’re making small individual pizzas, it’s easy to put only the ingredients each eater likes on his or her pizza. It’s also easy to make multiple pizzas to mix, match and share.
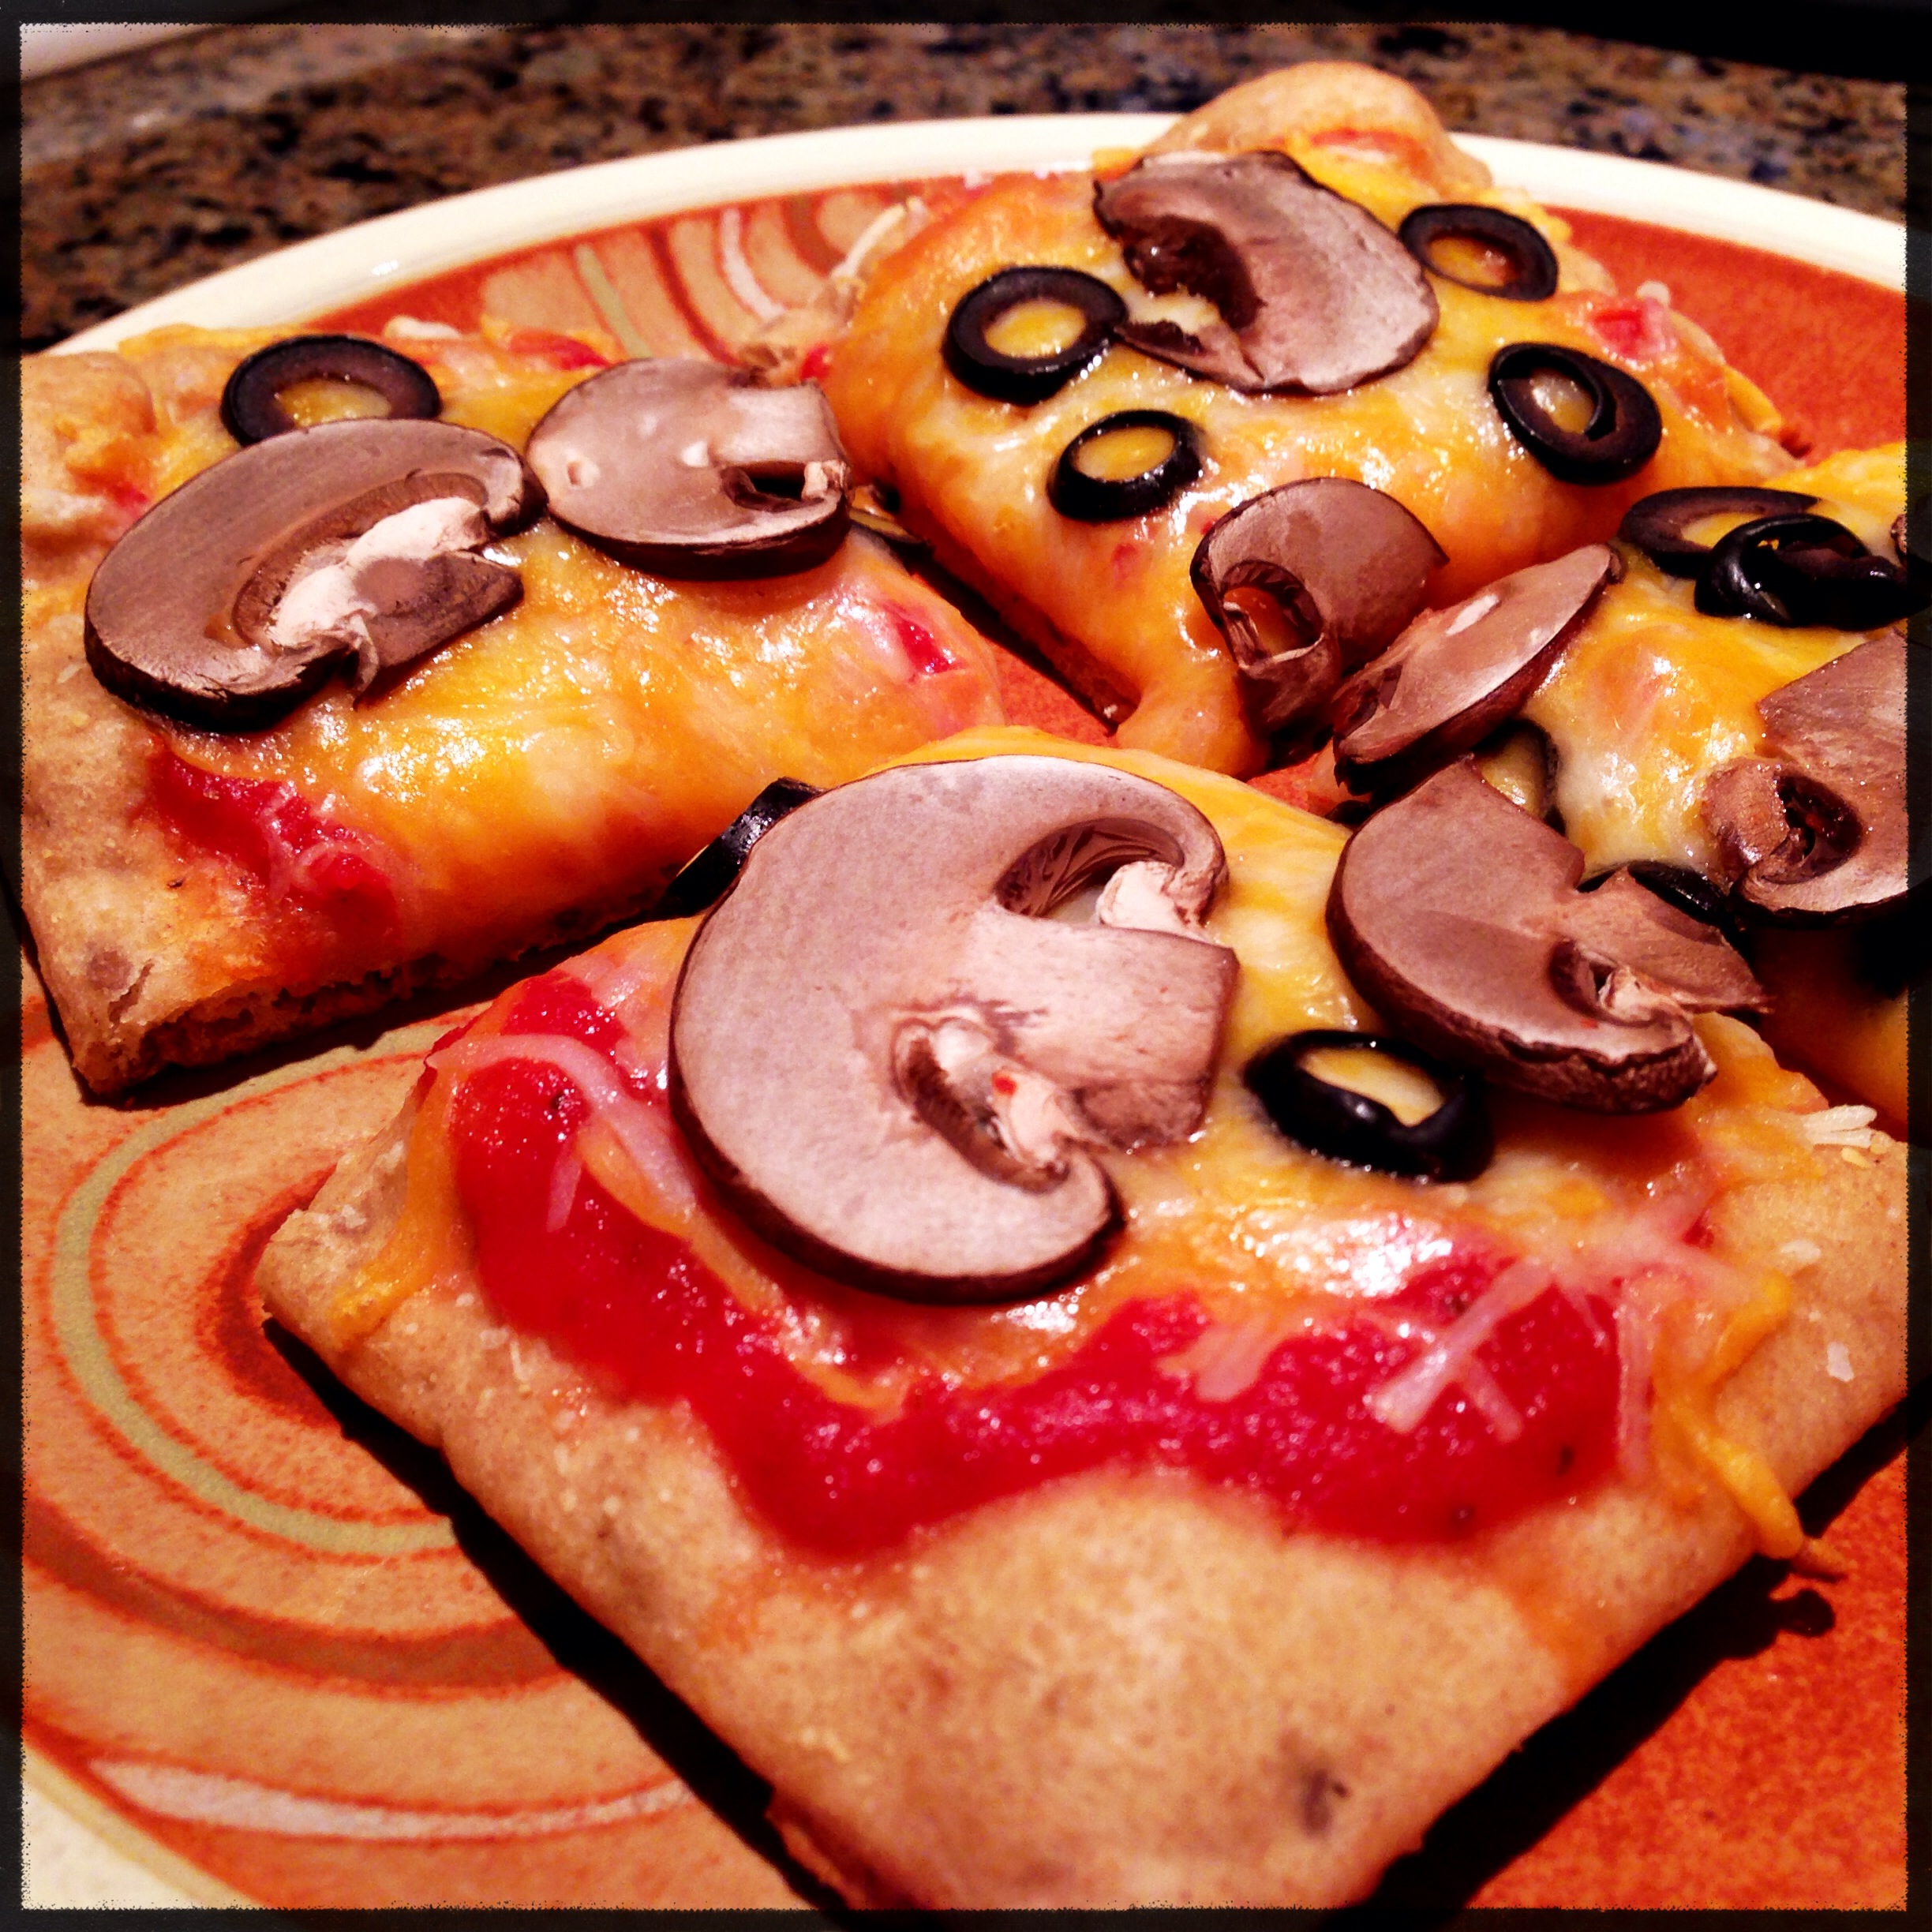
We made a few pizzas with mushroom and black olive, one with just olives and an additional plain cheese pizza (for Mrs. Eats For All Ages who is expecting a second Eats For All Ages Junior late this winter). The current Eats For All Ages Junior, however, is a black olive fiend, and ate every single one off his pizza before even taking a bite of the crust and cheese!
So, let’s get started on these simple and relatively healthy homemade pizzas!
Ingredients:
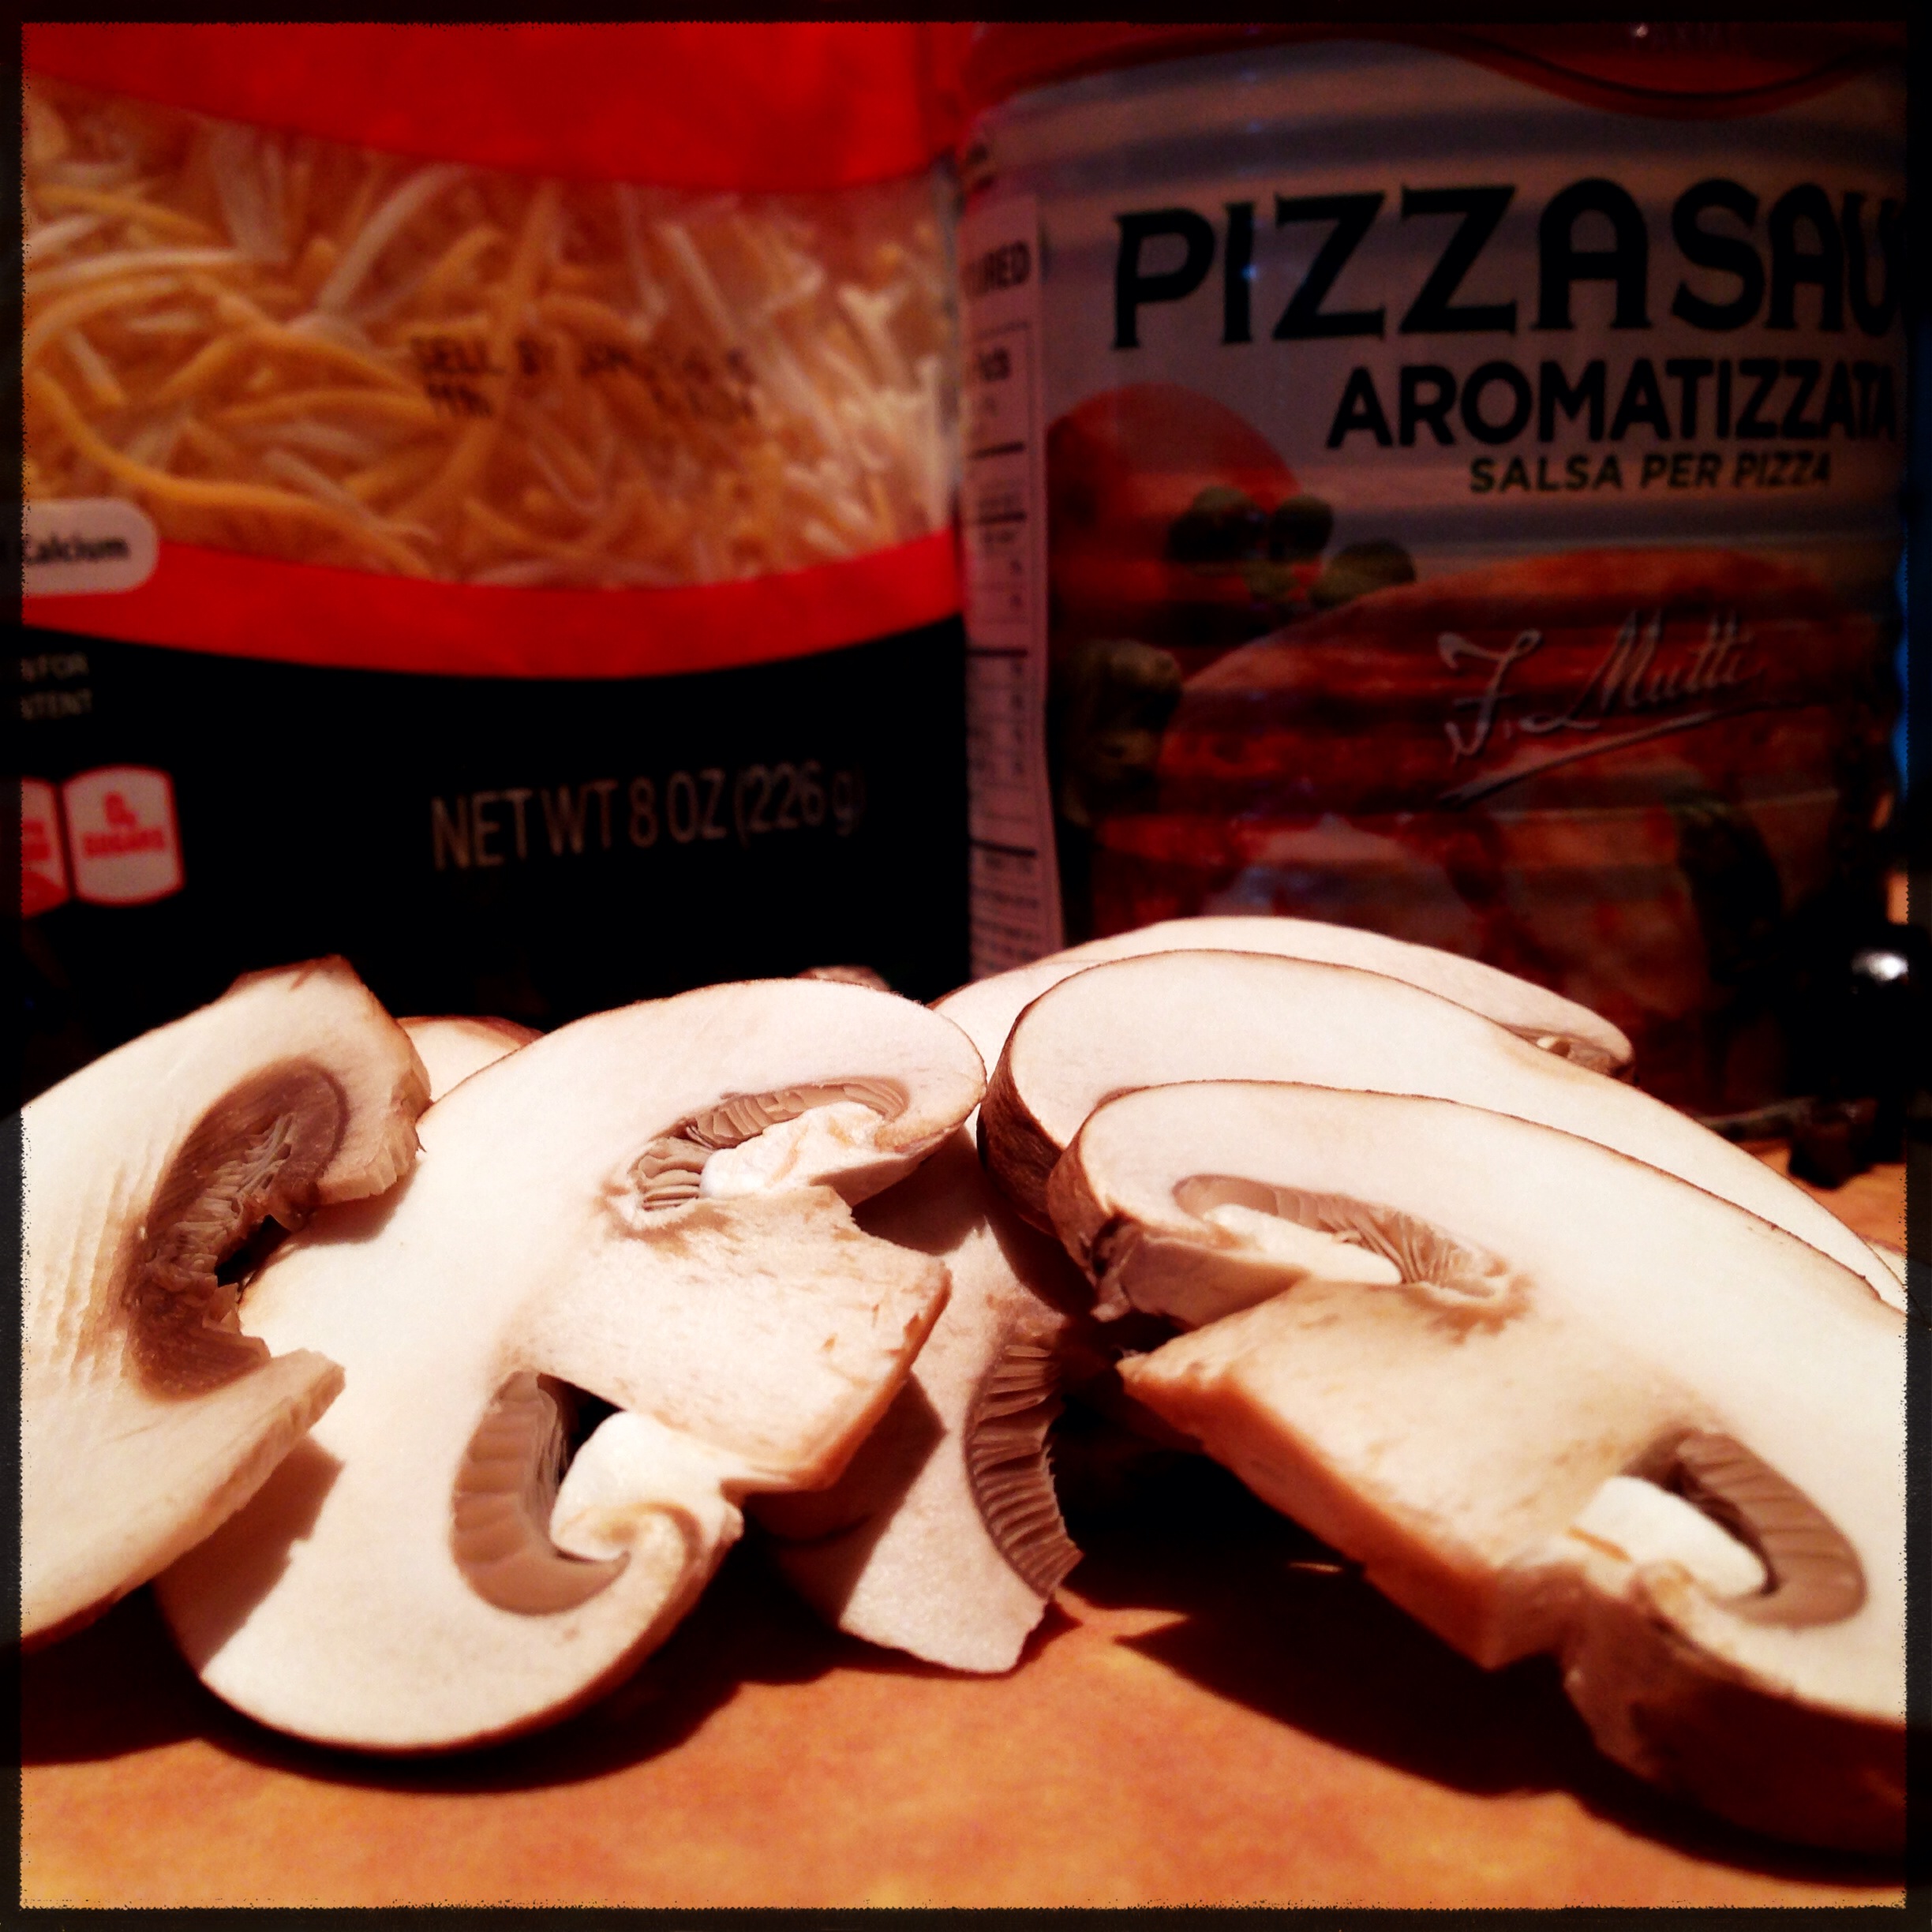
- Pita bread – I used square, multigrain pitas
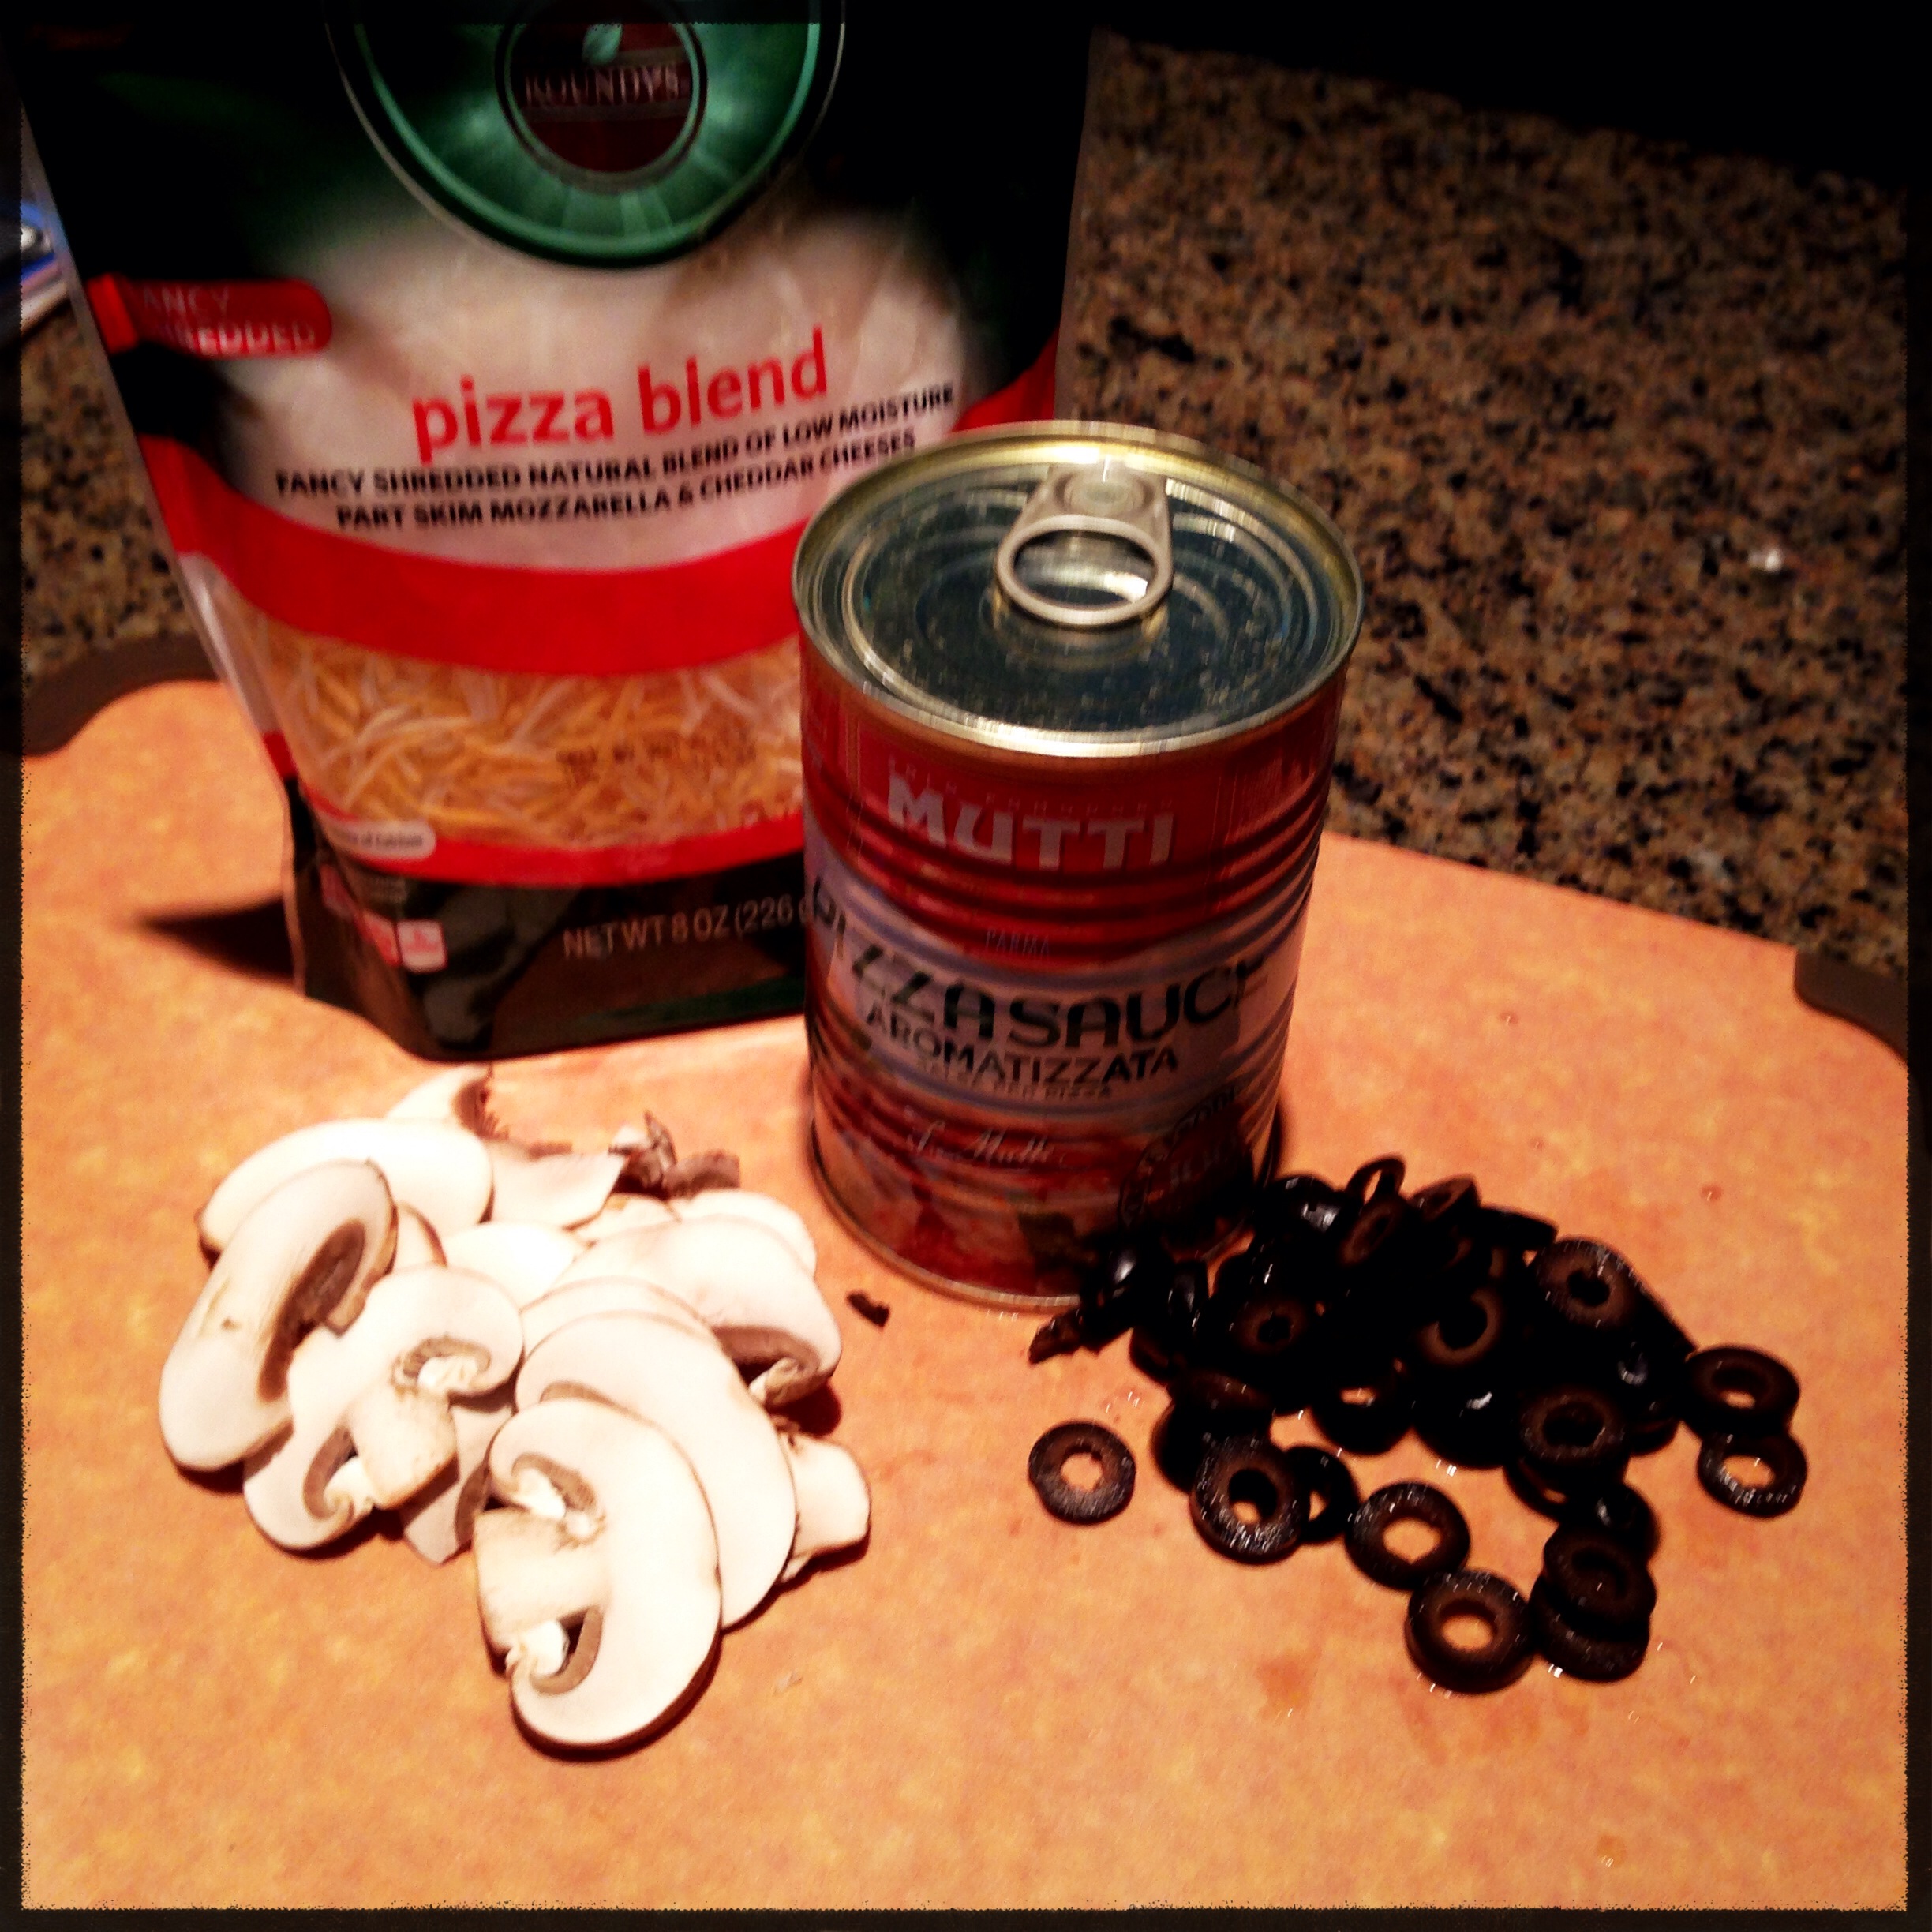
- Shredded cheese – I used a blend of mozzarella and cheddar
- Pizza sauce (or pasta sauce)
- Toppings of your choice
- Olive oil
- Grated parmesan cheese
- Salt & Pepper
Procedure:
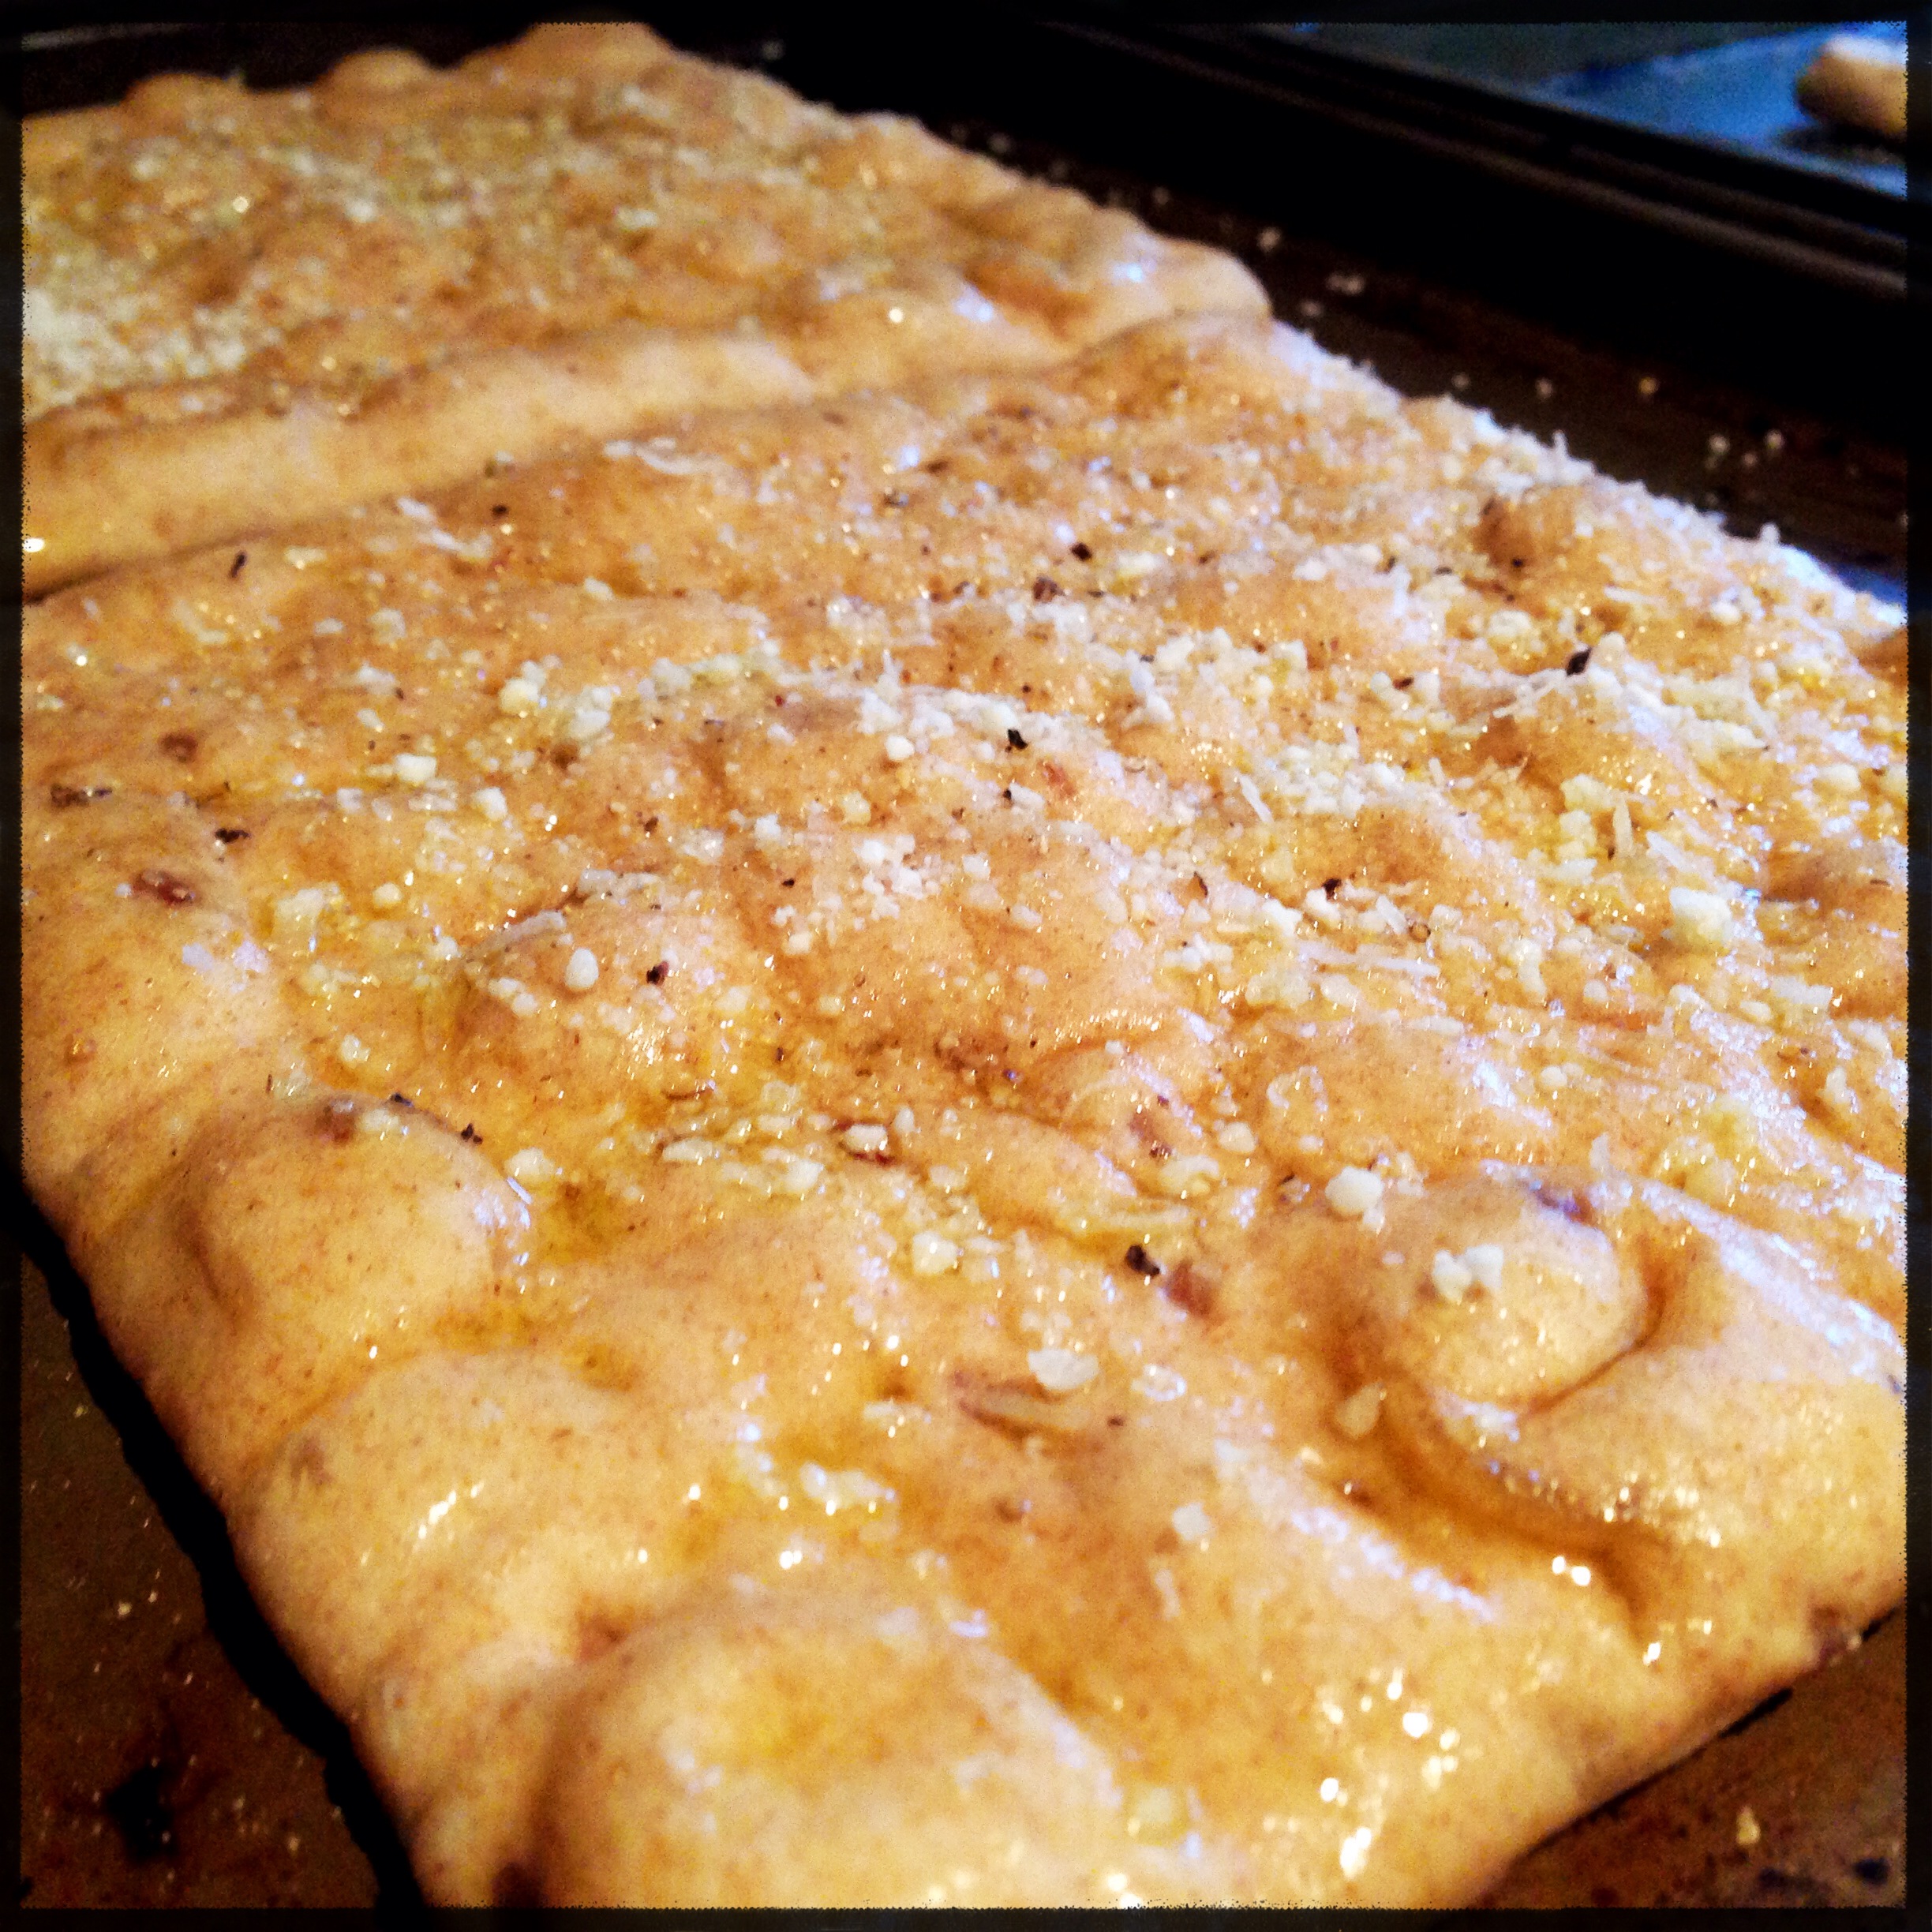
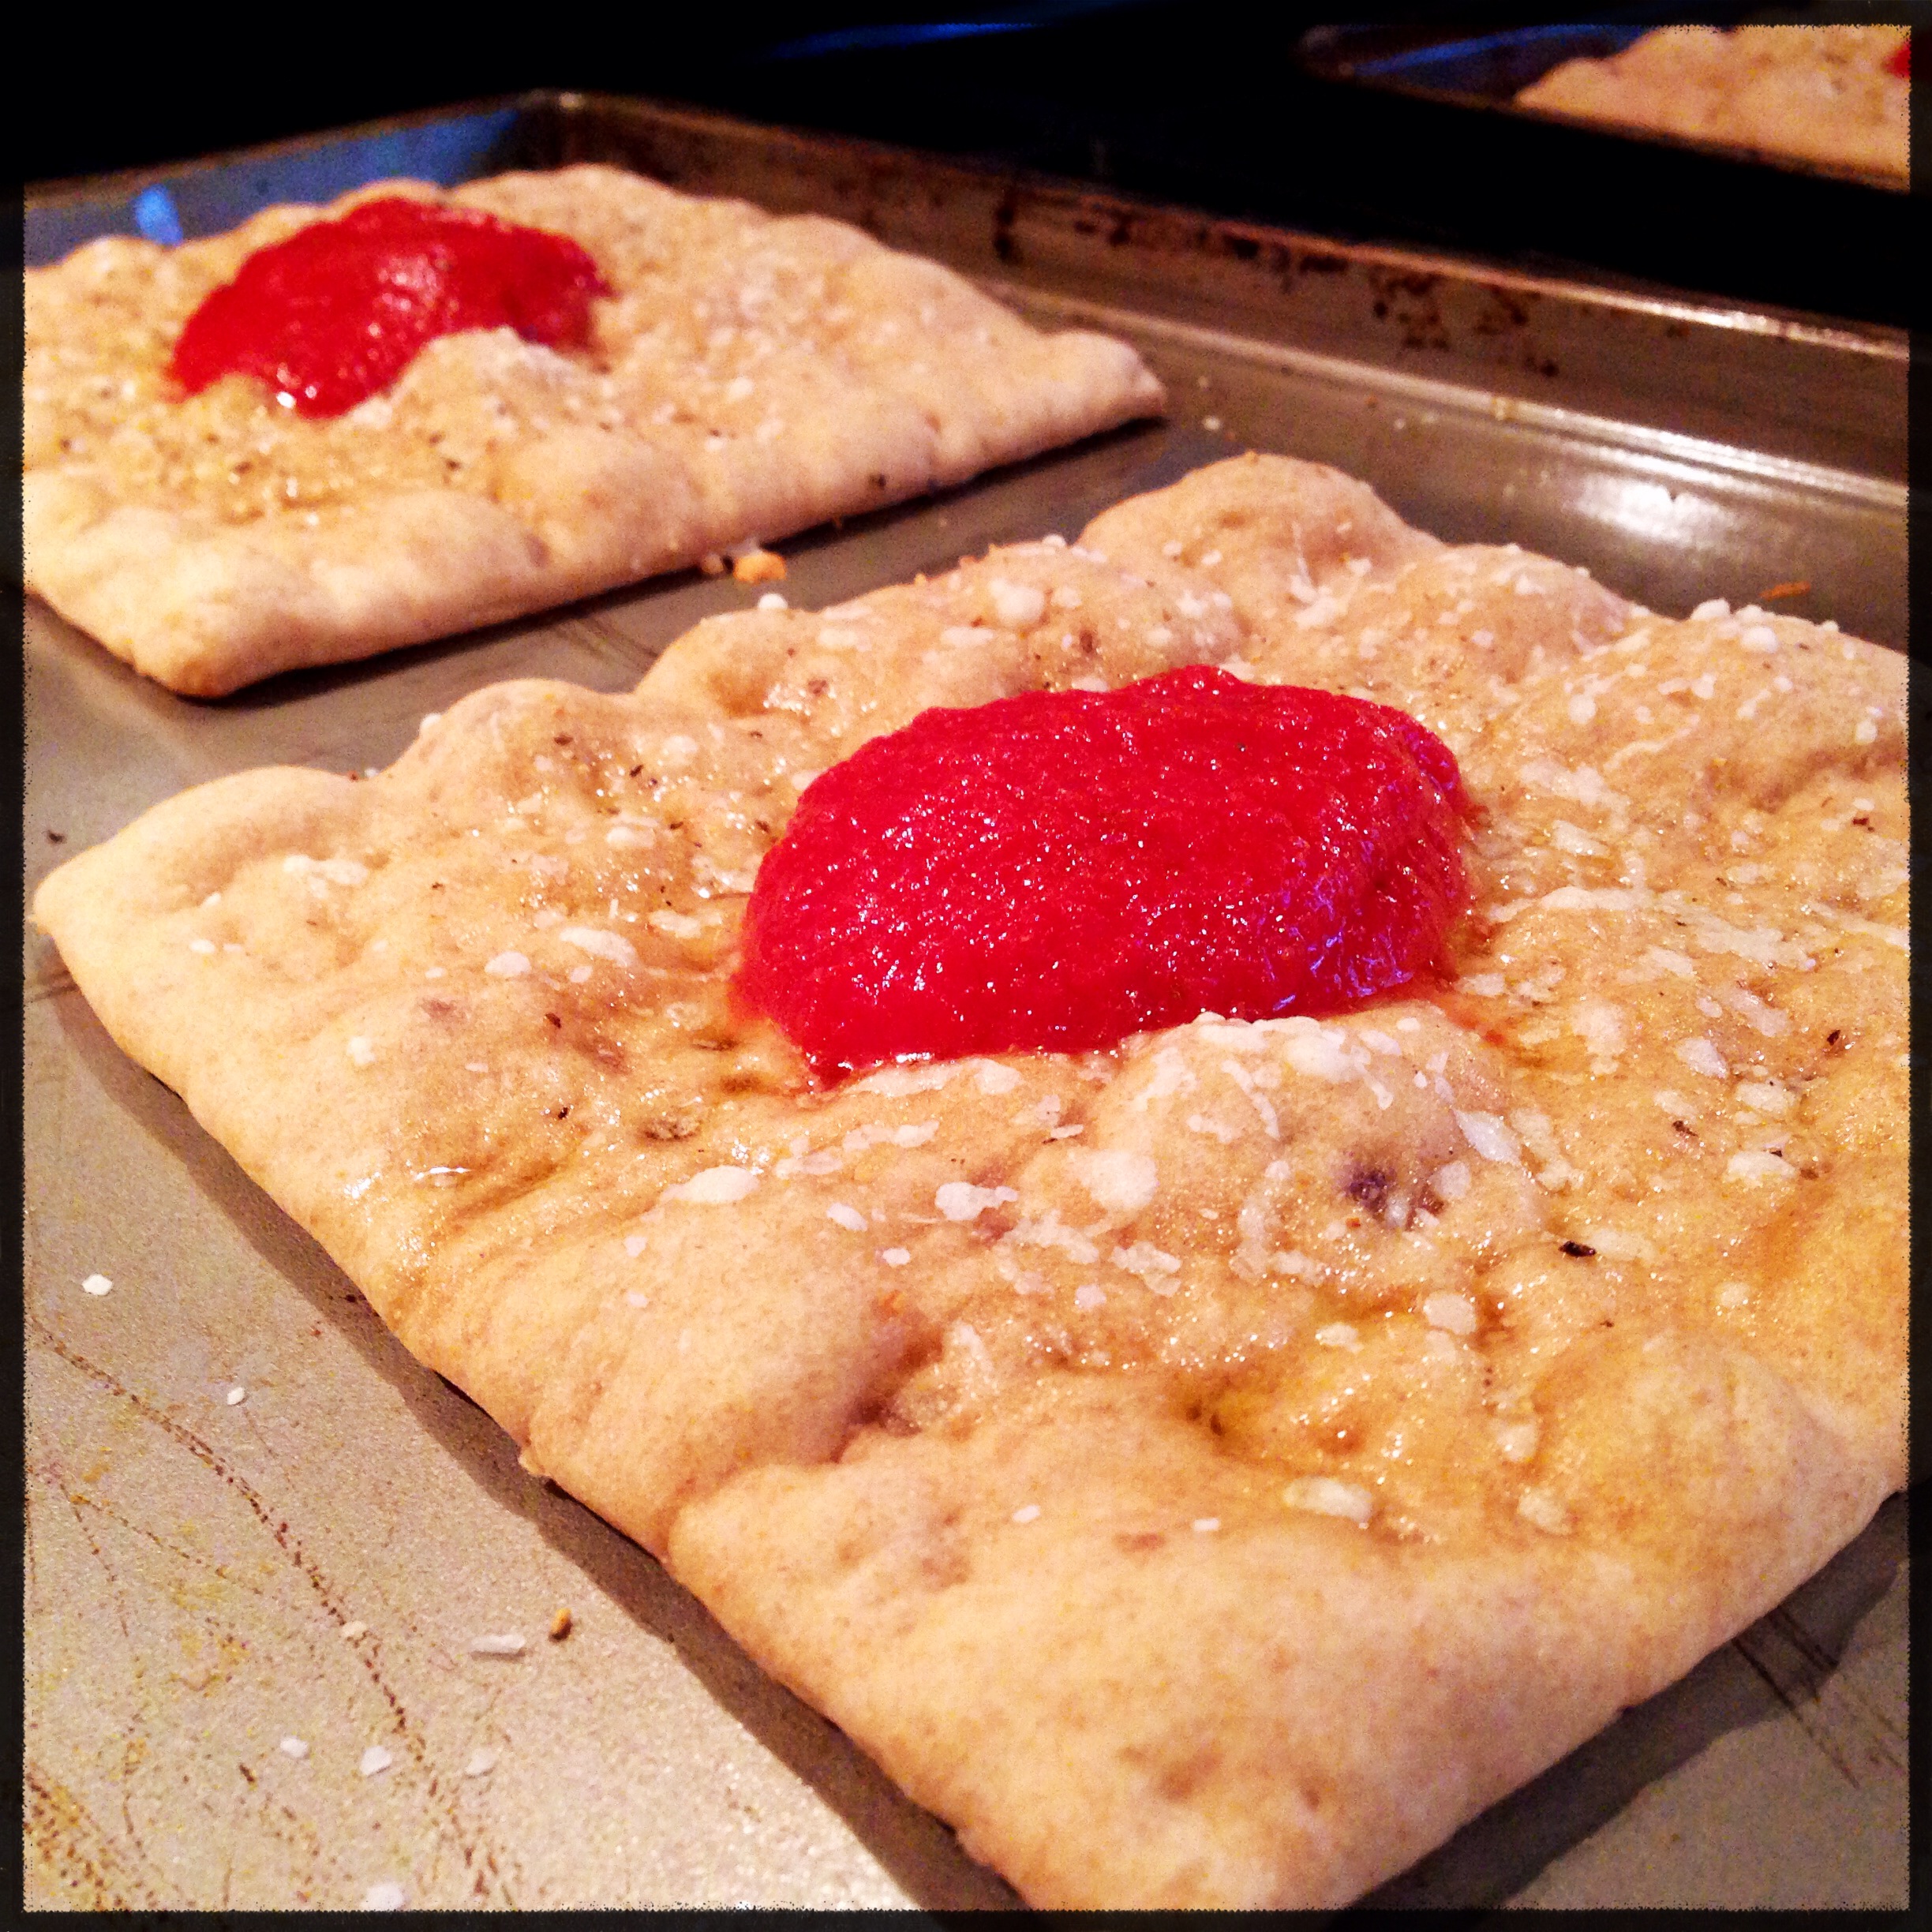
Preheat your oven to 400 degrees. While the oven is preheating, prepare the rest of the ingredients. First, lightly brush the pitas with a little olive oil and dust with salt, pepper and grated parmesan. Place the pitas on a baking sheet, and bake at 400 for 6-8 minutes.
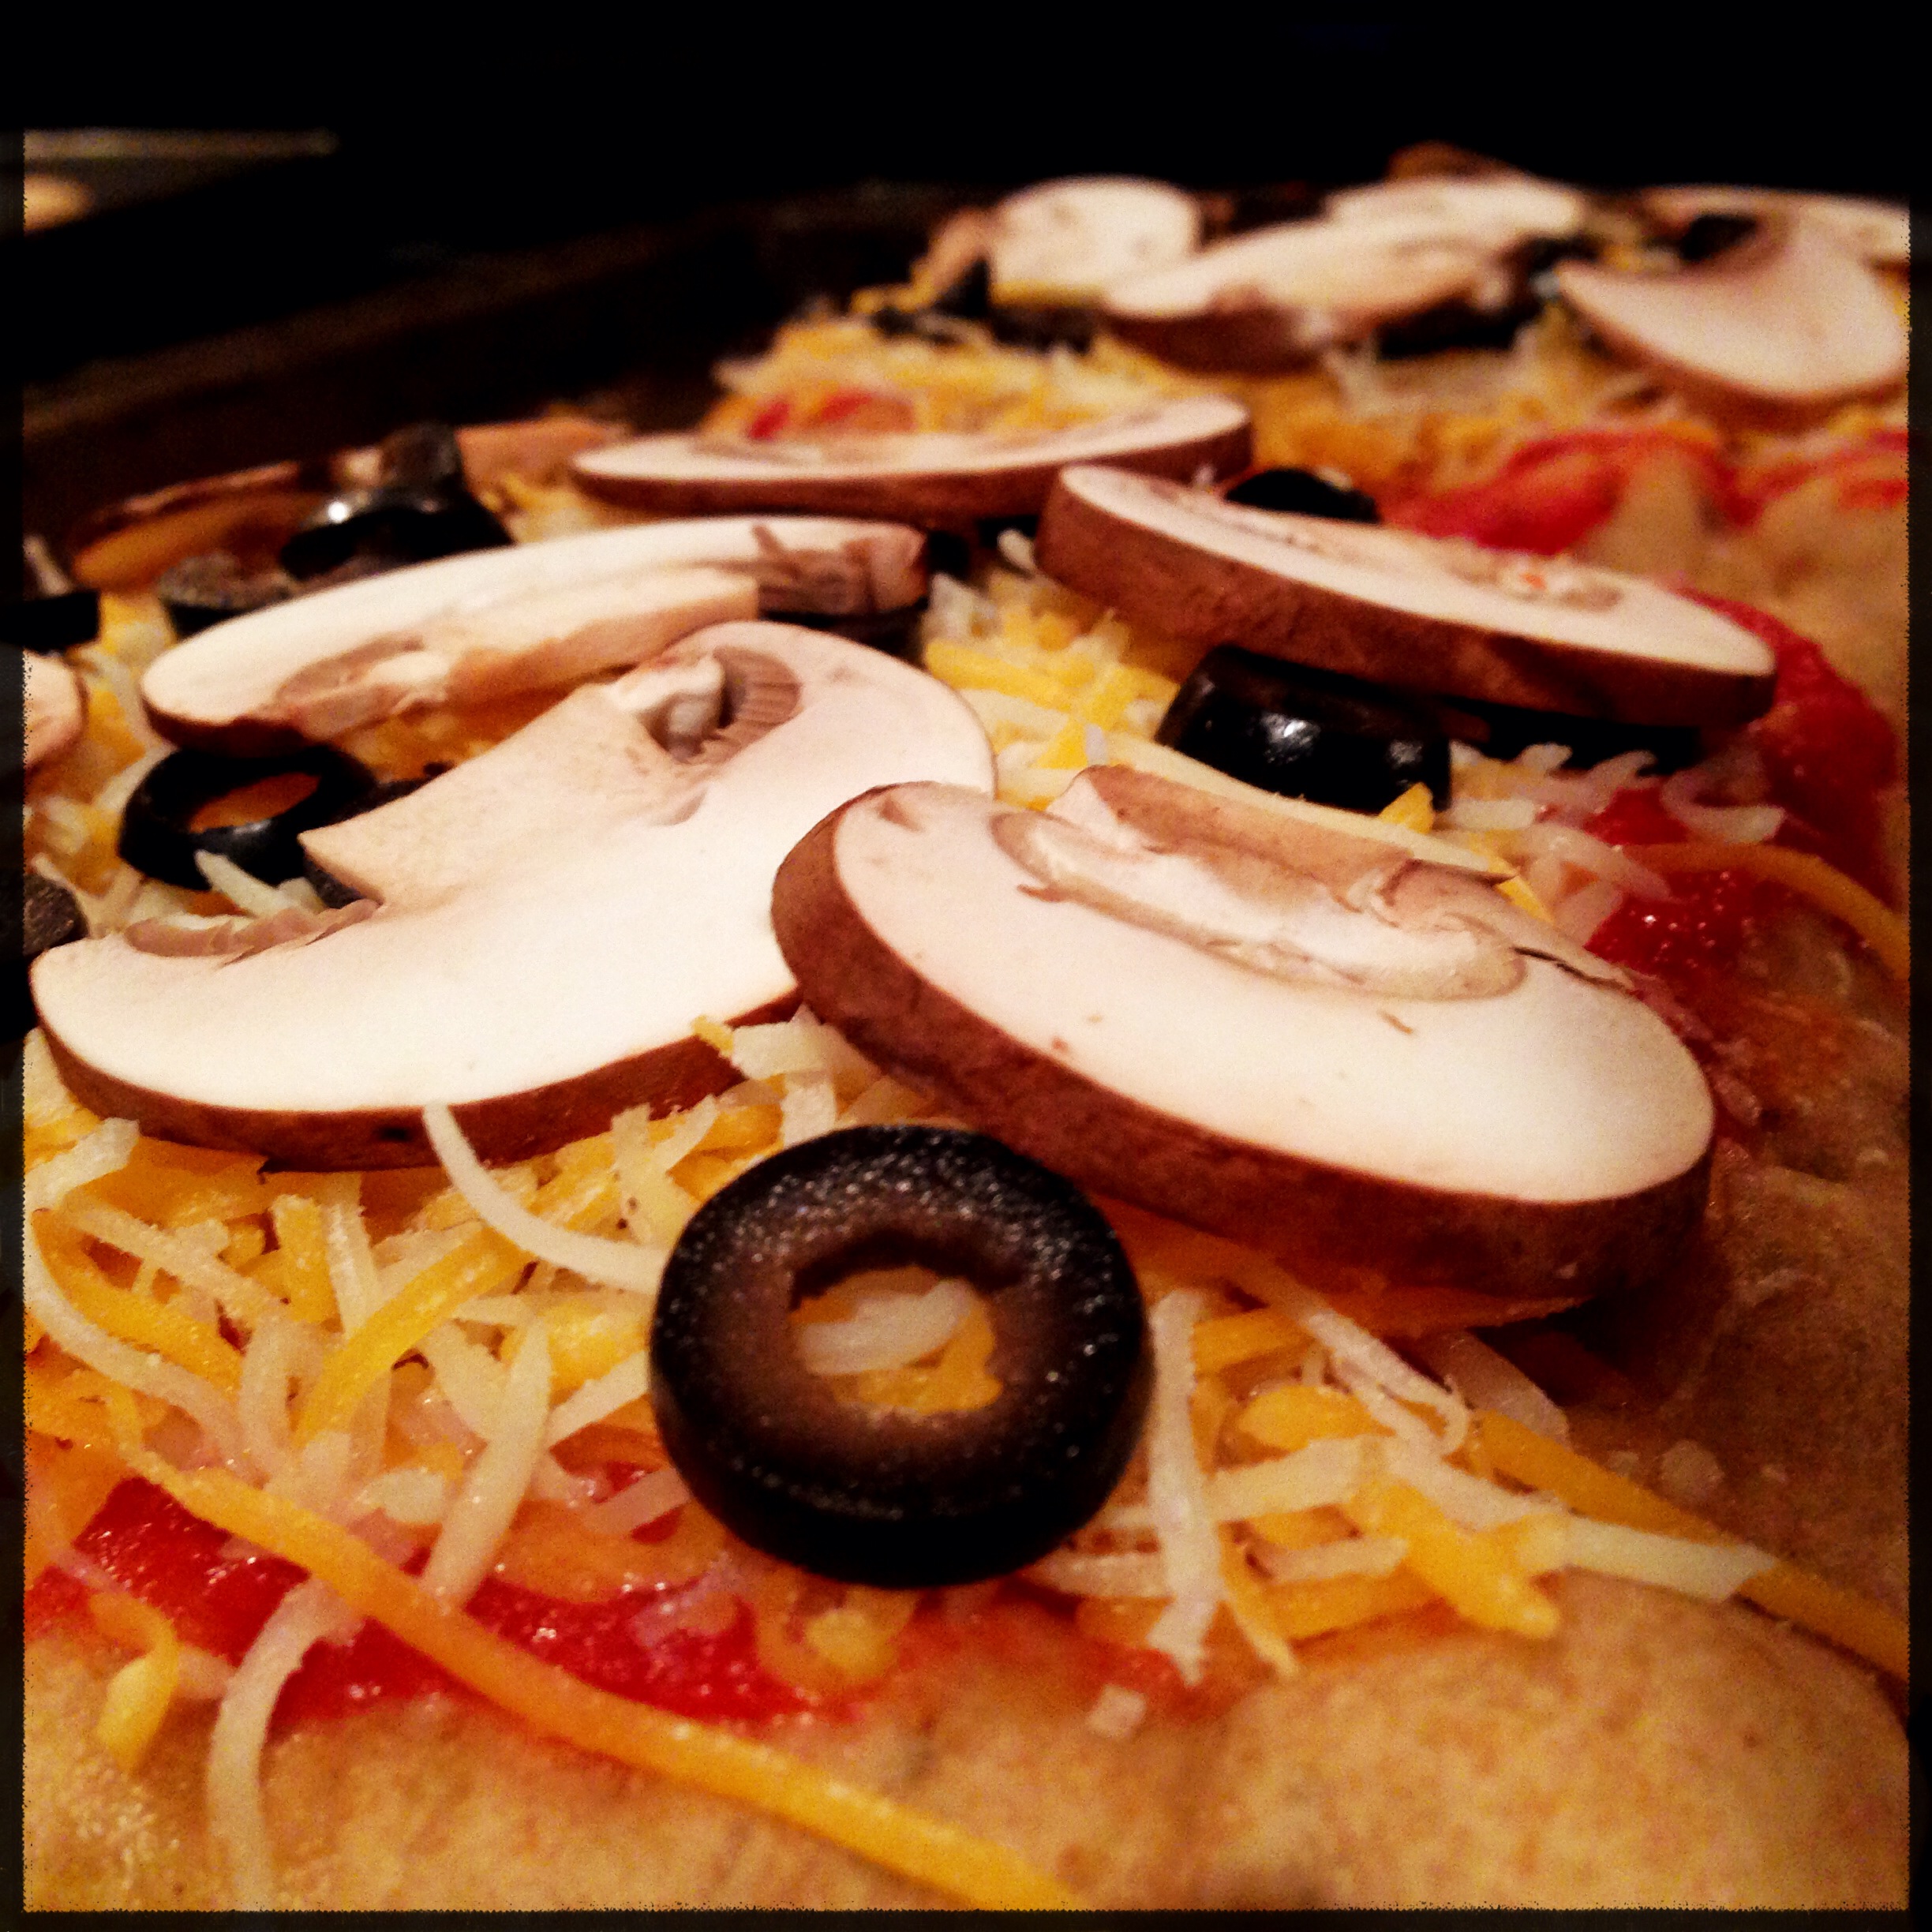
While the pitas are in the oven, slice your toppings as needed. They will only be in for a few minutes, so thinner slices tend to work better as they will cook more thoroughly in the short time in the oven. Alternatively, you could pre-cook your toppings. (If using any raw meat, you will definitely need to cook this ahead of time as it will not be in the oven long enough to cook through.)
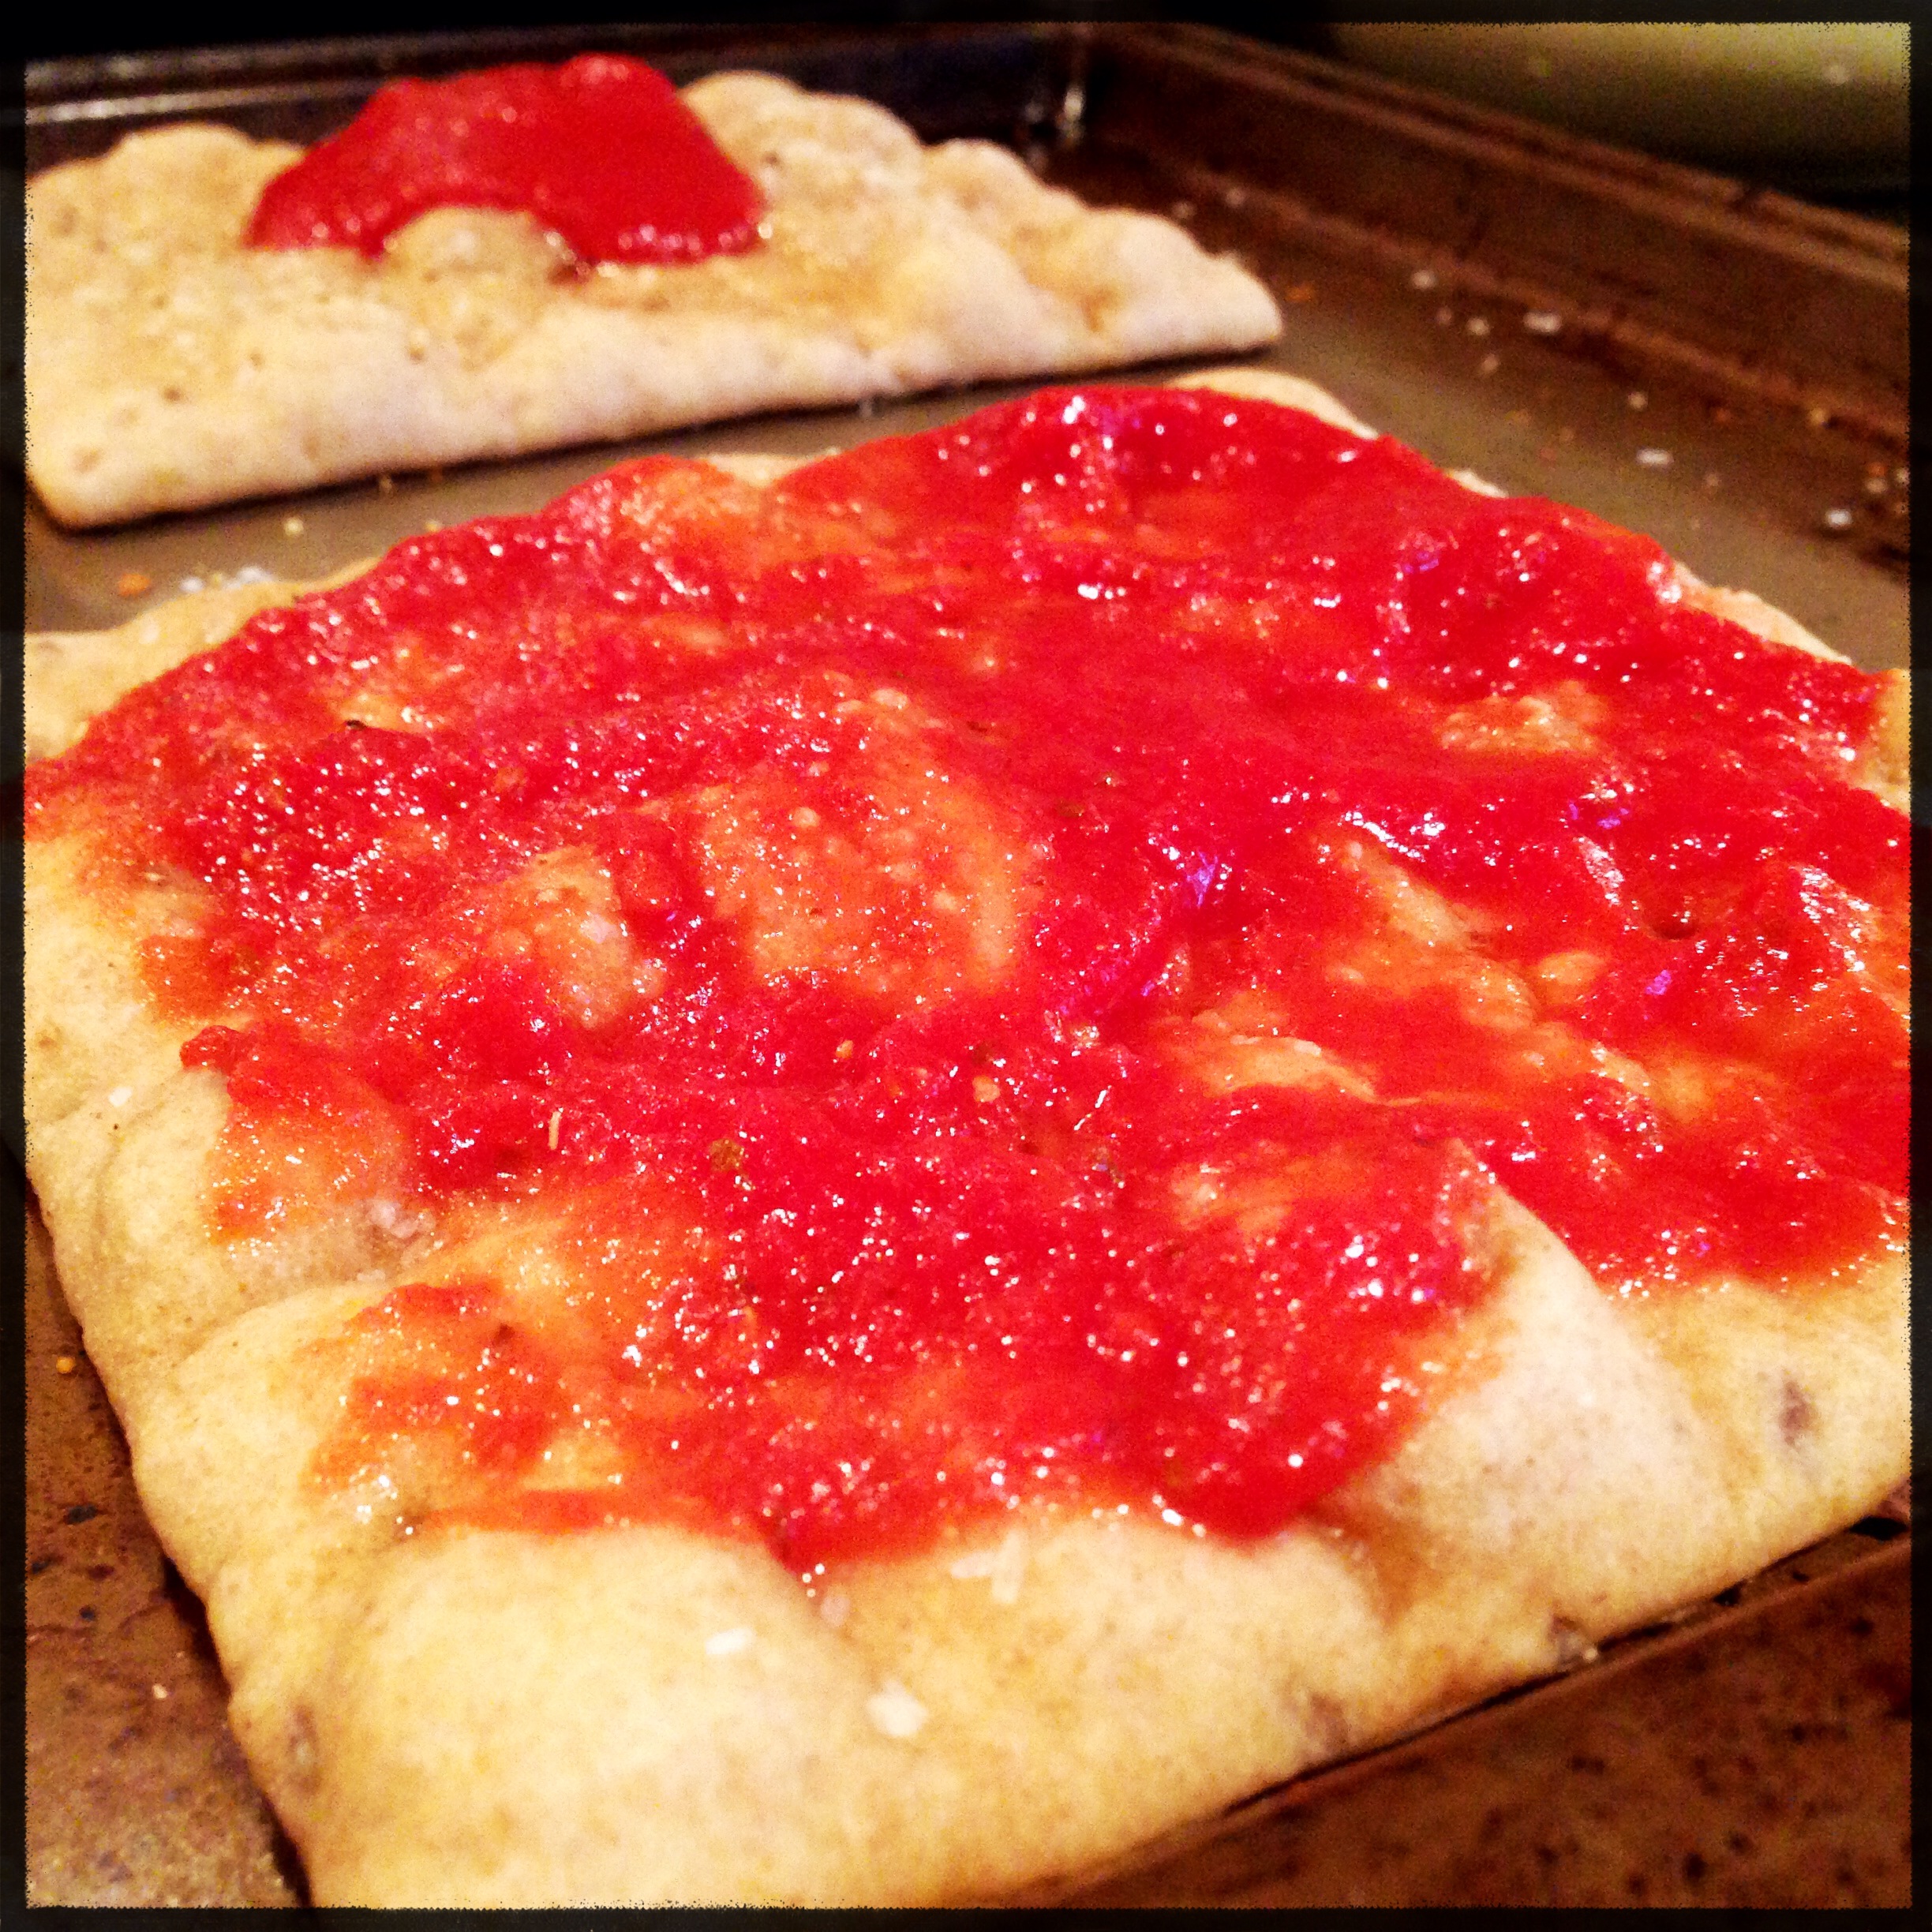
Once the pitas come out of the oven, cover with the pizza sauce. Place a good sized dollop in the middle, and spread with a spoon. You can use pasta sauce instead of pizza sauce, but I like the added thickness of the pizza sauce.
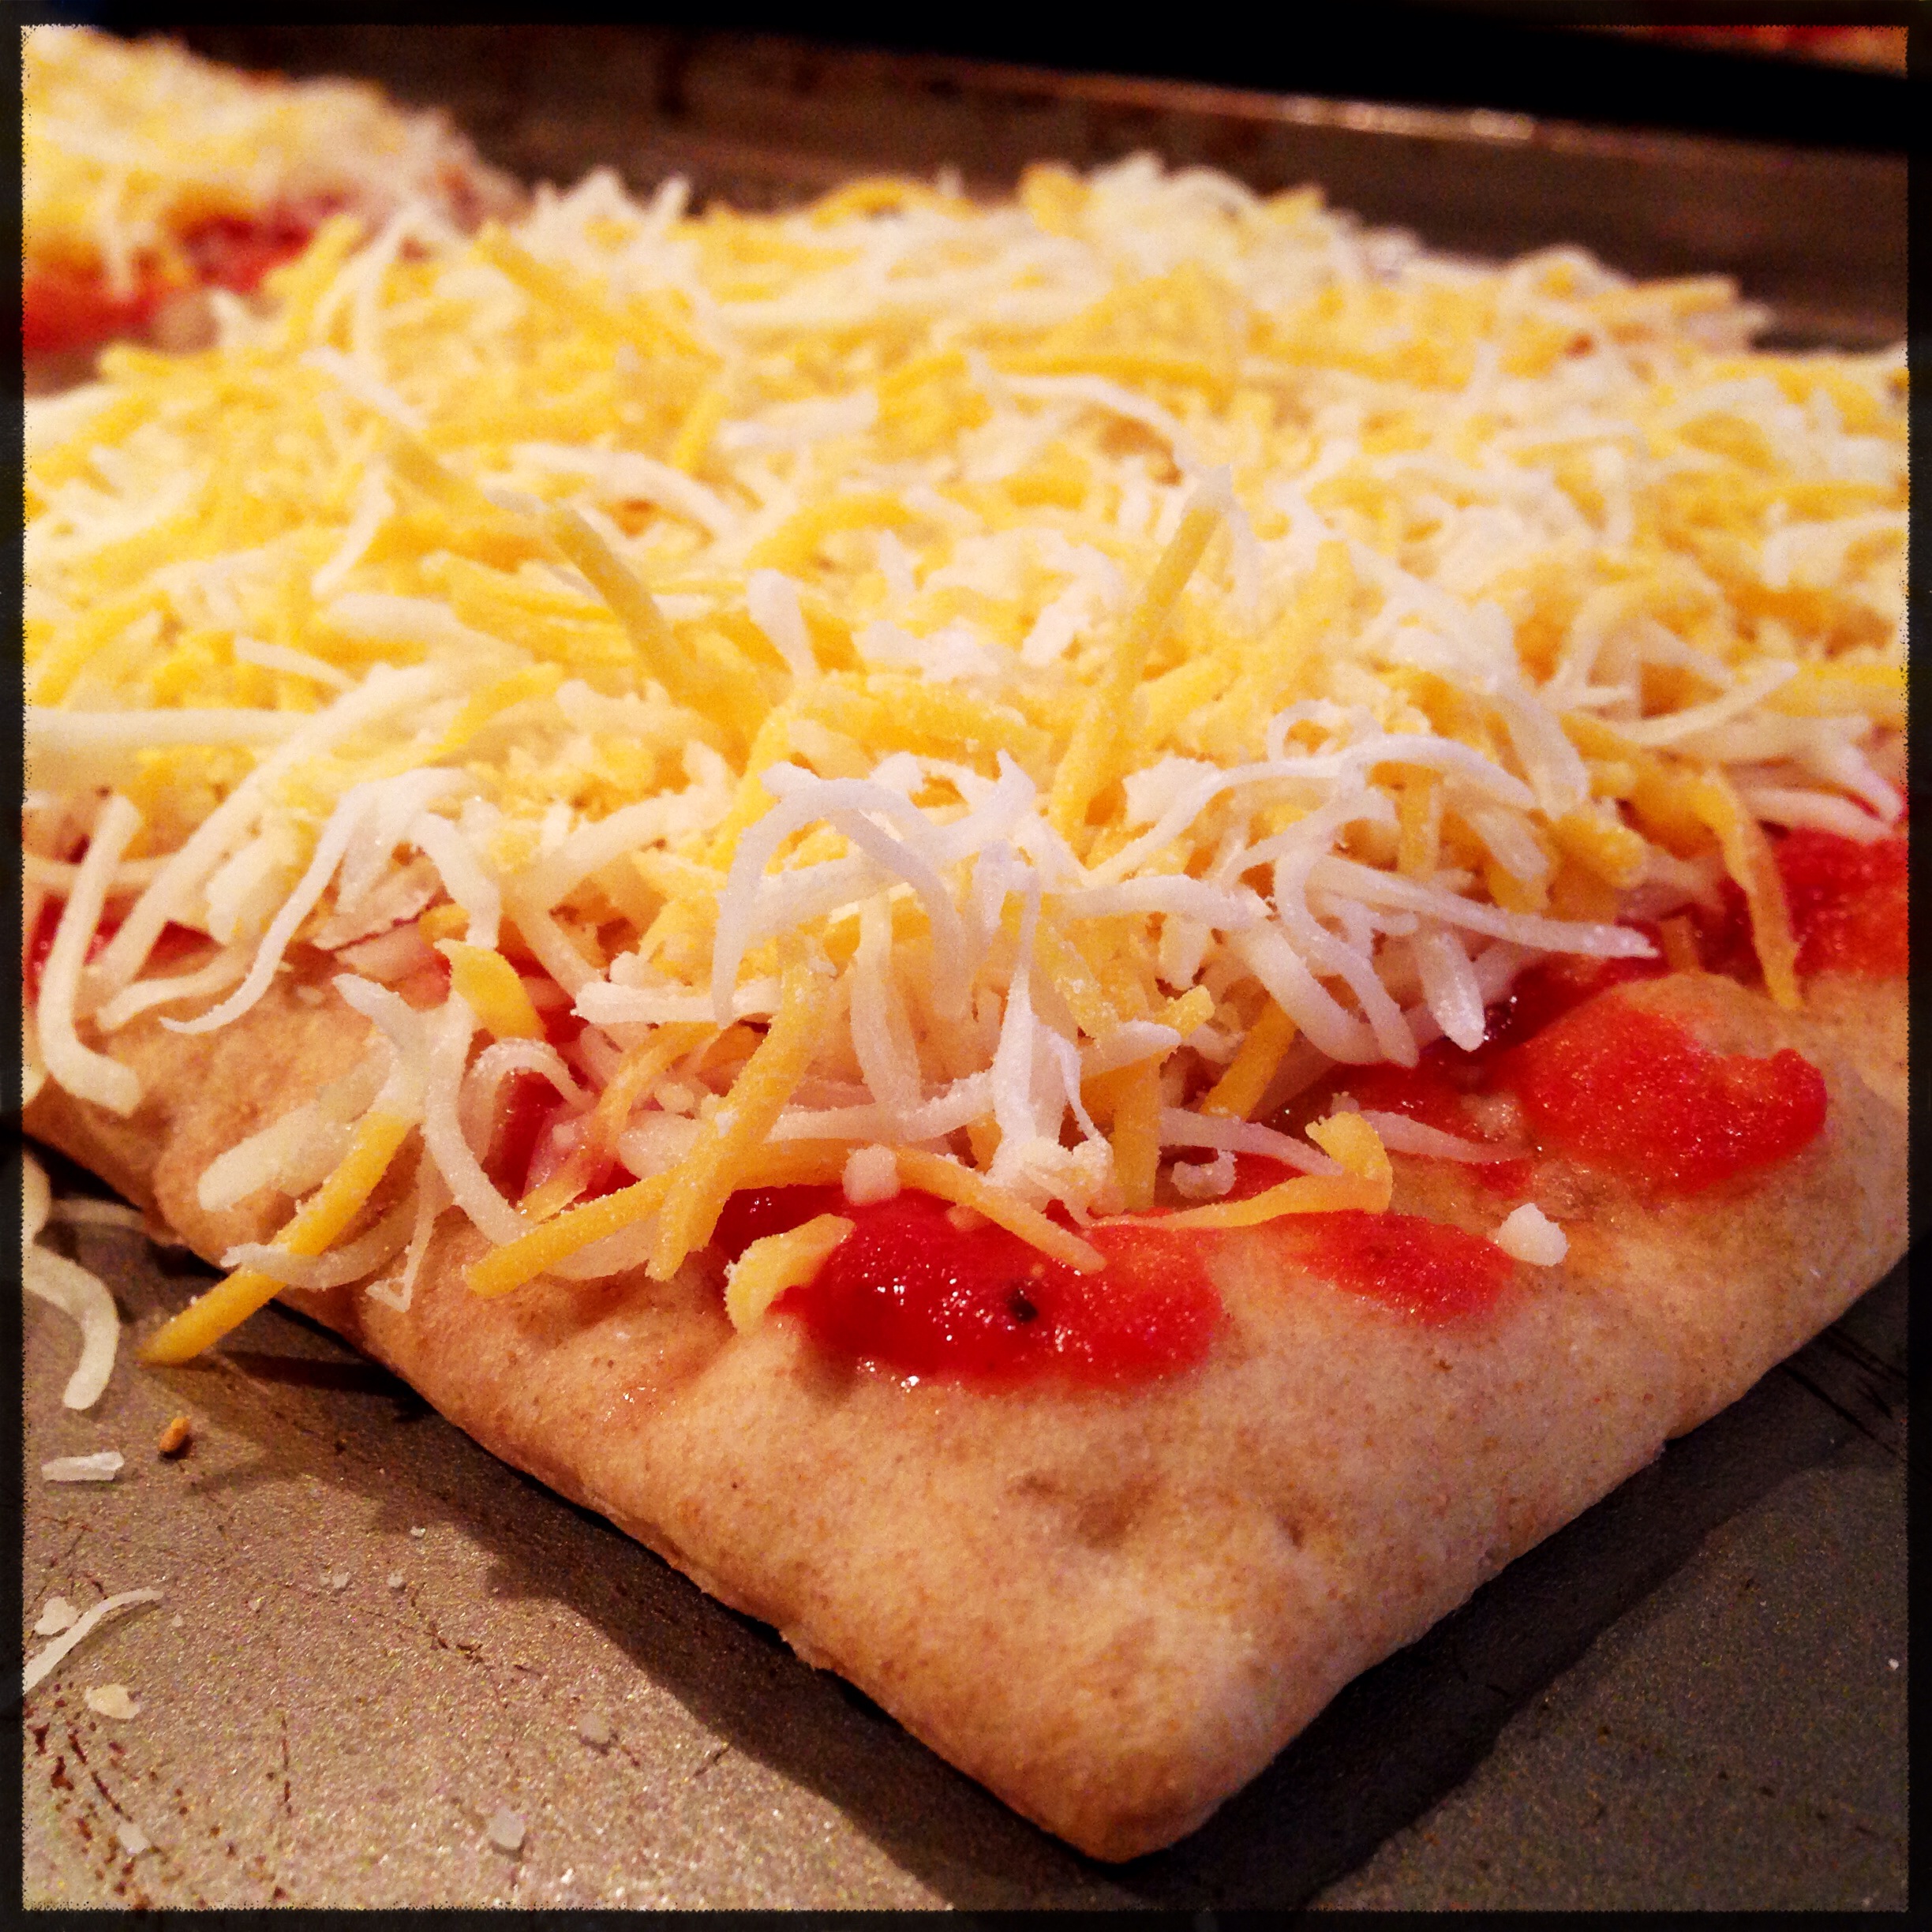
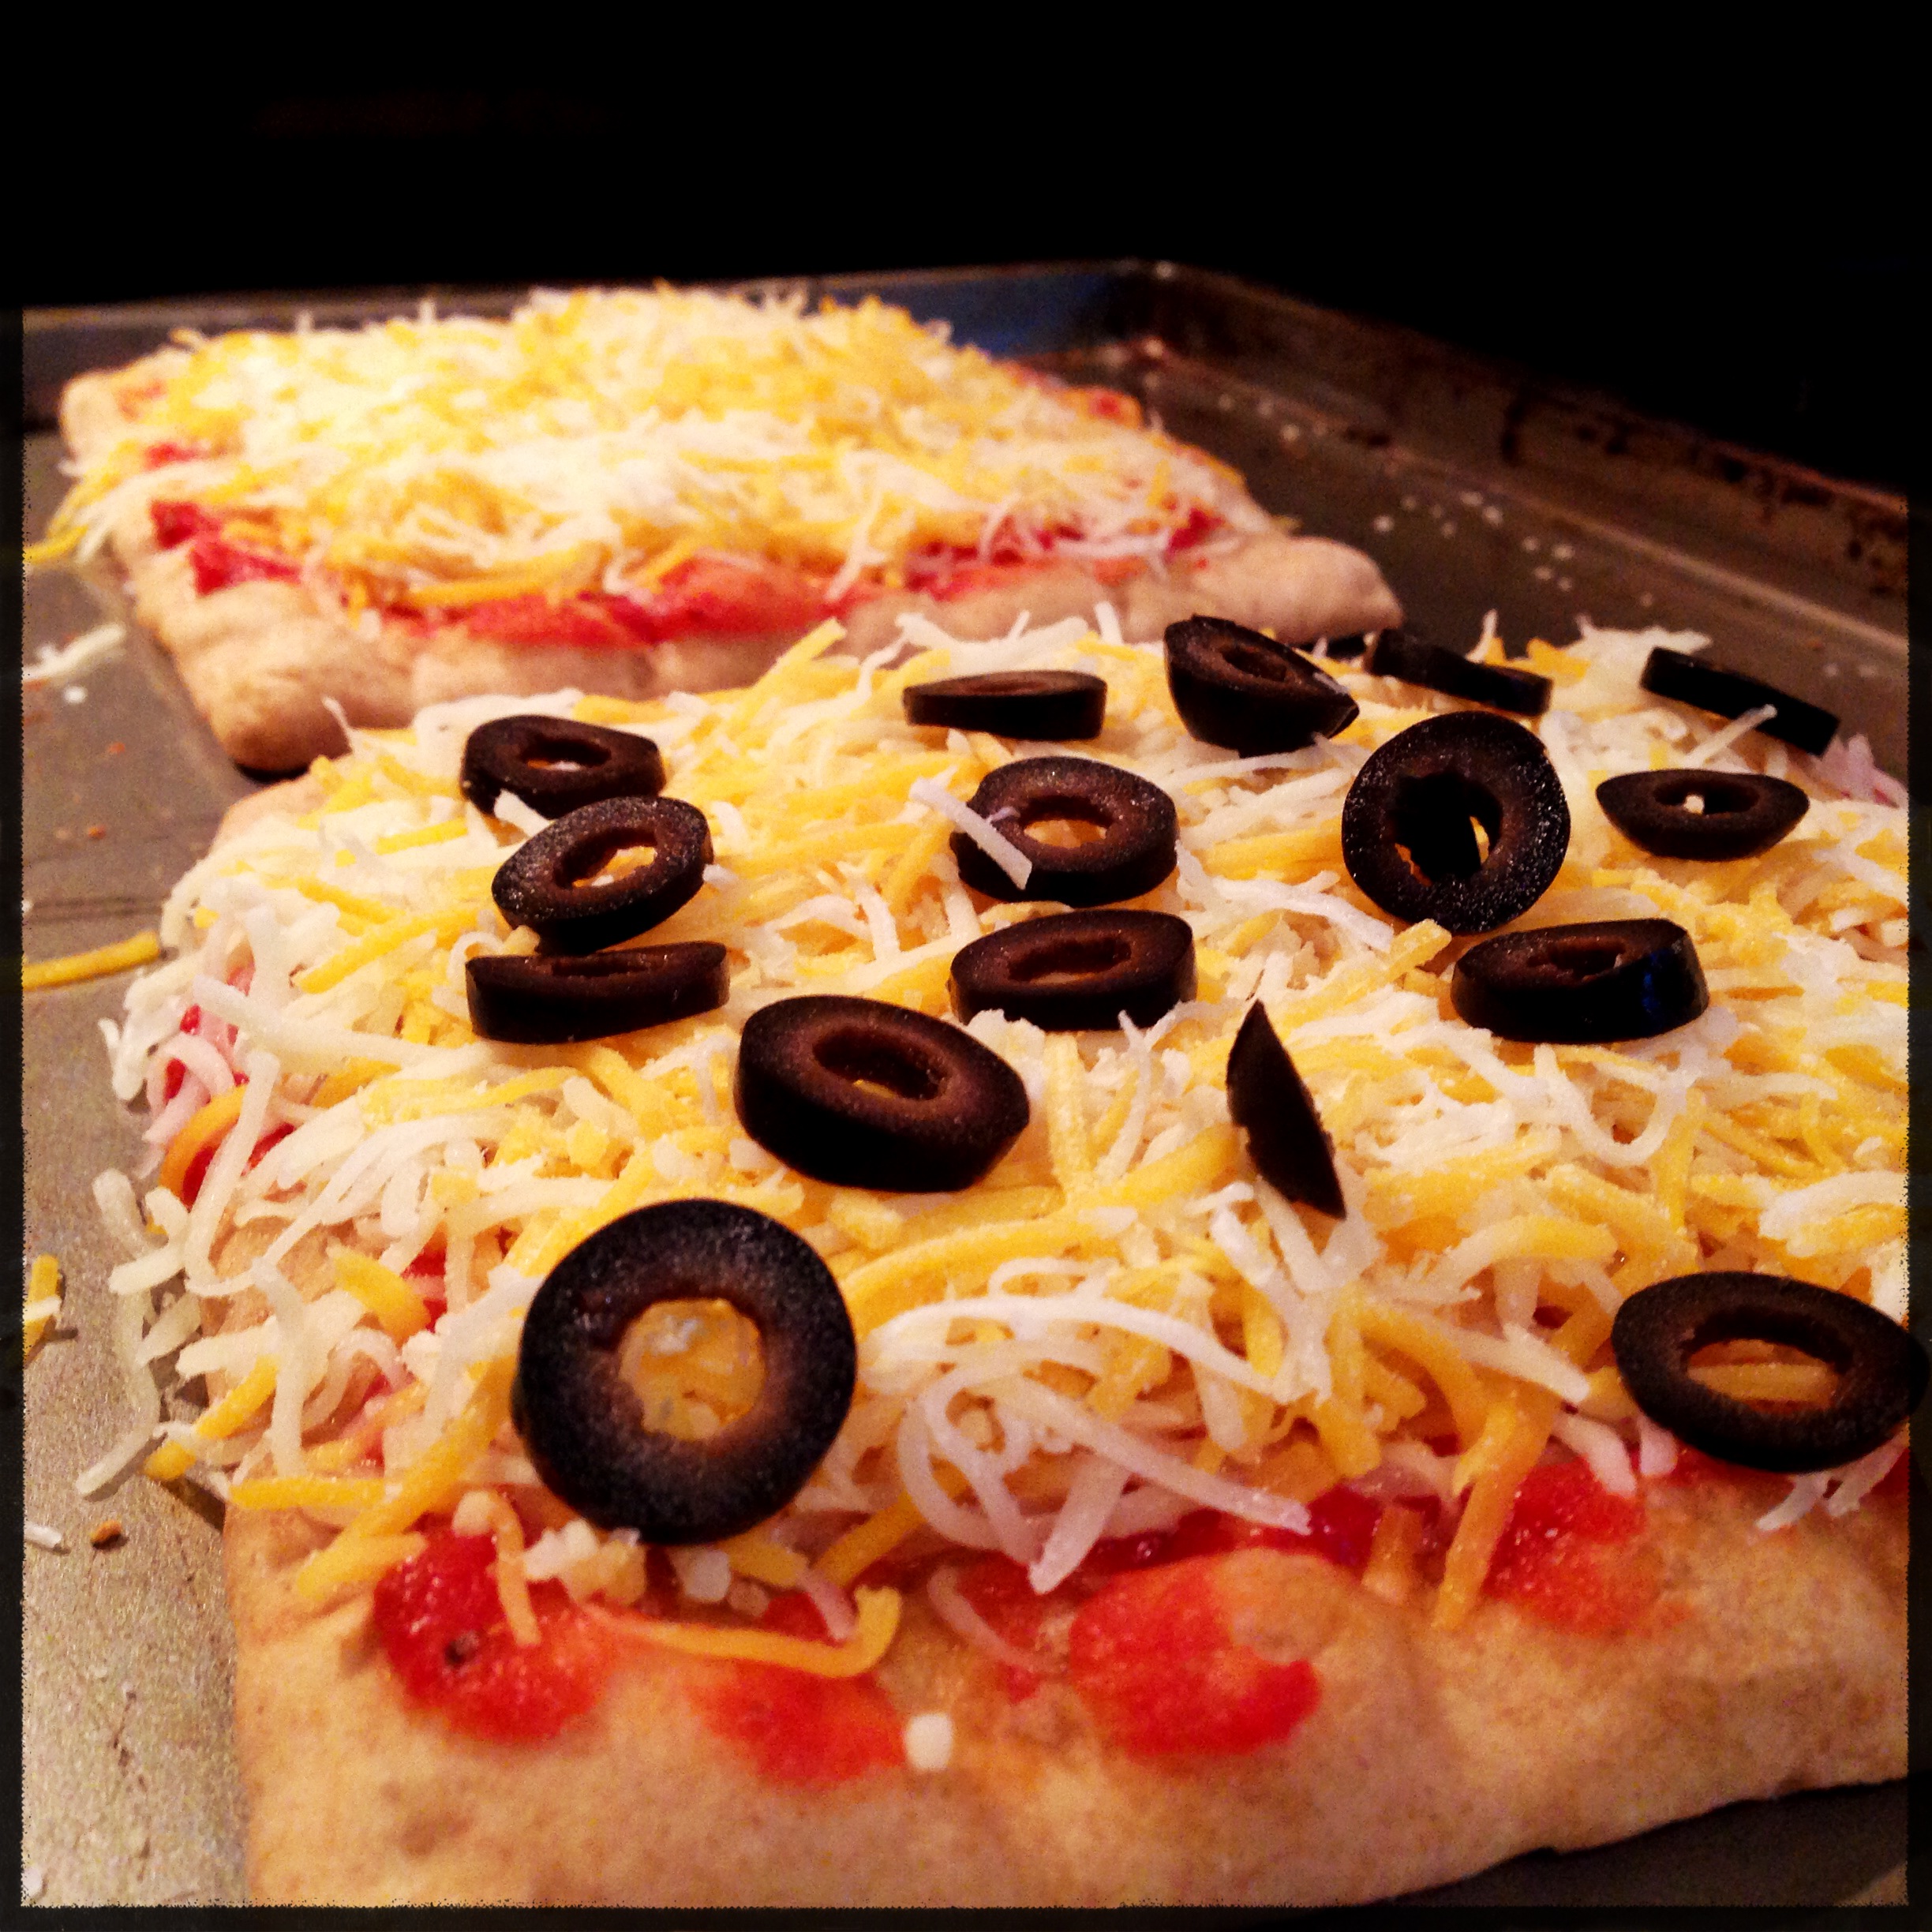
Next, cover with plenty of cheese. I like my cheese thick, so I use about two ounces of cheese per pizza. That’s about a quarter of an eight-ounce bag of cheese per pizza, or one bag for four pizzas.
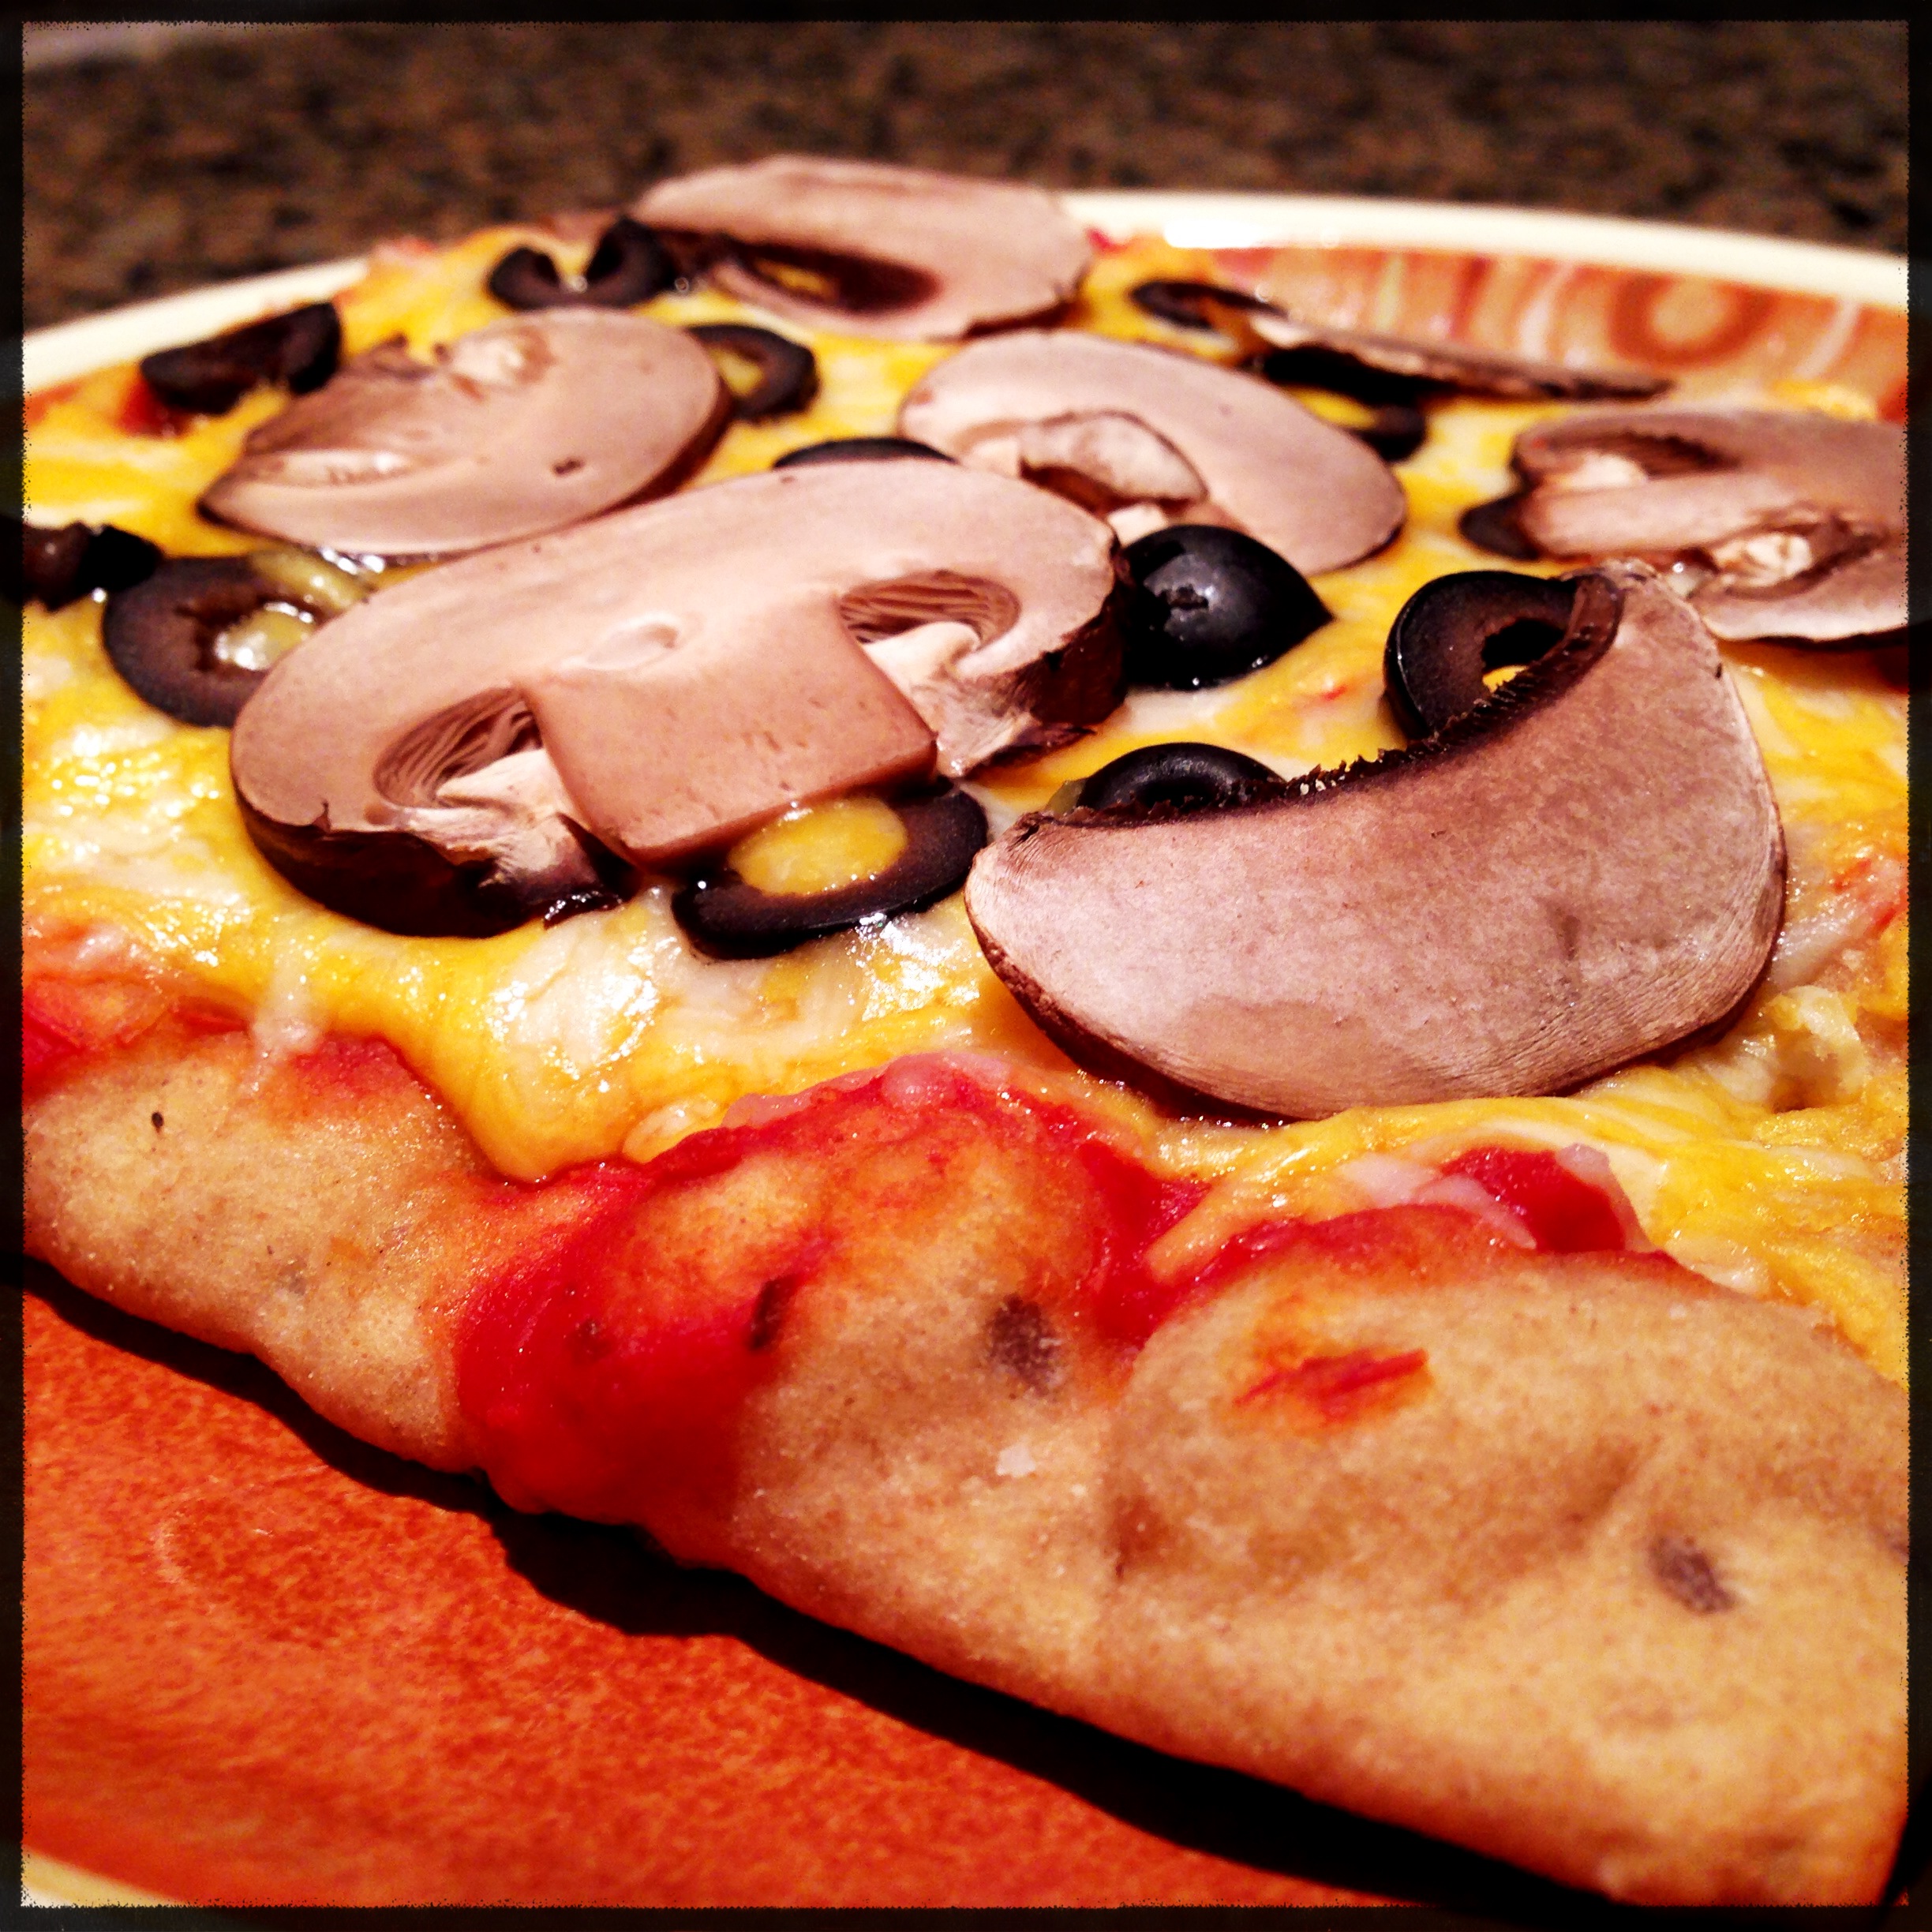
Place your toppings on top of the cheese however you like. Make a face. Spell your name. Spread it randomly. It’s your canvas, paint it as you wish!
Place the pizzas back in the oven for anoter 6-10 minutes. The time will vary based on your oven, your pita and your toppings. Around 5 minutes, start peeking at the pizzas. You want the cheese thoroughly melted and the toppings cooked (if using raw ingredients).
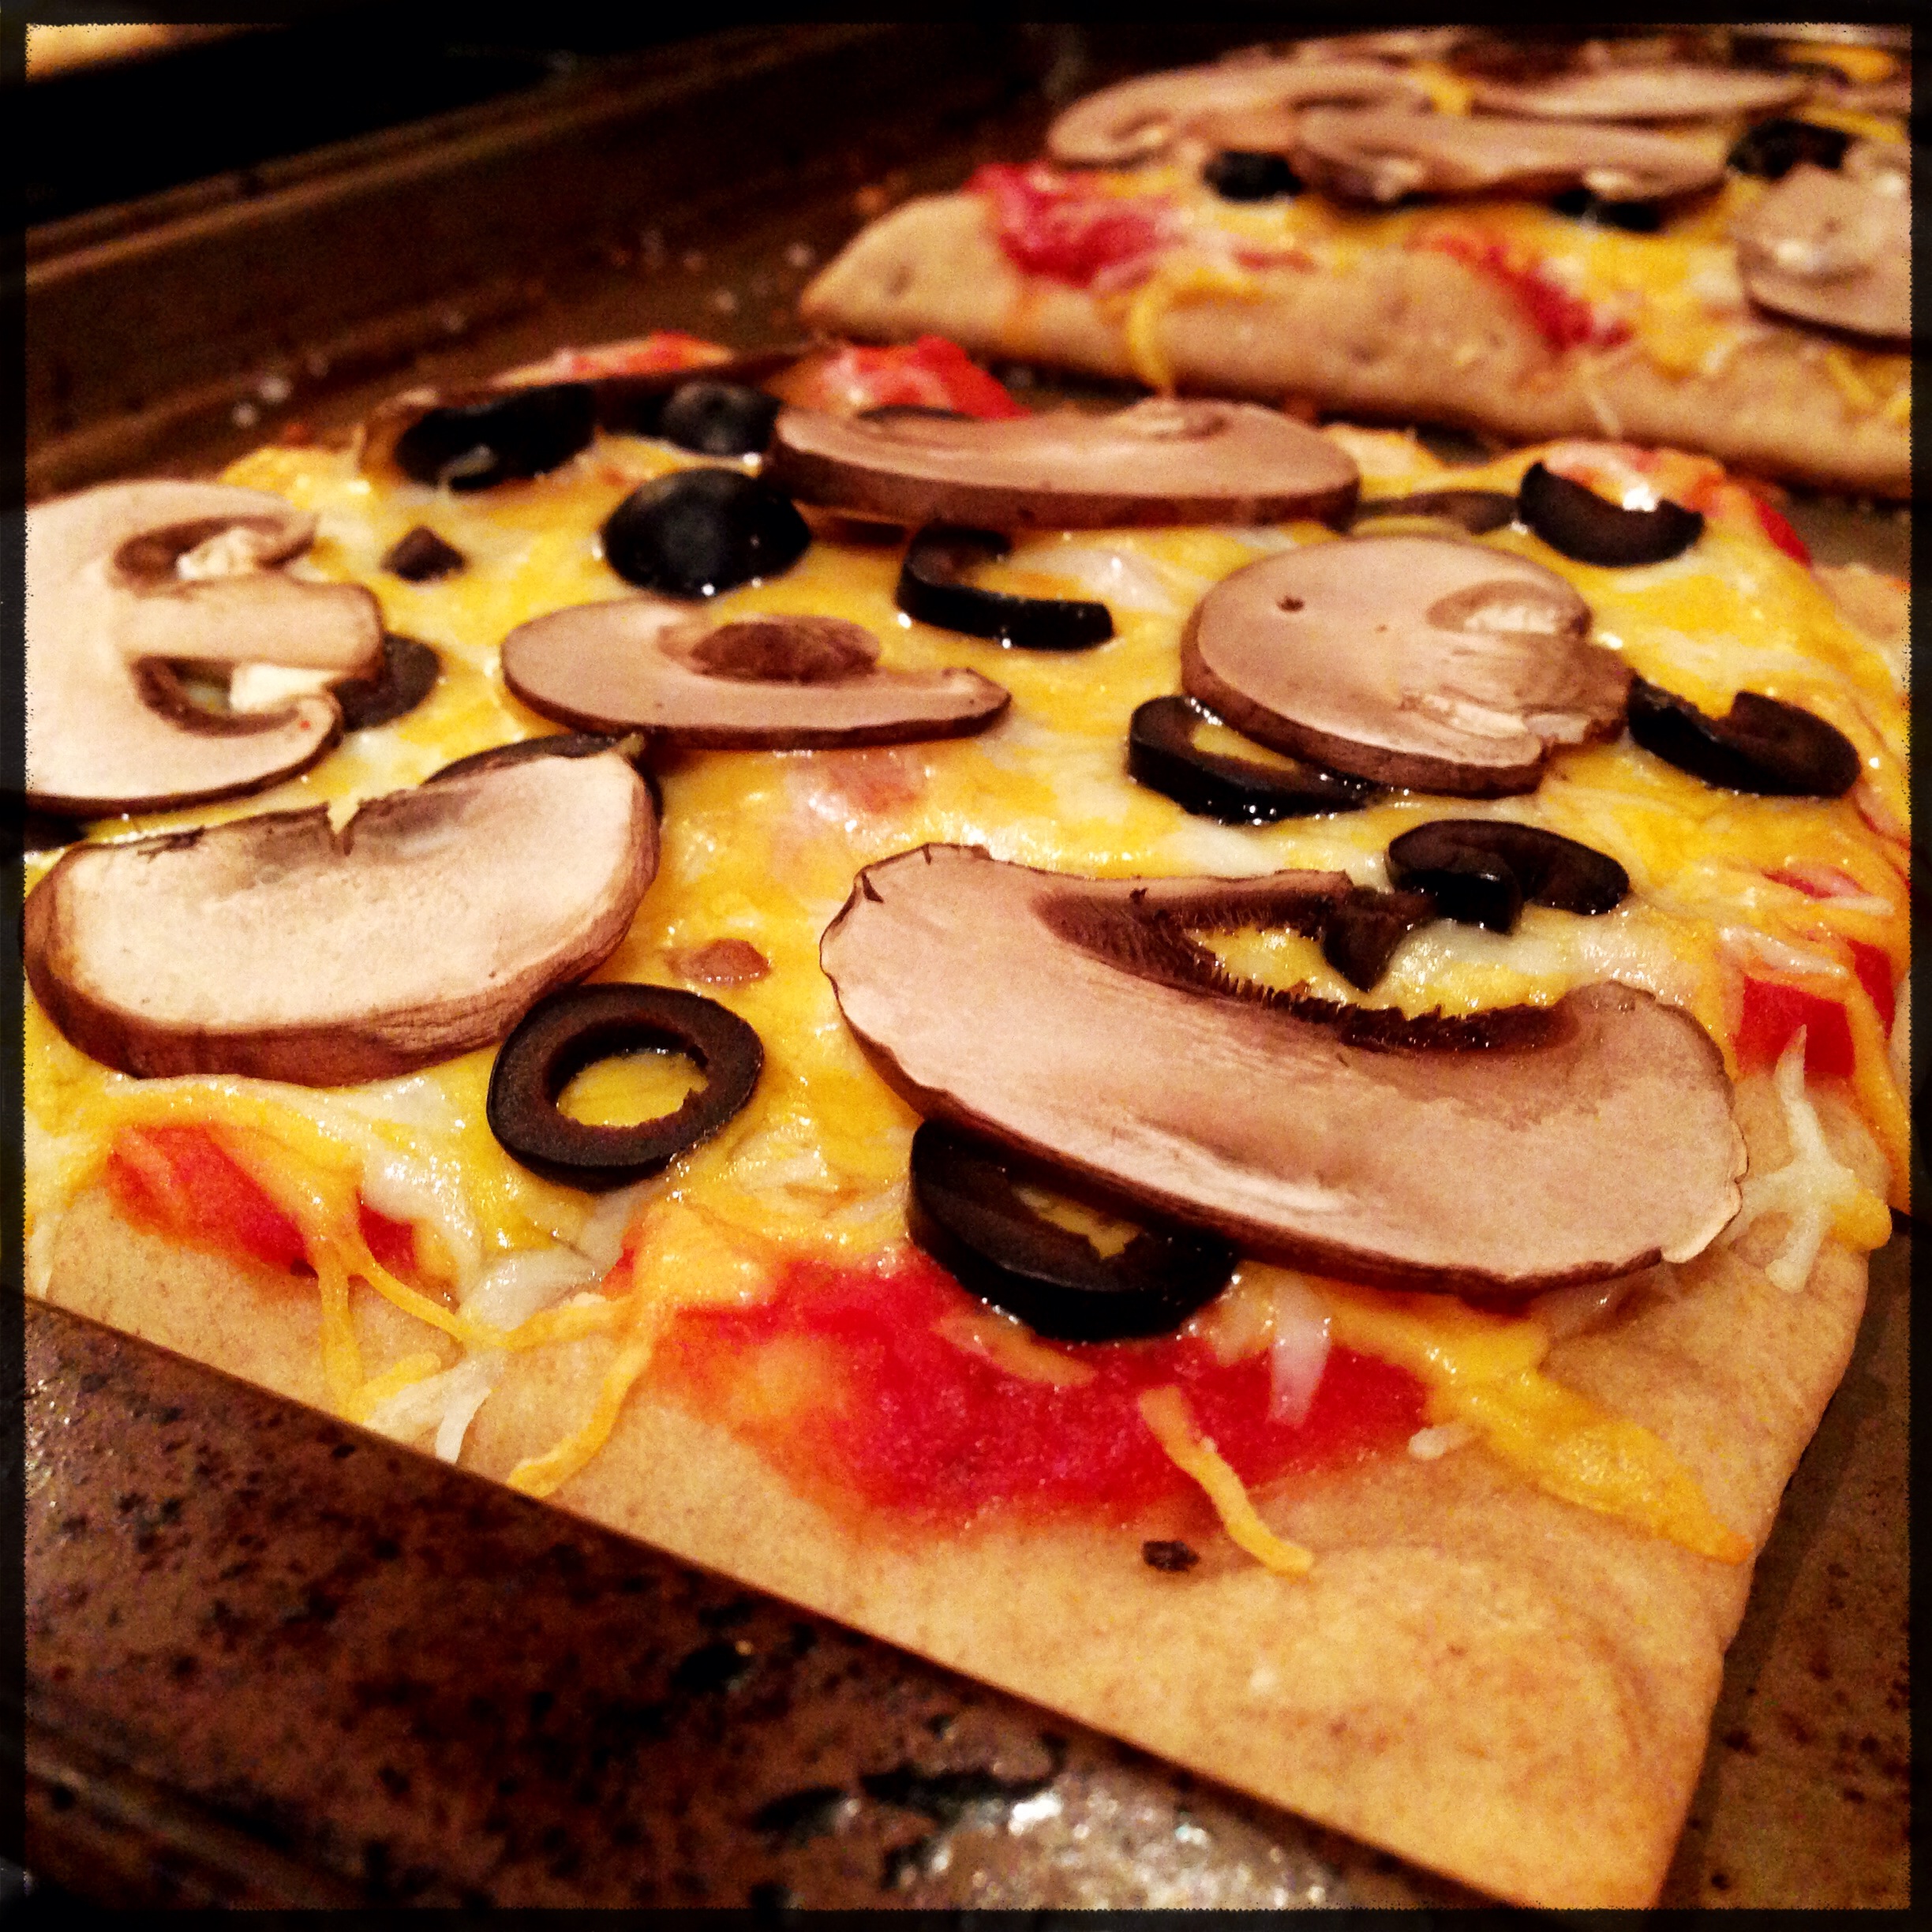
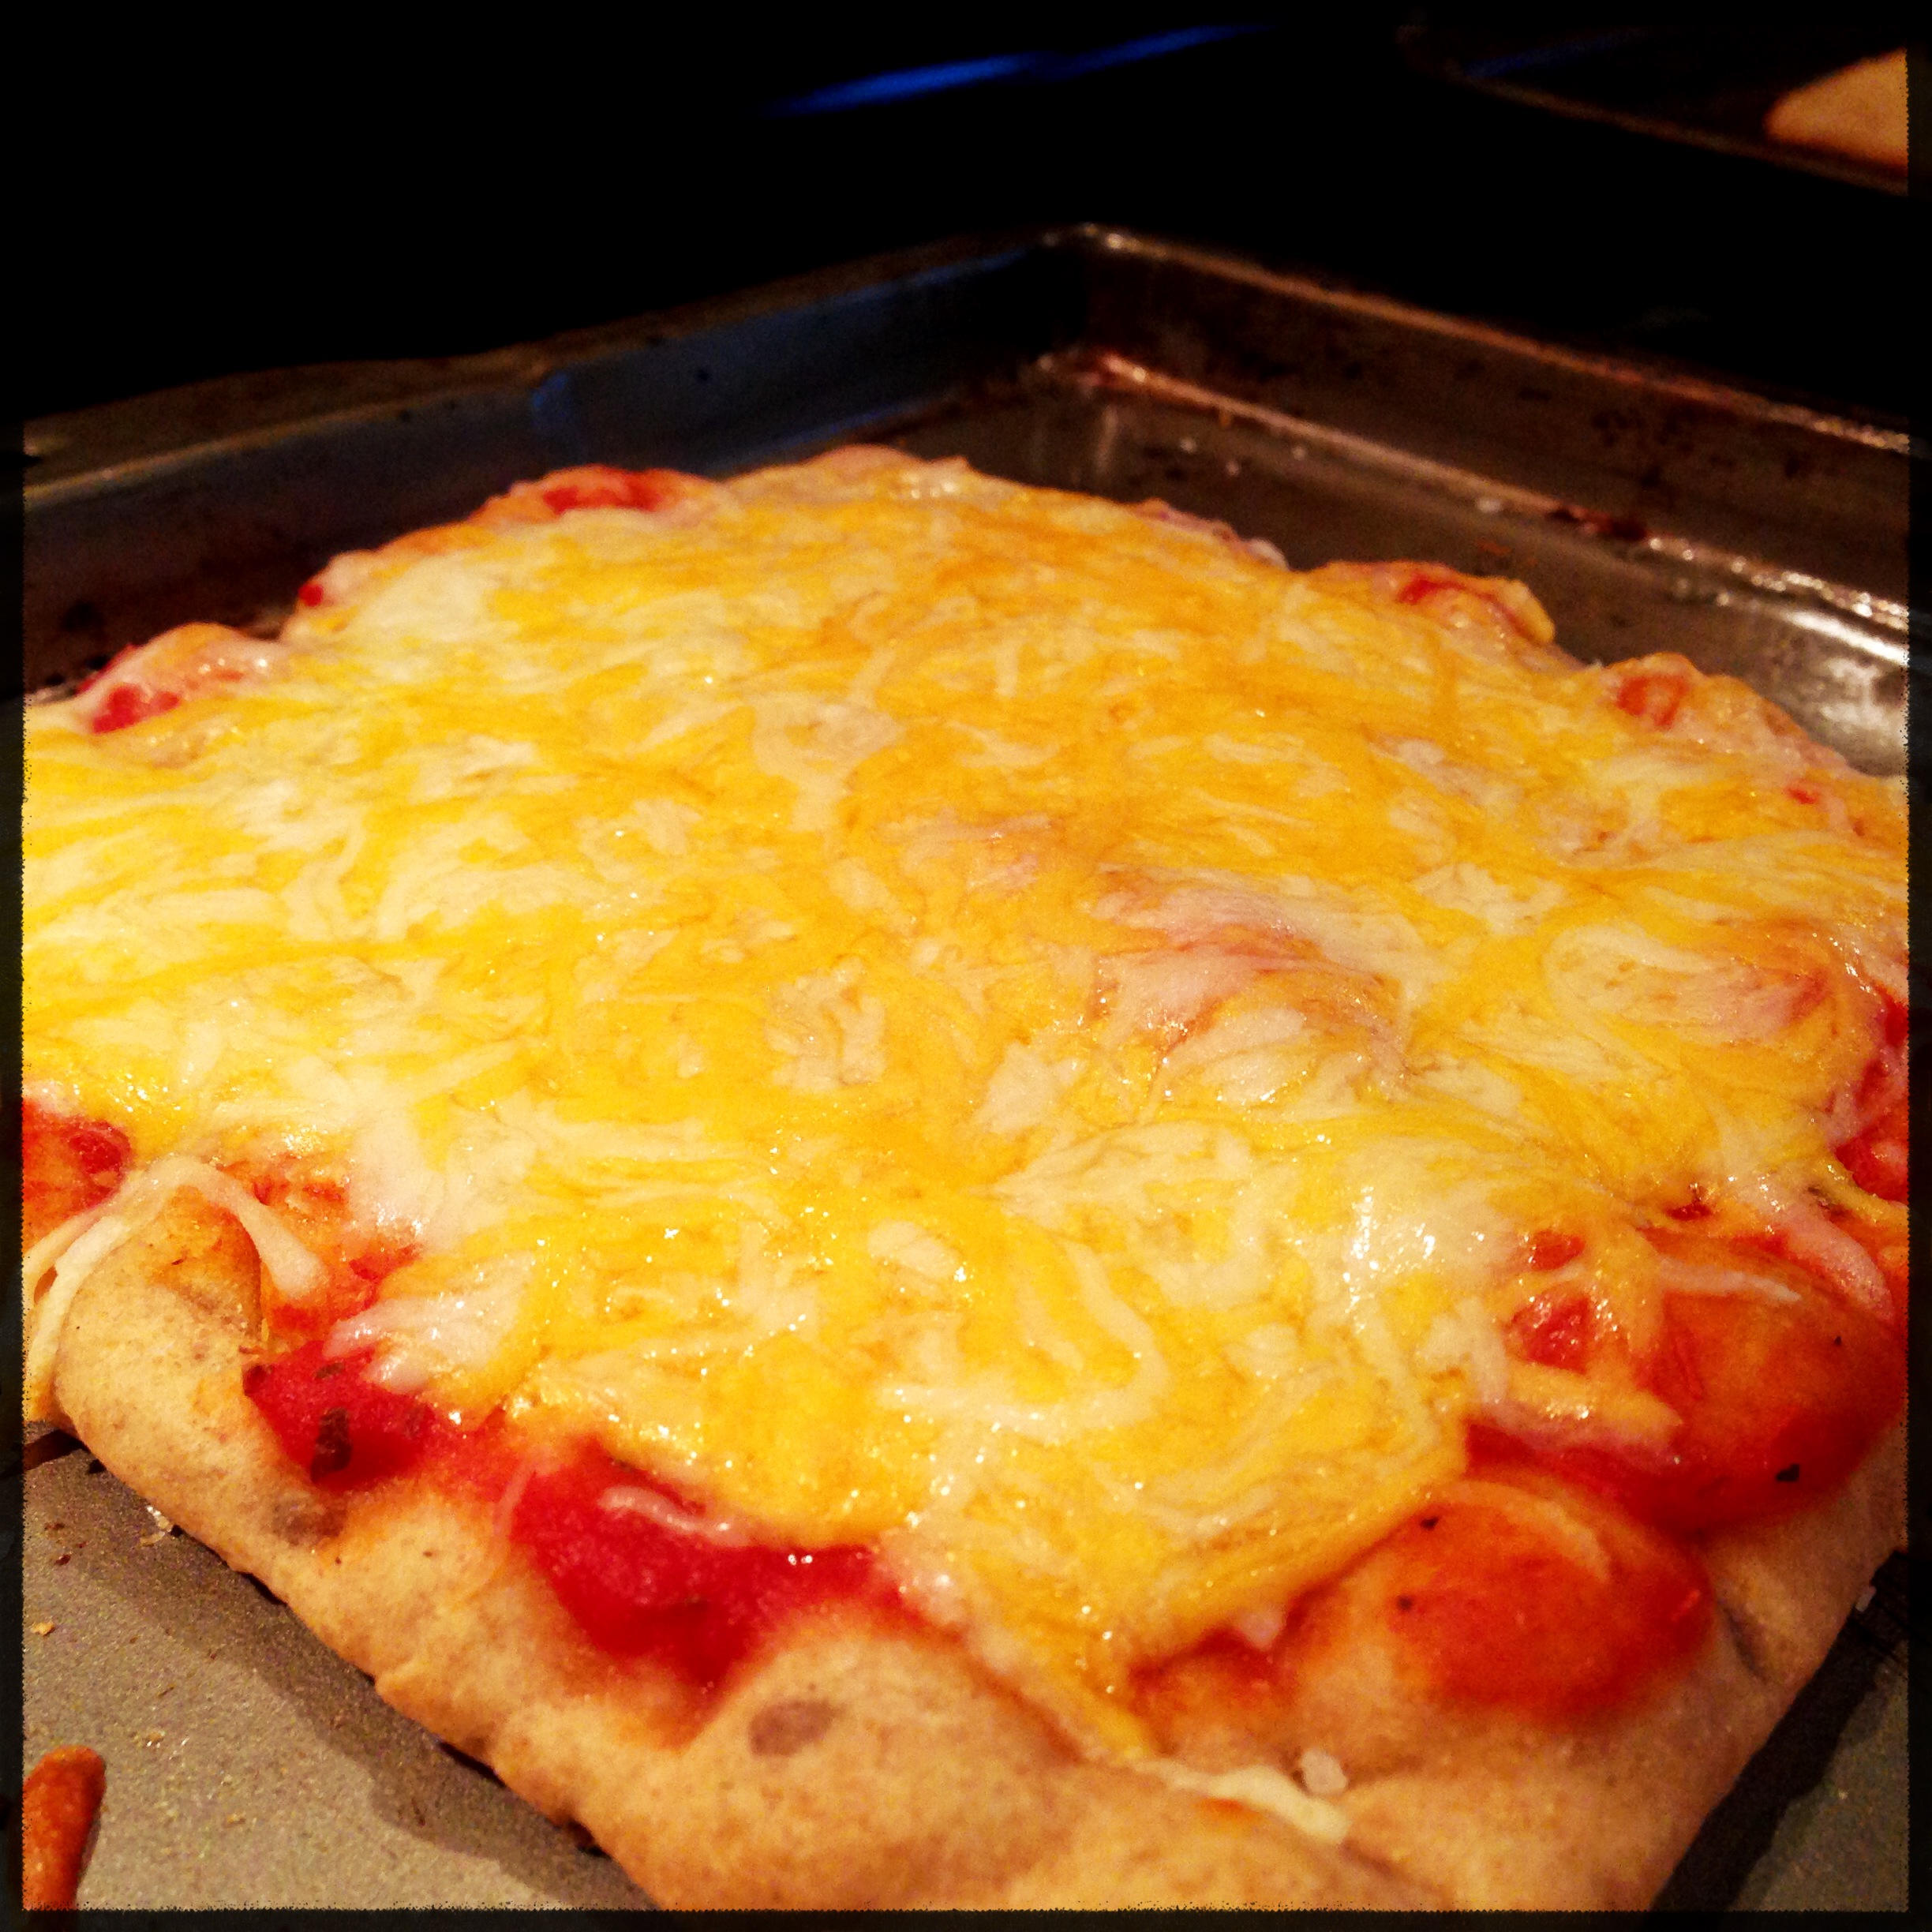
The pita will have gotten a little crisp, but still soft and chewy inside. Slice the pizzas into the shape of your choice, and enjoy!