BBQ Ribs, Beer Brats, Chorizo Links and Corn on the Cob
2June 20, 2014 by Jason Rice MD
Despite my earlier post on barbecuing ribs, I have gotten in some significant practice, and felt it was time for an update on making ribs. These may not be competition-worthy ribs, but they are some of the best ribs I’ve ever eaten. In addition to the ribs, I smoked/grilled some brats and chorizo links as well as some corn on the cob. I had both the smoker and the grill going, and managed to get everything on the table at the same time.
Timing is always tricky when barbecuing or grilling, so I’m going to try a different format for this post putting everything in chronological order with times listed for each step. My target meal time was 6:00, and my day started at 12:30. You can obviously adjust the timing based on your needs, but I hope this helps you plan your next BBQ accordingly so that you can enjoy a stress-free day filled with the aroma of charcoal and meat. Let’s get started!
12:30
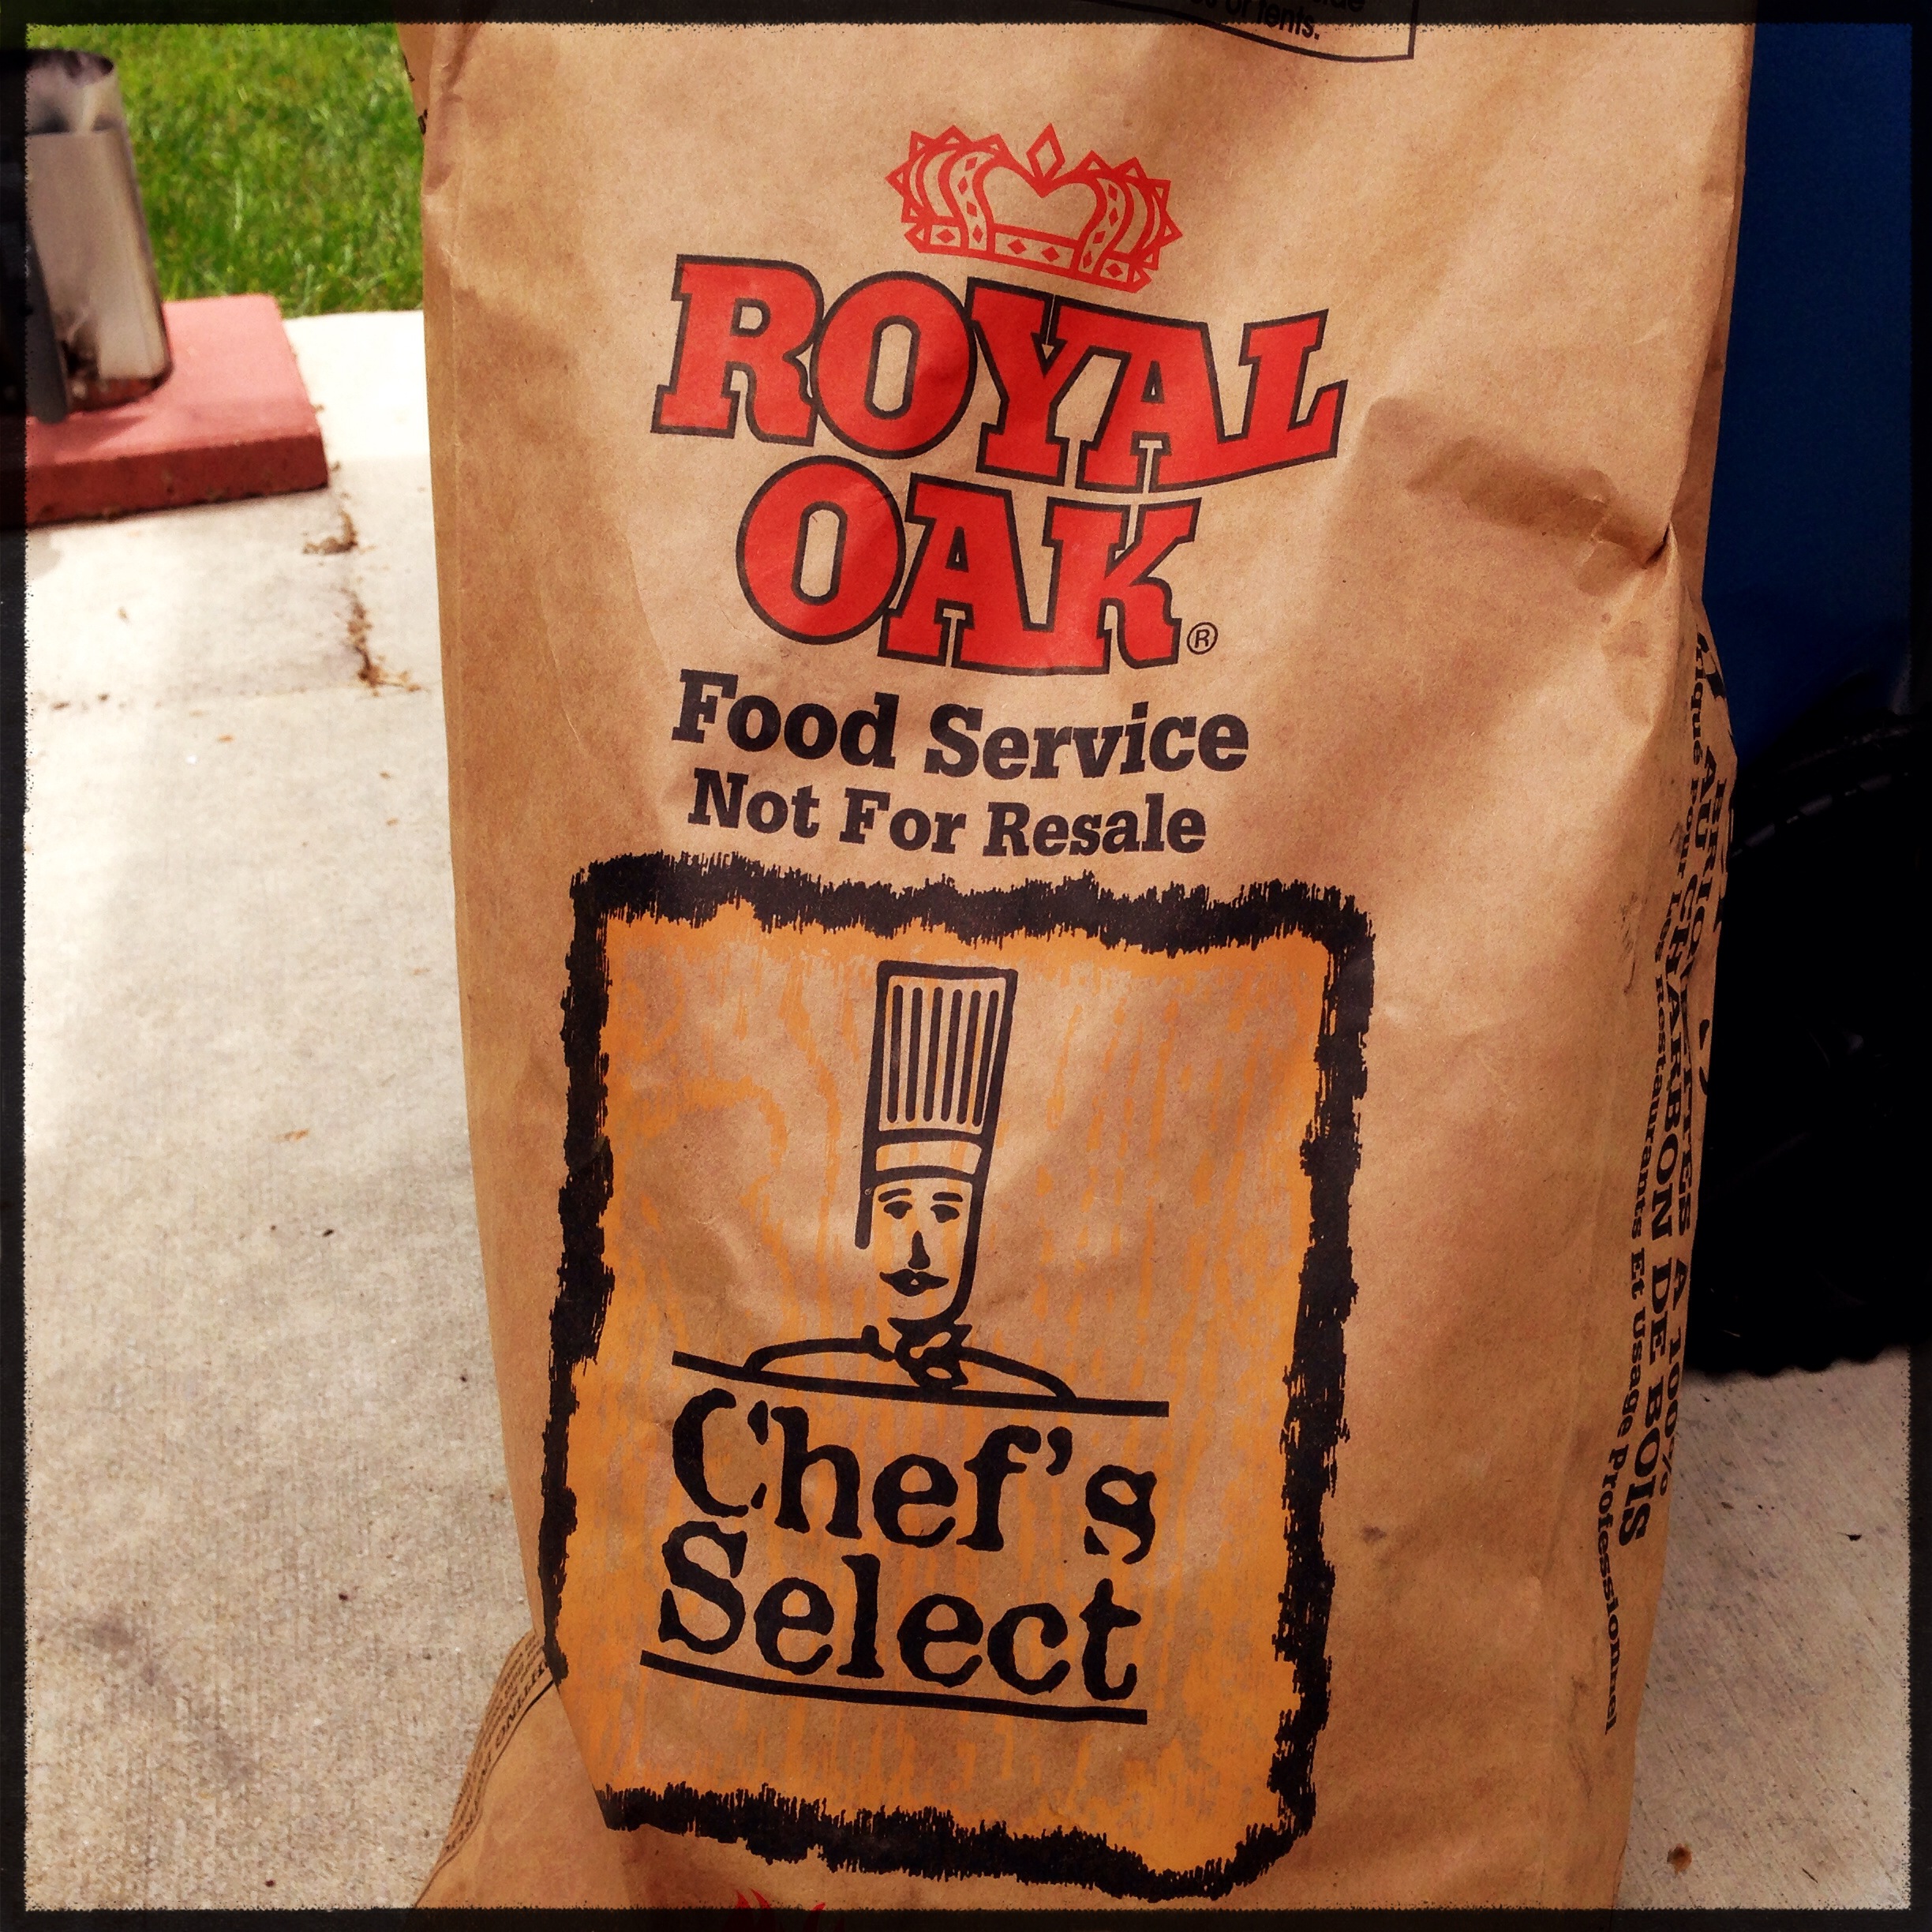
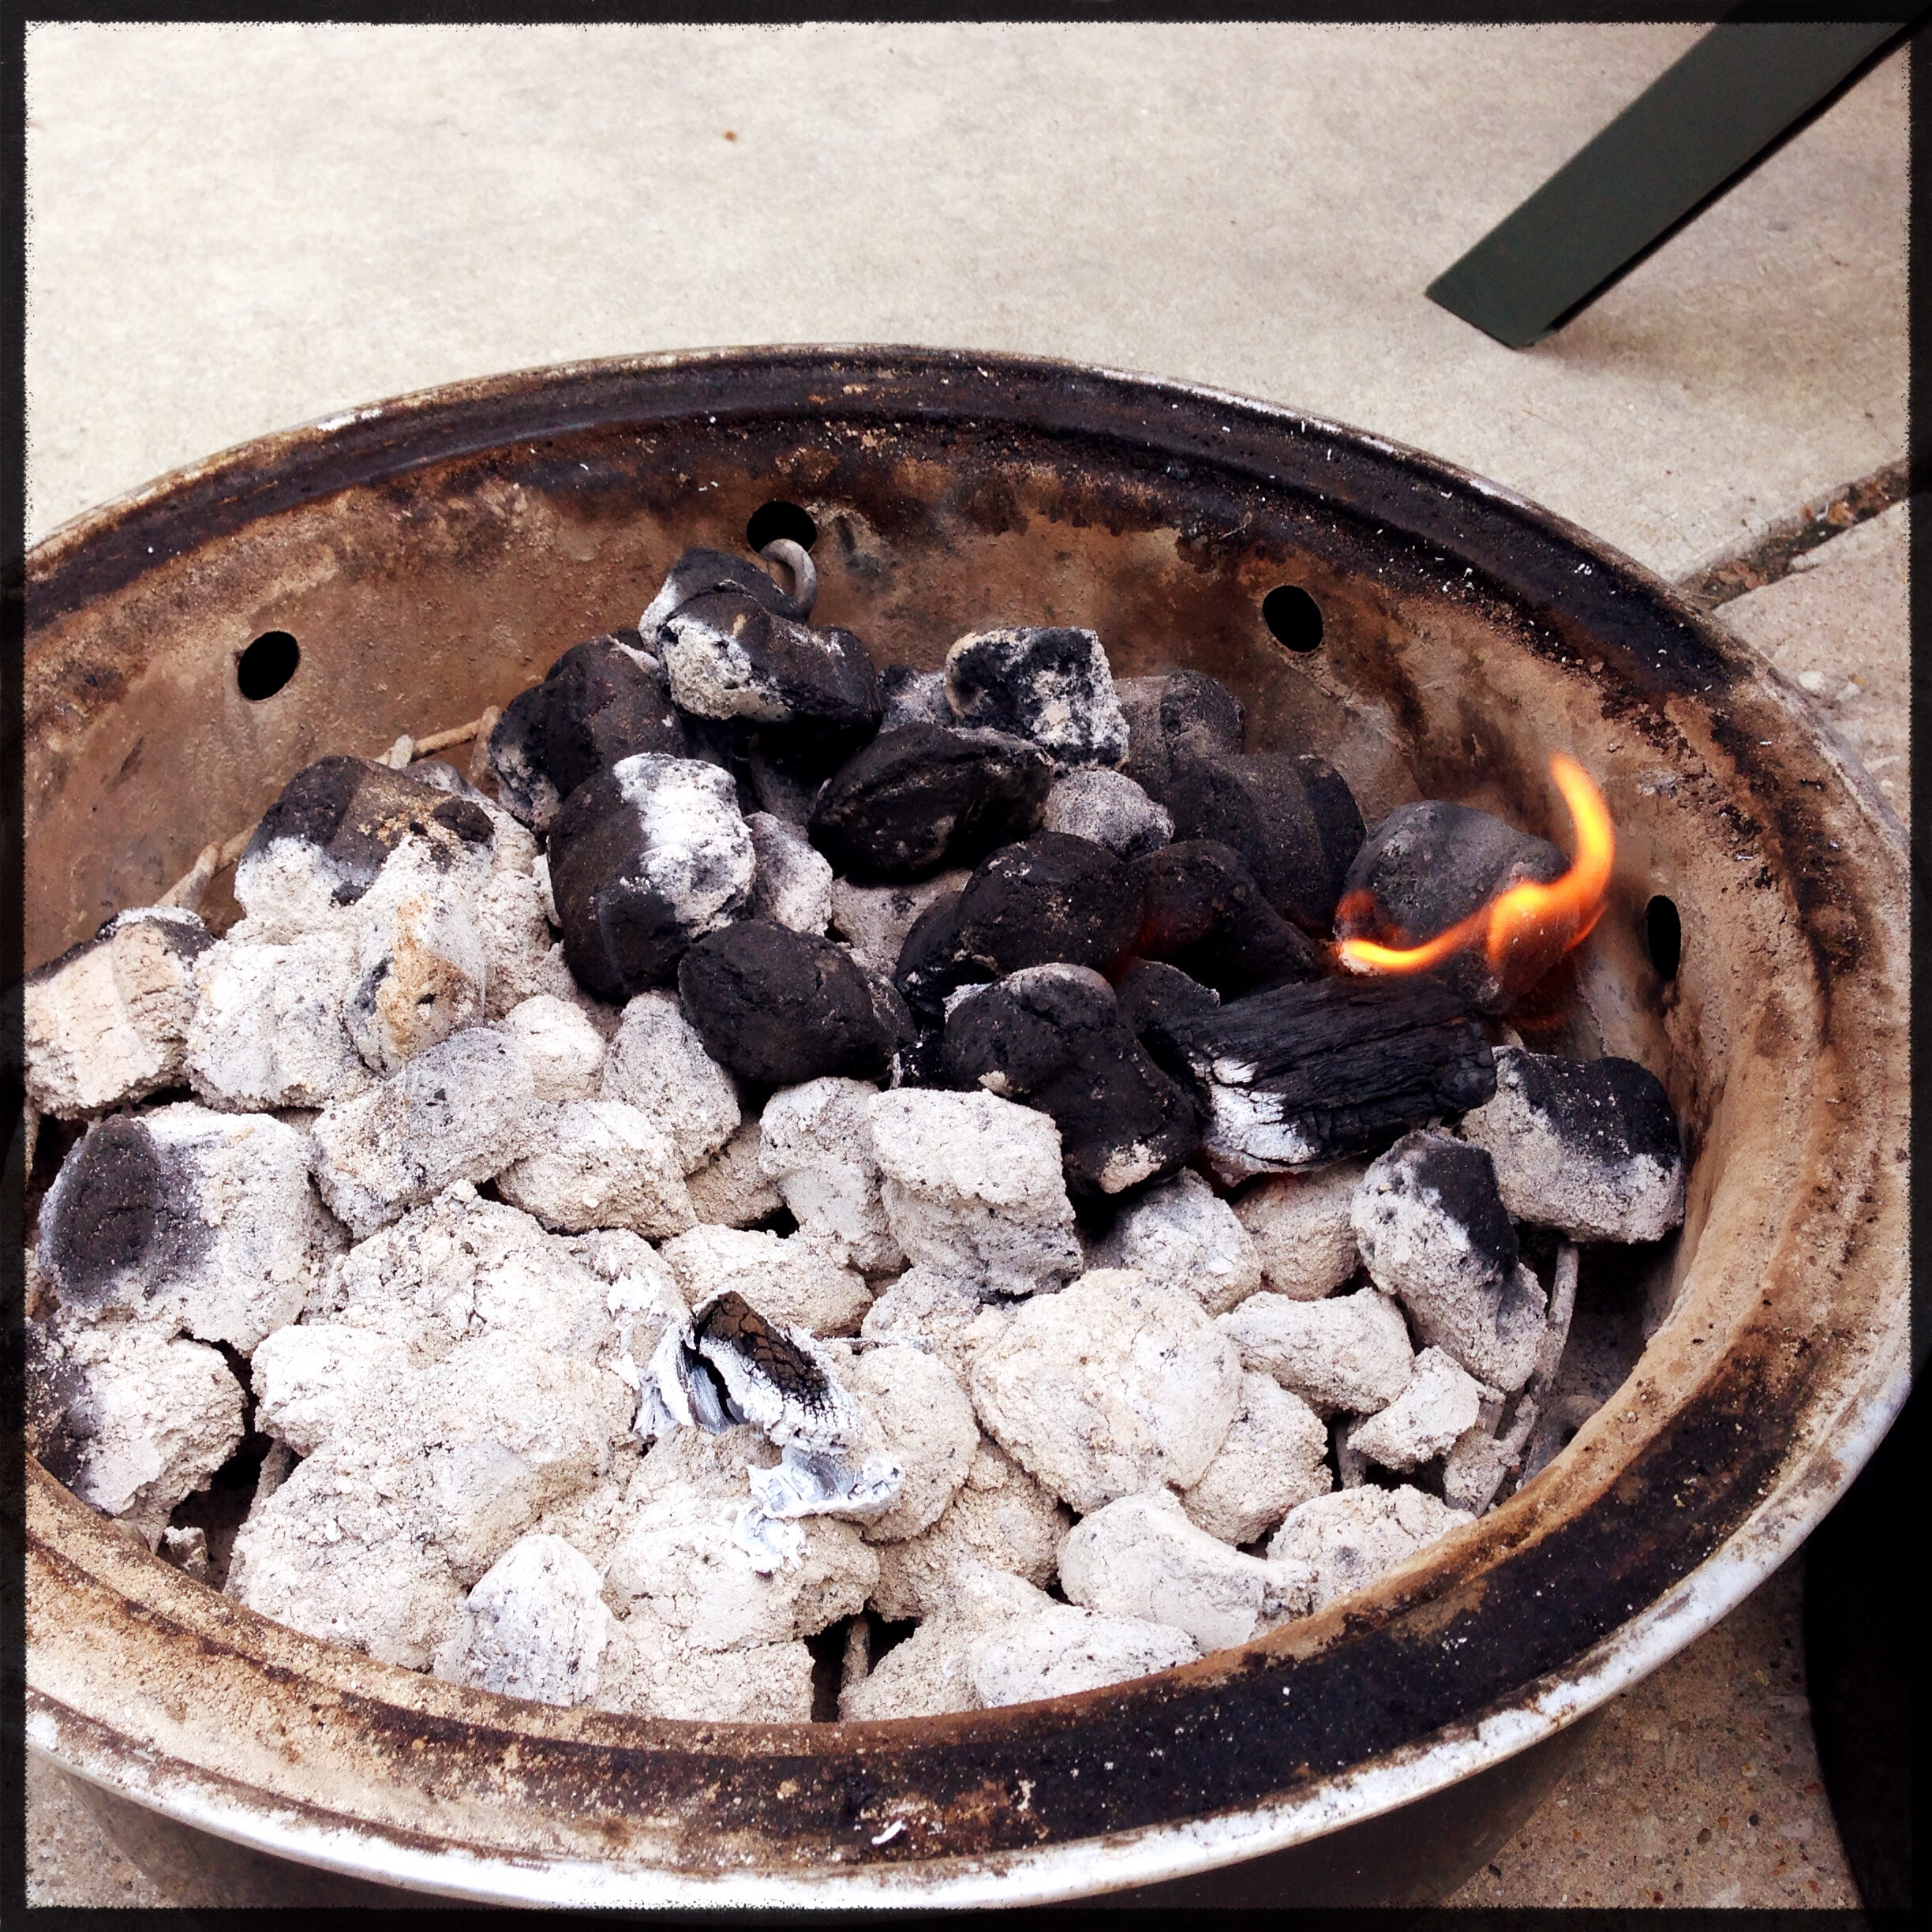
First up is lighting the smoker. I use the minion method when lighting my smoker. I filled a small chimney starter with charcoal and got that lit using a paraffin lighter cube. I also filled the water pan in the smoker with some cold water. While the coals were starting to burn in the chimney, I added unlit coals to the charcoal pan of the smoker. I like to make a ring of the unlit coals, about 2 coals deep, so that I can dump the lit coals into the center where they can slowly ignite the unlit coals over the course of the cook. I strongly recommend a 100% natural charcoal for this type of cooking to avoid any unwanted odors/flavors to contaminate your food as the coals slowly ignite. I typically use Stubbs, but just recently picked up a few bags of Royal Oak Chef’s Select, which I think may be the best charcoal on the market.
12:45
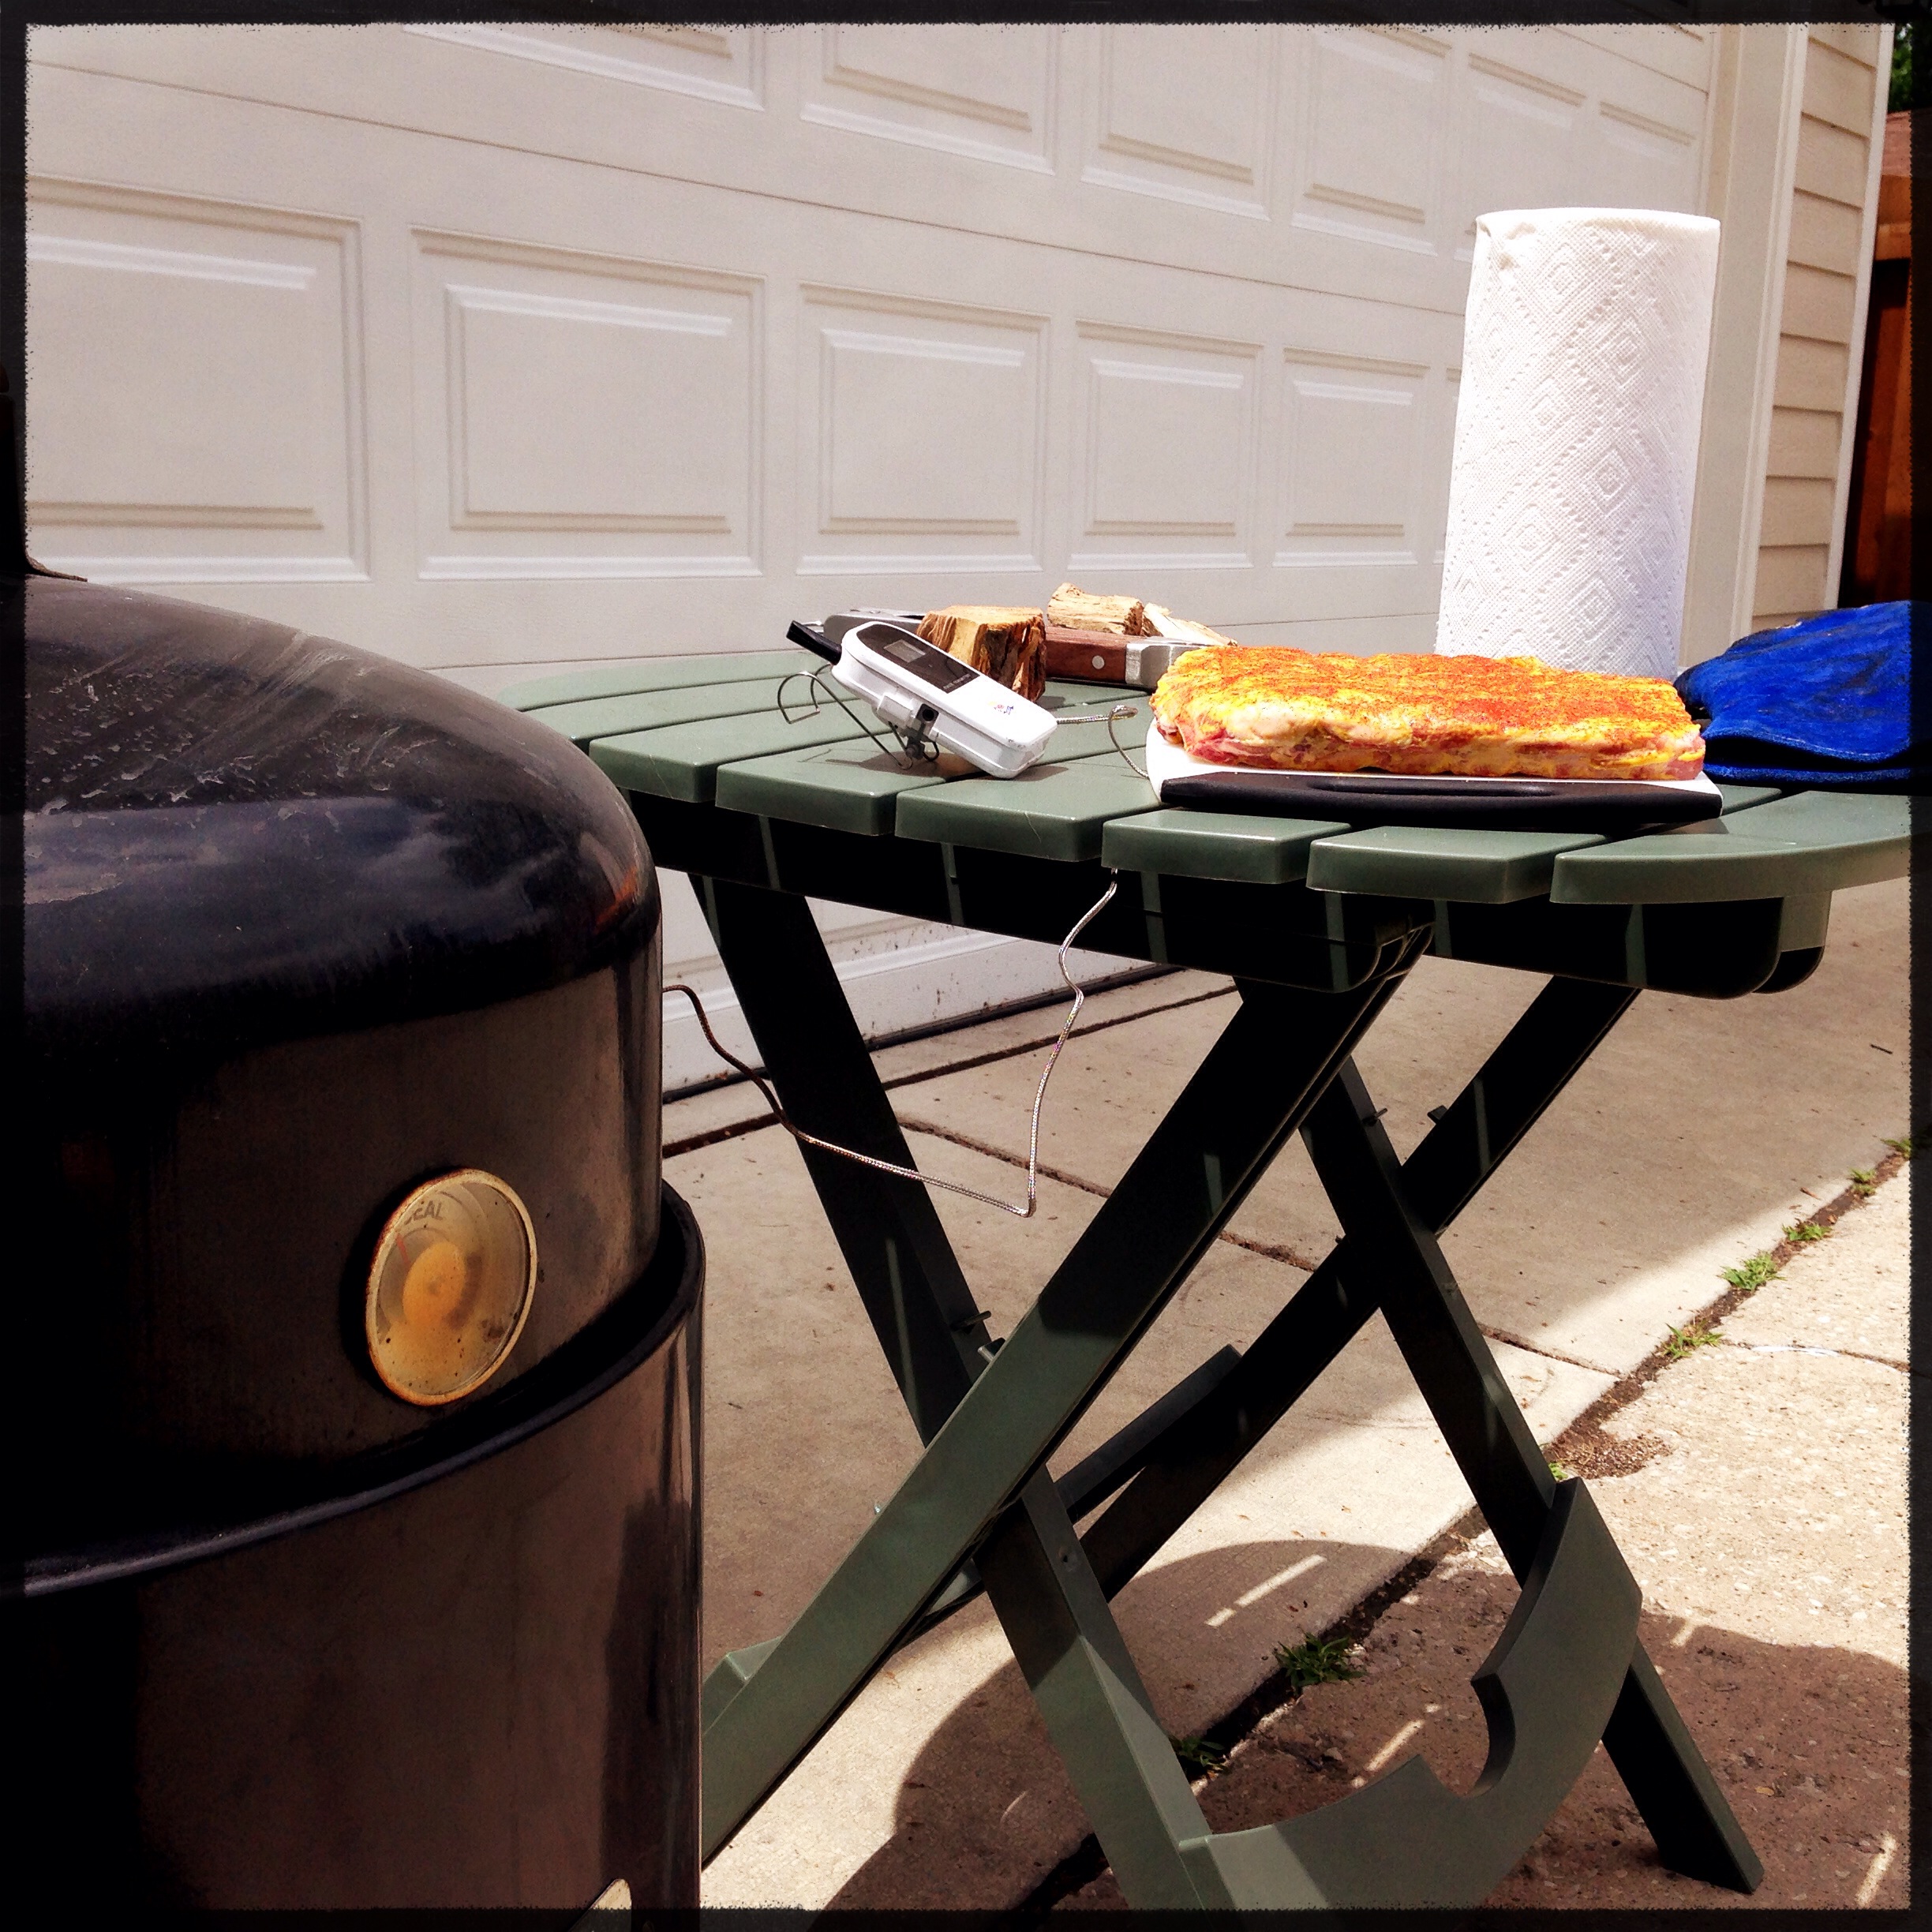
Dumped the lit coals into the center of the unlit charcoal, placed the body and the lid of the smoker on top of the charcoal pan and headed inside to start prepping the ribs while the smoker heated up. (Note: I use a digital probe thermometer in my smoker to keep track of the temperature. I keep the monitor in my pocket, so I can track the temp of the smoker while I’m prepping the meat.
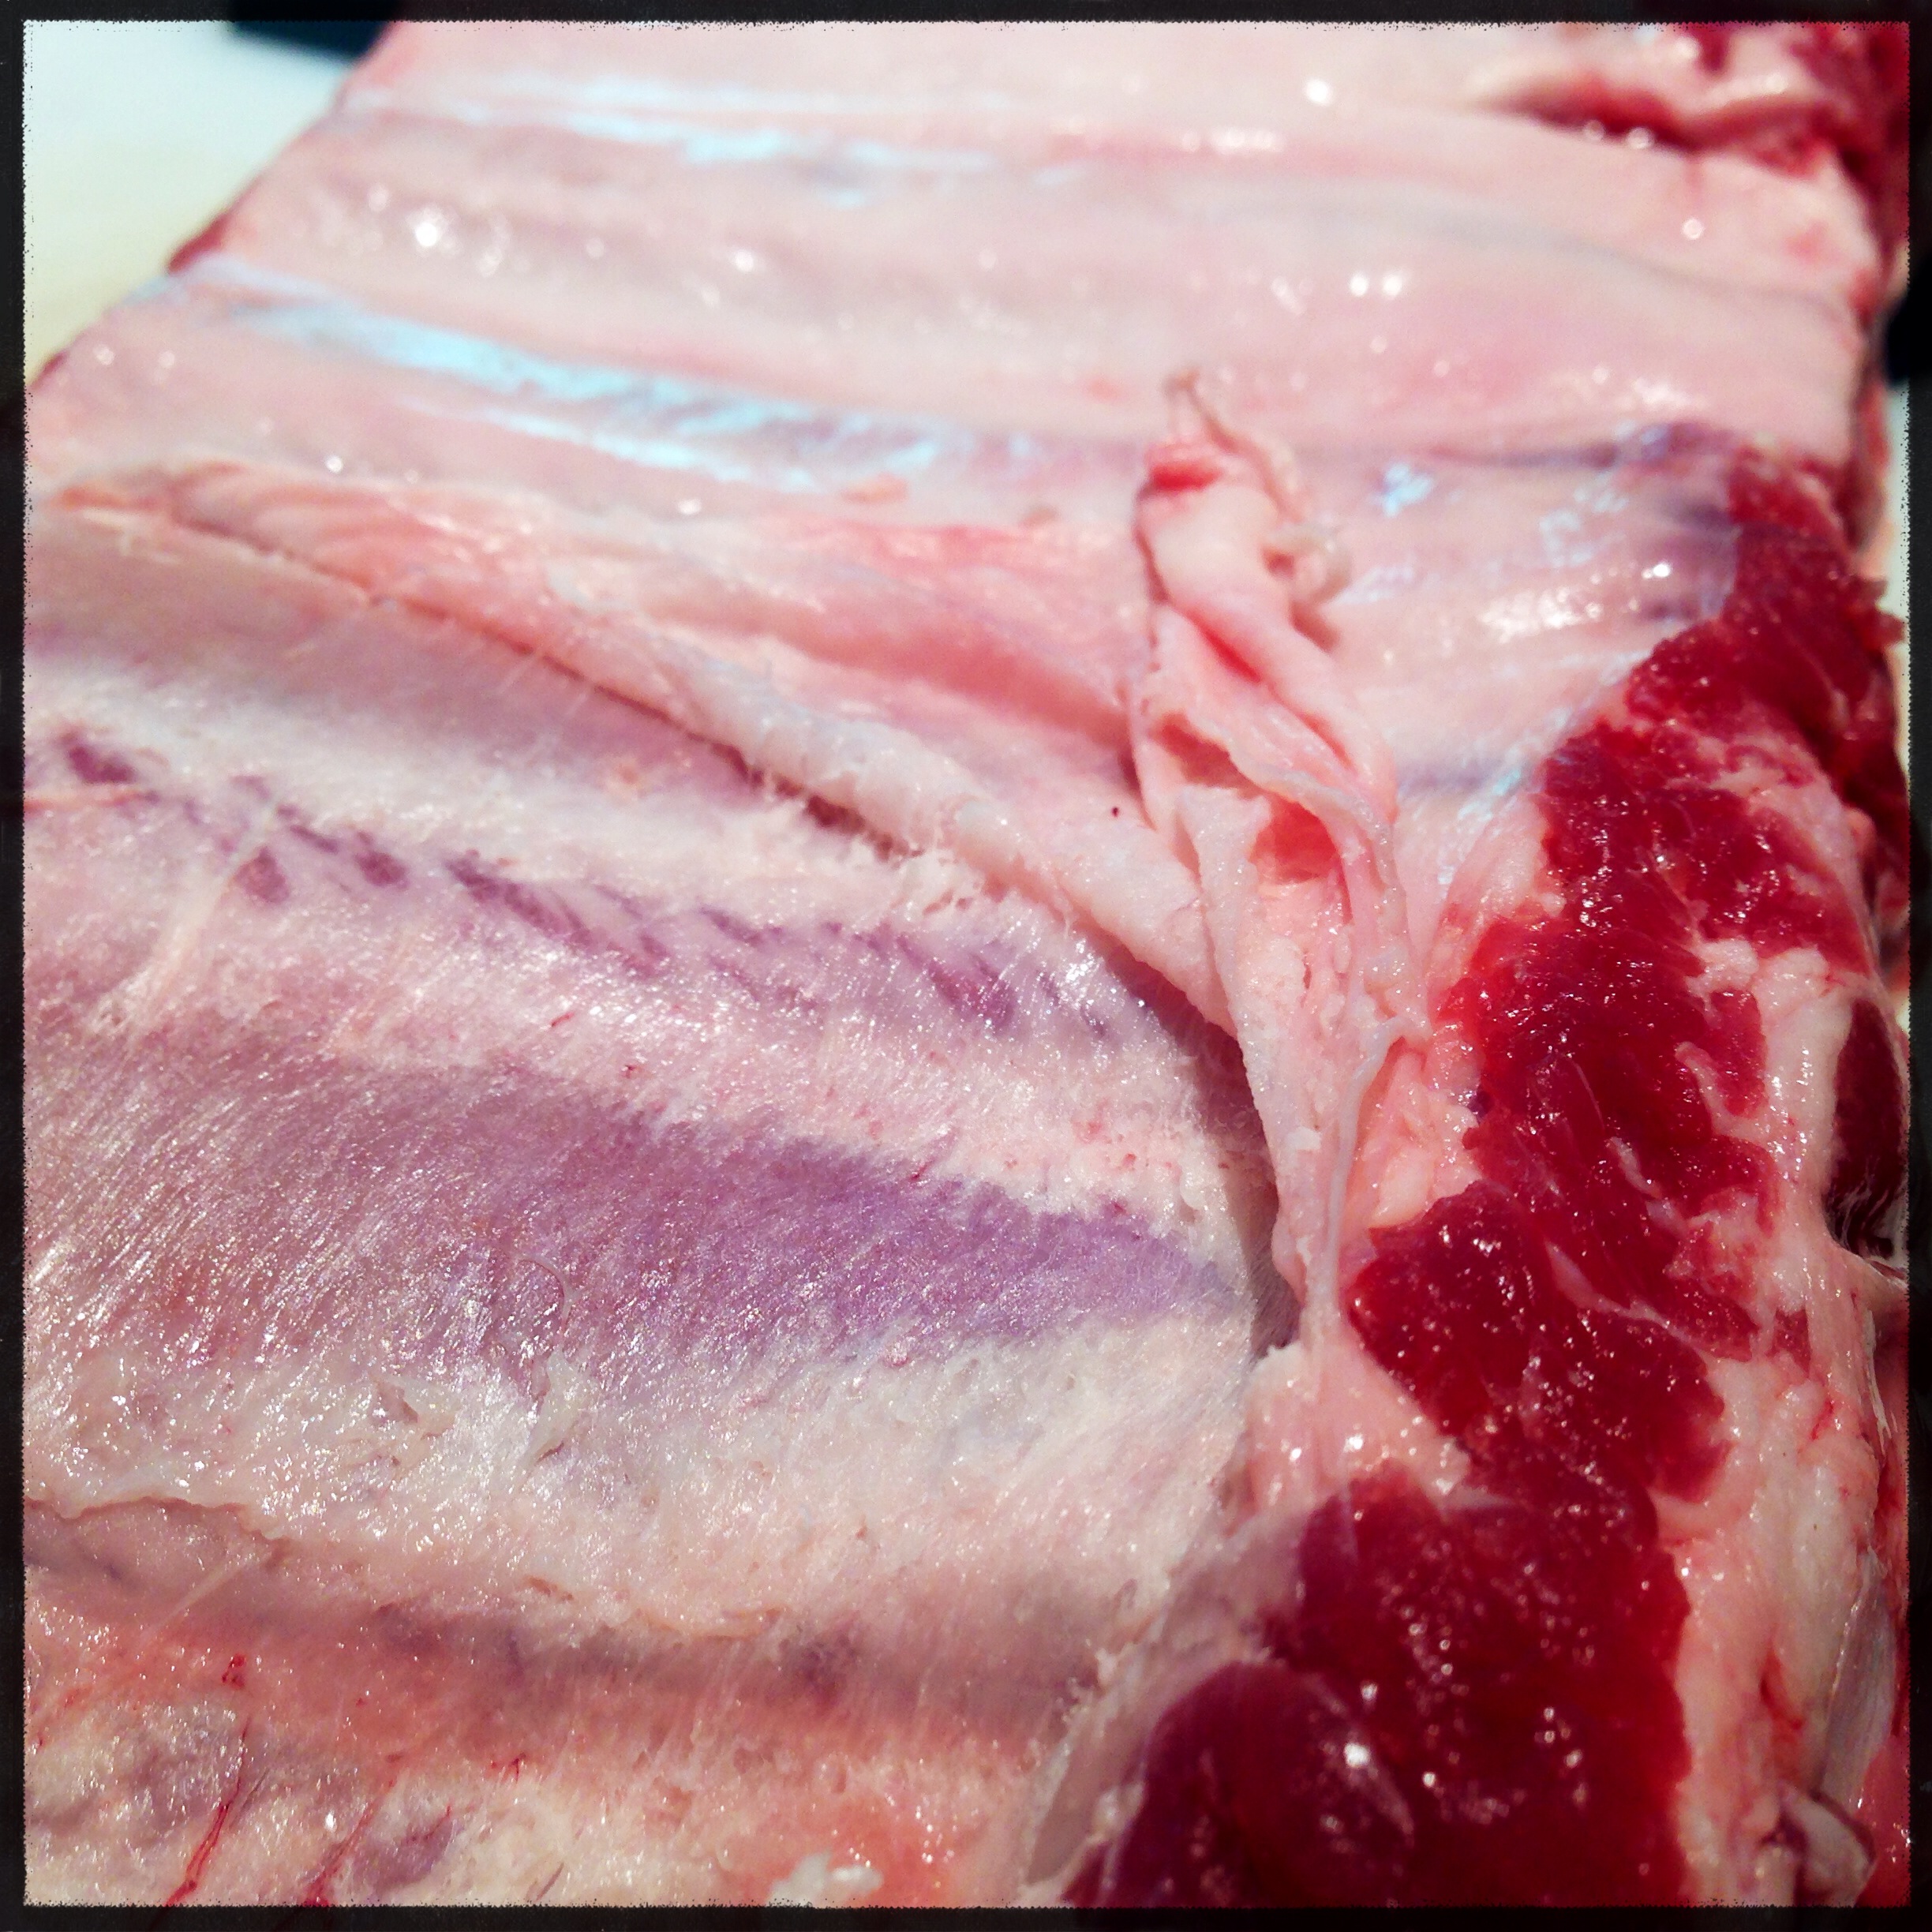
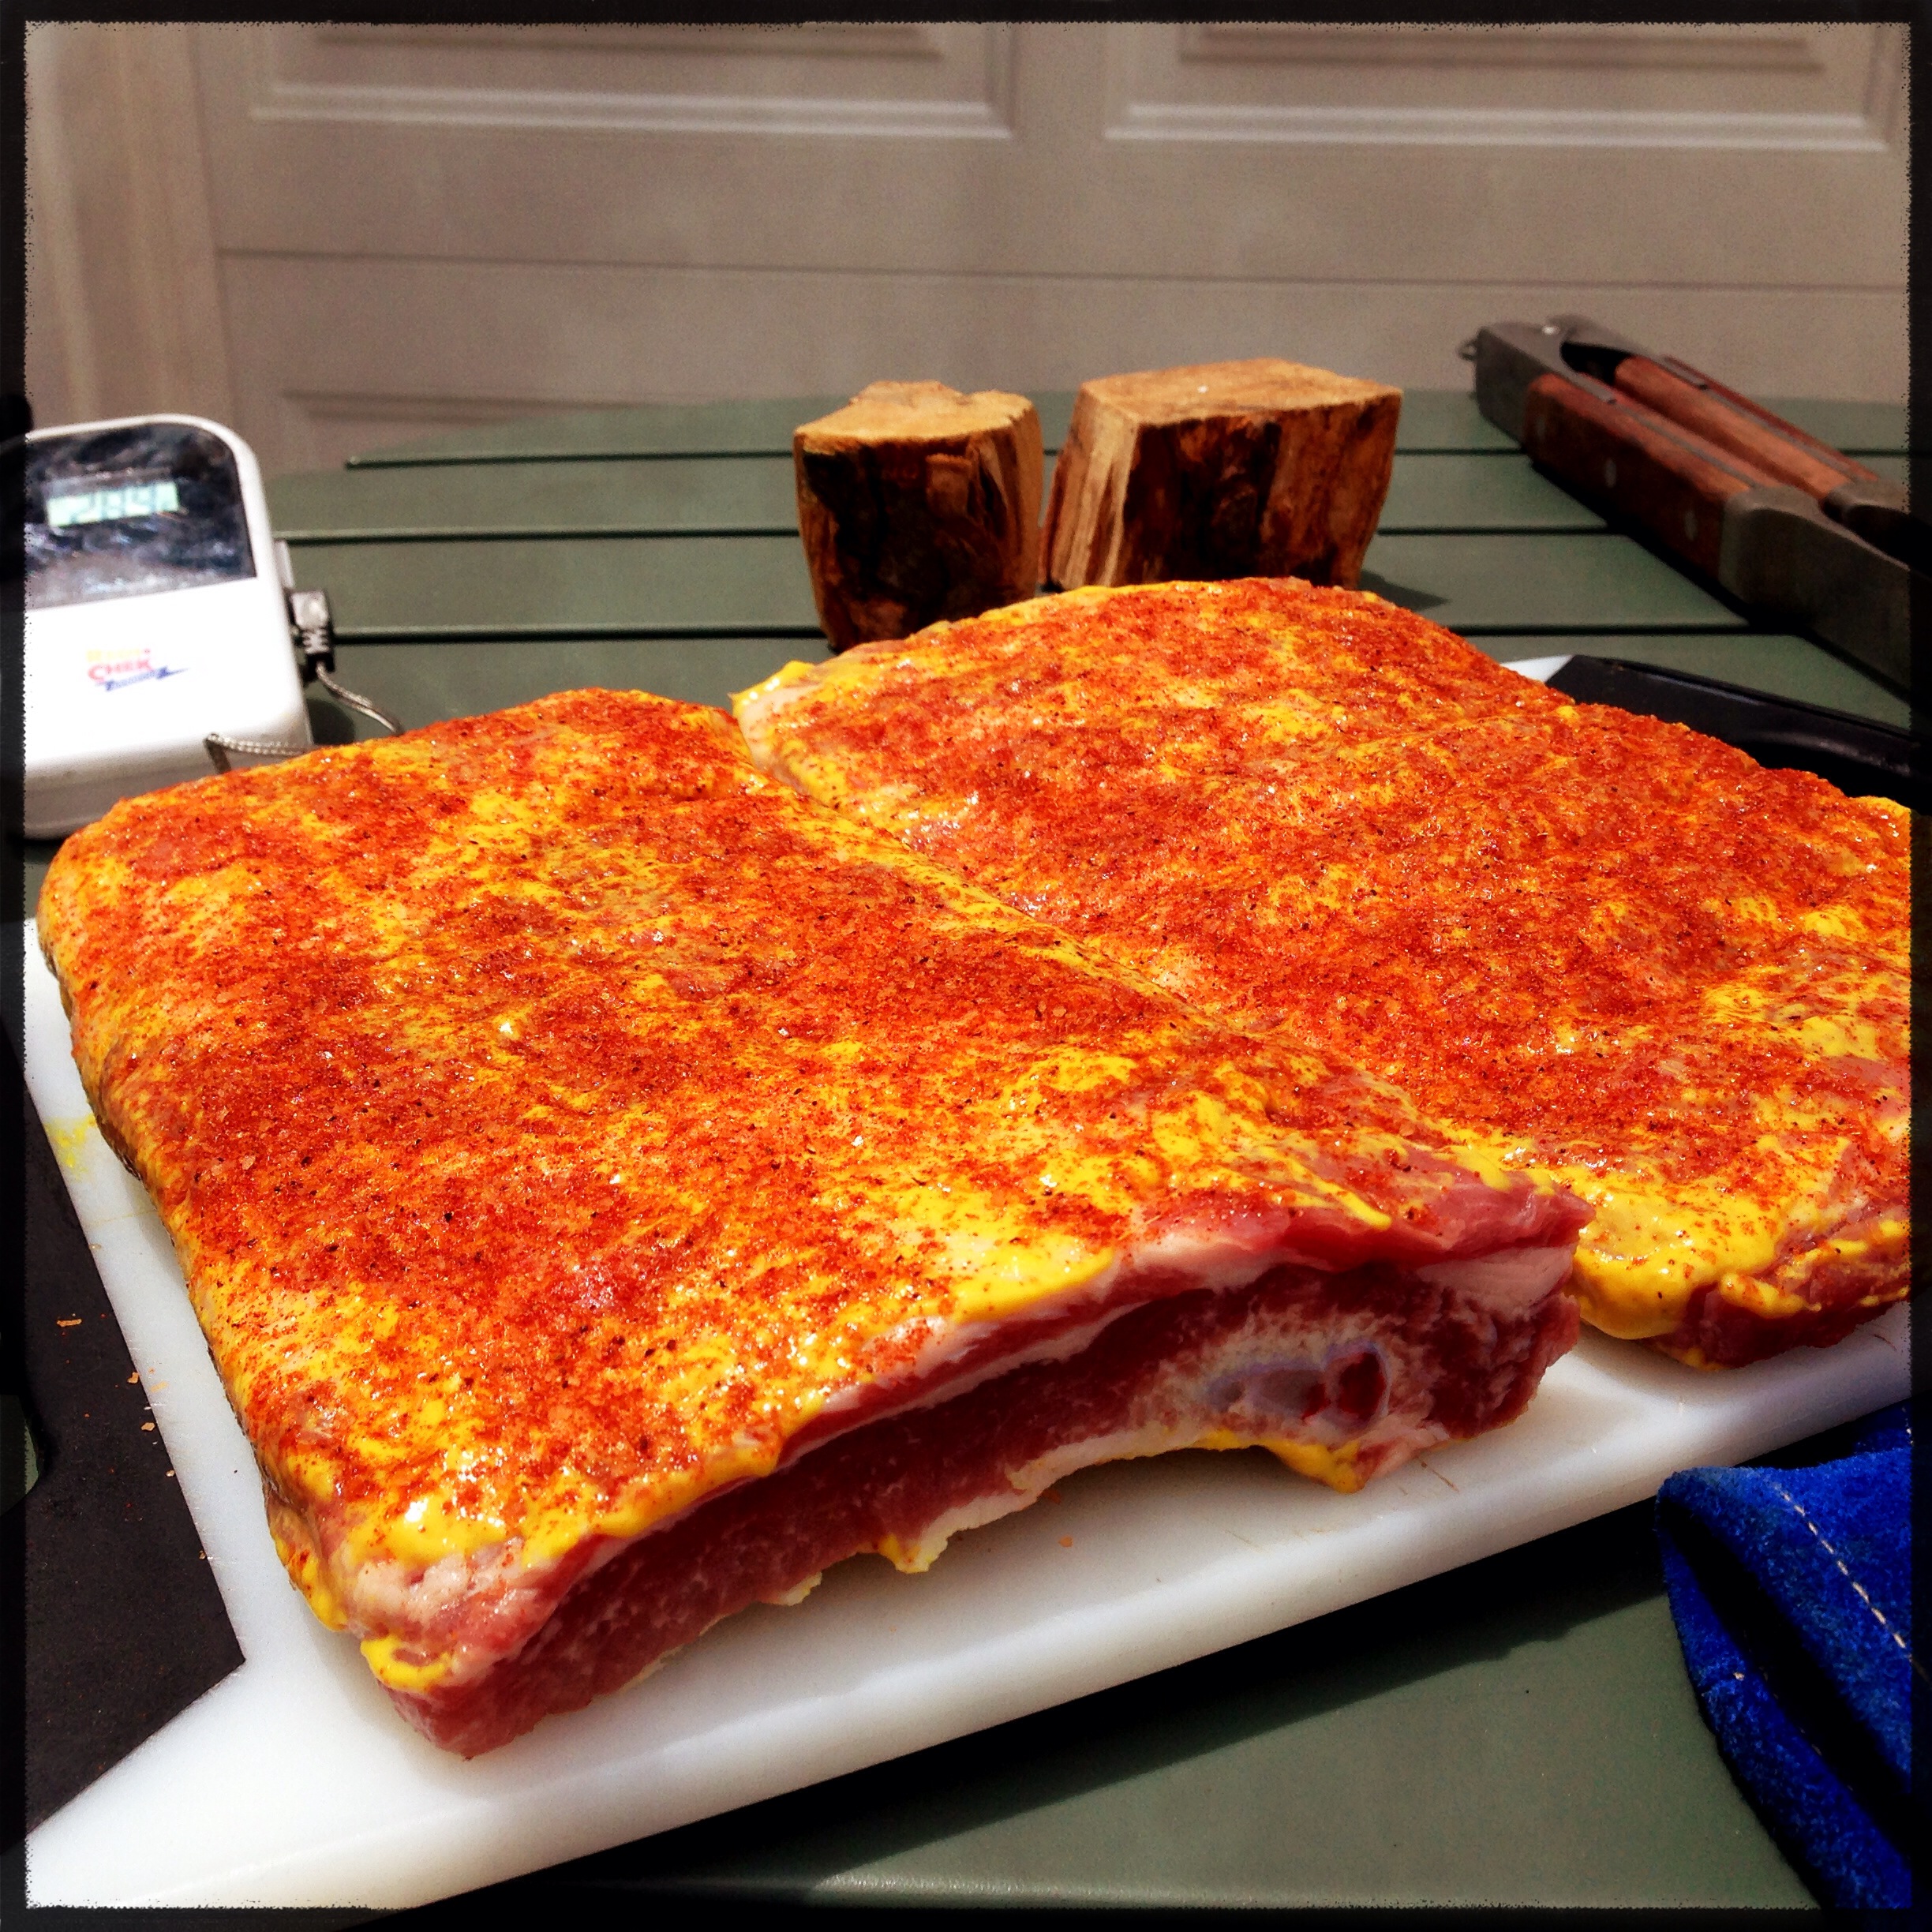
For longer cooks, I like the St Louis style trimmer spare ribs. They are thicker and have more fat, which holds up well over a longer cooking time.
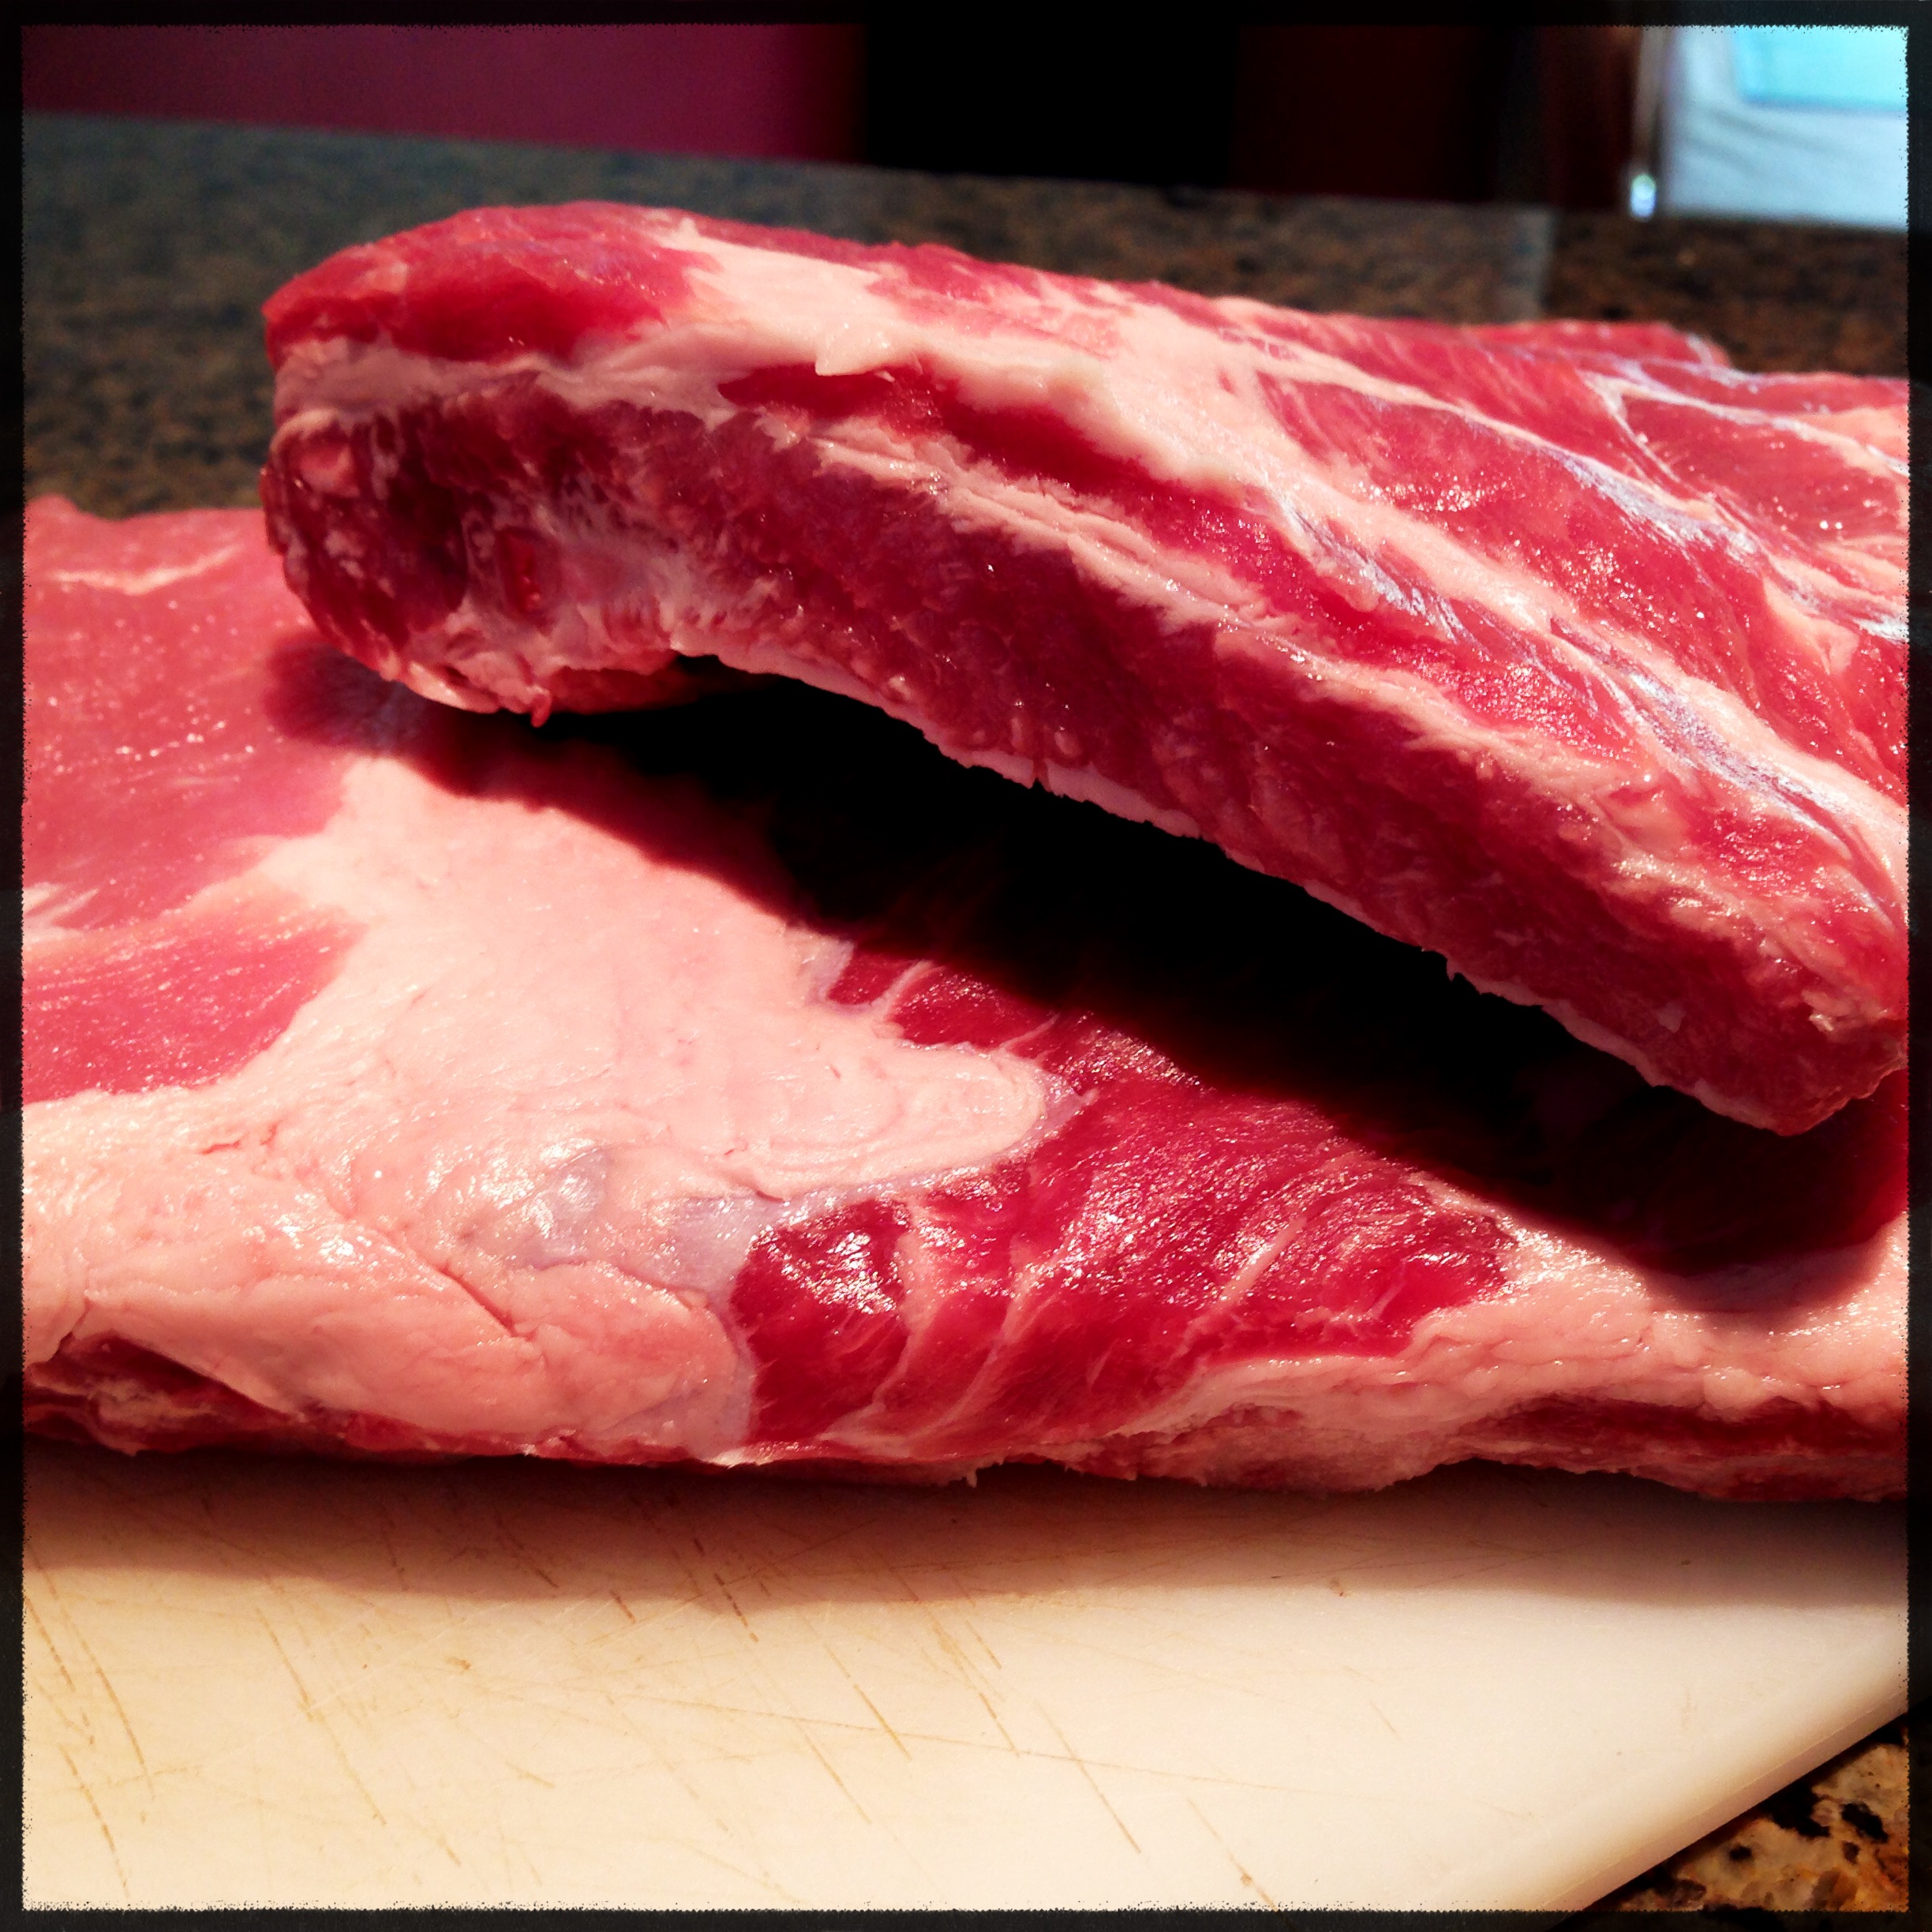
I tend to cut the slab in half so that it fits easily into my smoker. Then the next step is to remove the membrane from the underside. There is no consensus in the BBQ world as to whether or not this needs to be done, but I pretty much always do it. Peel a corner up with your fingers. Then grab the loose corner with a paper towel, and pull the membrane off.

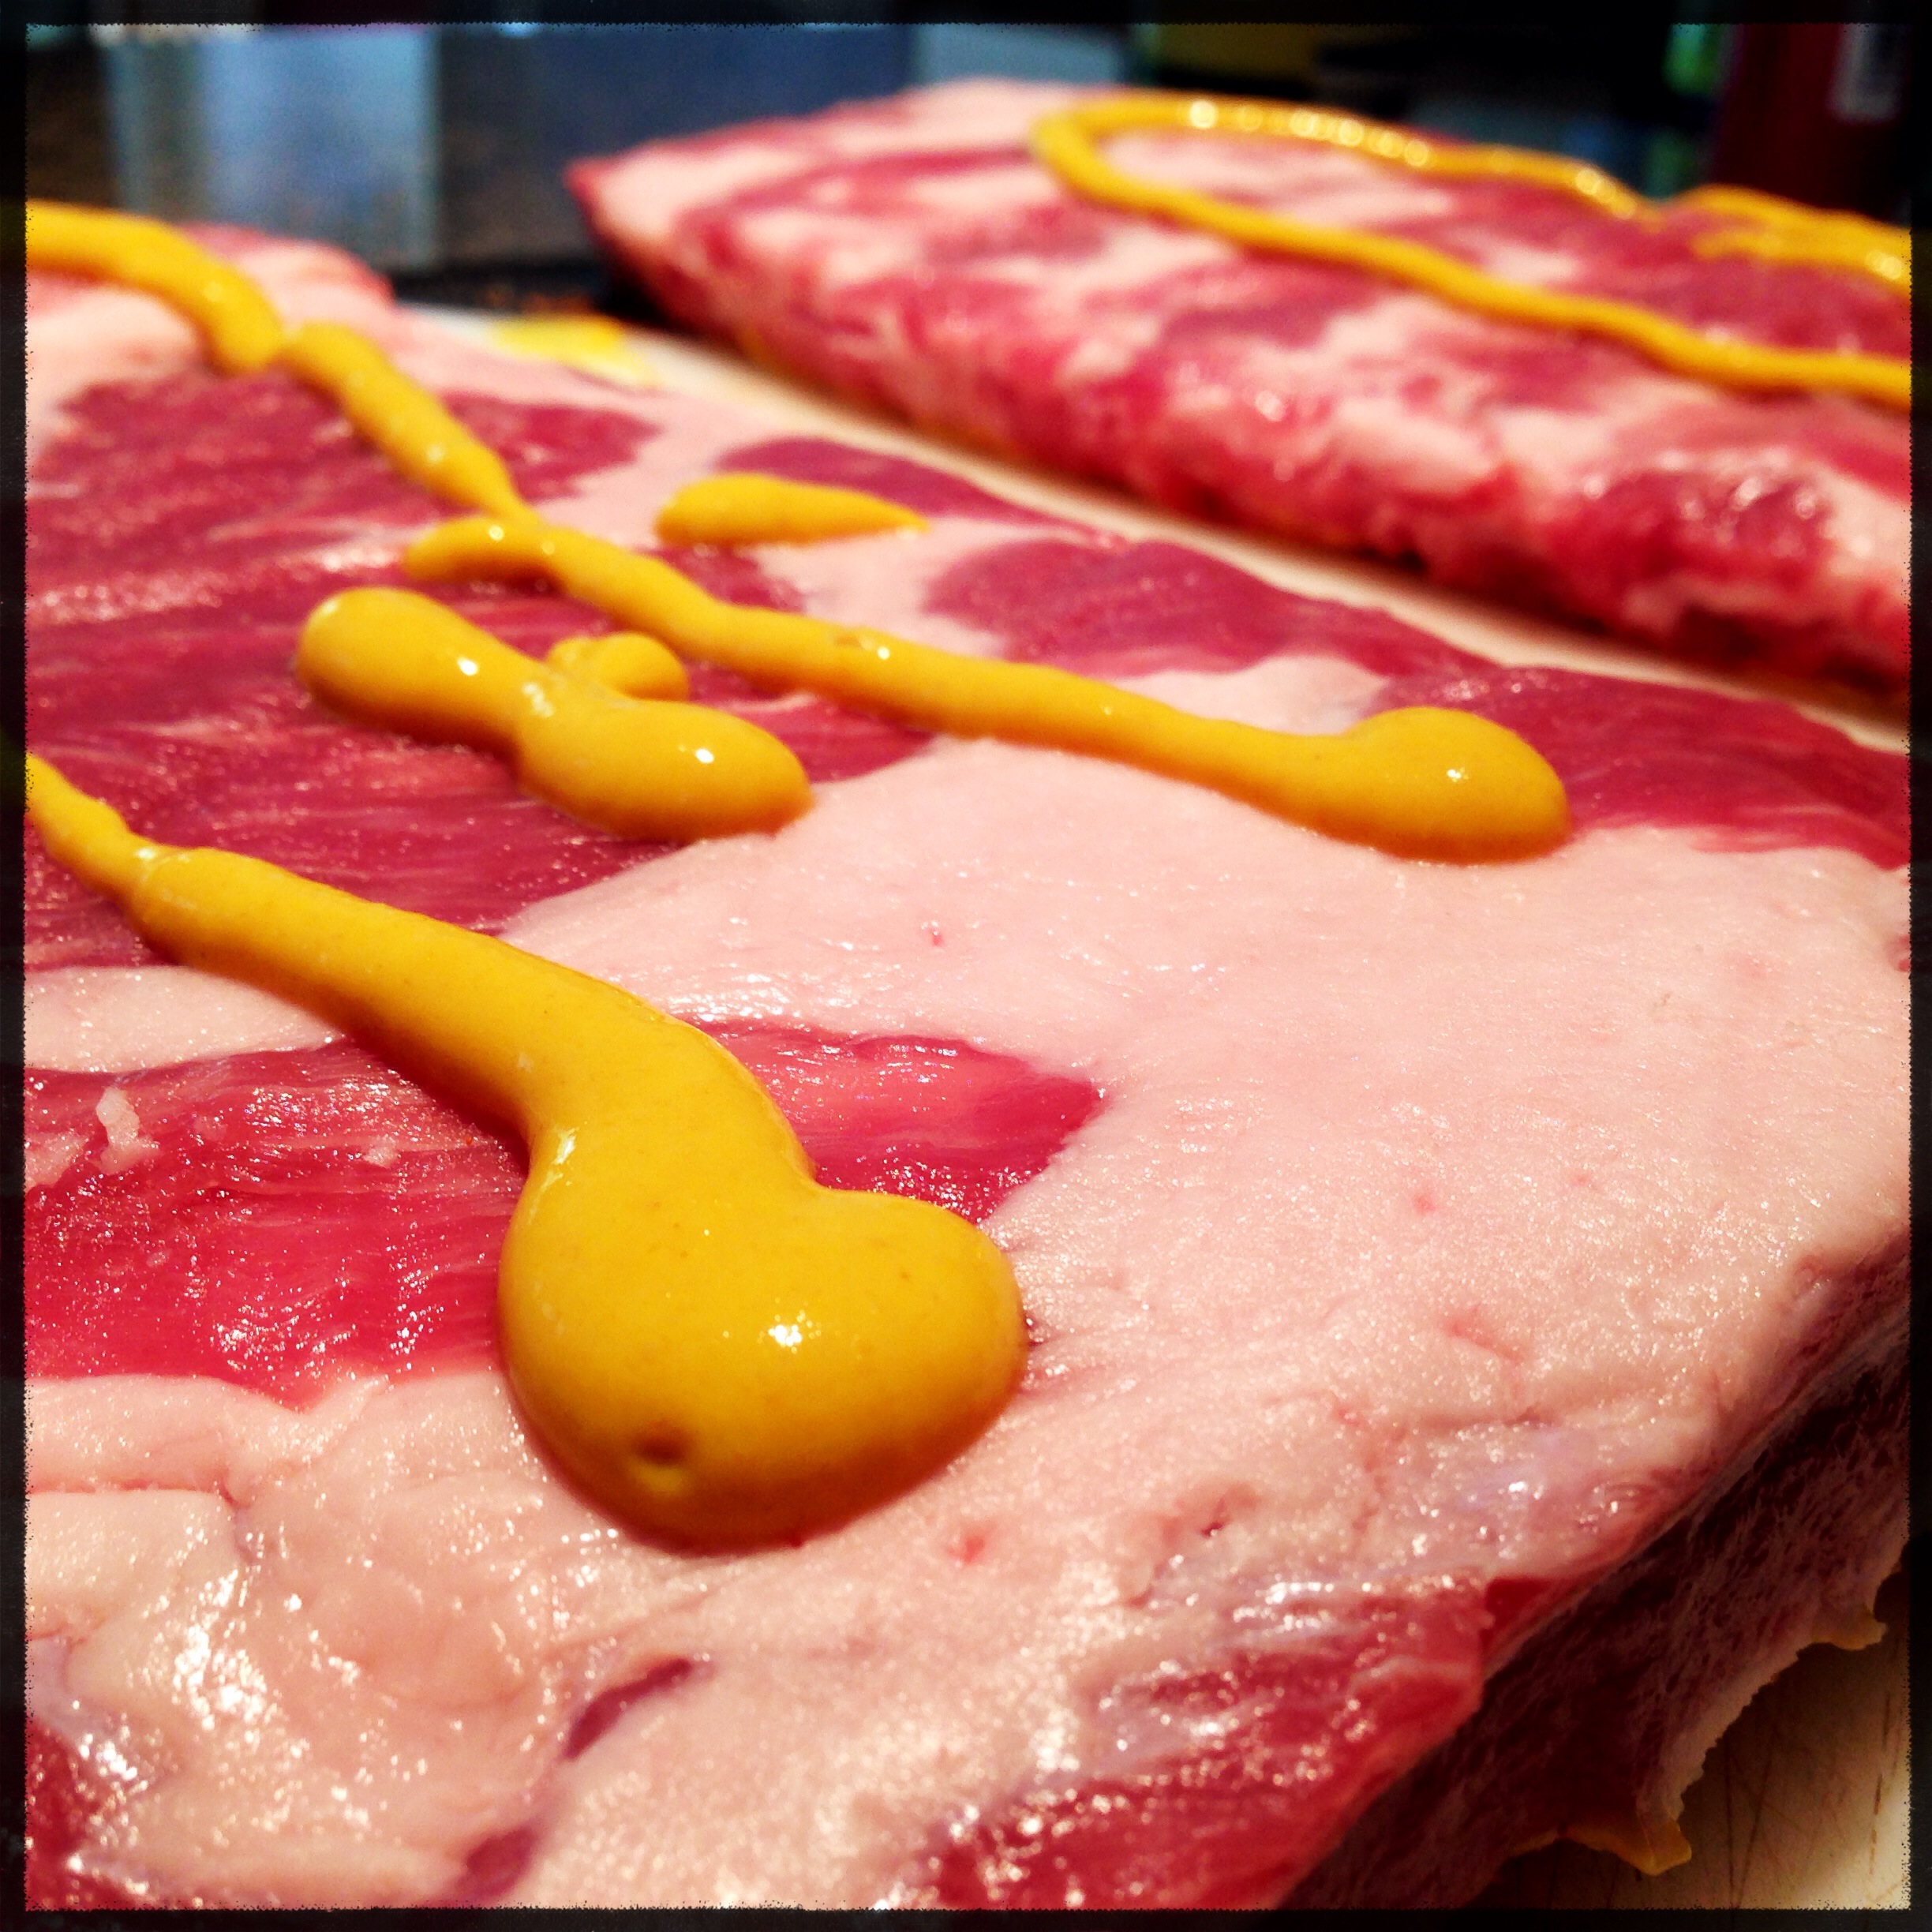
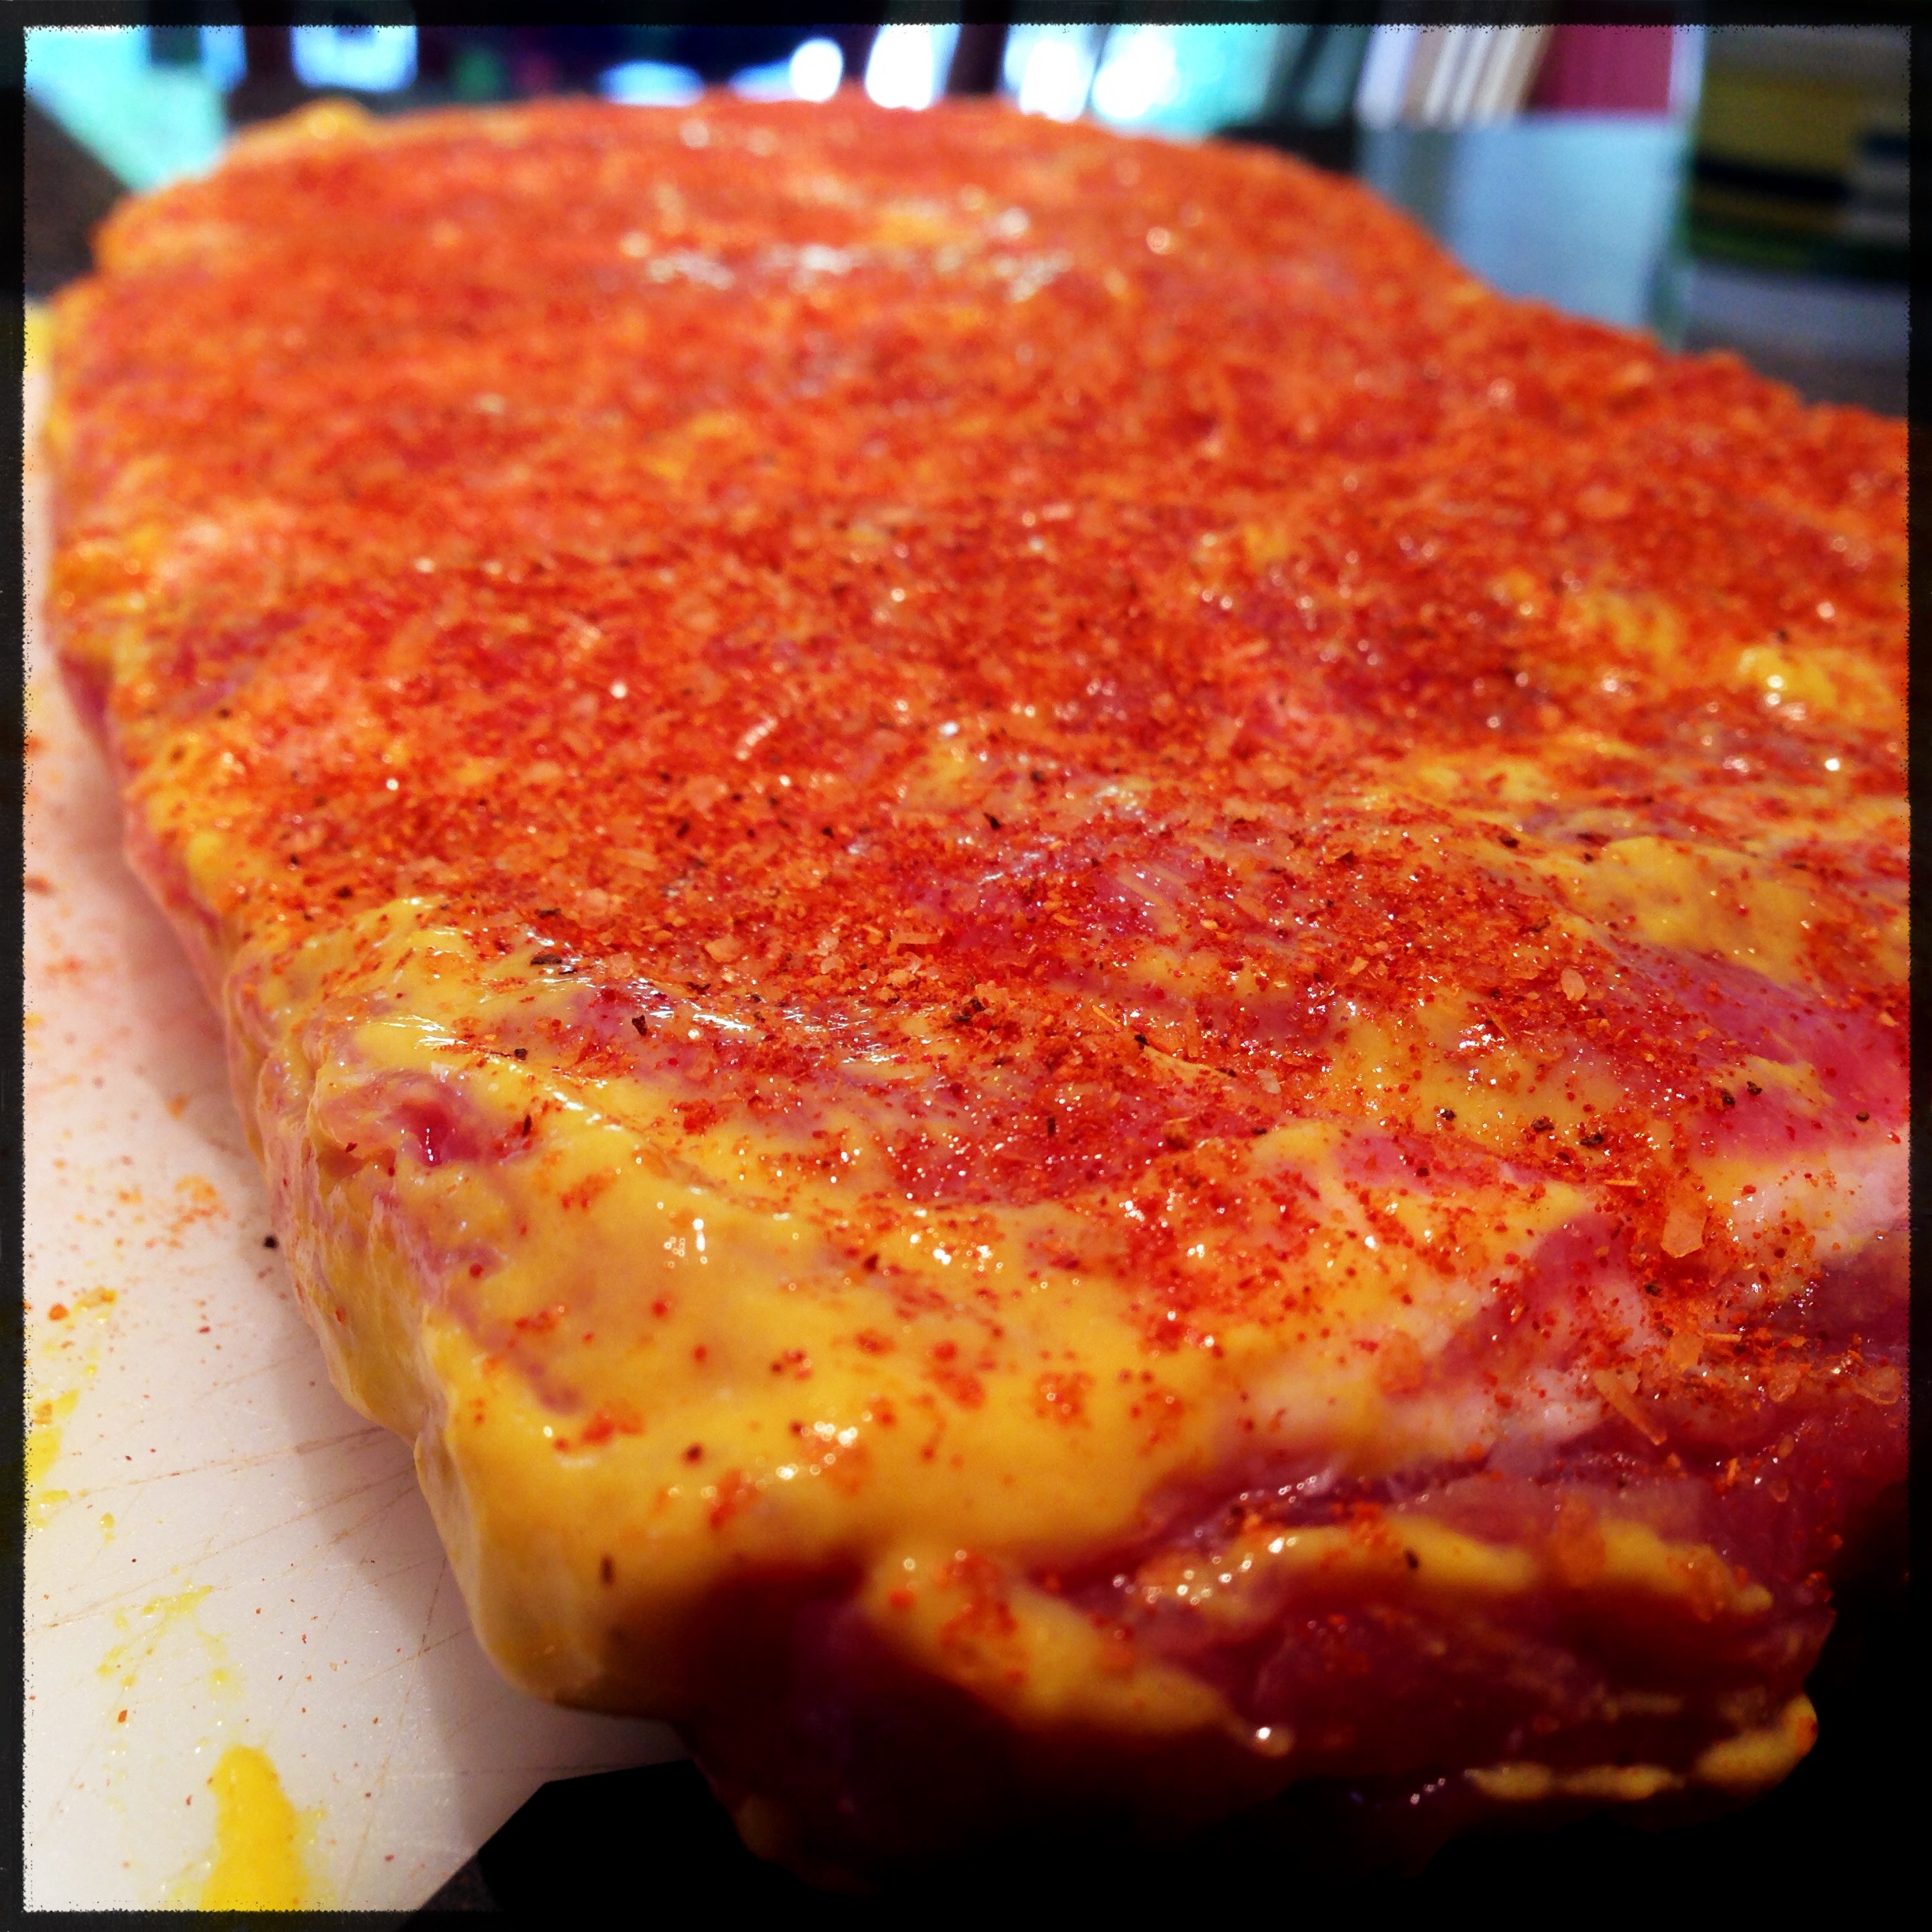
Squirt some yellow mustard onto the ribs. This will melt away, but works like a glue to hold your seasoning rub in place. Use enough mustard to be able to spread a thin layer over the entire surface of the meat.
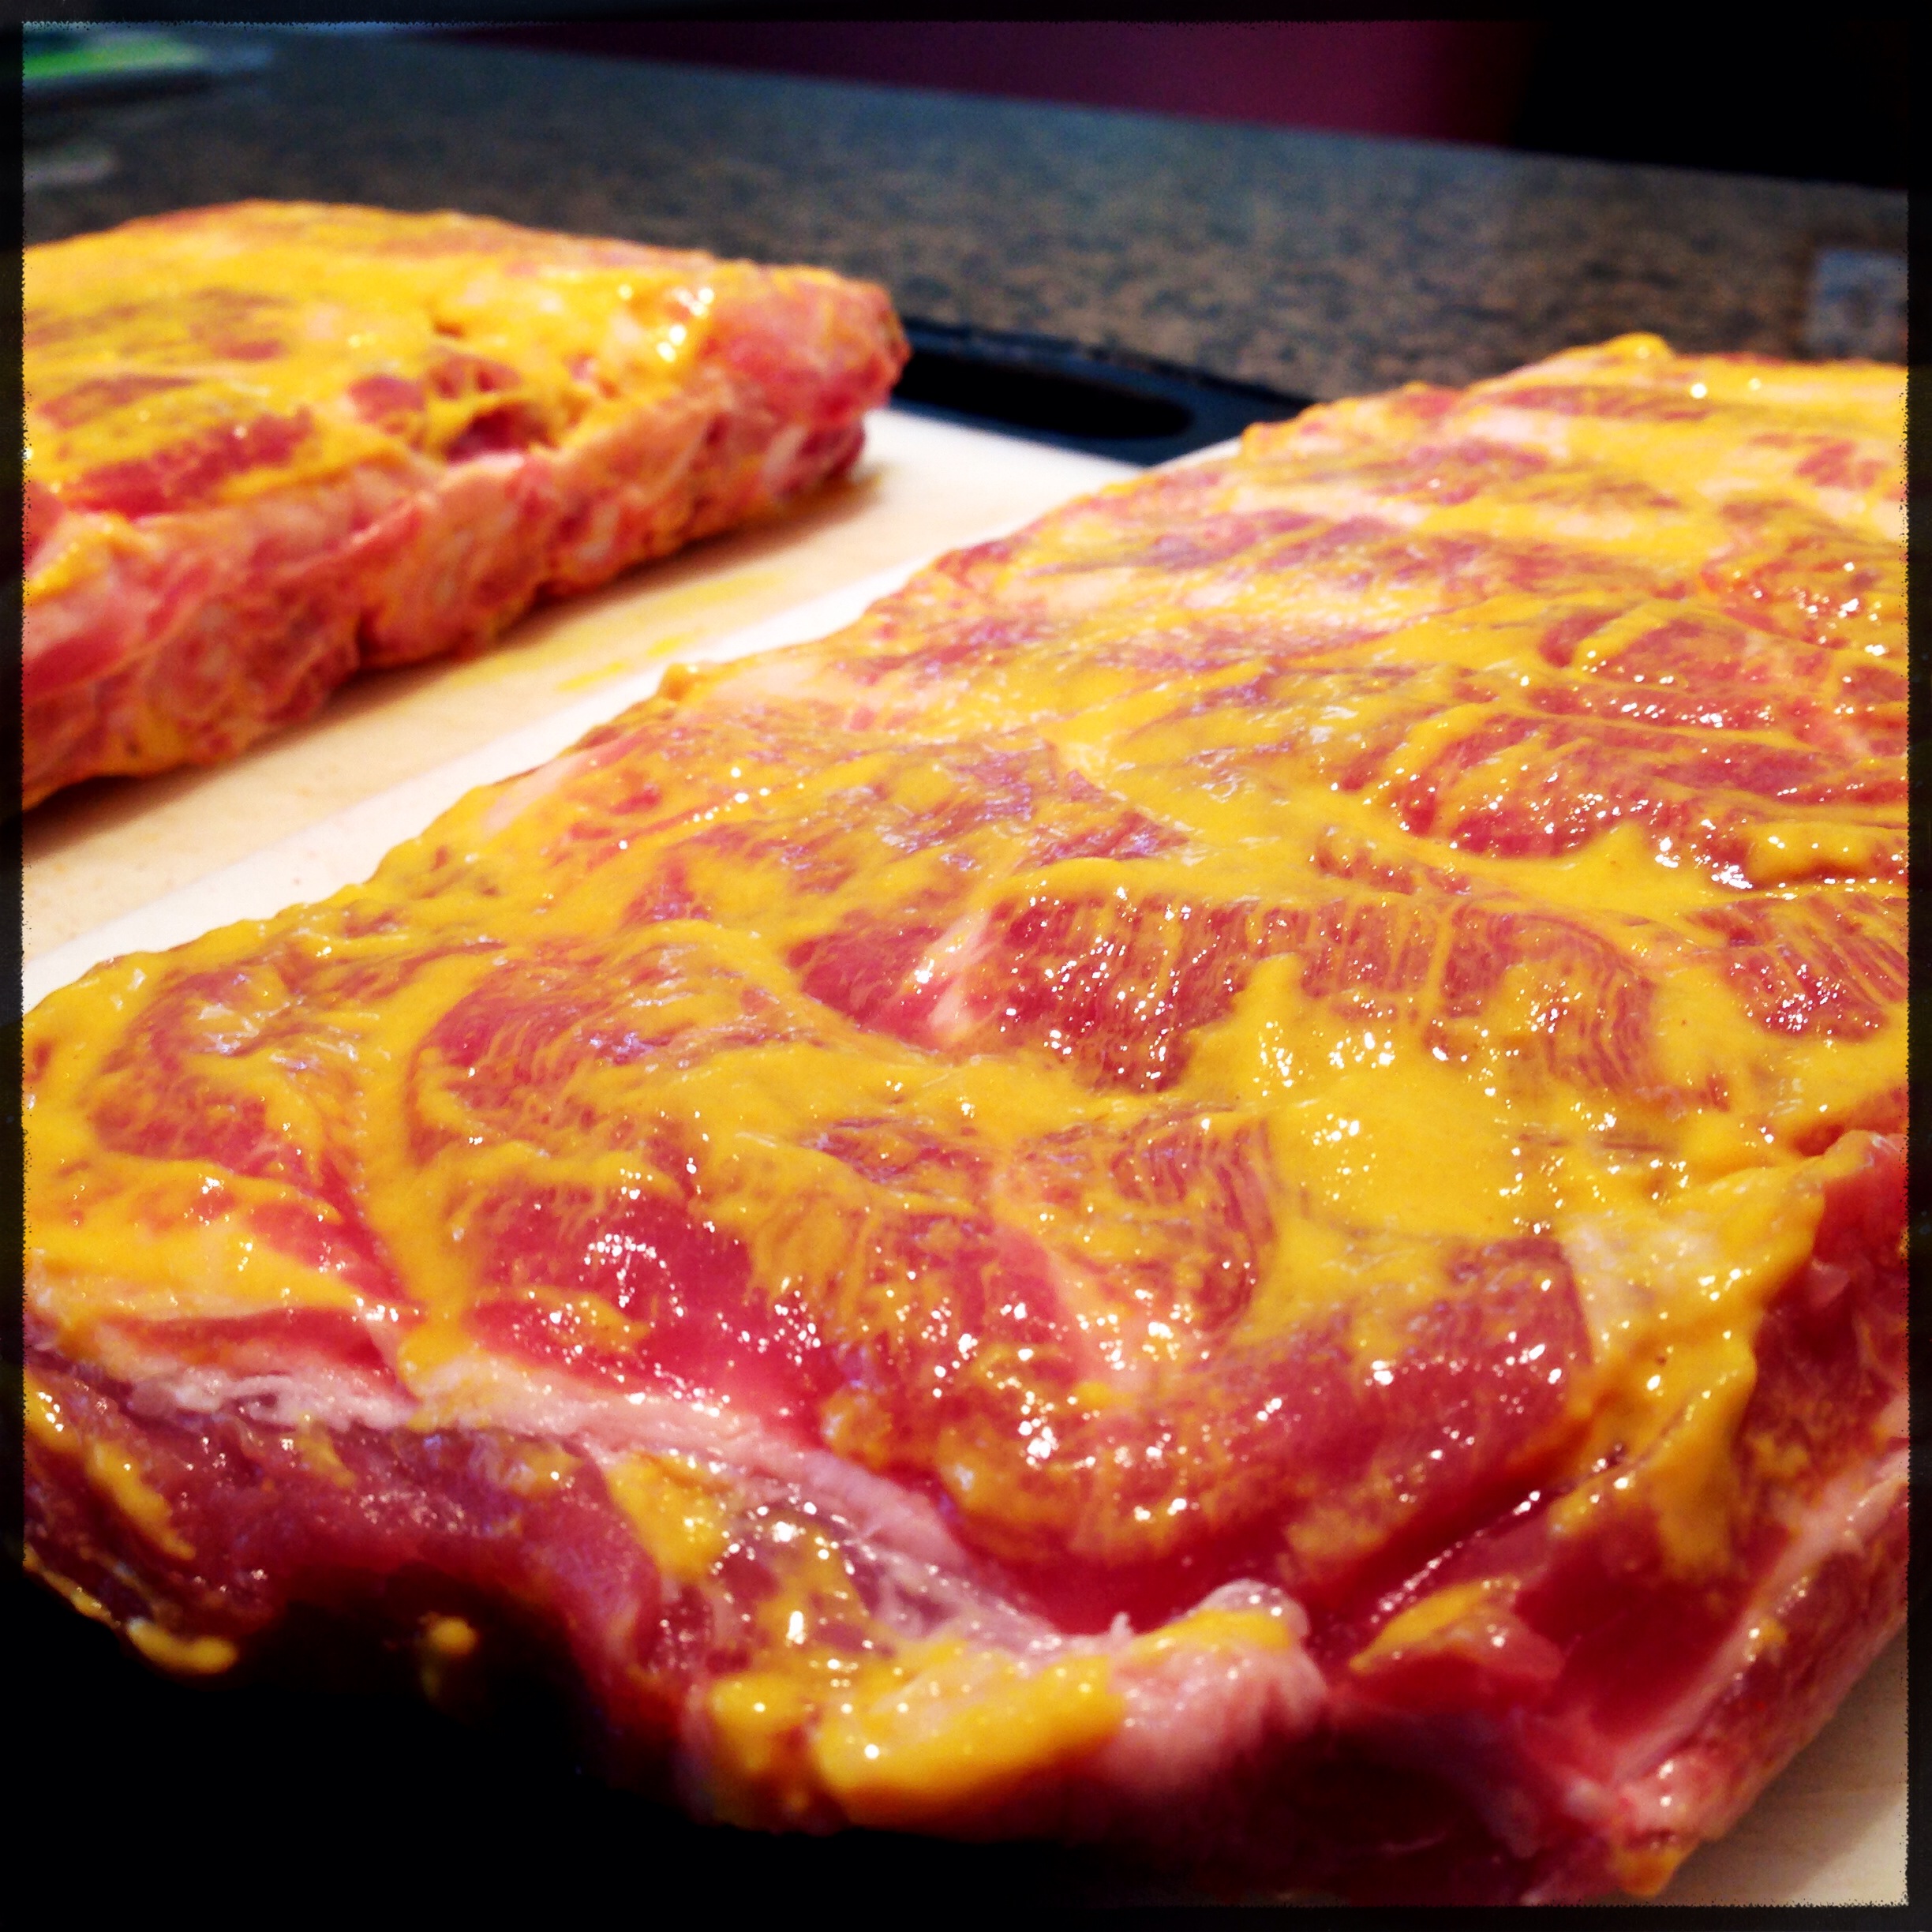
Seasoning is up to you. One of my basic homemade rubs is 2 parts Old Bay, 1 part turbinado sugar and 1 part ground coffee. For this particular slab of ribs, I went with a pre-made BBQ rub that was a mixture of salt, sugar and spices. There are lots of great pre-mixed rubs out there, so experiment and find what you like.
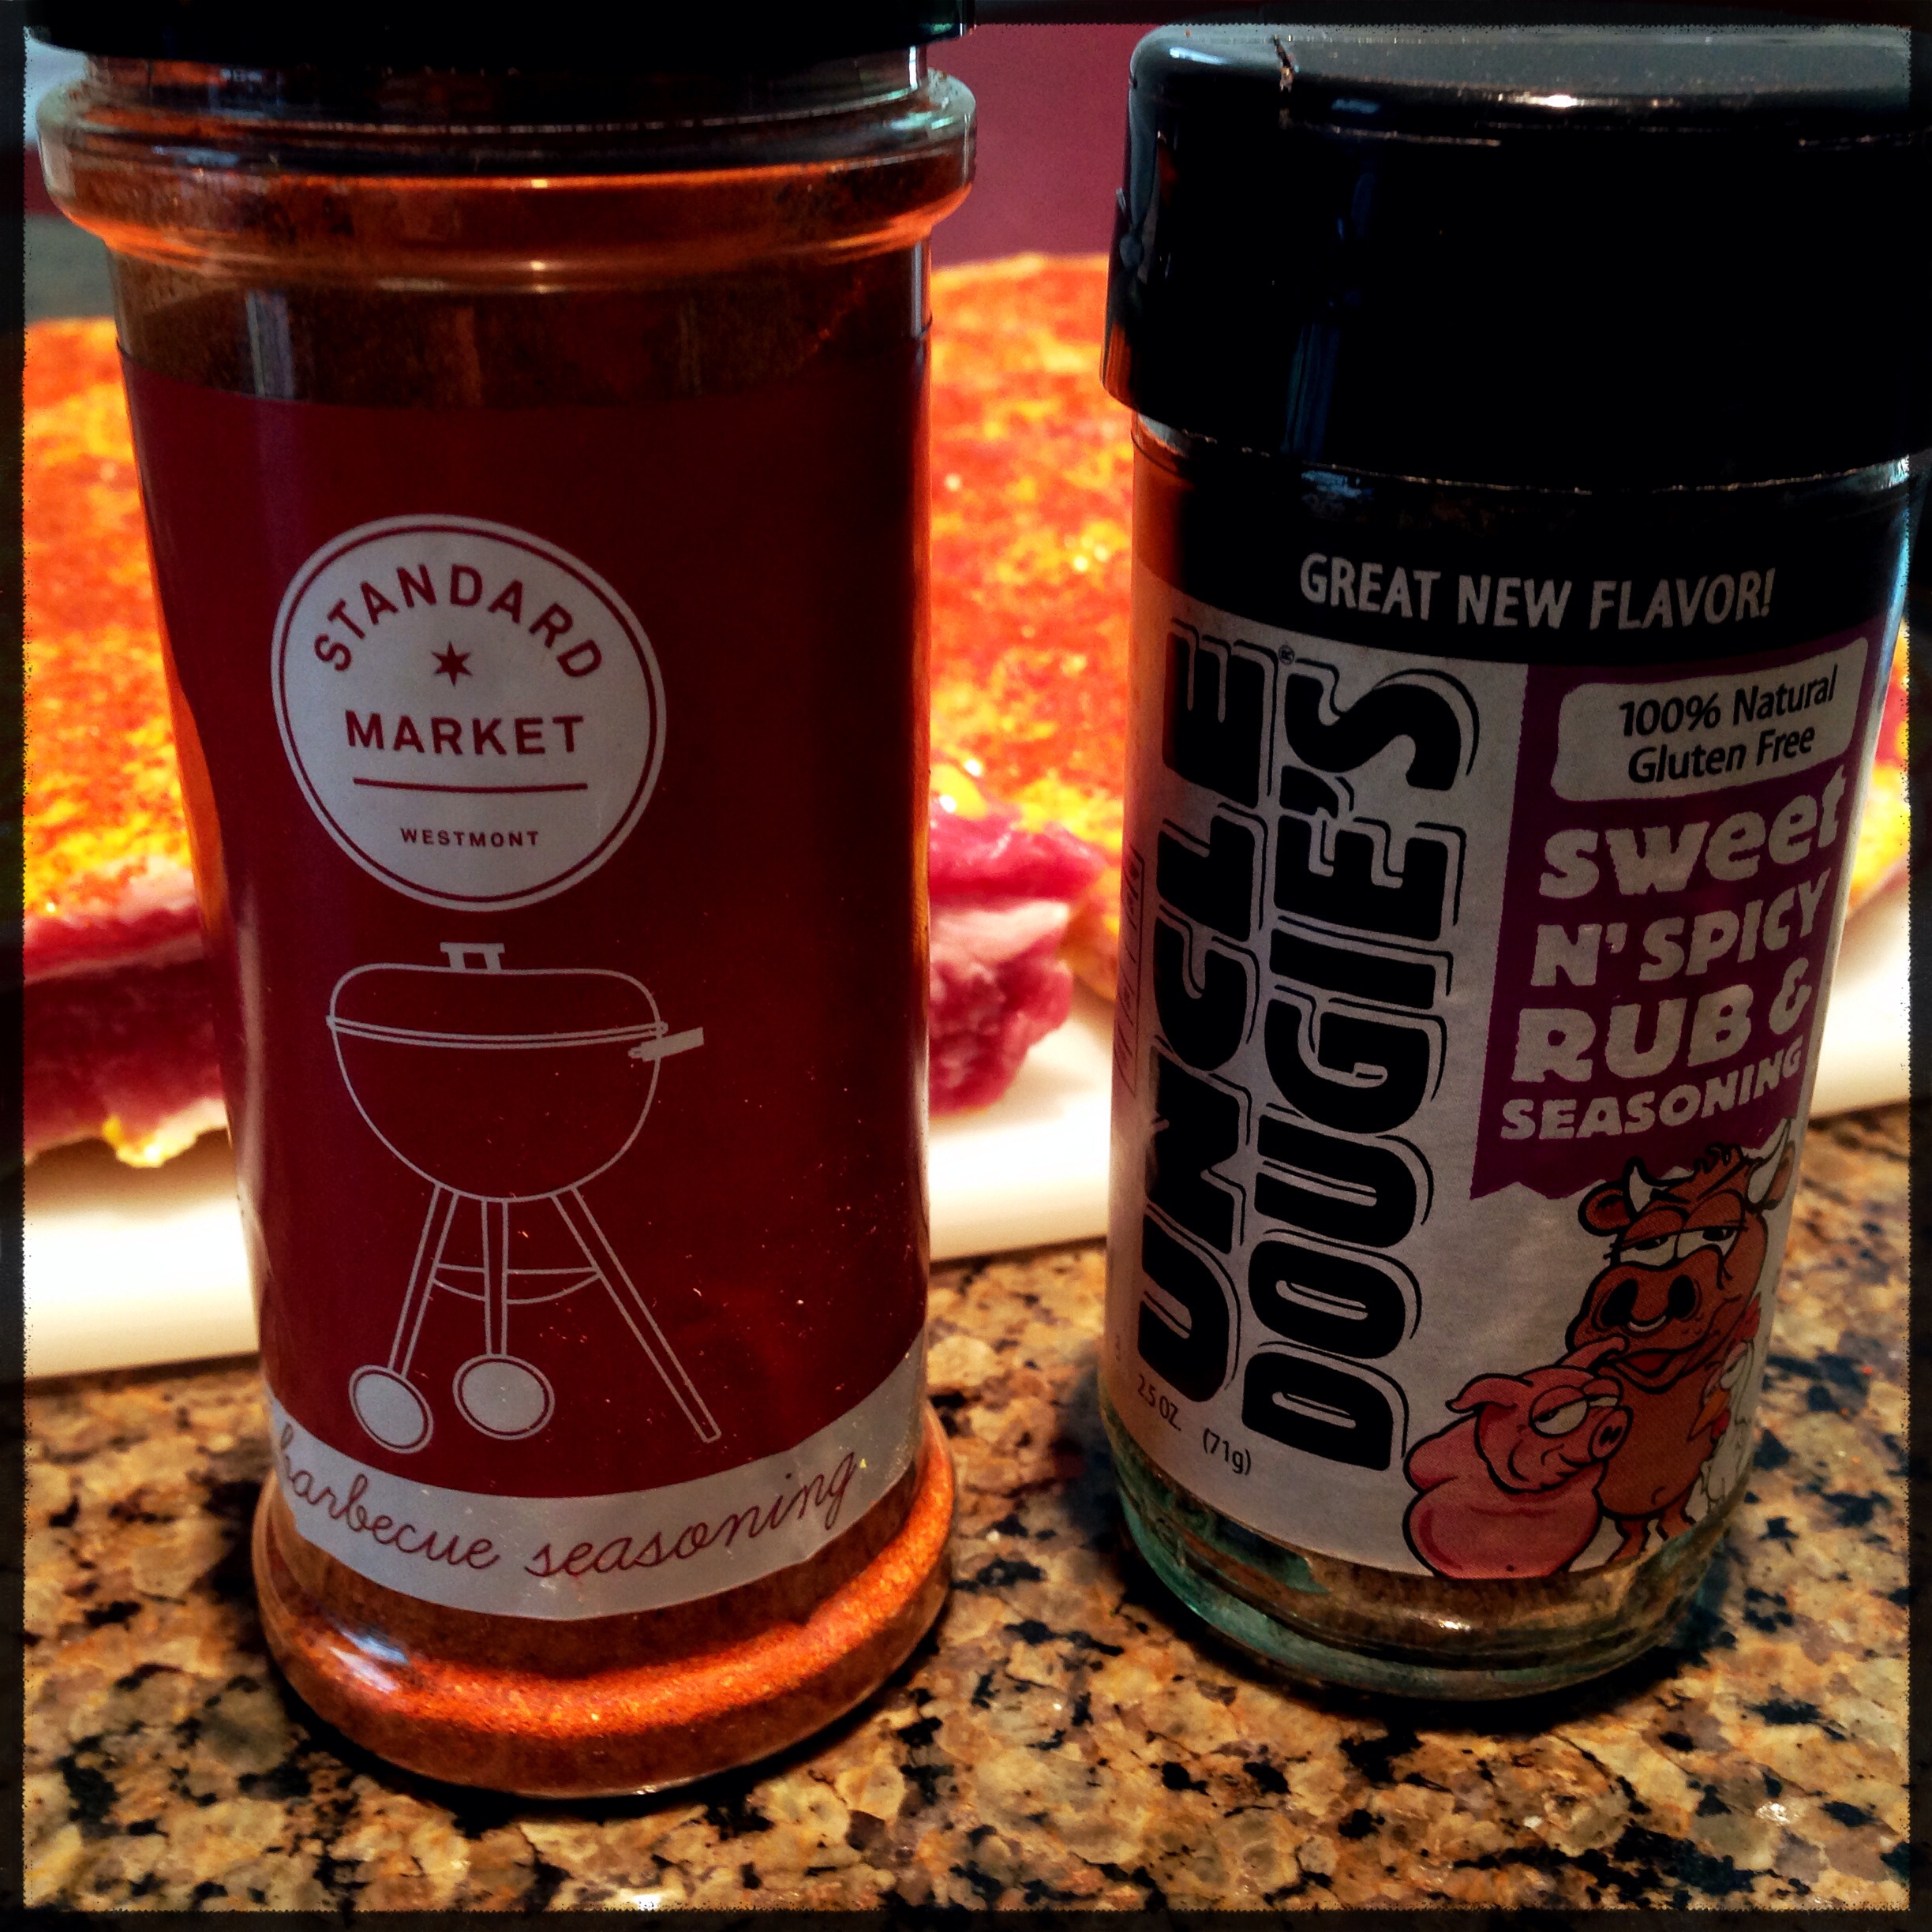
The rub on the left went on the ribs. The one on the right ended up on the corn.
Unlike with pulled pork, we’re not looking to create a crust with the rub, just to add some flavor. With this in mind, liberally season the ribs on both sides your rub of choice, but don’t try to coat the meat in a shell of rub like you might on a pork shoulder.
1:15
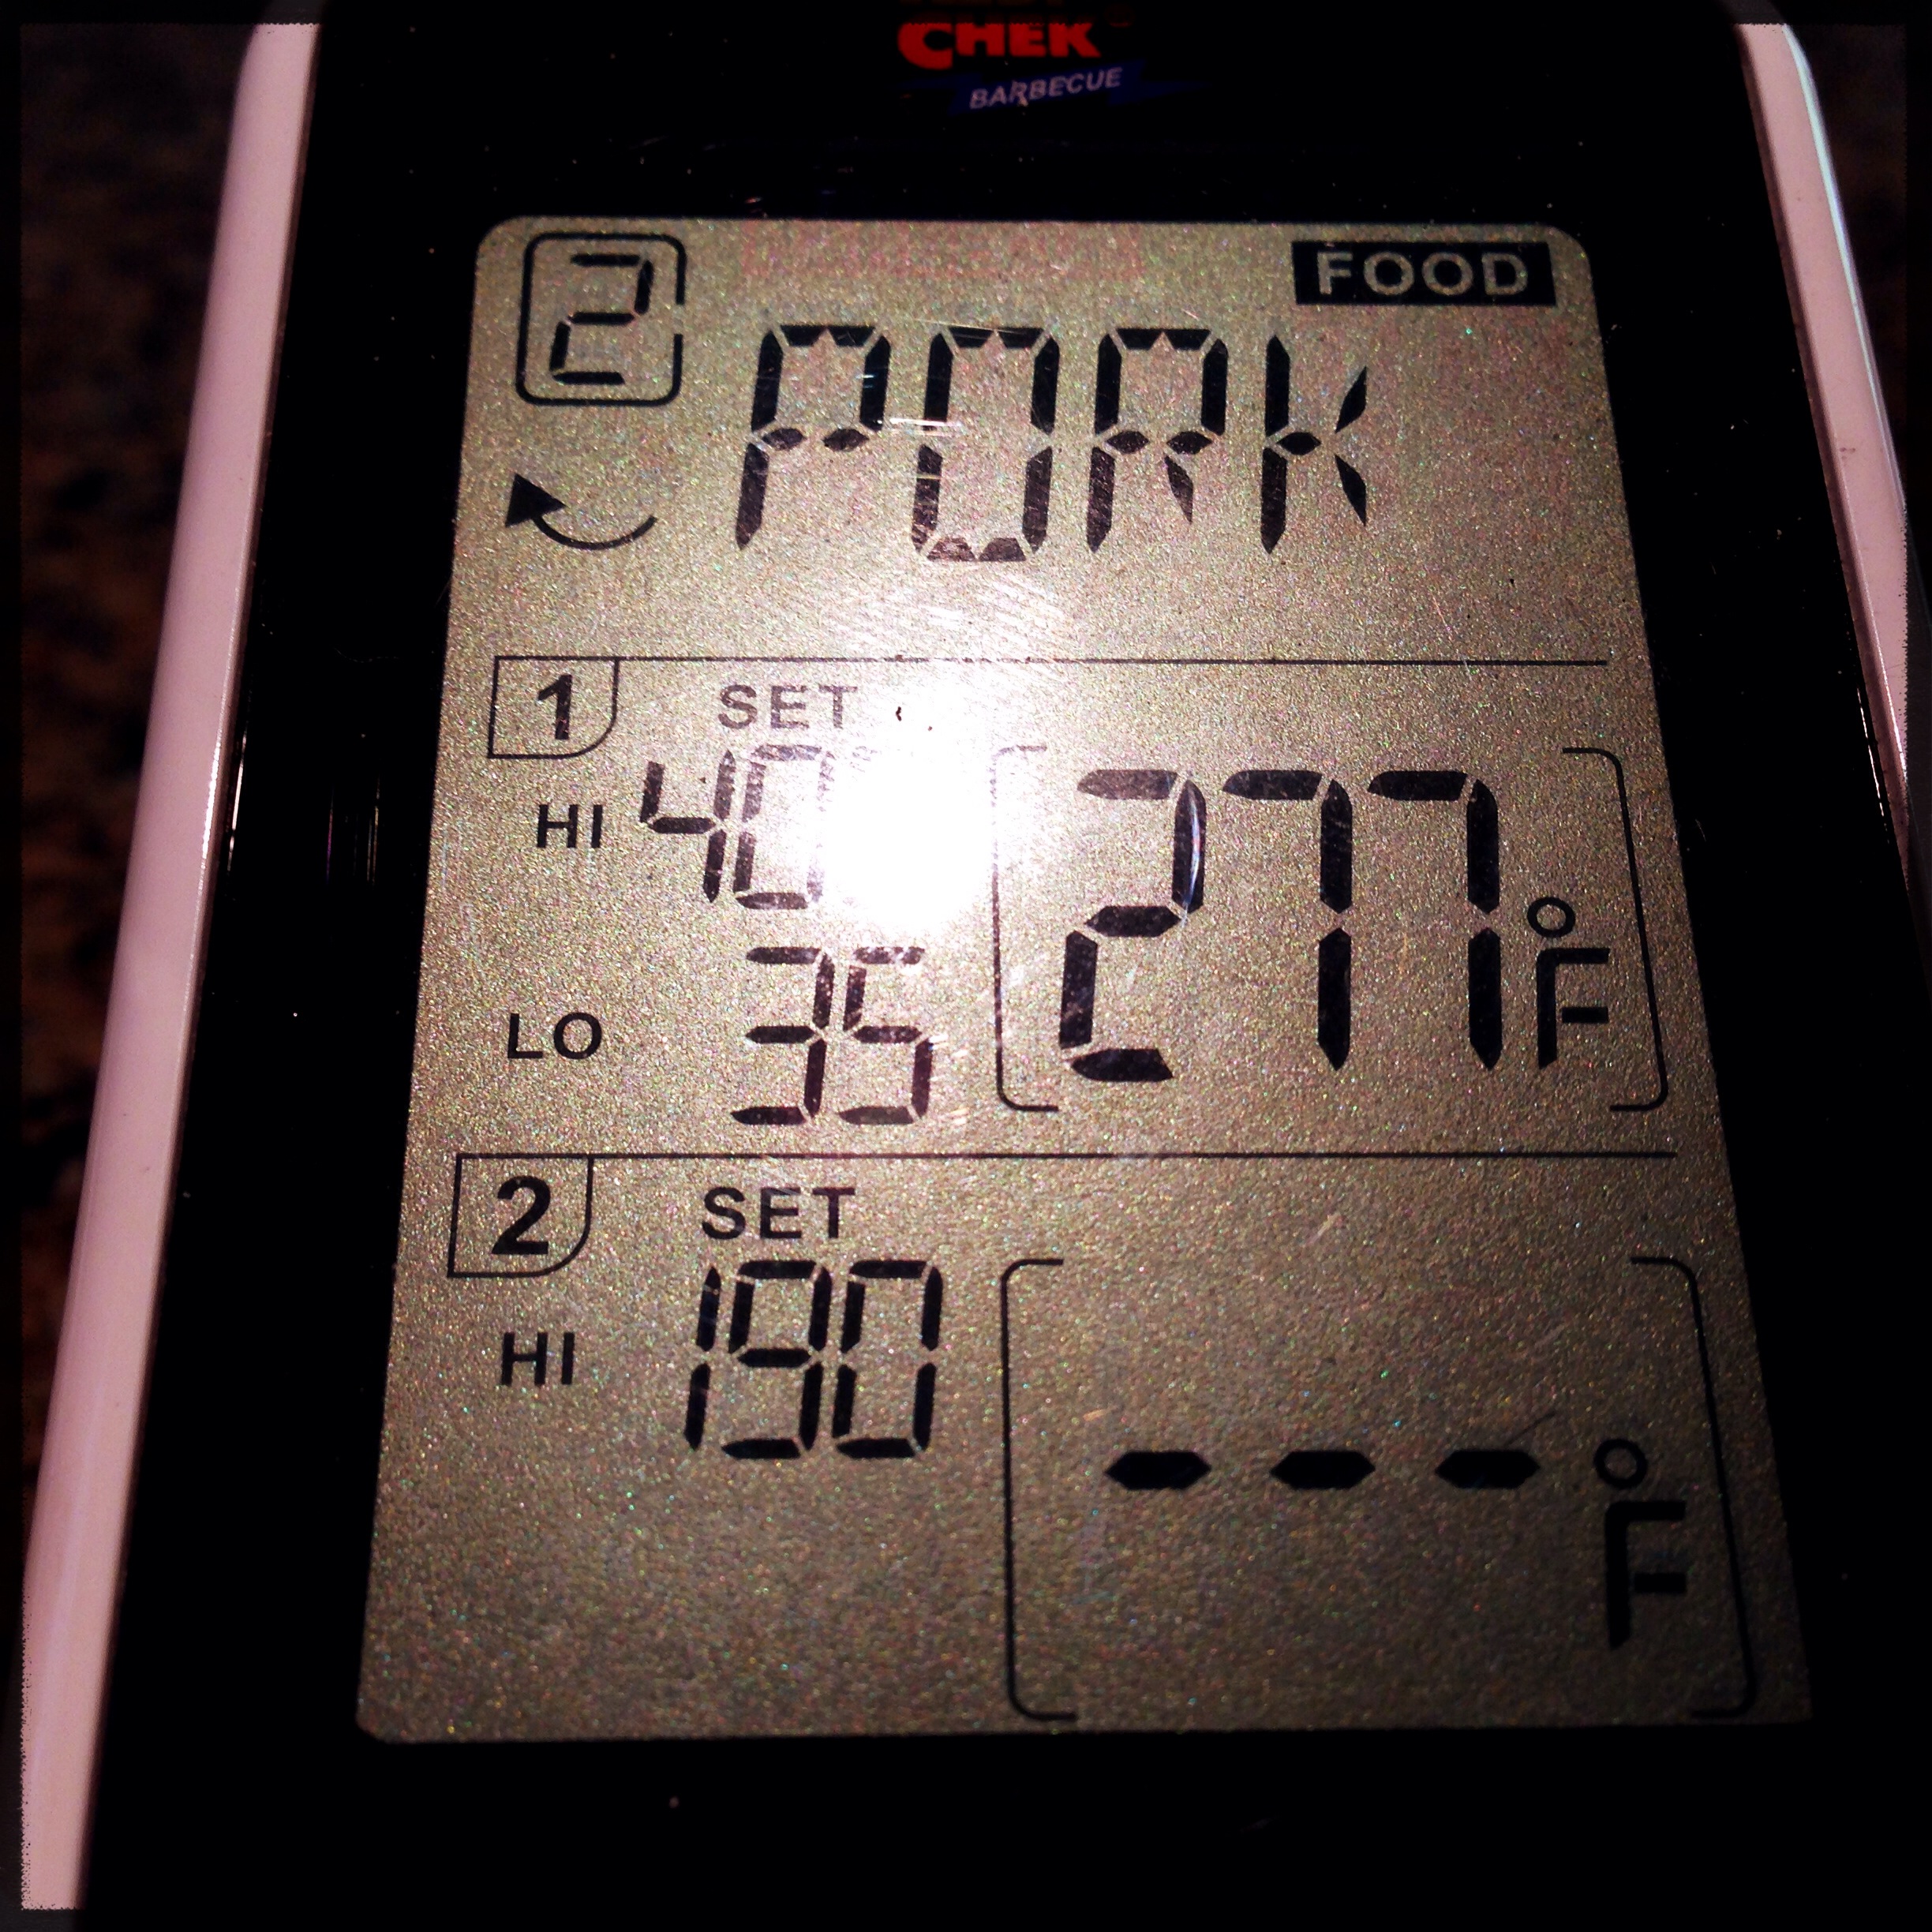
The smoker came up to temp and settled in around 275. The entire time the ribs were in the smoker, the temp hovered in the 275-300 range, which works well in my opinion.
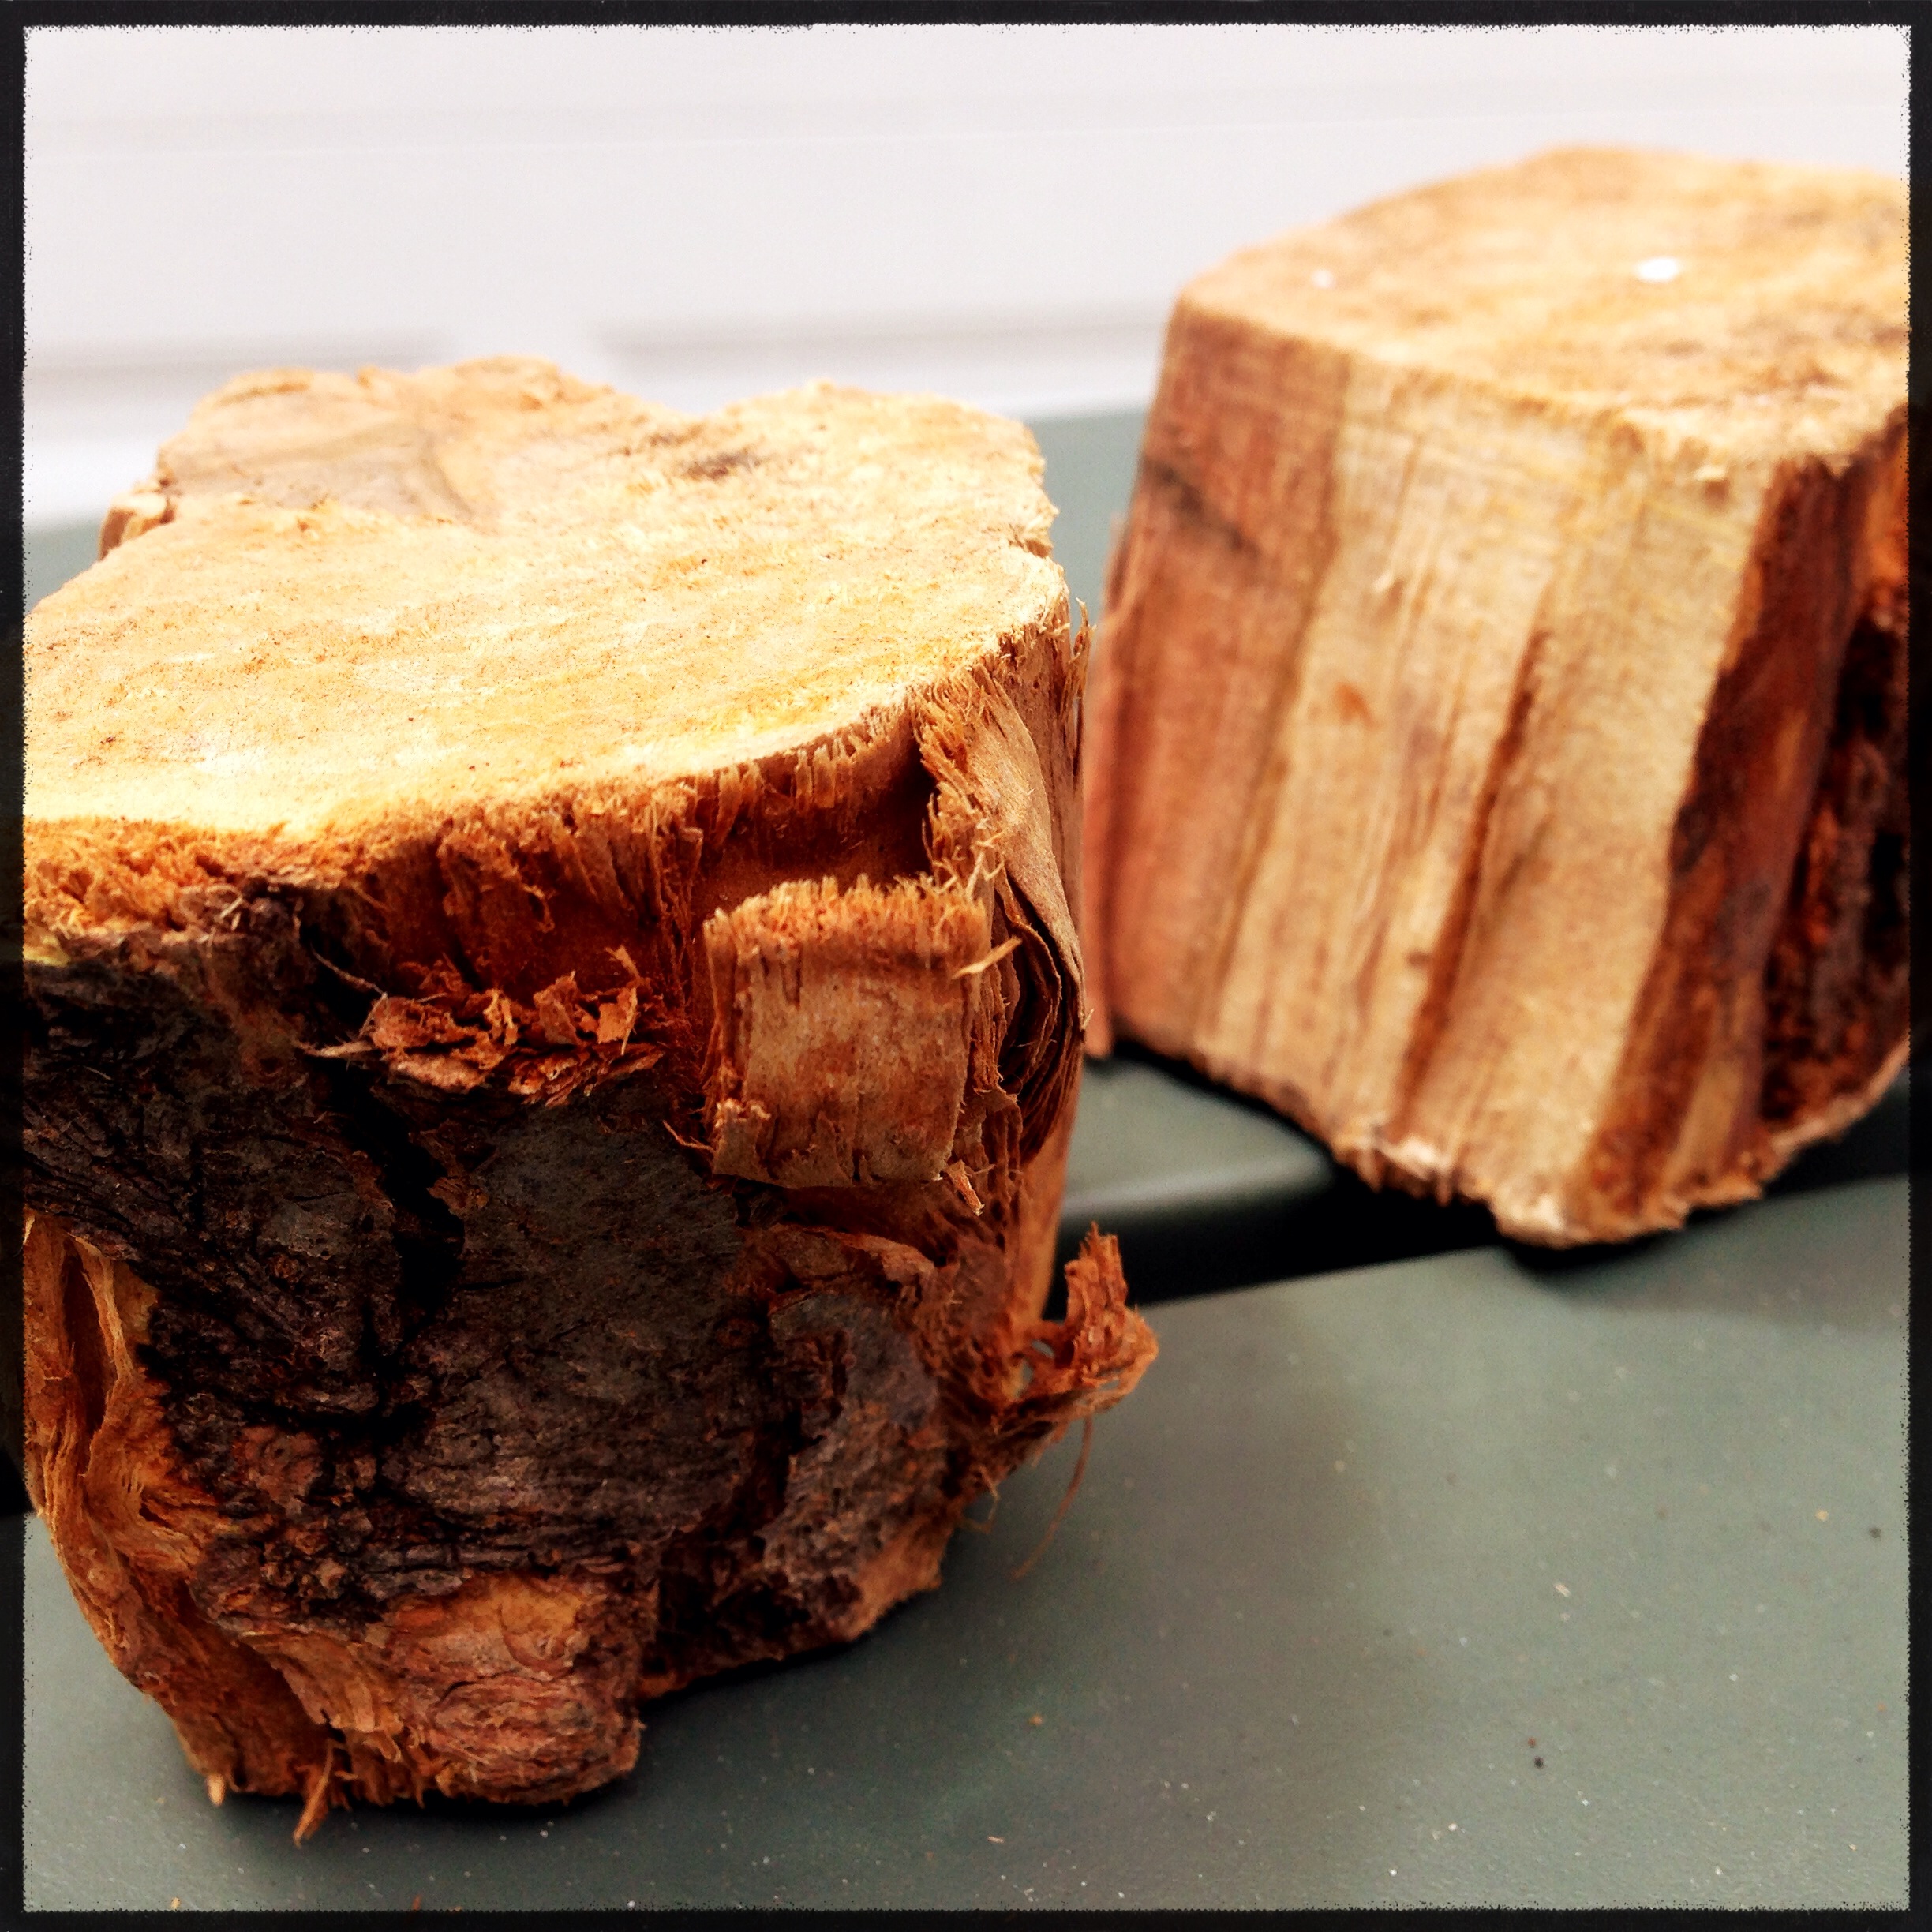
With the smoker heated up, the only thing left is to generate some smoke. I used a mix of applewood and pecan chunks, with 1-2 chunks on the coals at a time. I put two chunks on the coals at about 1:15, and let them start to smolder. Some people like to scatter chunks of wood into the unlit coals so they ignite as the coals ignite, but I like to have a little more control over the smoke, so I just add a chunk or two each hour as needed.
1:30
The chunks were smoldering nicely, and some thing, faintly blue smoke wisps were floating out of the smoker. Time to add the ribs.
The ribs were placed side by side on the top rack of the smoker, and the lid went back on. Time to relax for a bit. Grab a book, take a walk, whatever you feel like. Just no peeking. Let the smoke and the heat do their thing. A common axiom in the BBQ world is “looking ain’t cooking,” and it couldn’t be more true.
2:30
After about an hour, I add a few more chunks of wood to the smoker. Again, a mix of pecan and apple, but really any wood you choose is fine as long as it’s a hardwood or a fruit wood that’s been properly seasoned.
3:30
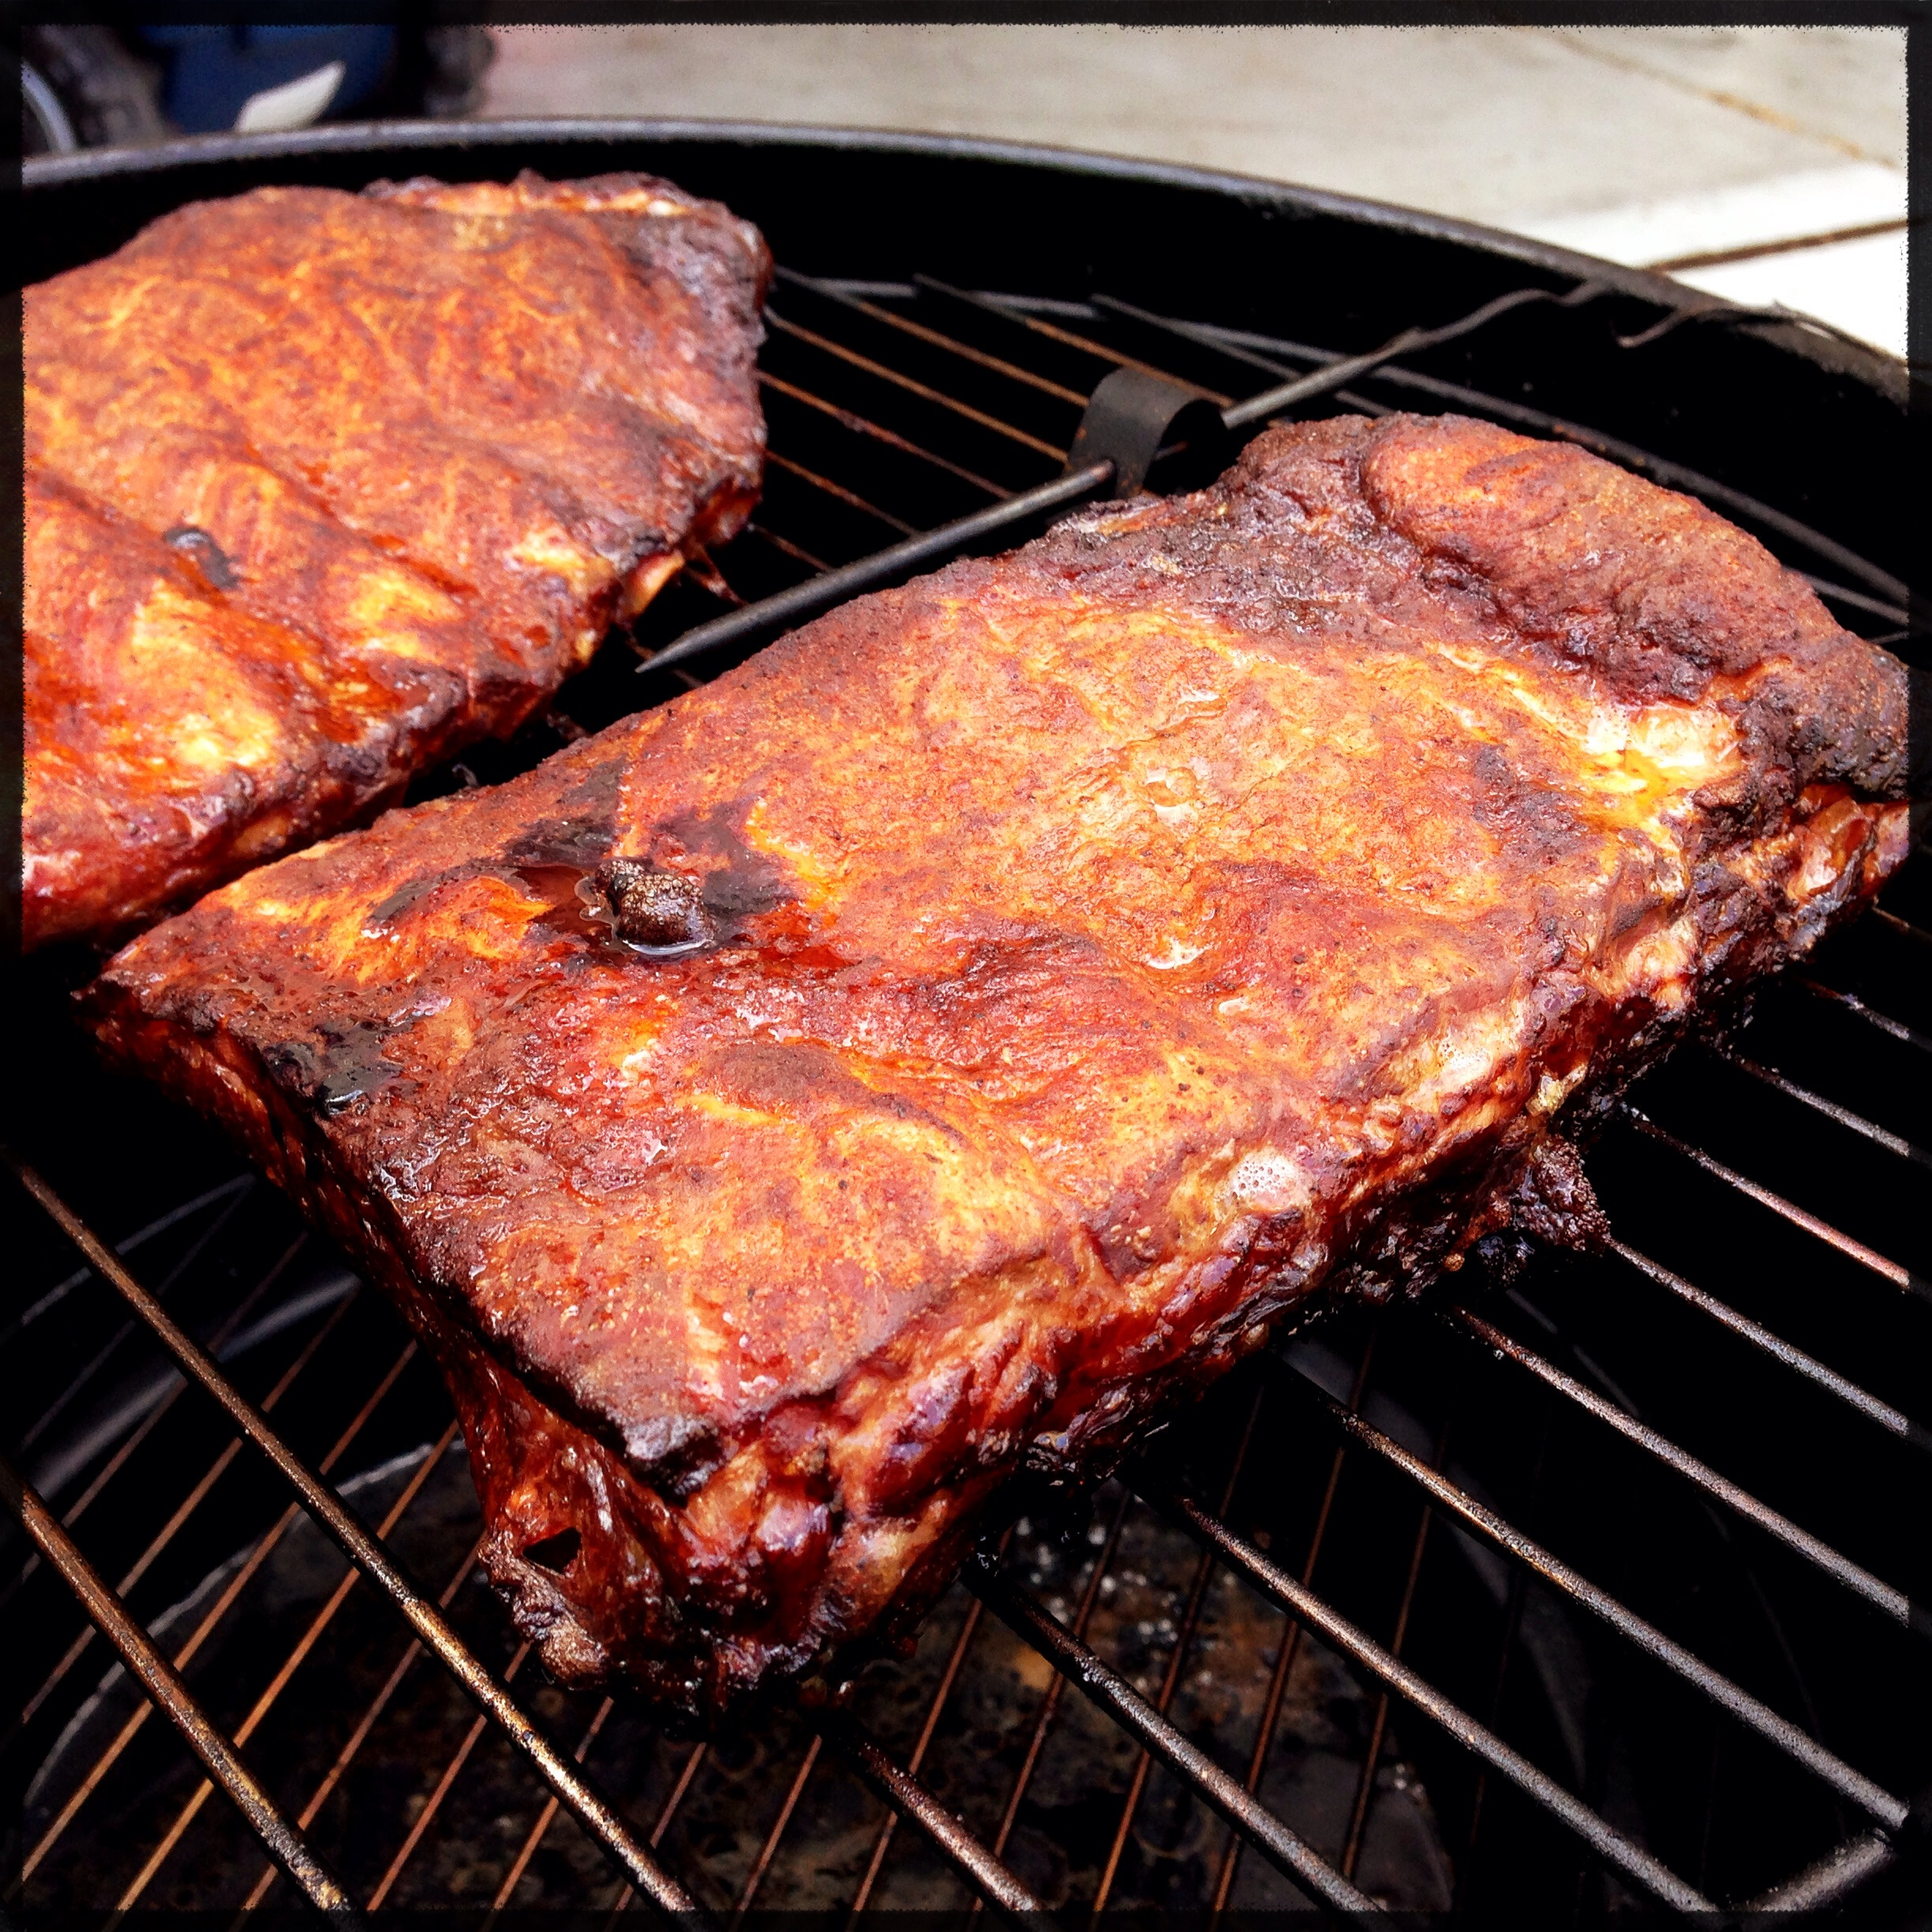
This is the first time the lid came off the smoker since the ribs went on. They were getting some nice color and smelled amazing!
In the past, I used to leave my ribs exposed in the smoker for the entire cook. I would occasionally mist them with a little vinegar or beer to keep them from drying out, but that was it. However, a popular method for smoking ribs involves wrapping them in foil for a portion of the cooking time. This keeps them from getting too dark, and by adding liquid to the foil, it yields unbelievably tender ribs by essentially braising them for part of the cooking time.
The basic idea is known as the 3-2-1 method, meaning 3 hours unwrapped in the smoker, 2 hours in foil and 1 more hour unwrapped. That, however, if for a full, untrimmed slab of spare ribs. For my St Louis trimmed ribs, I went with 2 -1.5-1, which was perfect.
I pulled the ribs off after two hours and placed them each on a sheet of heavy duty aluminum foil.

For the braising liquid, I used a blend of beer and apple cider vinegar. I chose a wheat beer for the light, sweet flavor, and the vinegar adds a little tang to the pork.

You don’t need a ton of liquid. I probably put 2-3 tablespoons into each foil pack before sealing them up and putting them back into the smoker.

I also took a quick peek at the charcoal to see how it was doing. Still quite a bit of unlit coals left, and none of the lit coals were completely spent yet. Doing great, no need to add charcoal at this point.
4:00
The ribs were still coasting along. Temperature holding steady, braising away in their foil wraps. To avoid being rushed, I got my corn ready for later. I pulled off the husks and the silks. While I like grilling corn with the husks from time to time, my go-to method is to completely shuck the corn and then cover it in butter and wrap it in foil. Once I had all the husks removed, I rubbed each ear with a good-sized pad of butter, seasoned with the rub from above and wrapped the ear with foil. I placed all the foil wrapped corn back in the fridge until it was time to grill it.
4:30
I pulled out the kettle to get things ready for the sausages and the corn. My target time to get those on the grill was about 5:15, so I wanted to give the coals plenty of time to light and let the grill heat up.
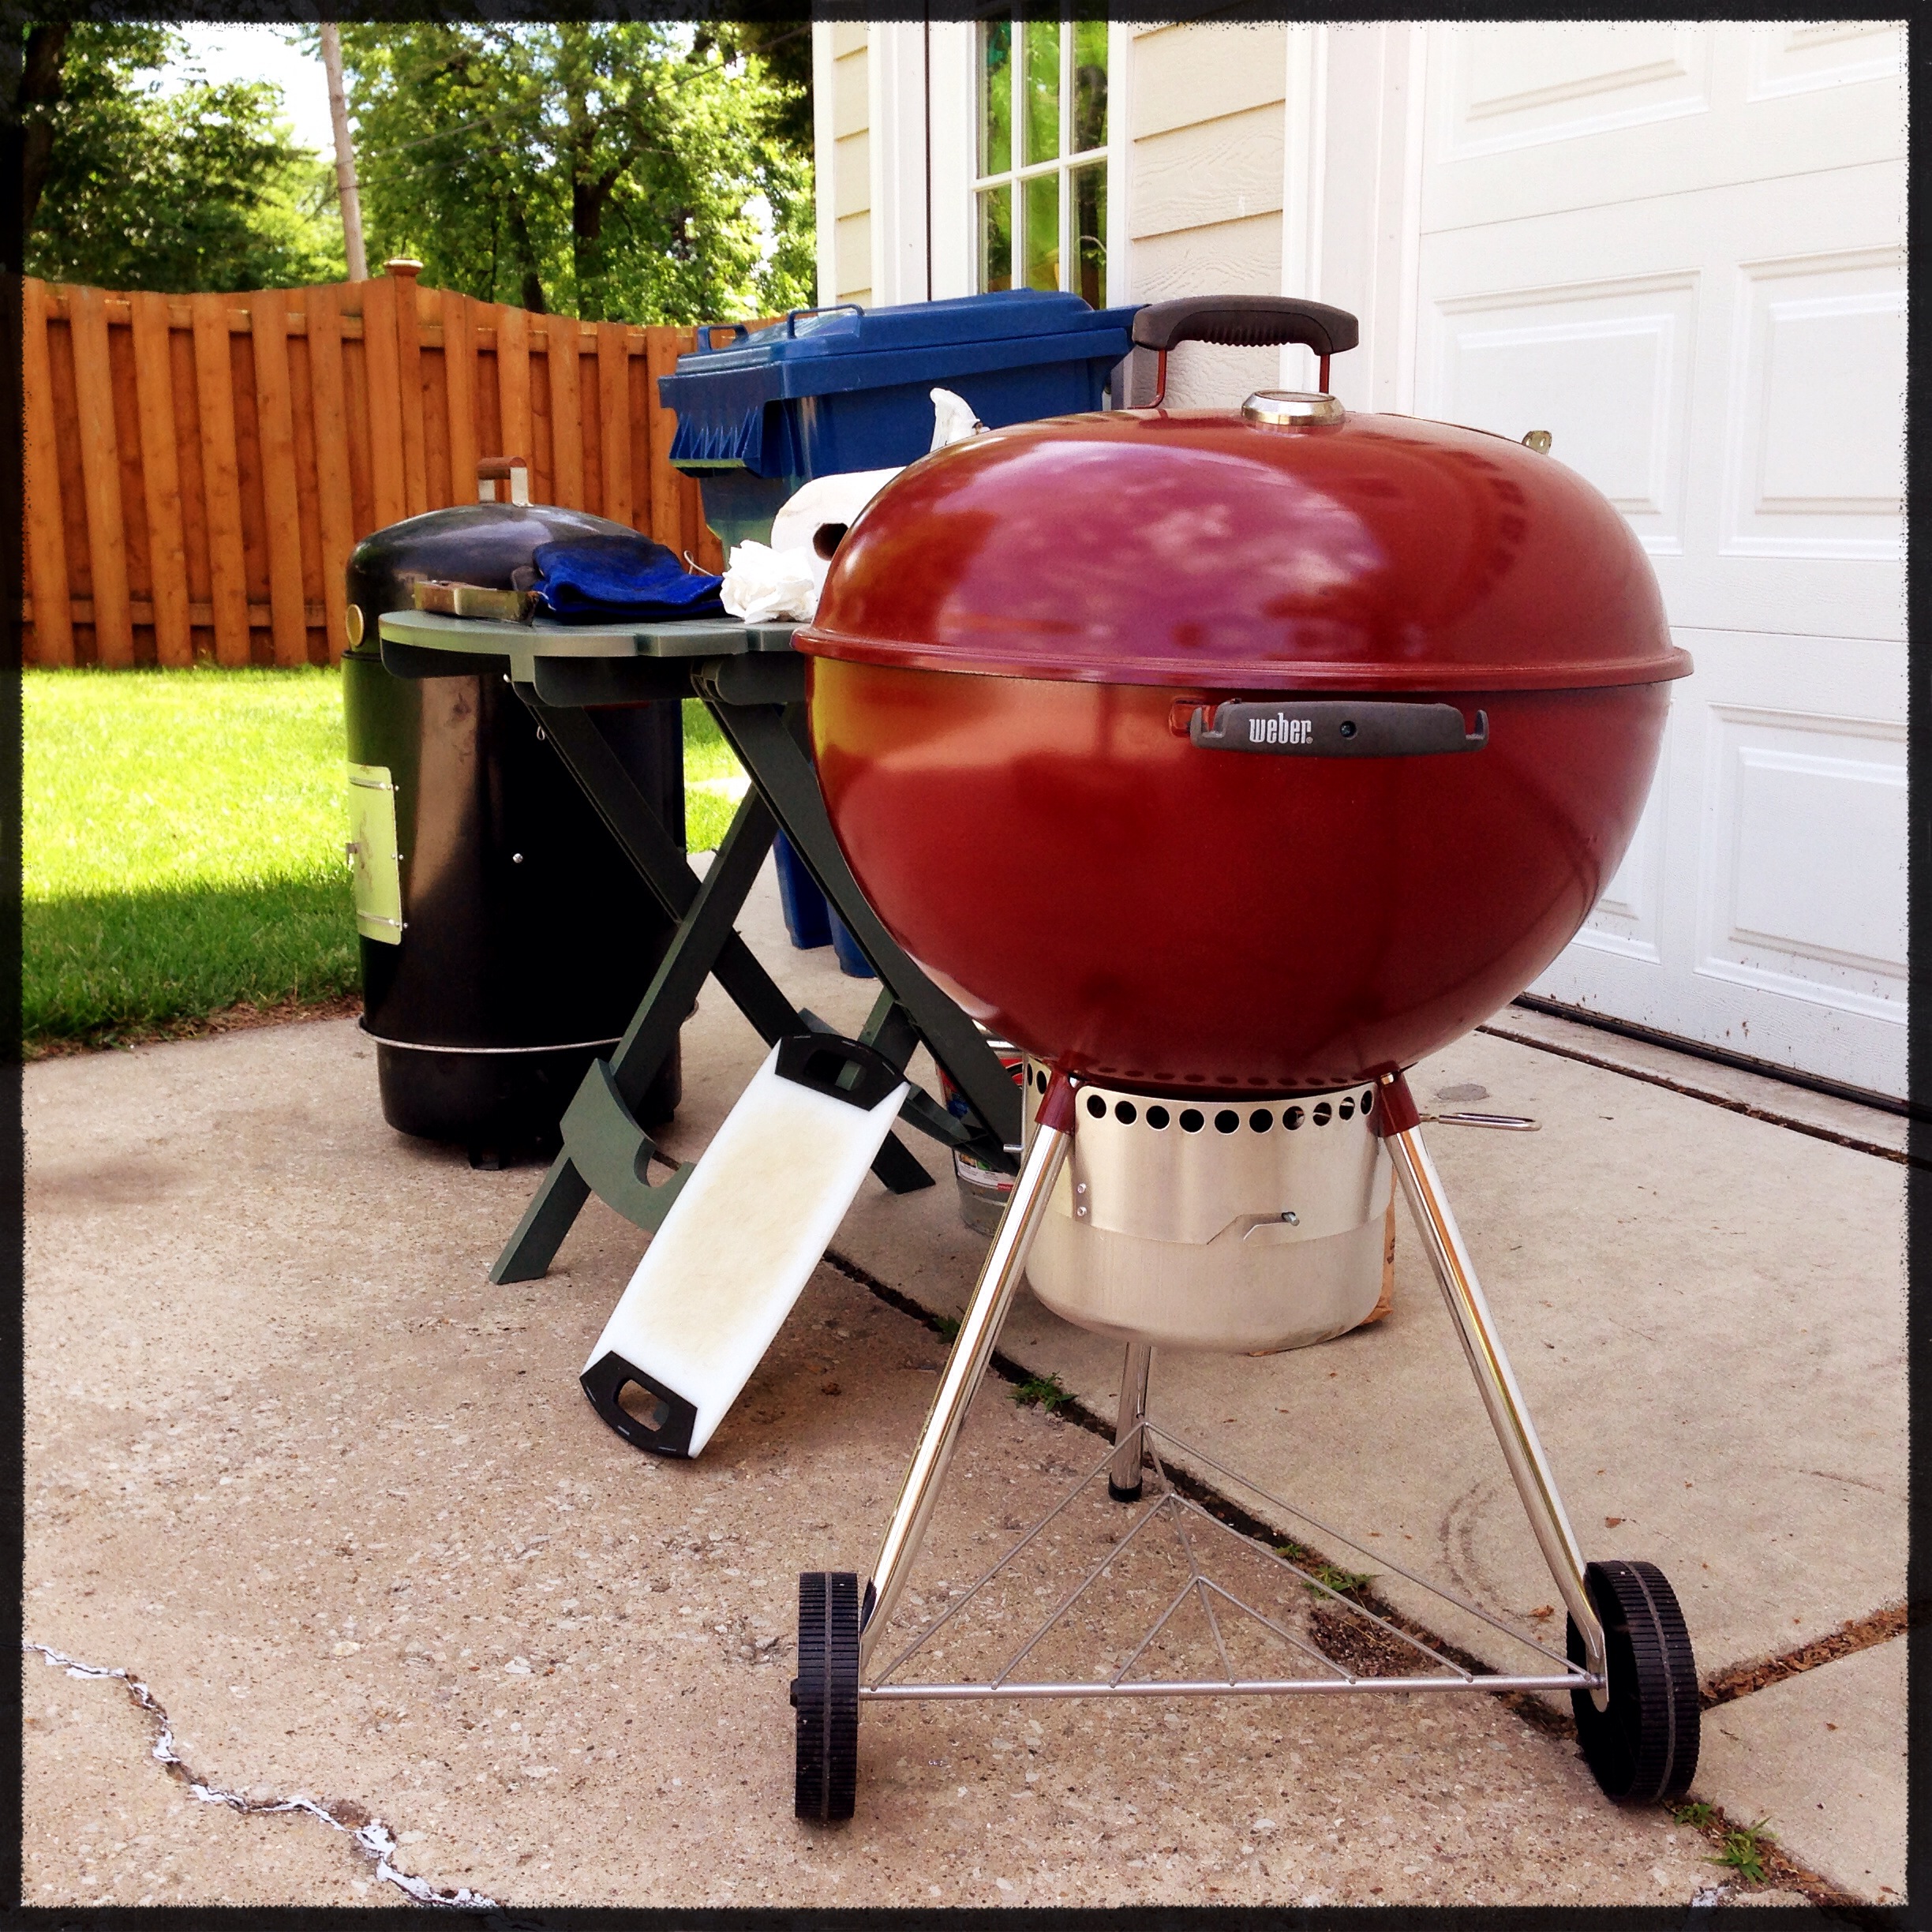
I lit a full large chimney full of charcoal for the kettle and let that get nice and hot.
5:00
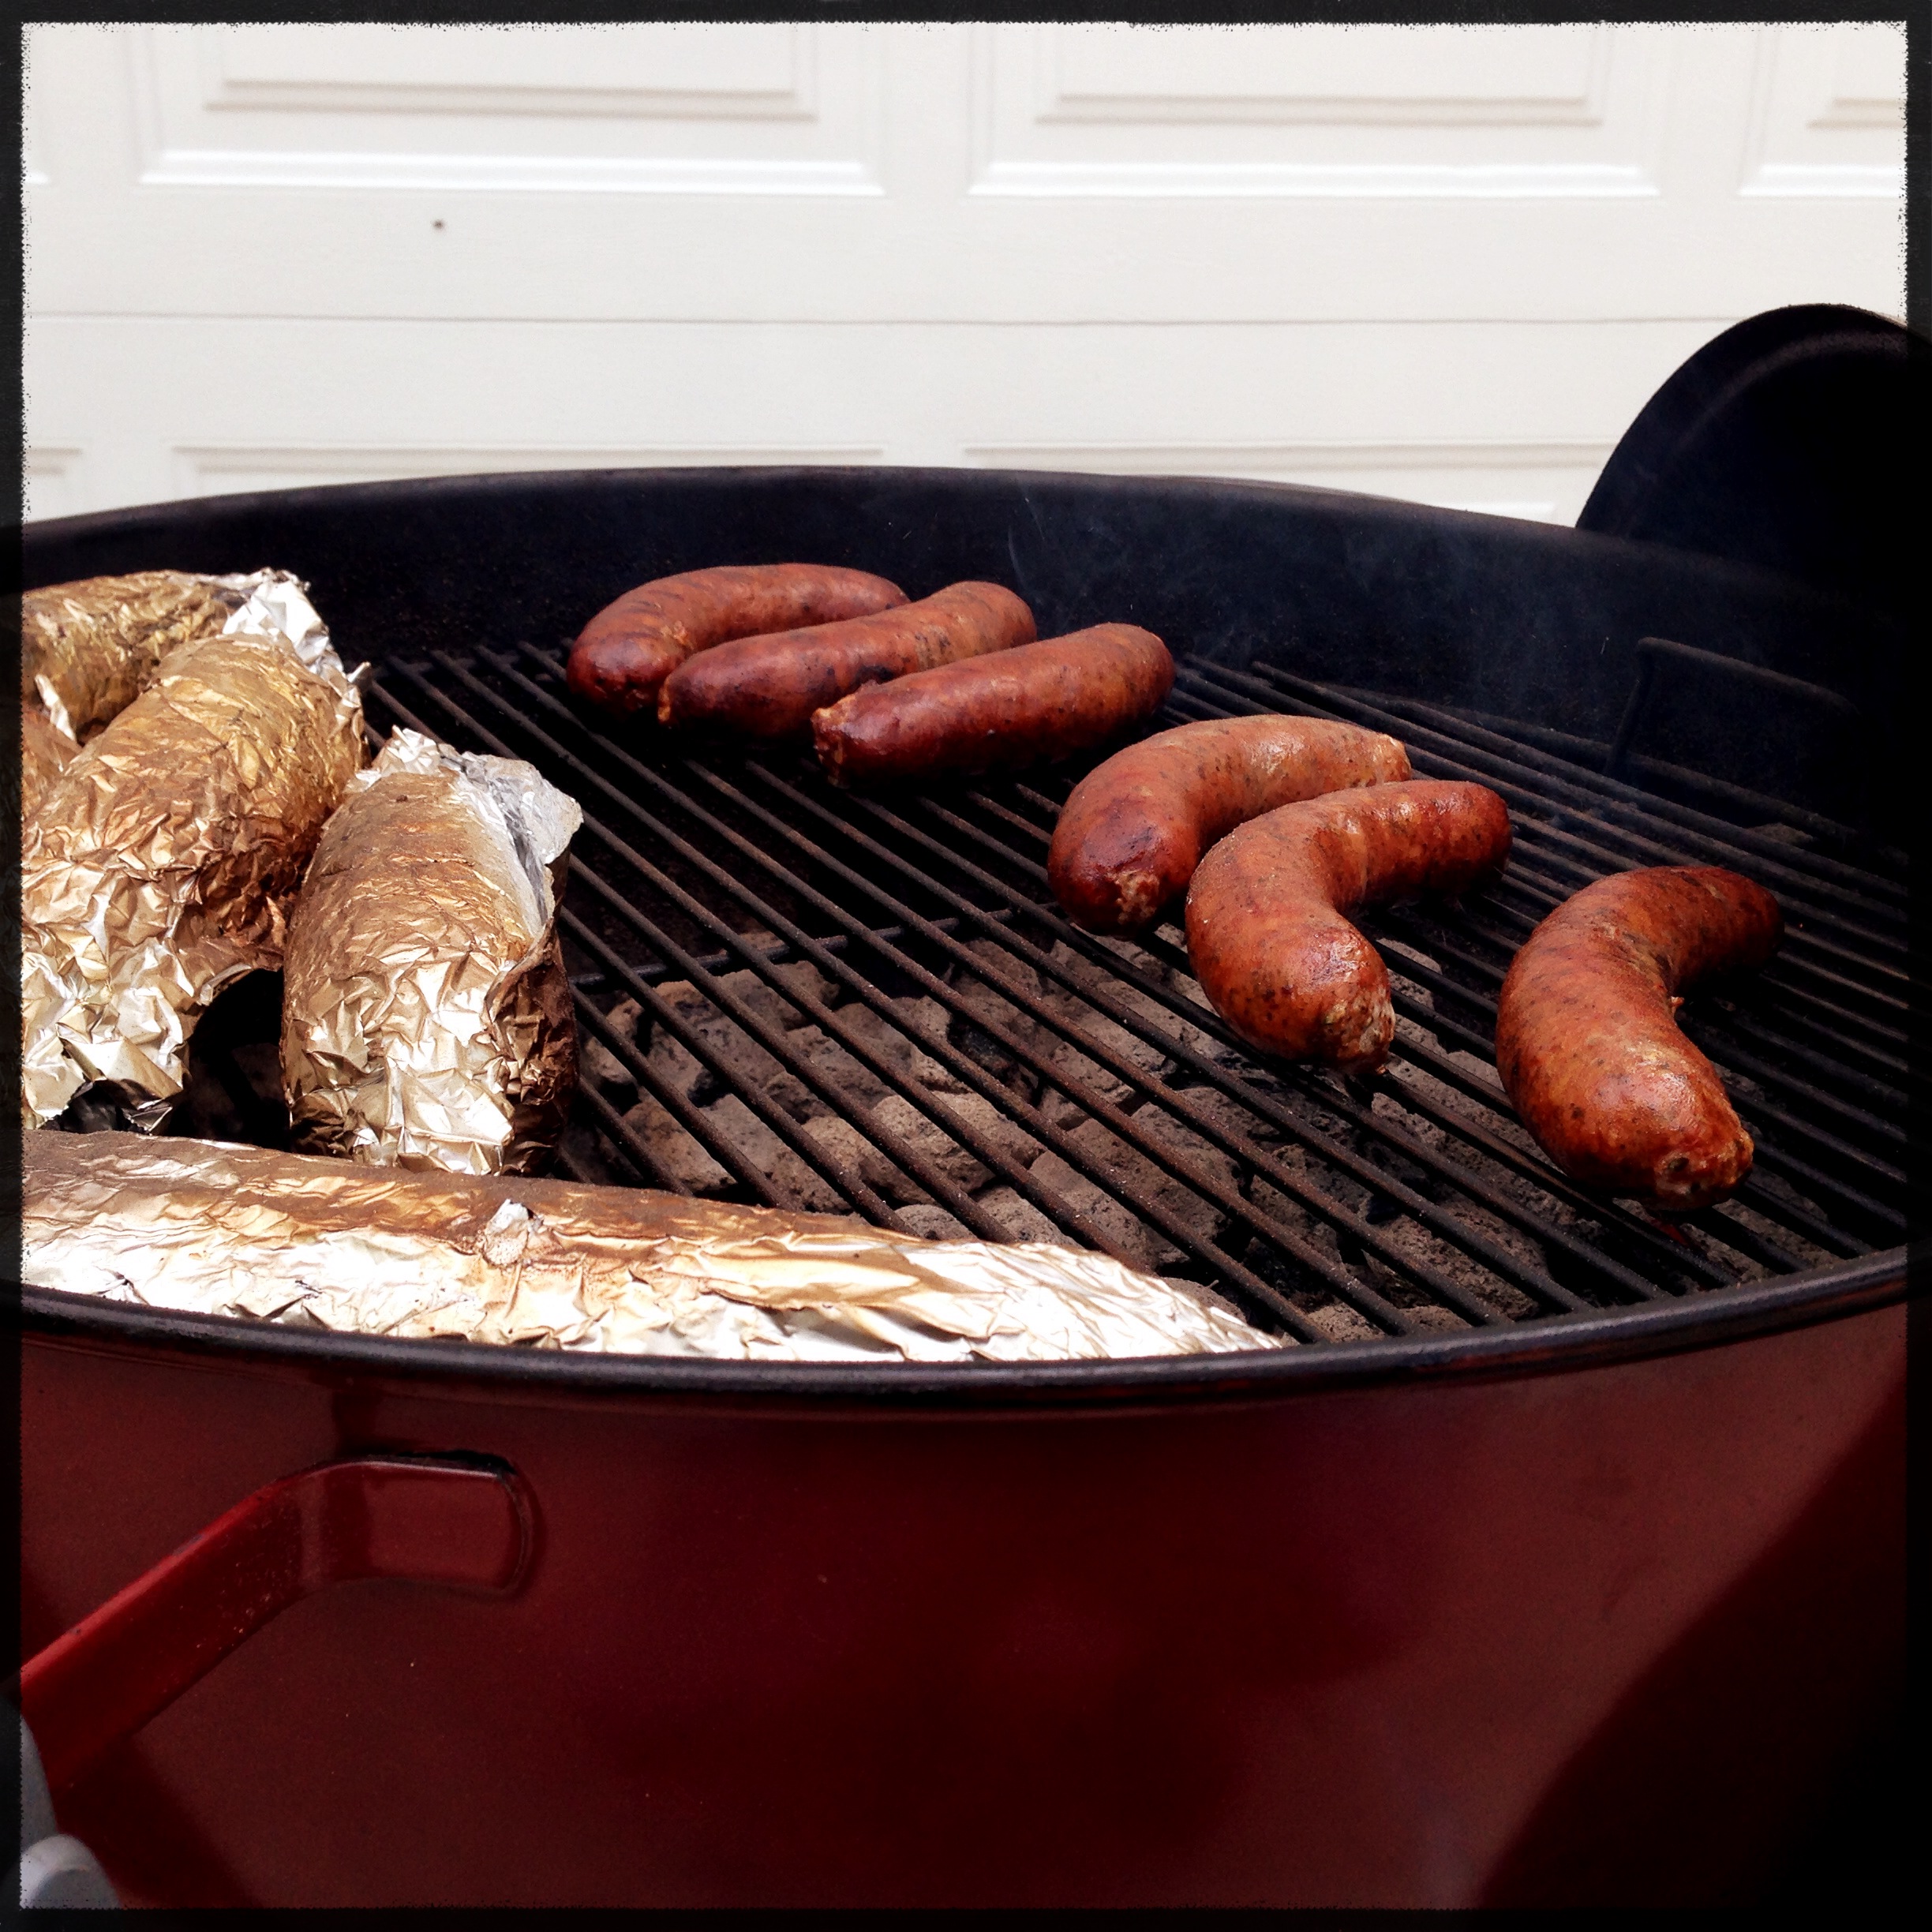
The coals in the chimney were ashed over and hot, so I dumped them out into a two-zone set up (coals all on one half of the grill, so there is a direct and indirect heat zone). Also added a chunk of applewood to the coals for some smoke. I set the sausages out to warm up a few minutes before hitting the grill.
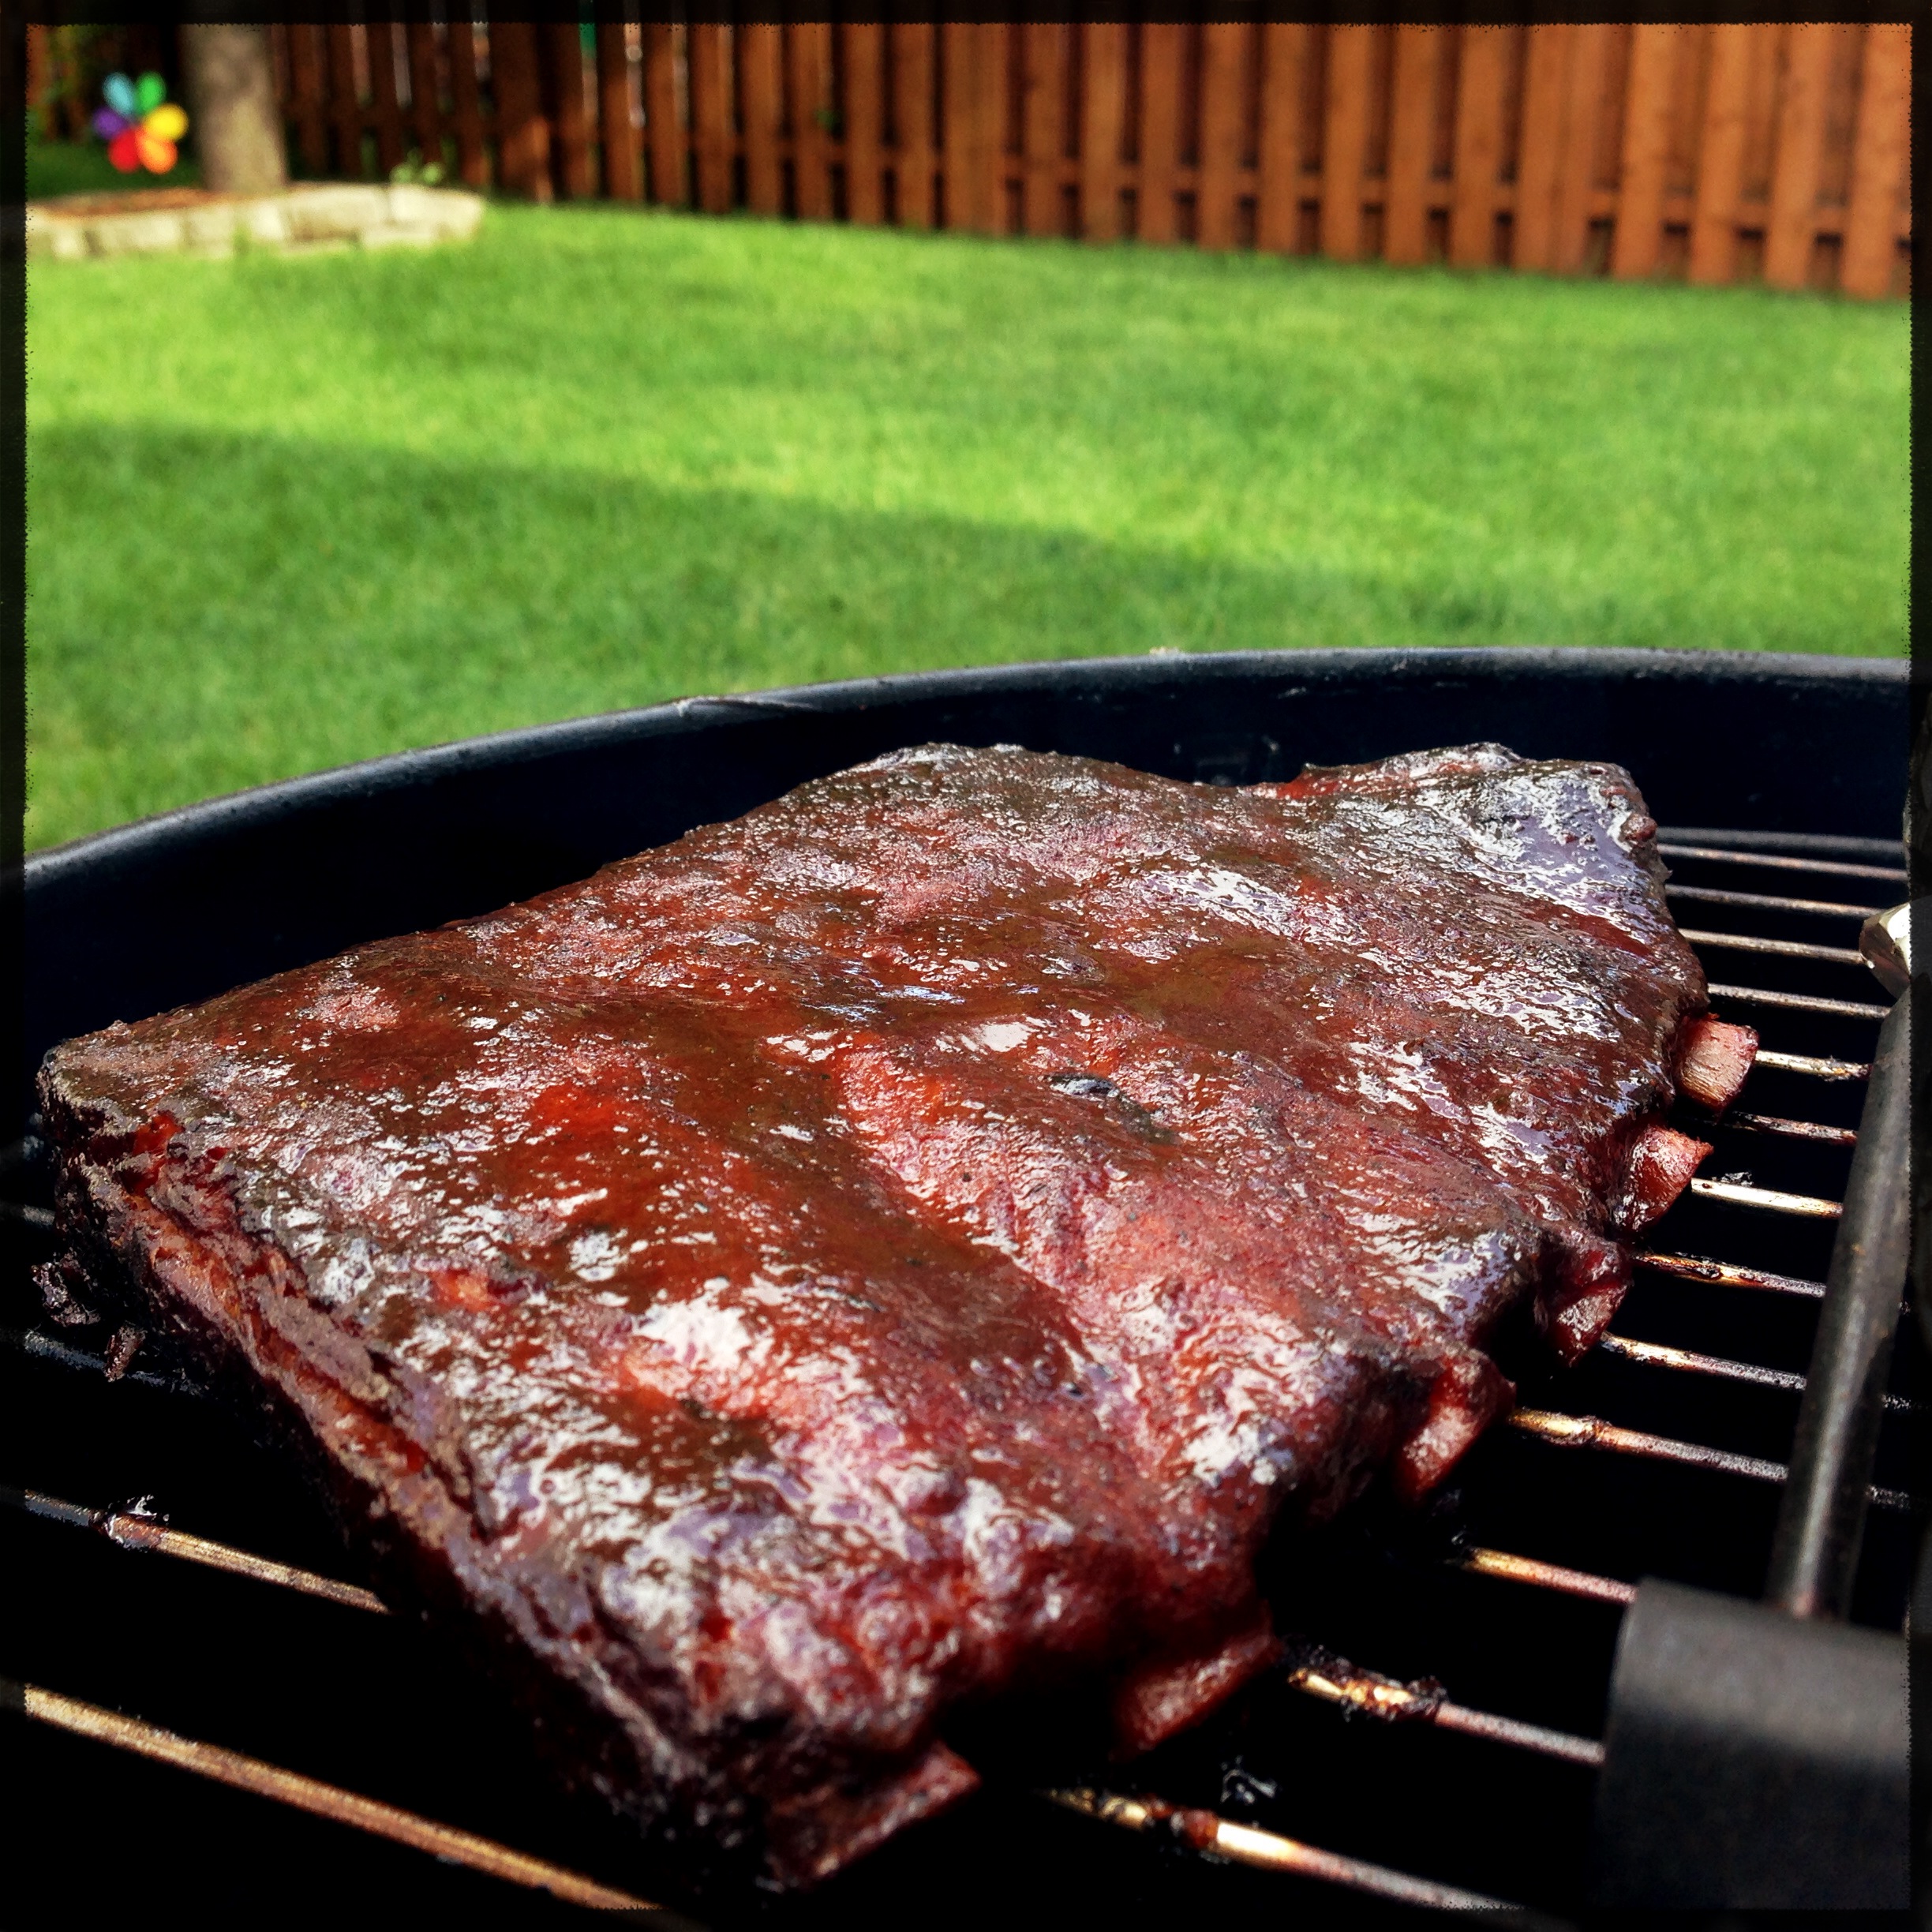
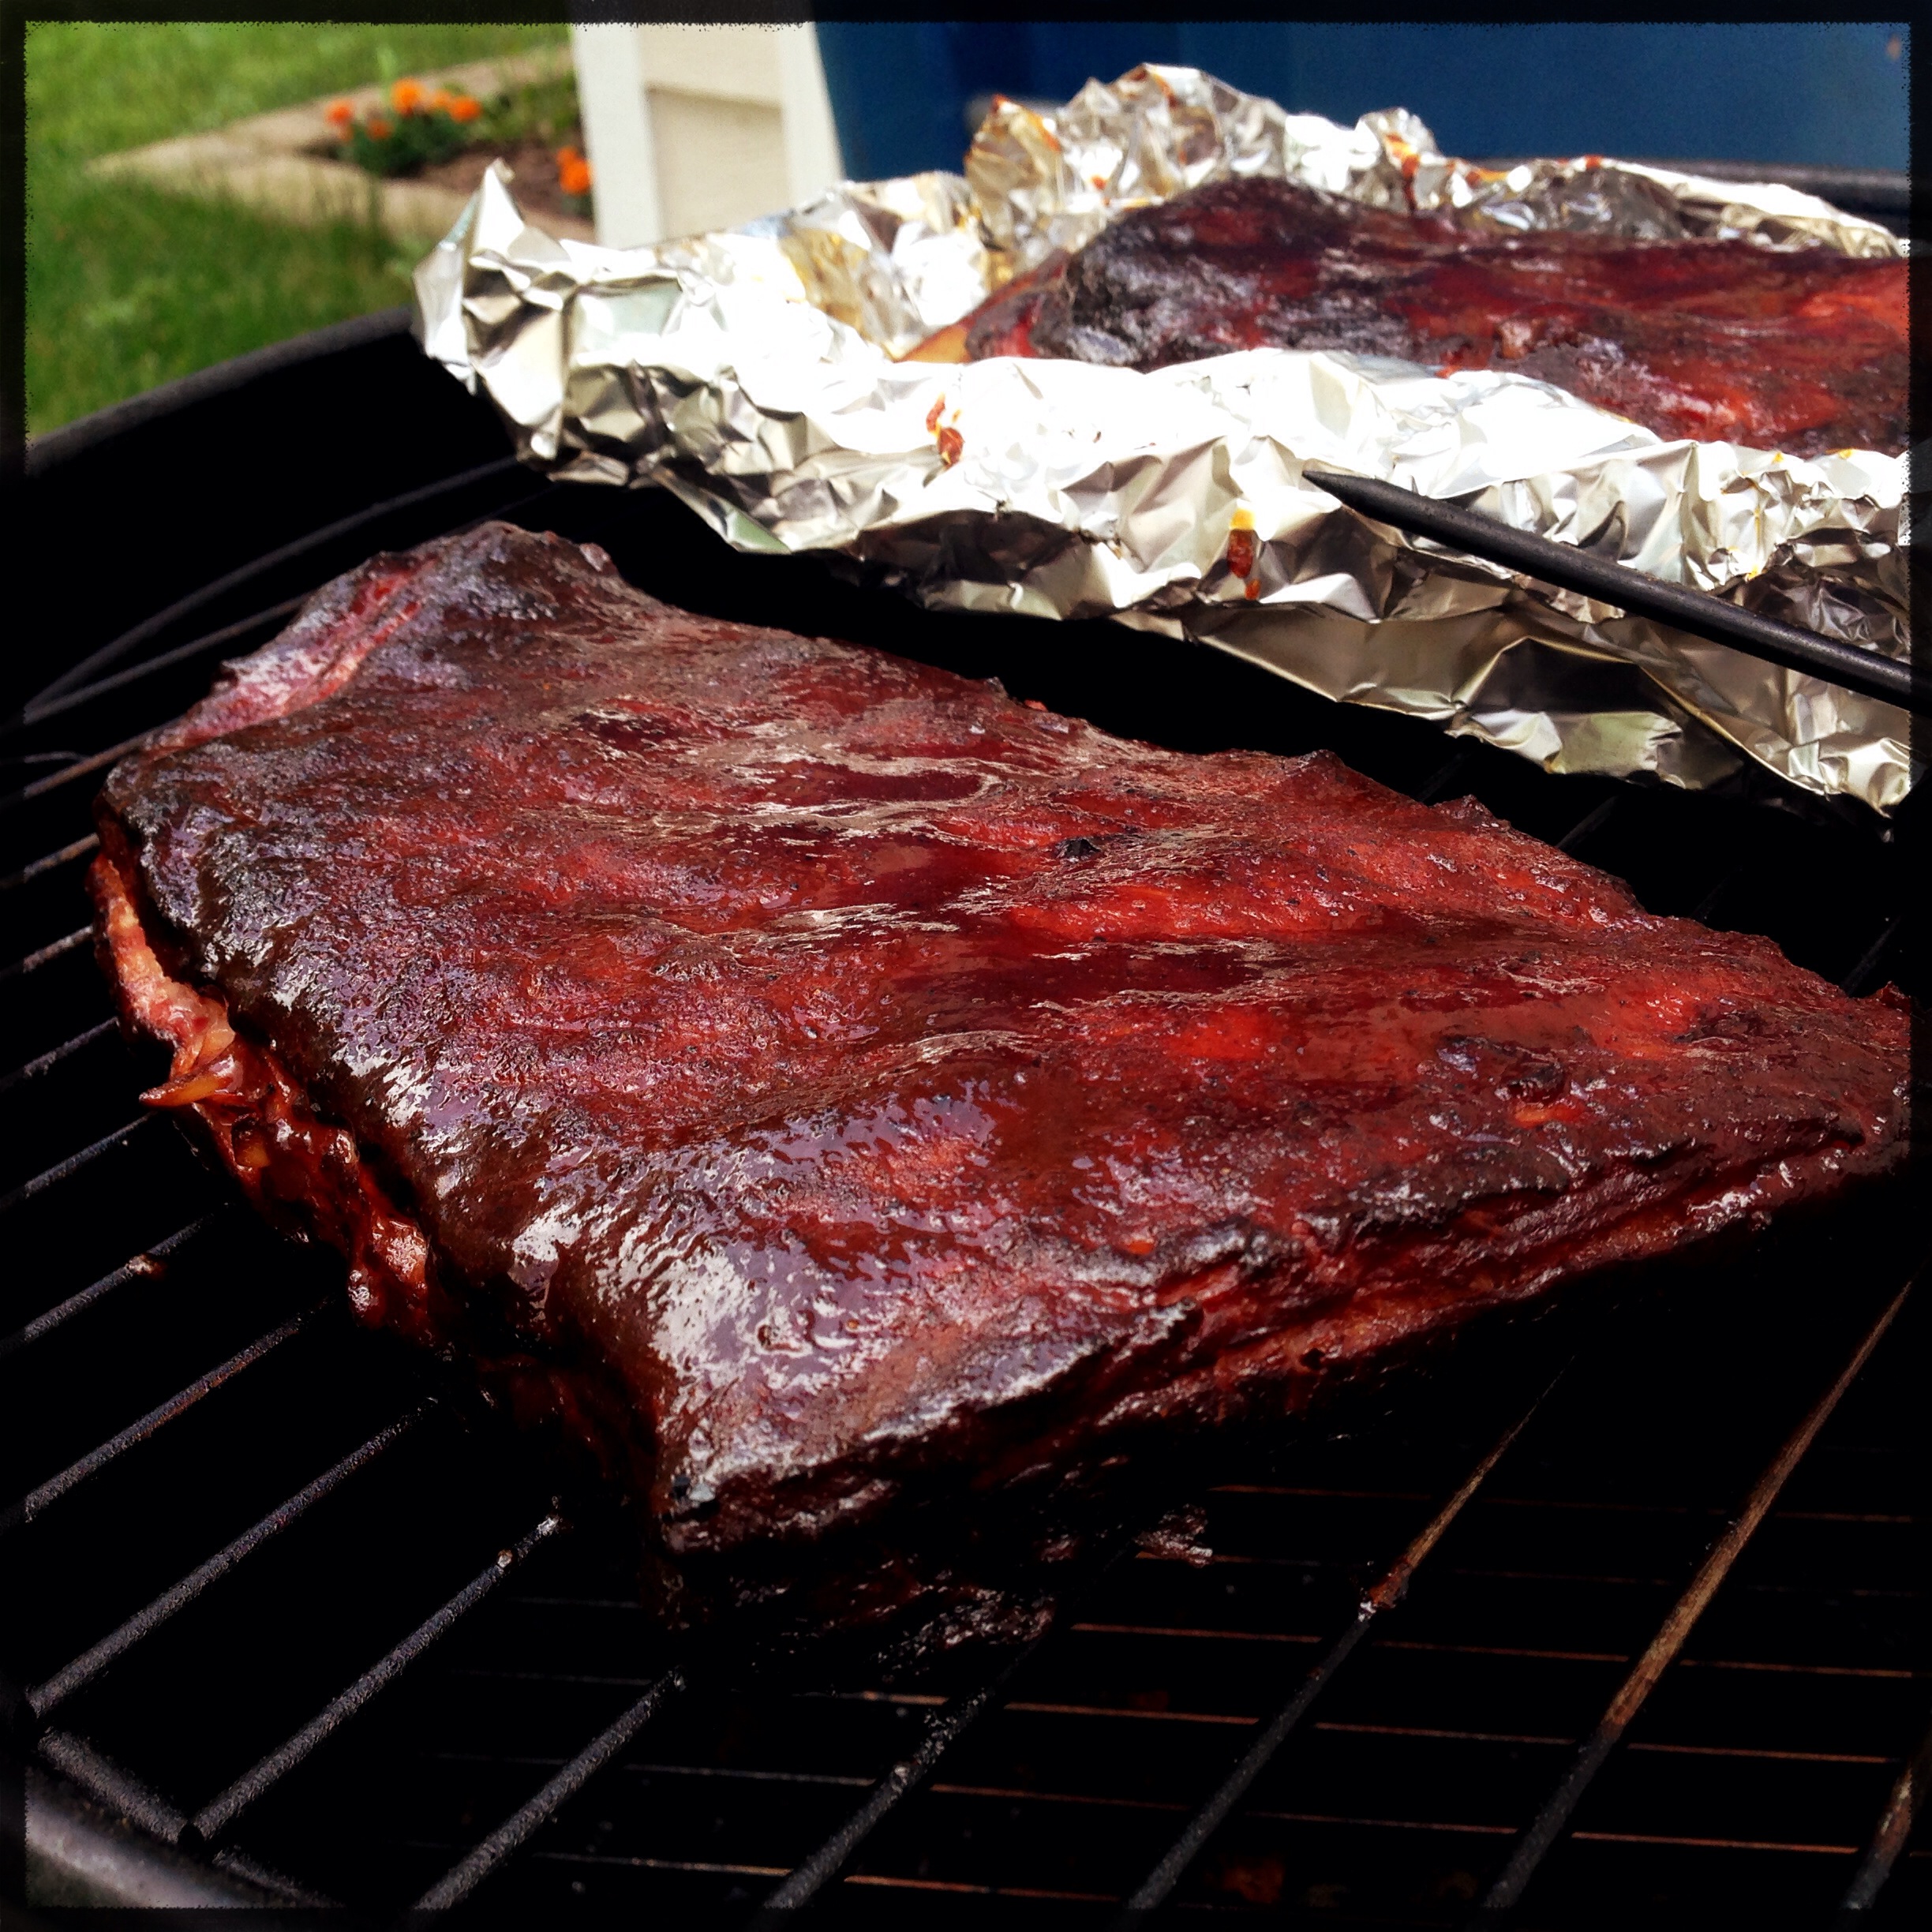
While the wood was starting to smolder on the grill, I unwrapped the ribs for the final portion of their cook.
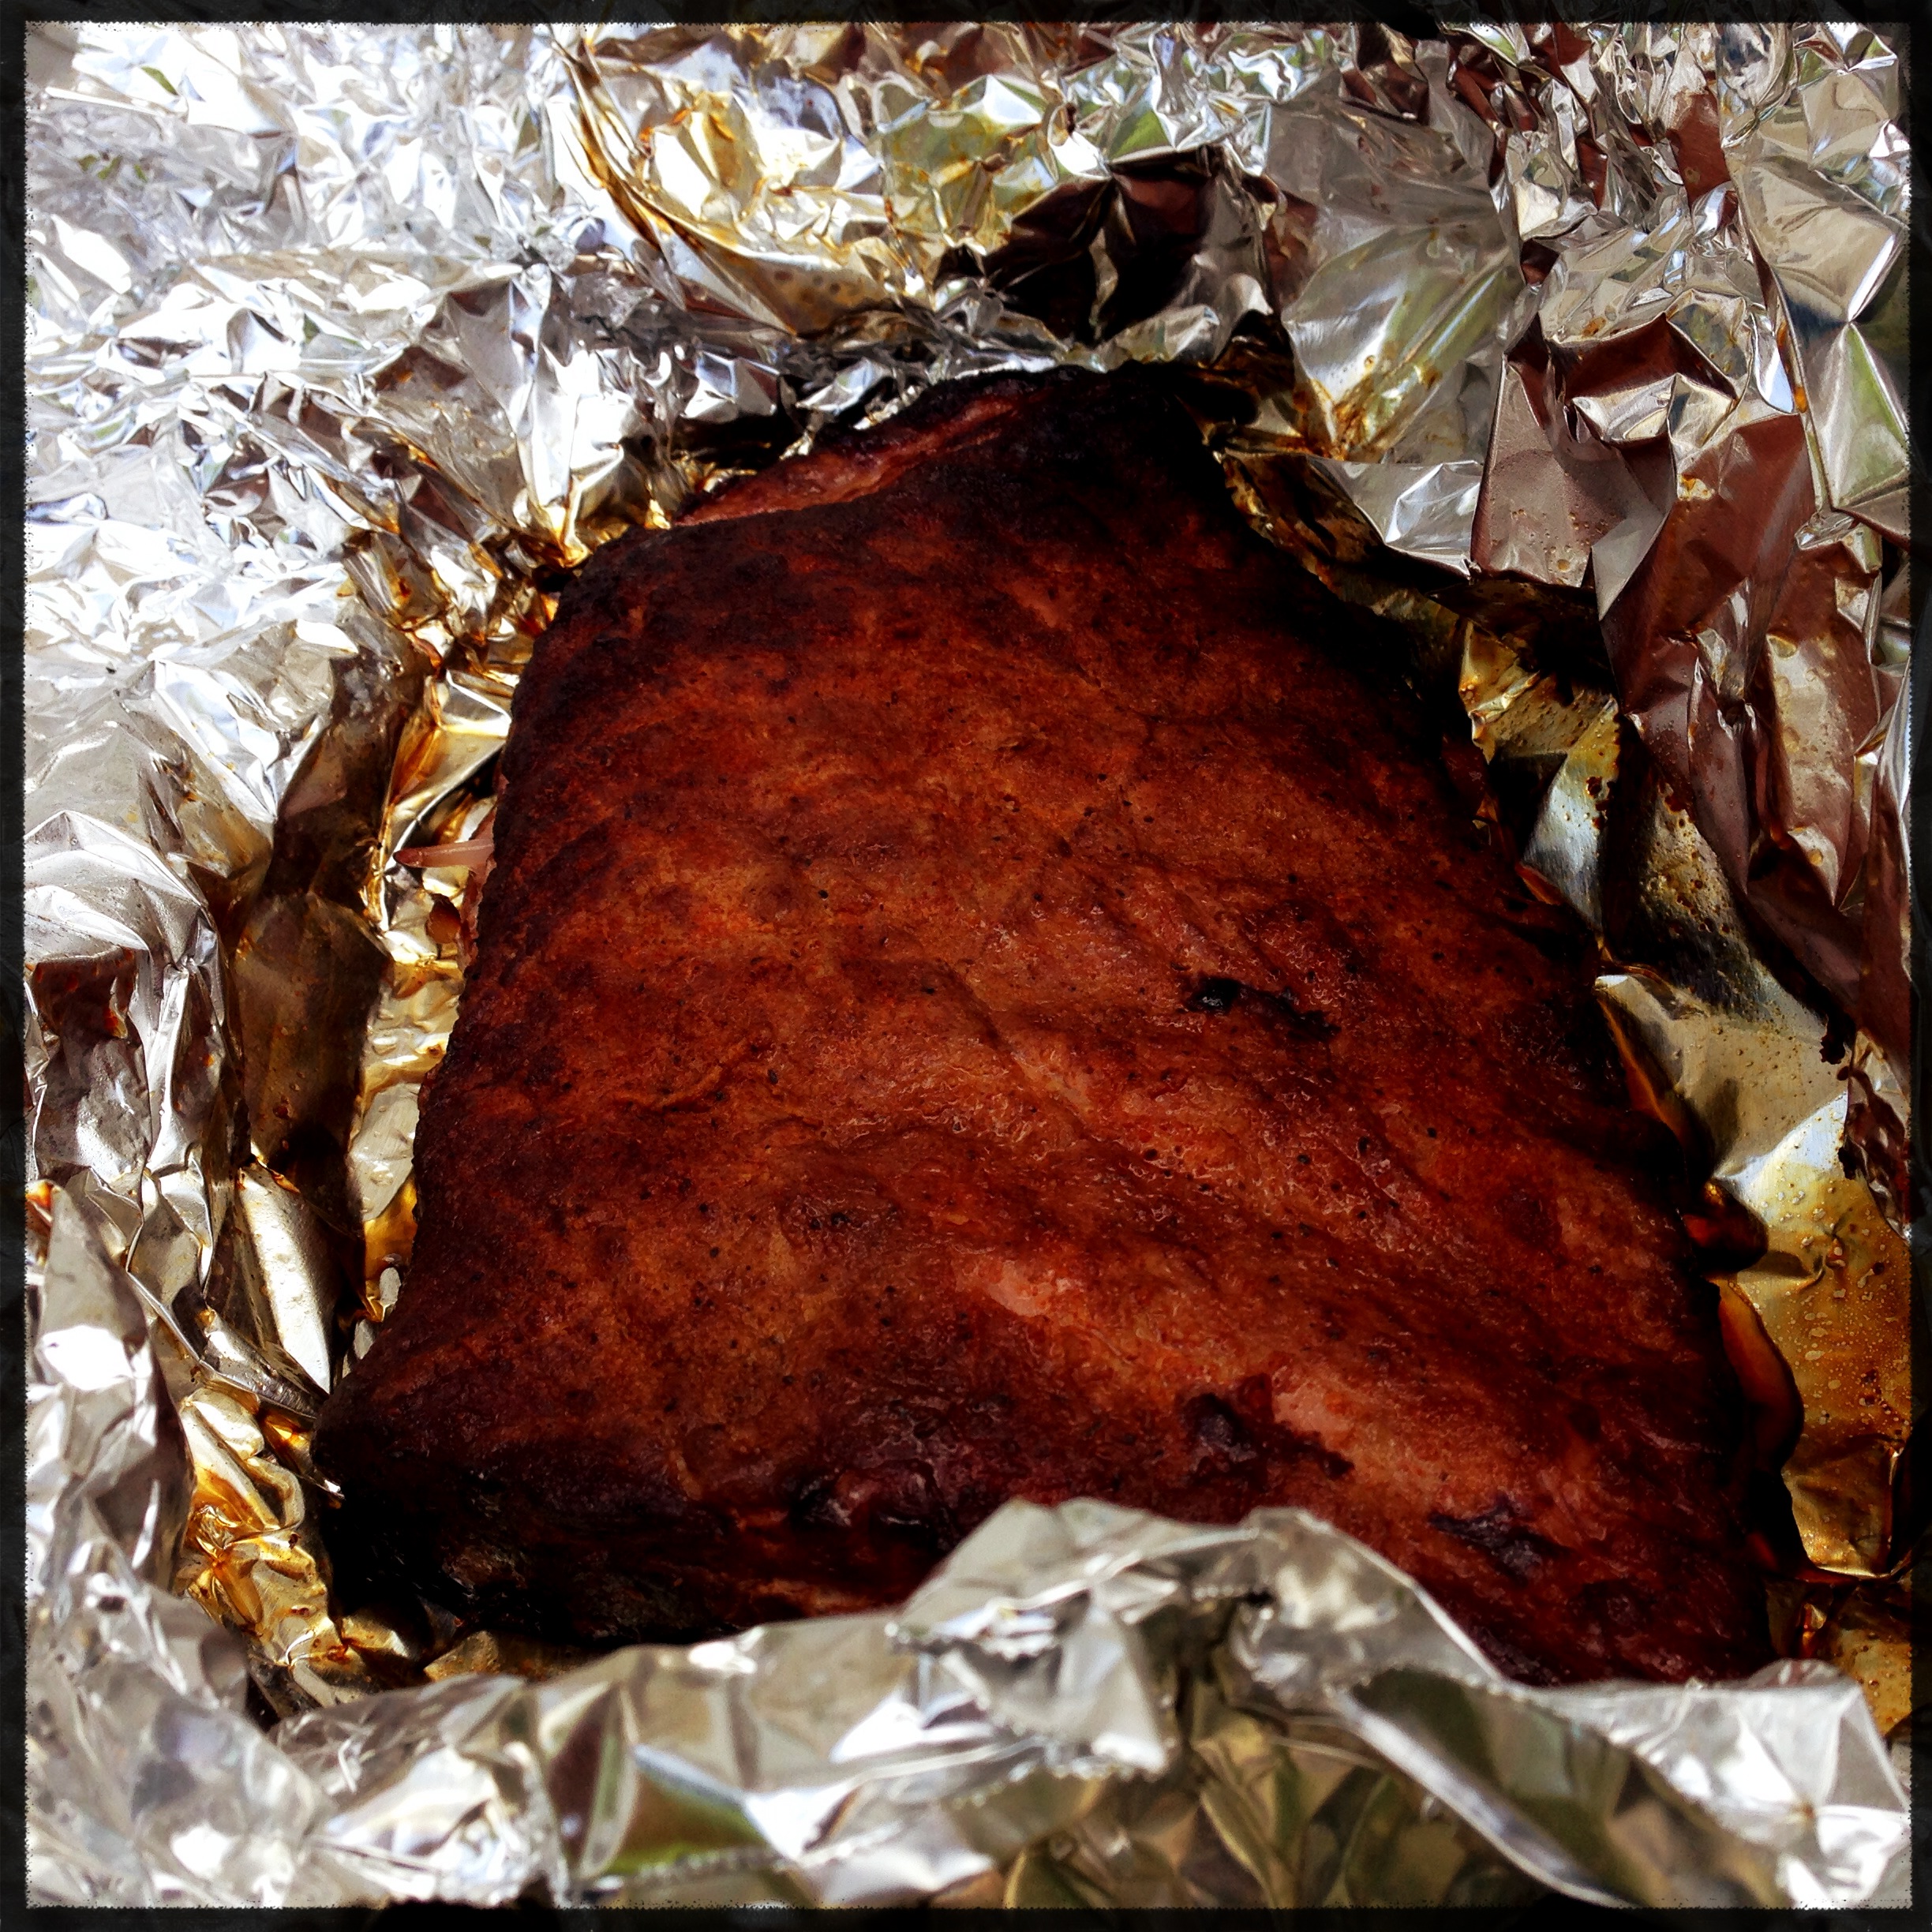
The ribs went back onto the smoker and were brushed with a thin coat of molasses-based BBQ sauce to glaze them.
5:15
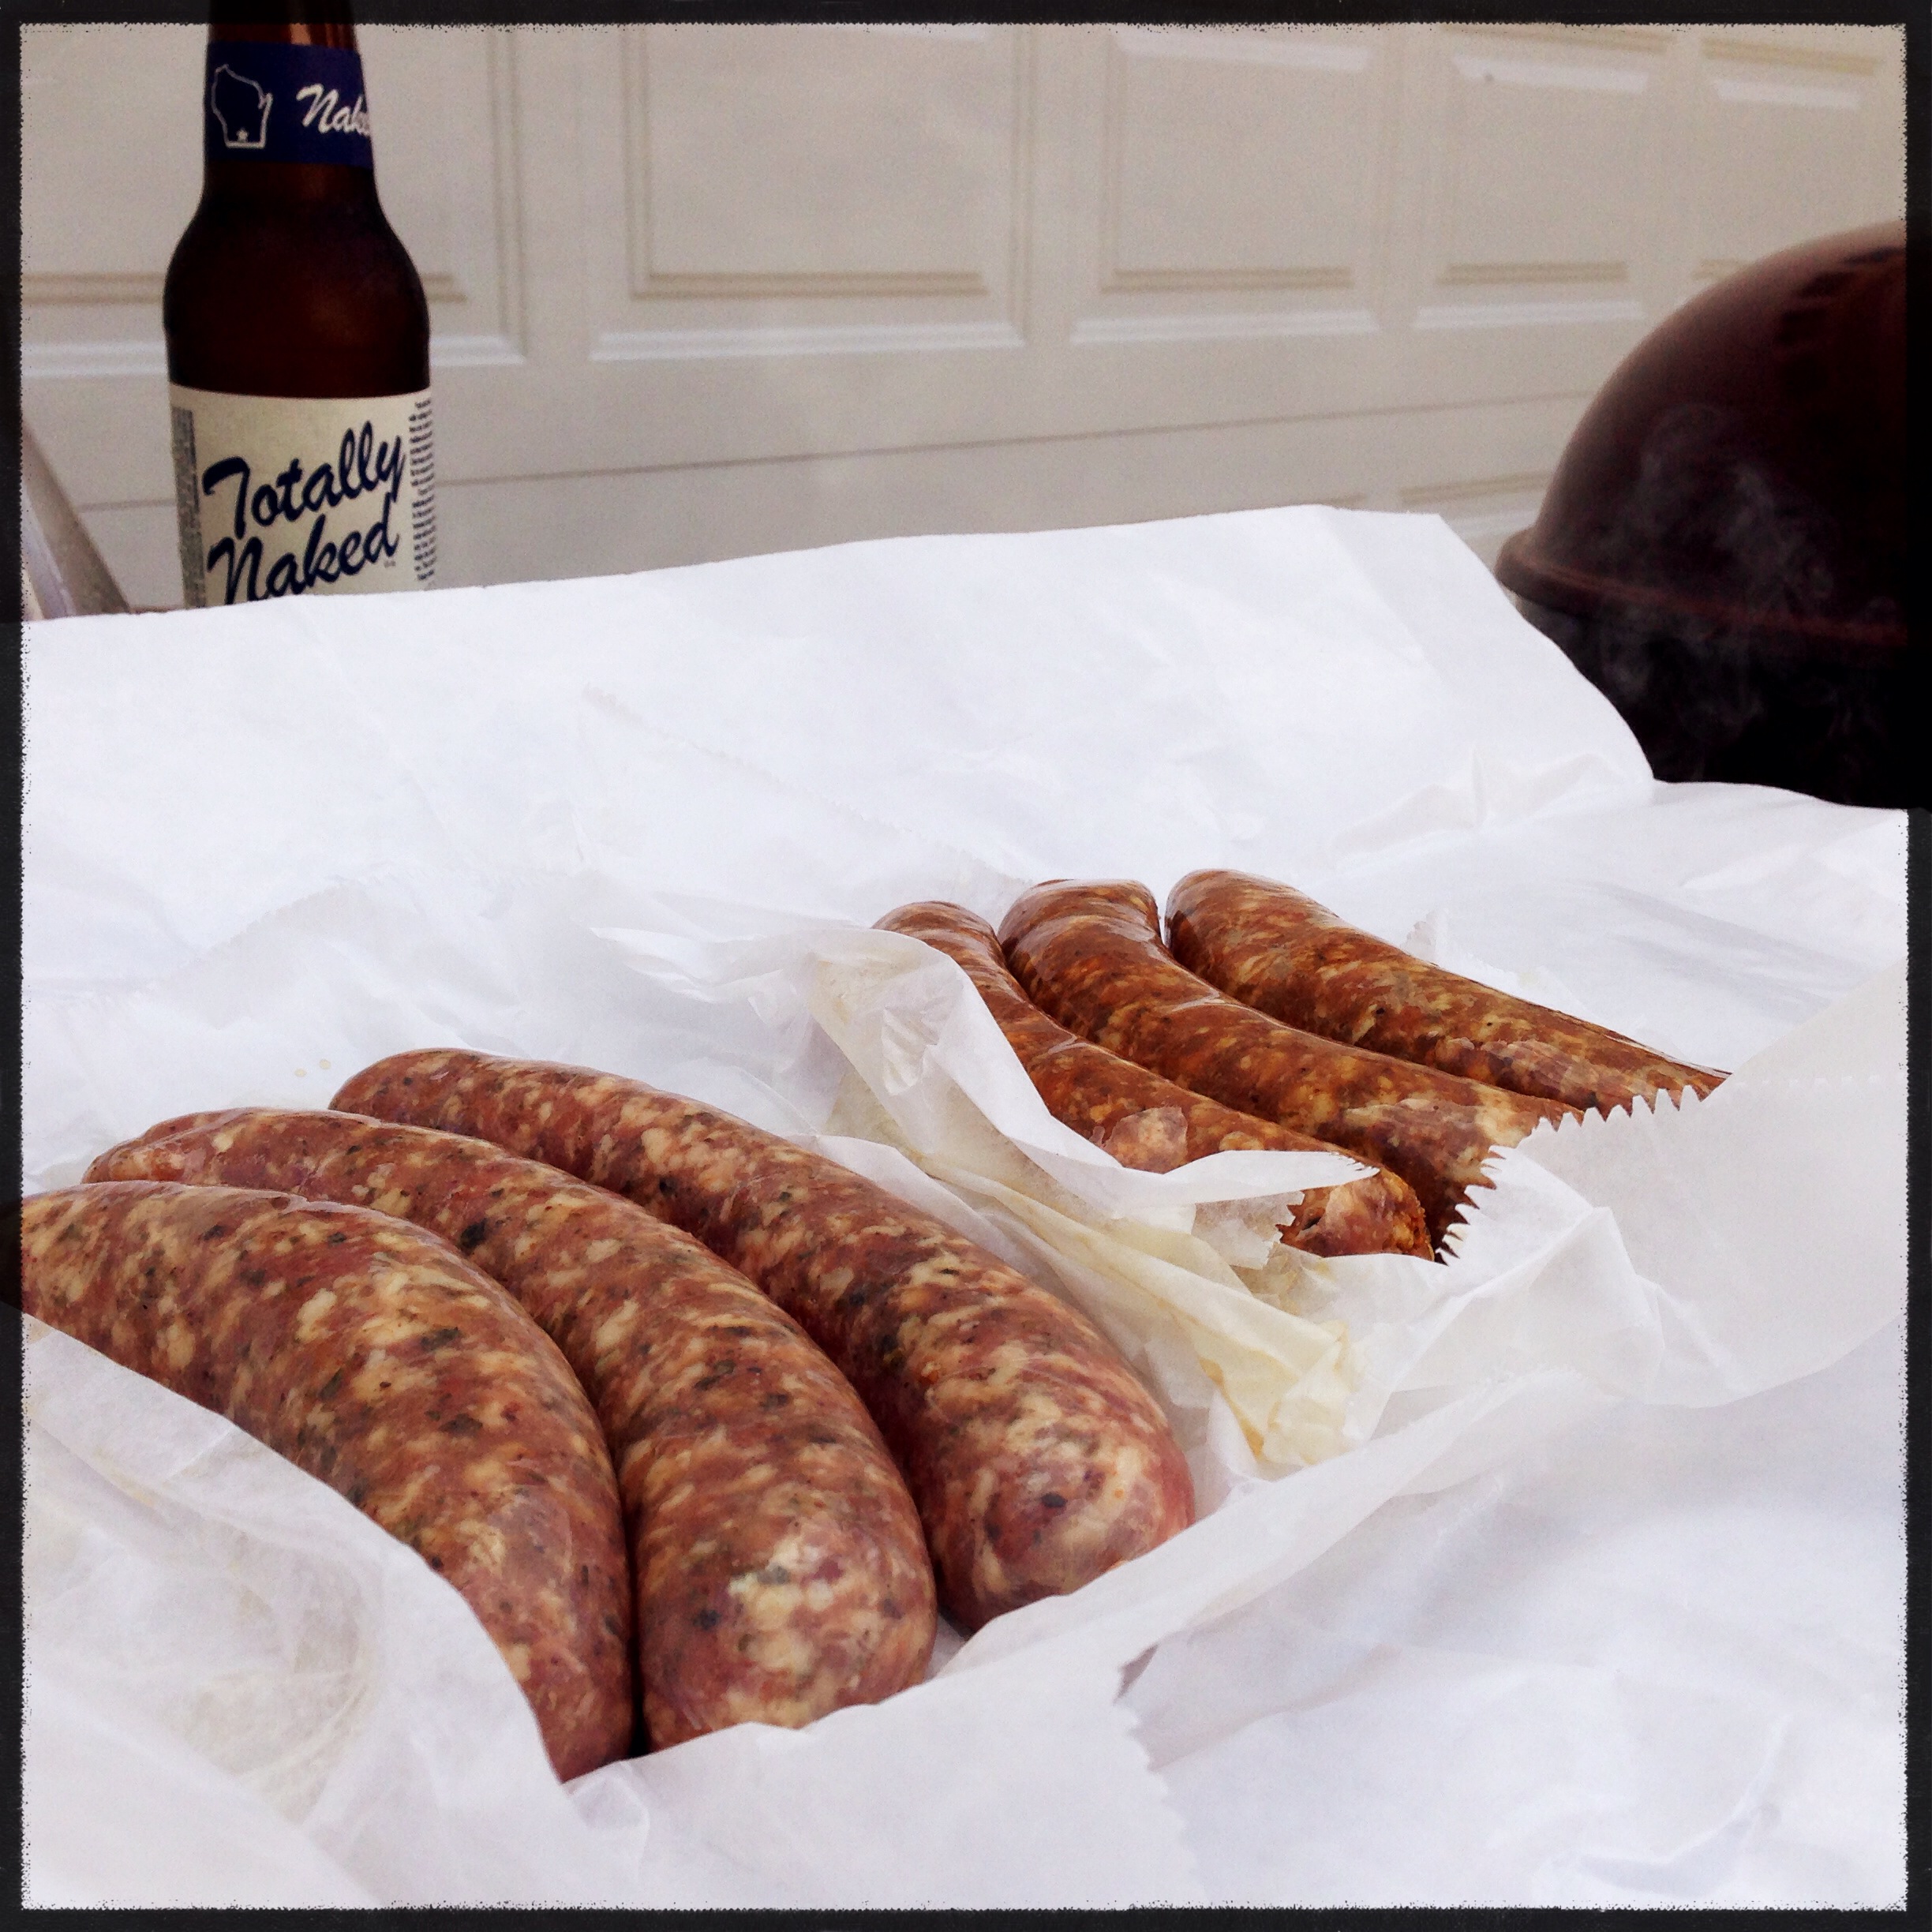
I placed the sausages, 3 brats and 3 chorizo links, onto the cool side of the grill to pick up some smoke, and I placed the corn directly over the coals.

About every five minutes, I turned the corn a quarter turn and flipped the sausages. The corn spends a total of 20 minutes over direct heat and the sausages get 20 minutes of indirect heat and smoke.
5:35
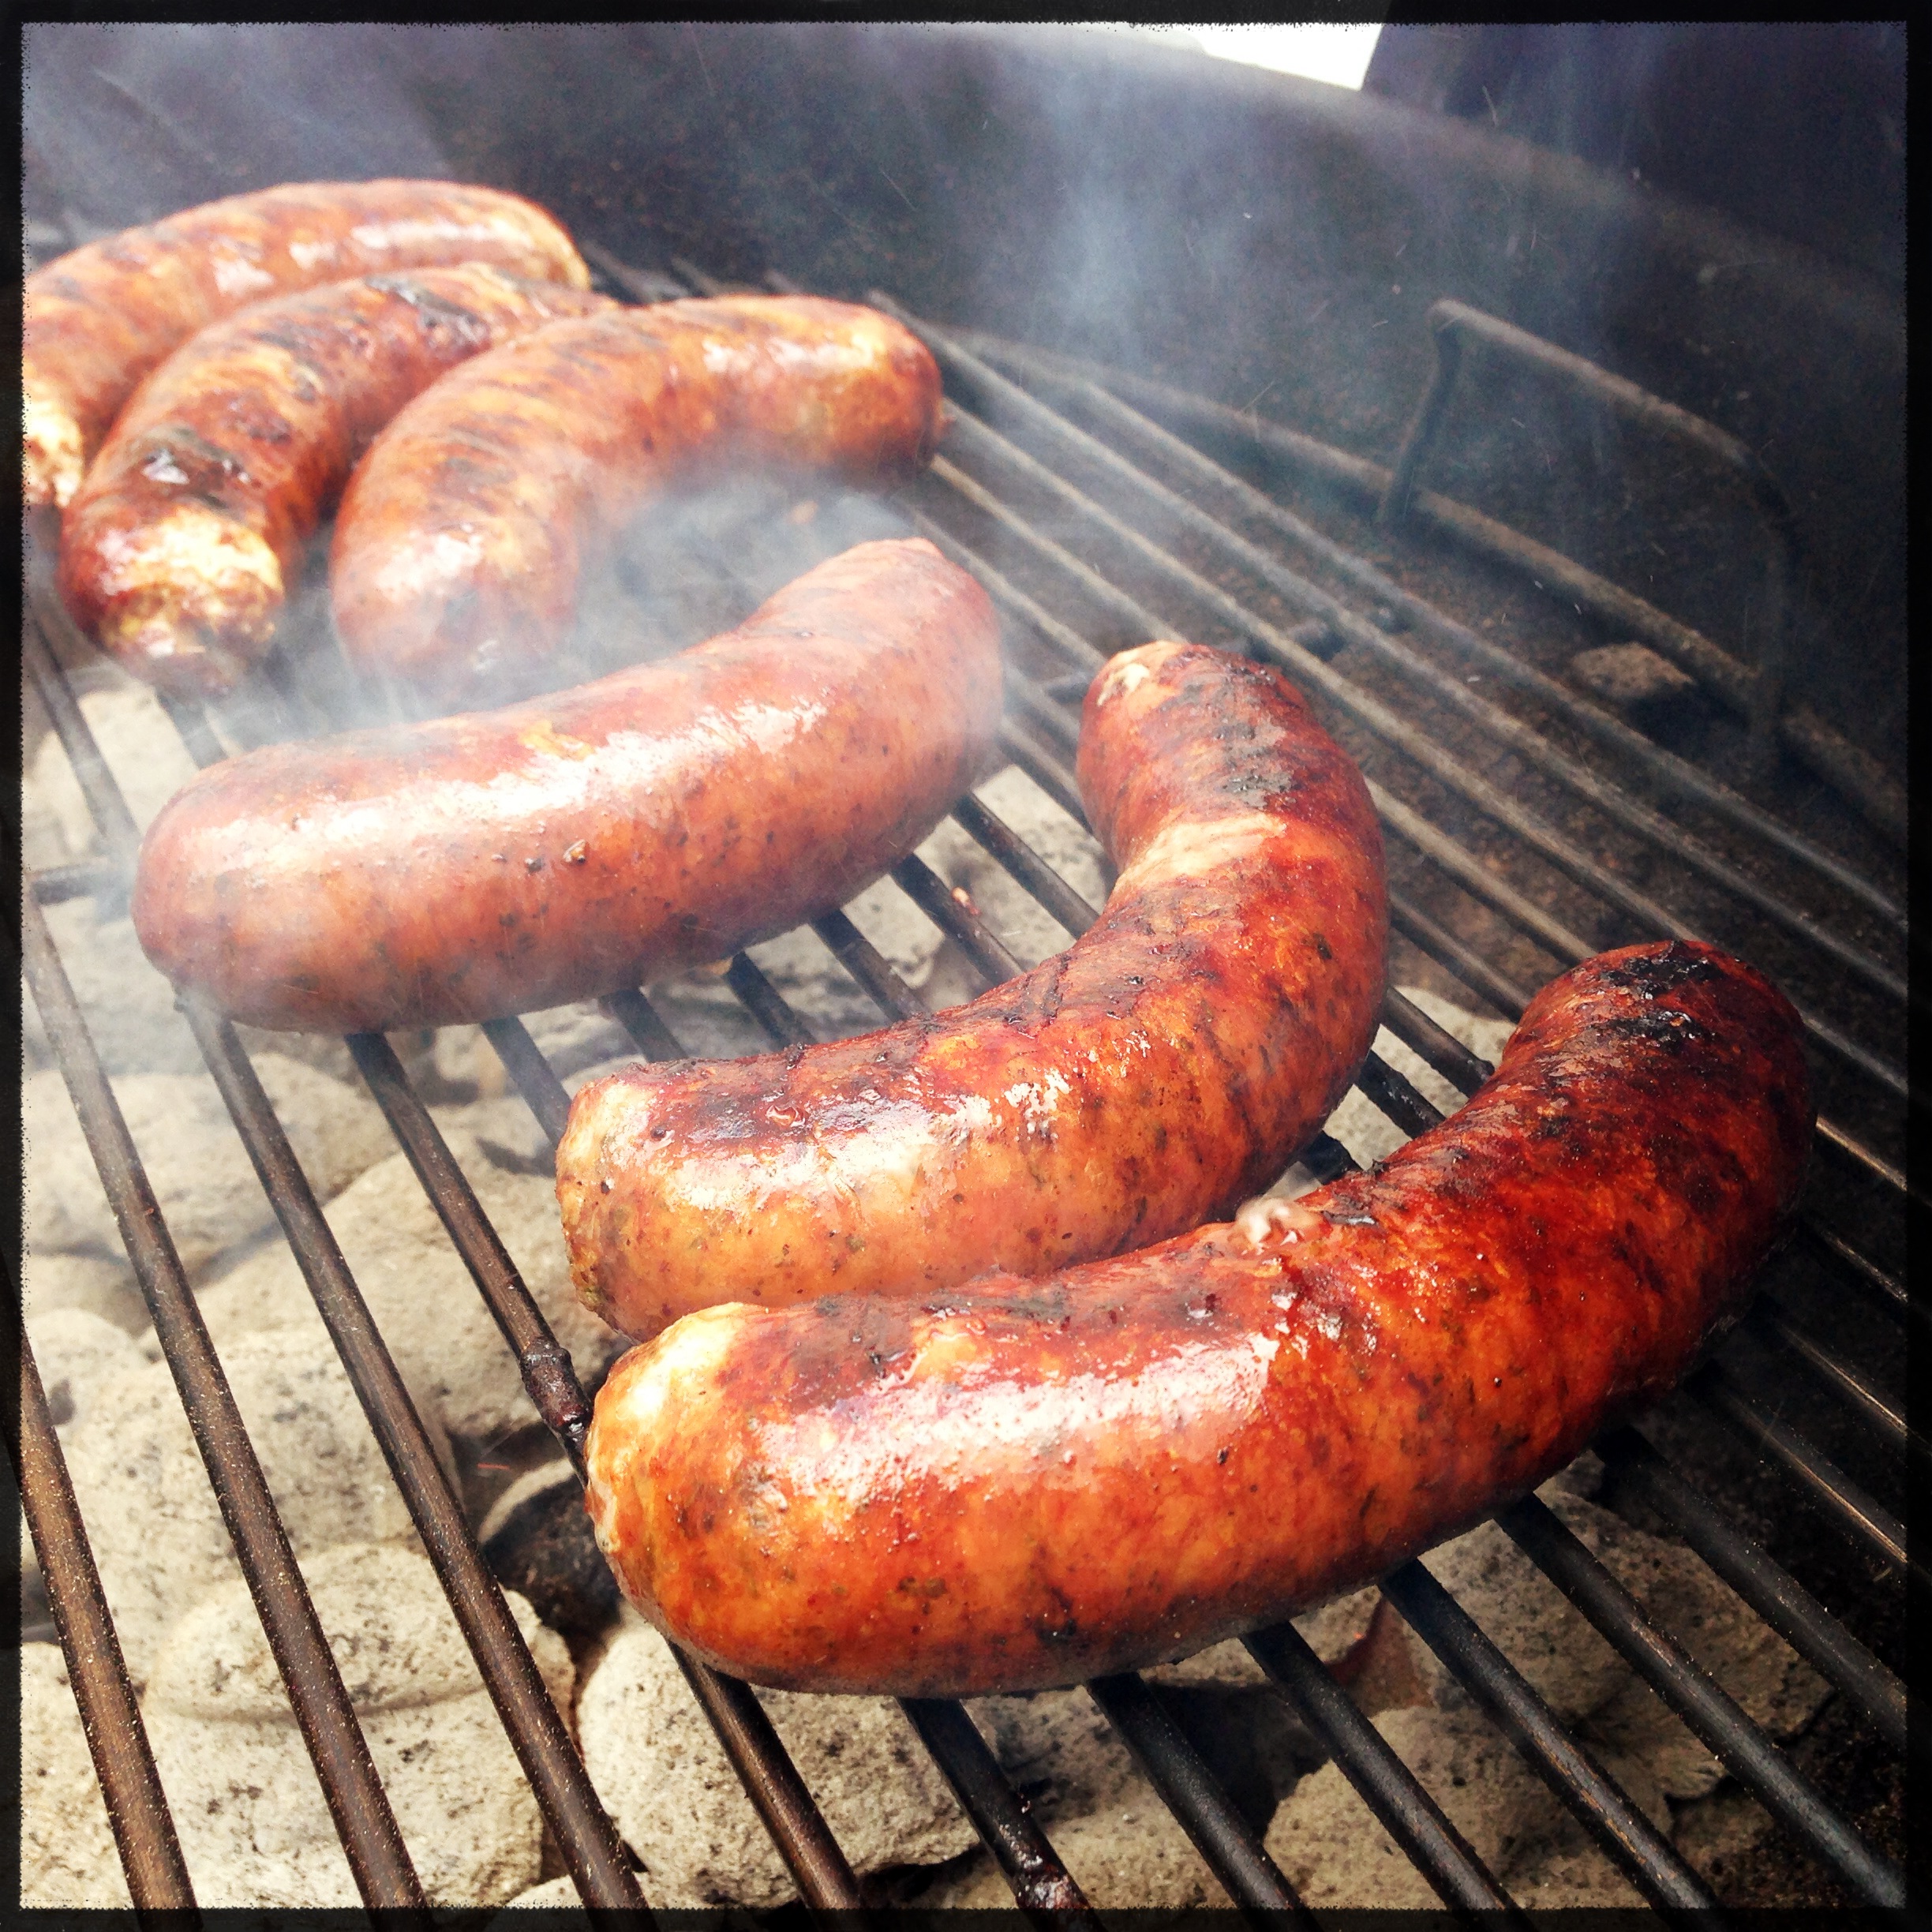
After smoking the sausages and grilling the corn, I moved the corn over to the cool zone of the grill to keep it warm and moved the sausages to the direct heat. The sausages picked up a beautiful red hue and plumped quite a bit.
I kept the sausages on direct heat for about 15 minutes, roughly 7-8 minutes on each side.
5:50
I pulled the sausages and corn off the grill and got them inside.

5:55
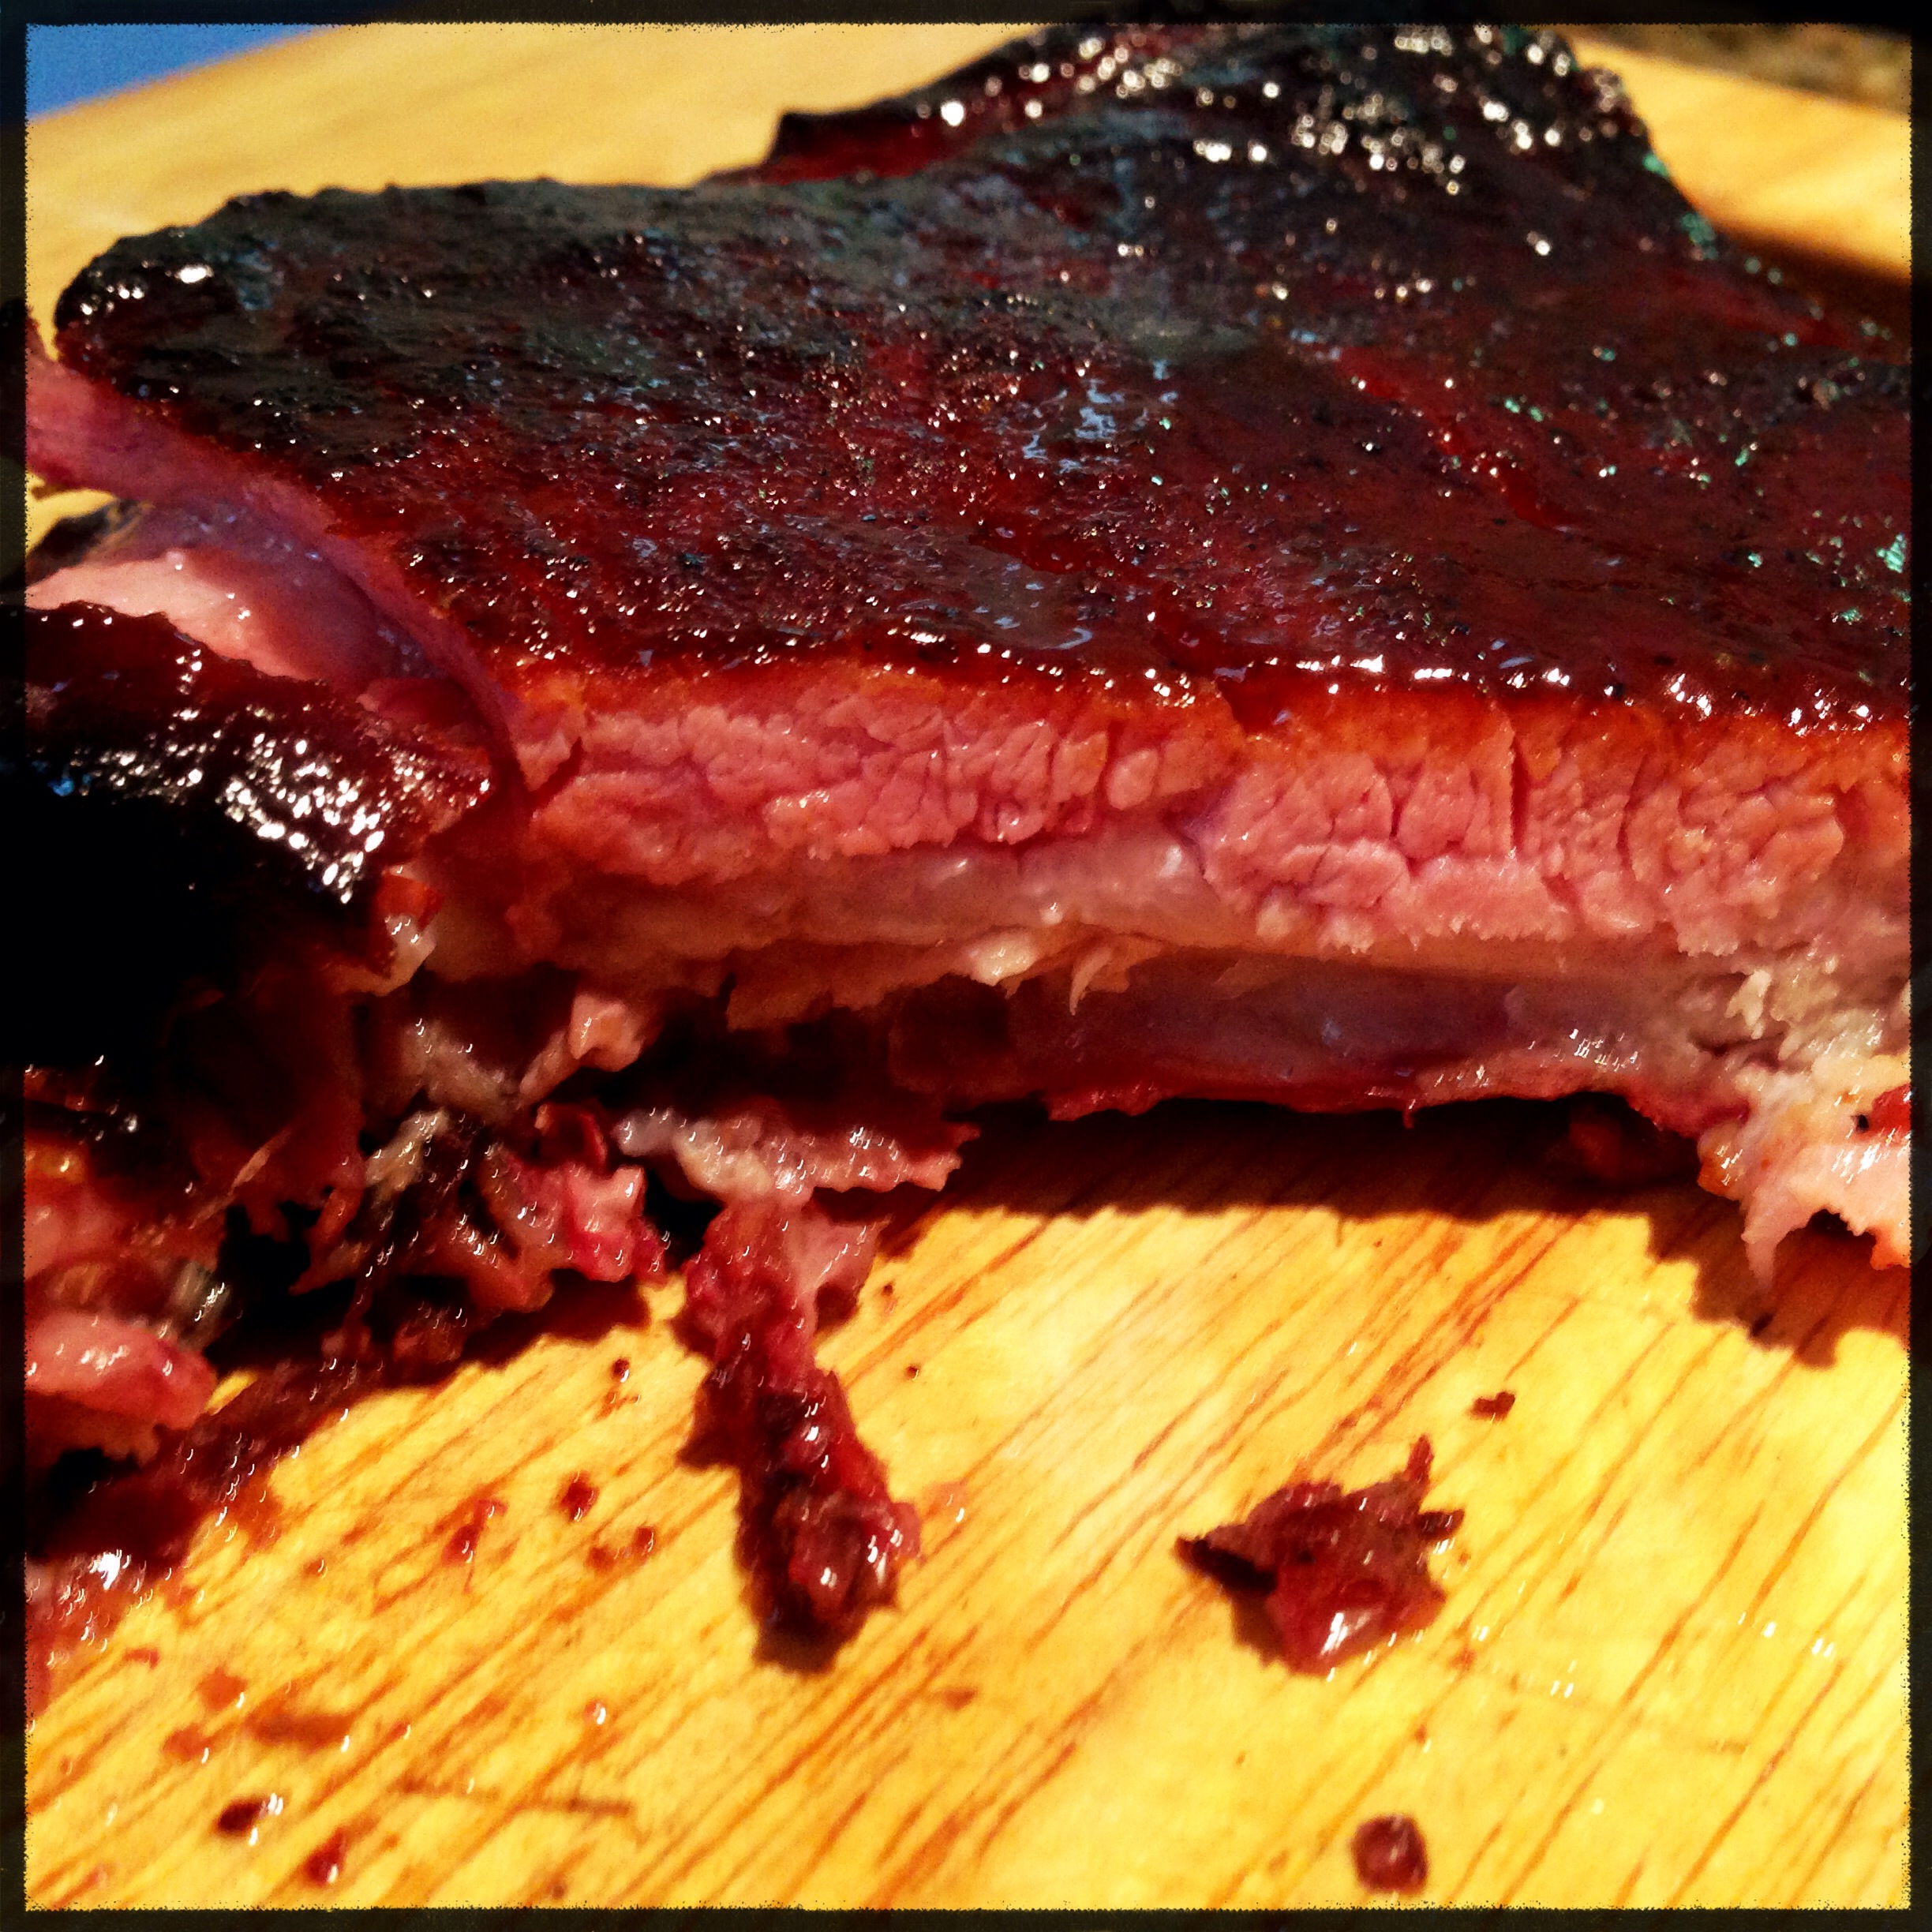
The ribs were perfectly glazed and ready to come off the smoker just in time for my 6:00 planned mealtime.
6:00
The ribs were moist and fall-off-the-bone tender.
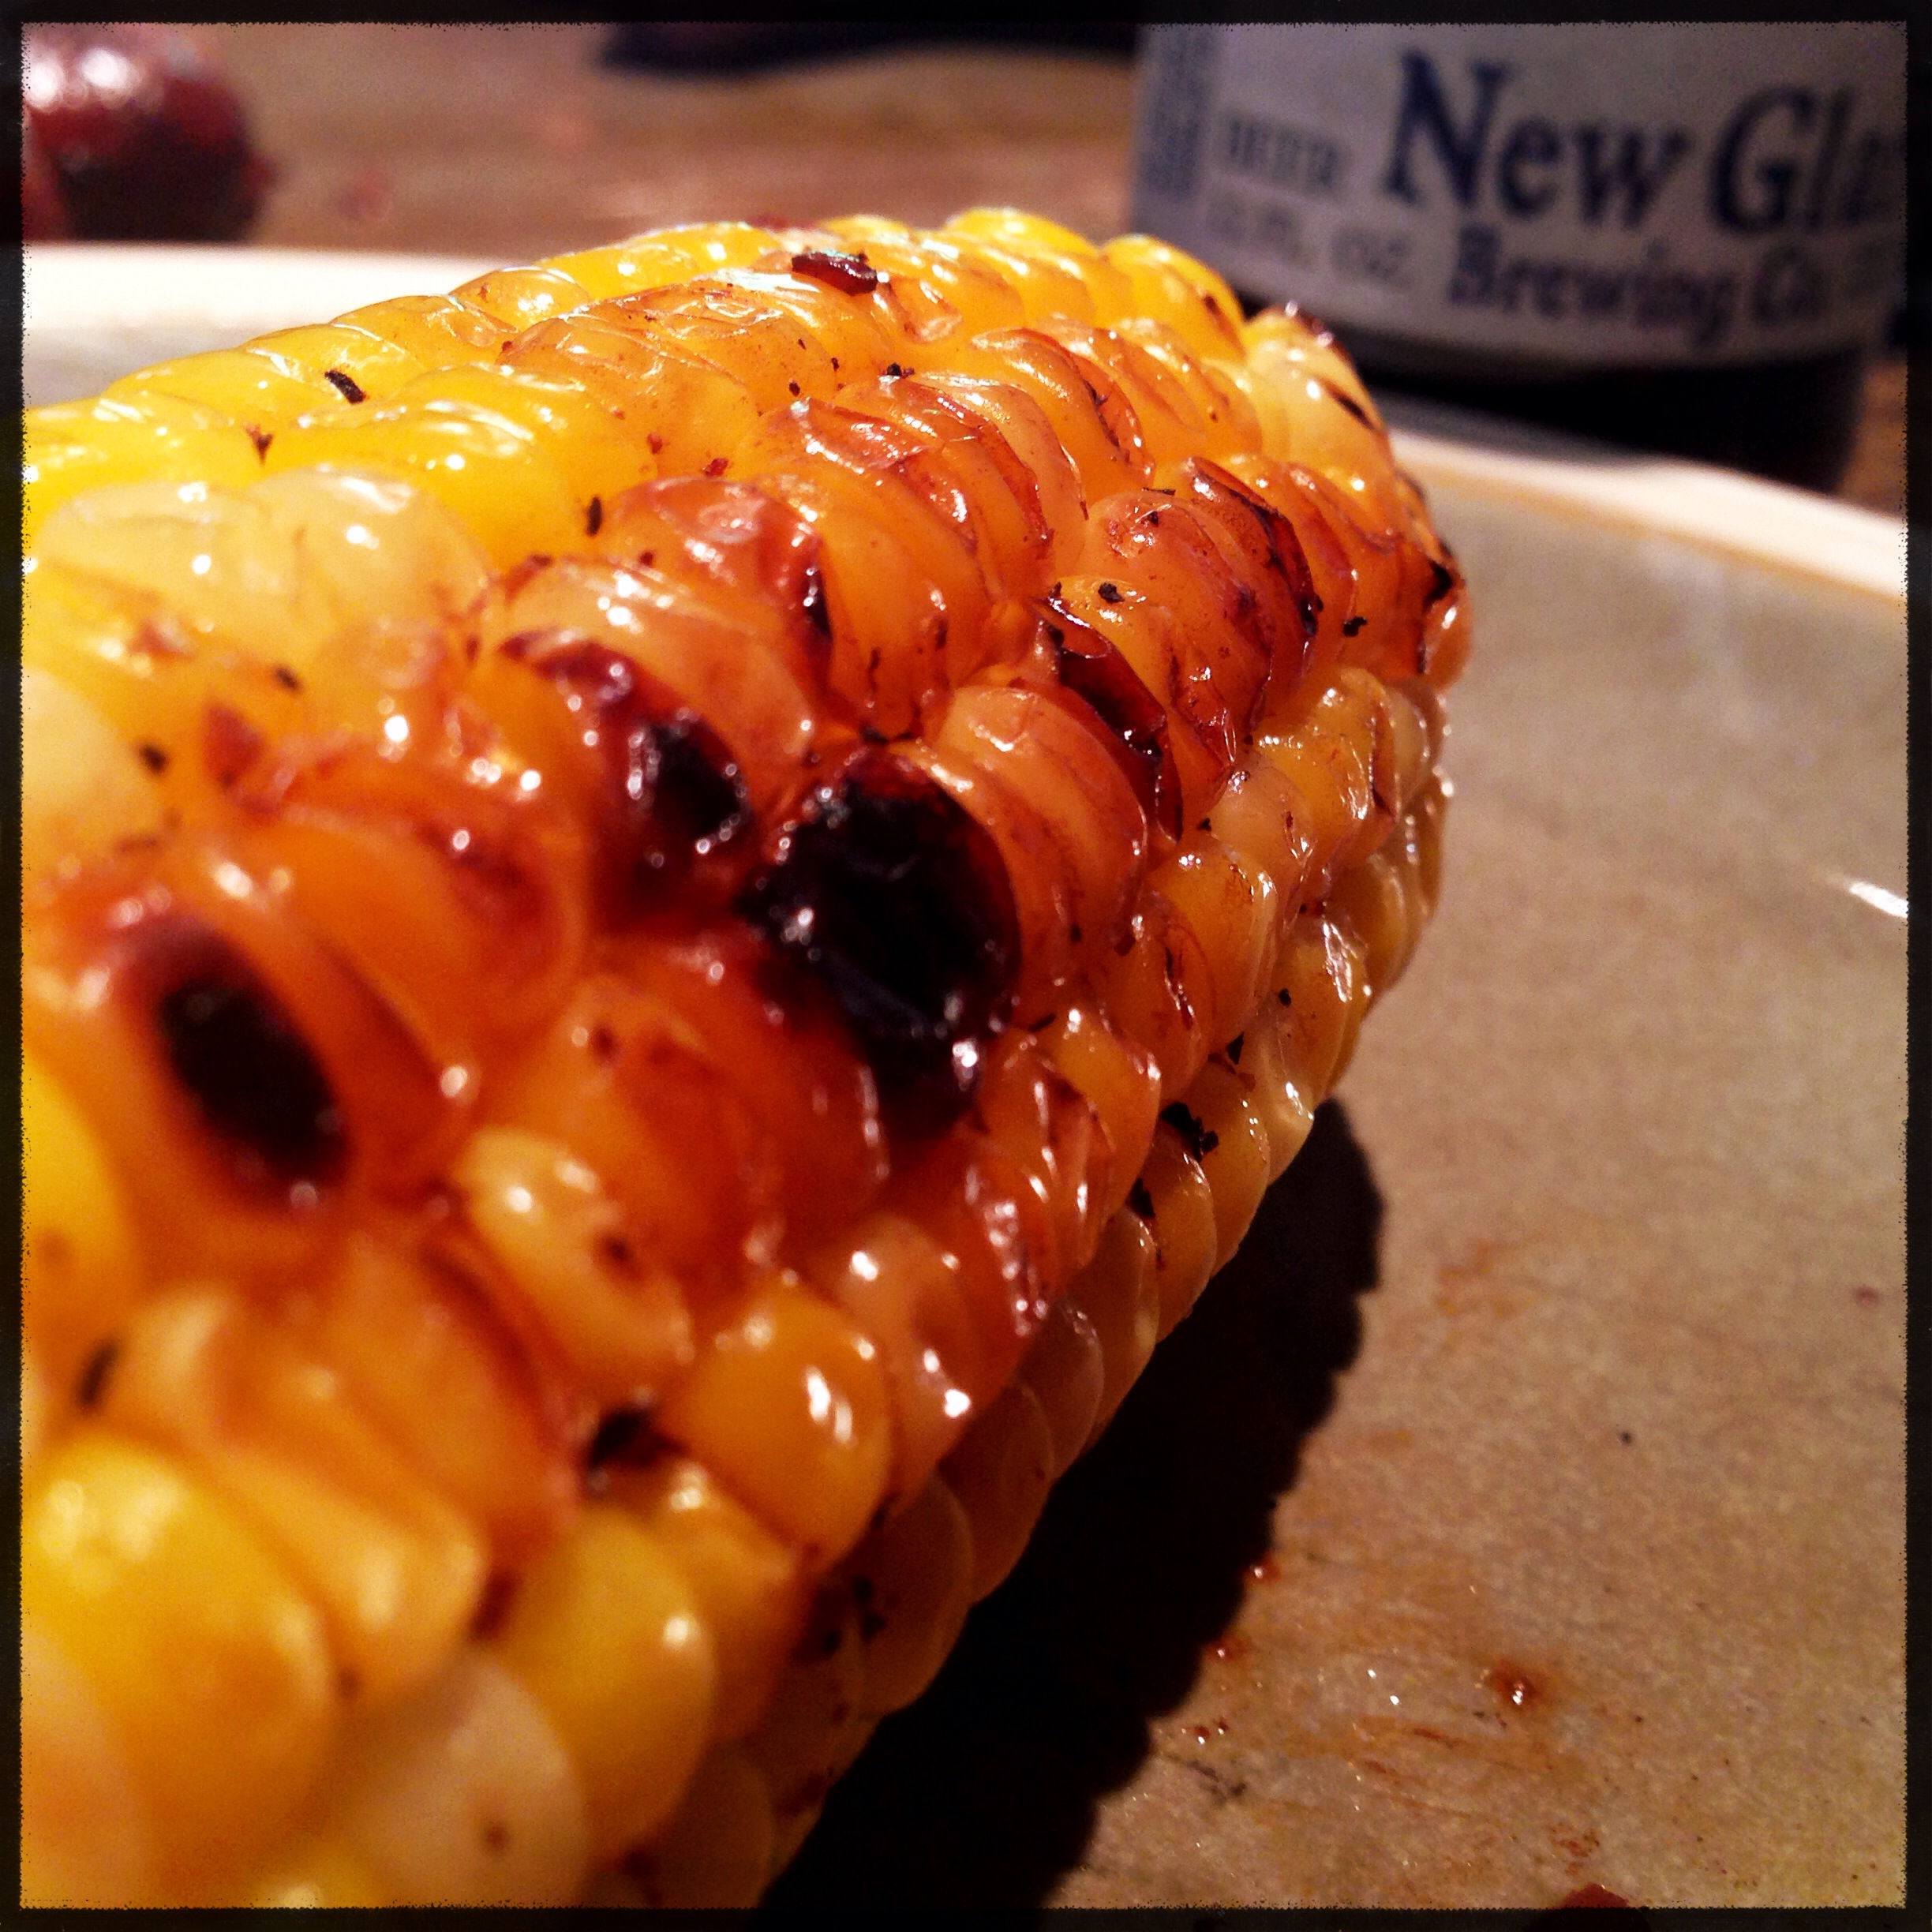
The corn had just a hint of char, and plenty of sweetness from the sugar in the rub along with the butter and the high heat of the grill.
The little guy took down some chopped up ribs and a half an ear of corn.
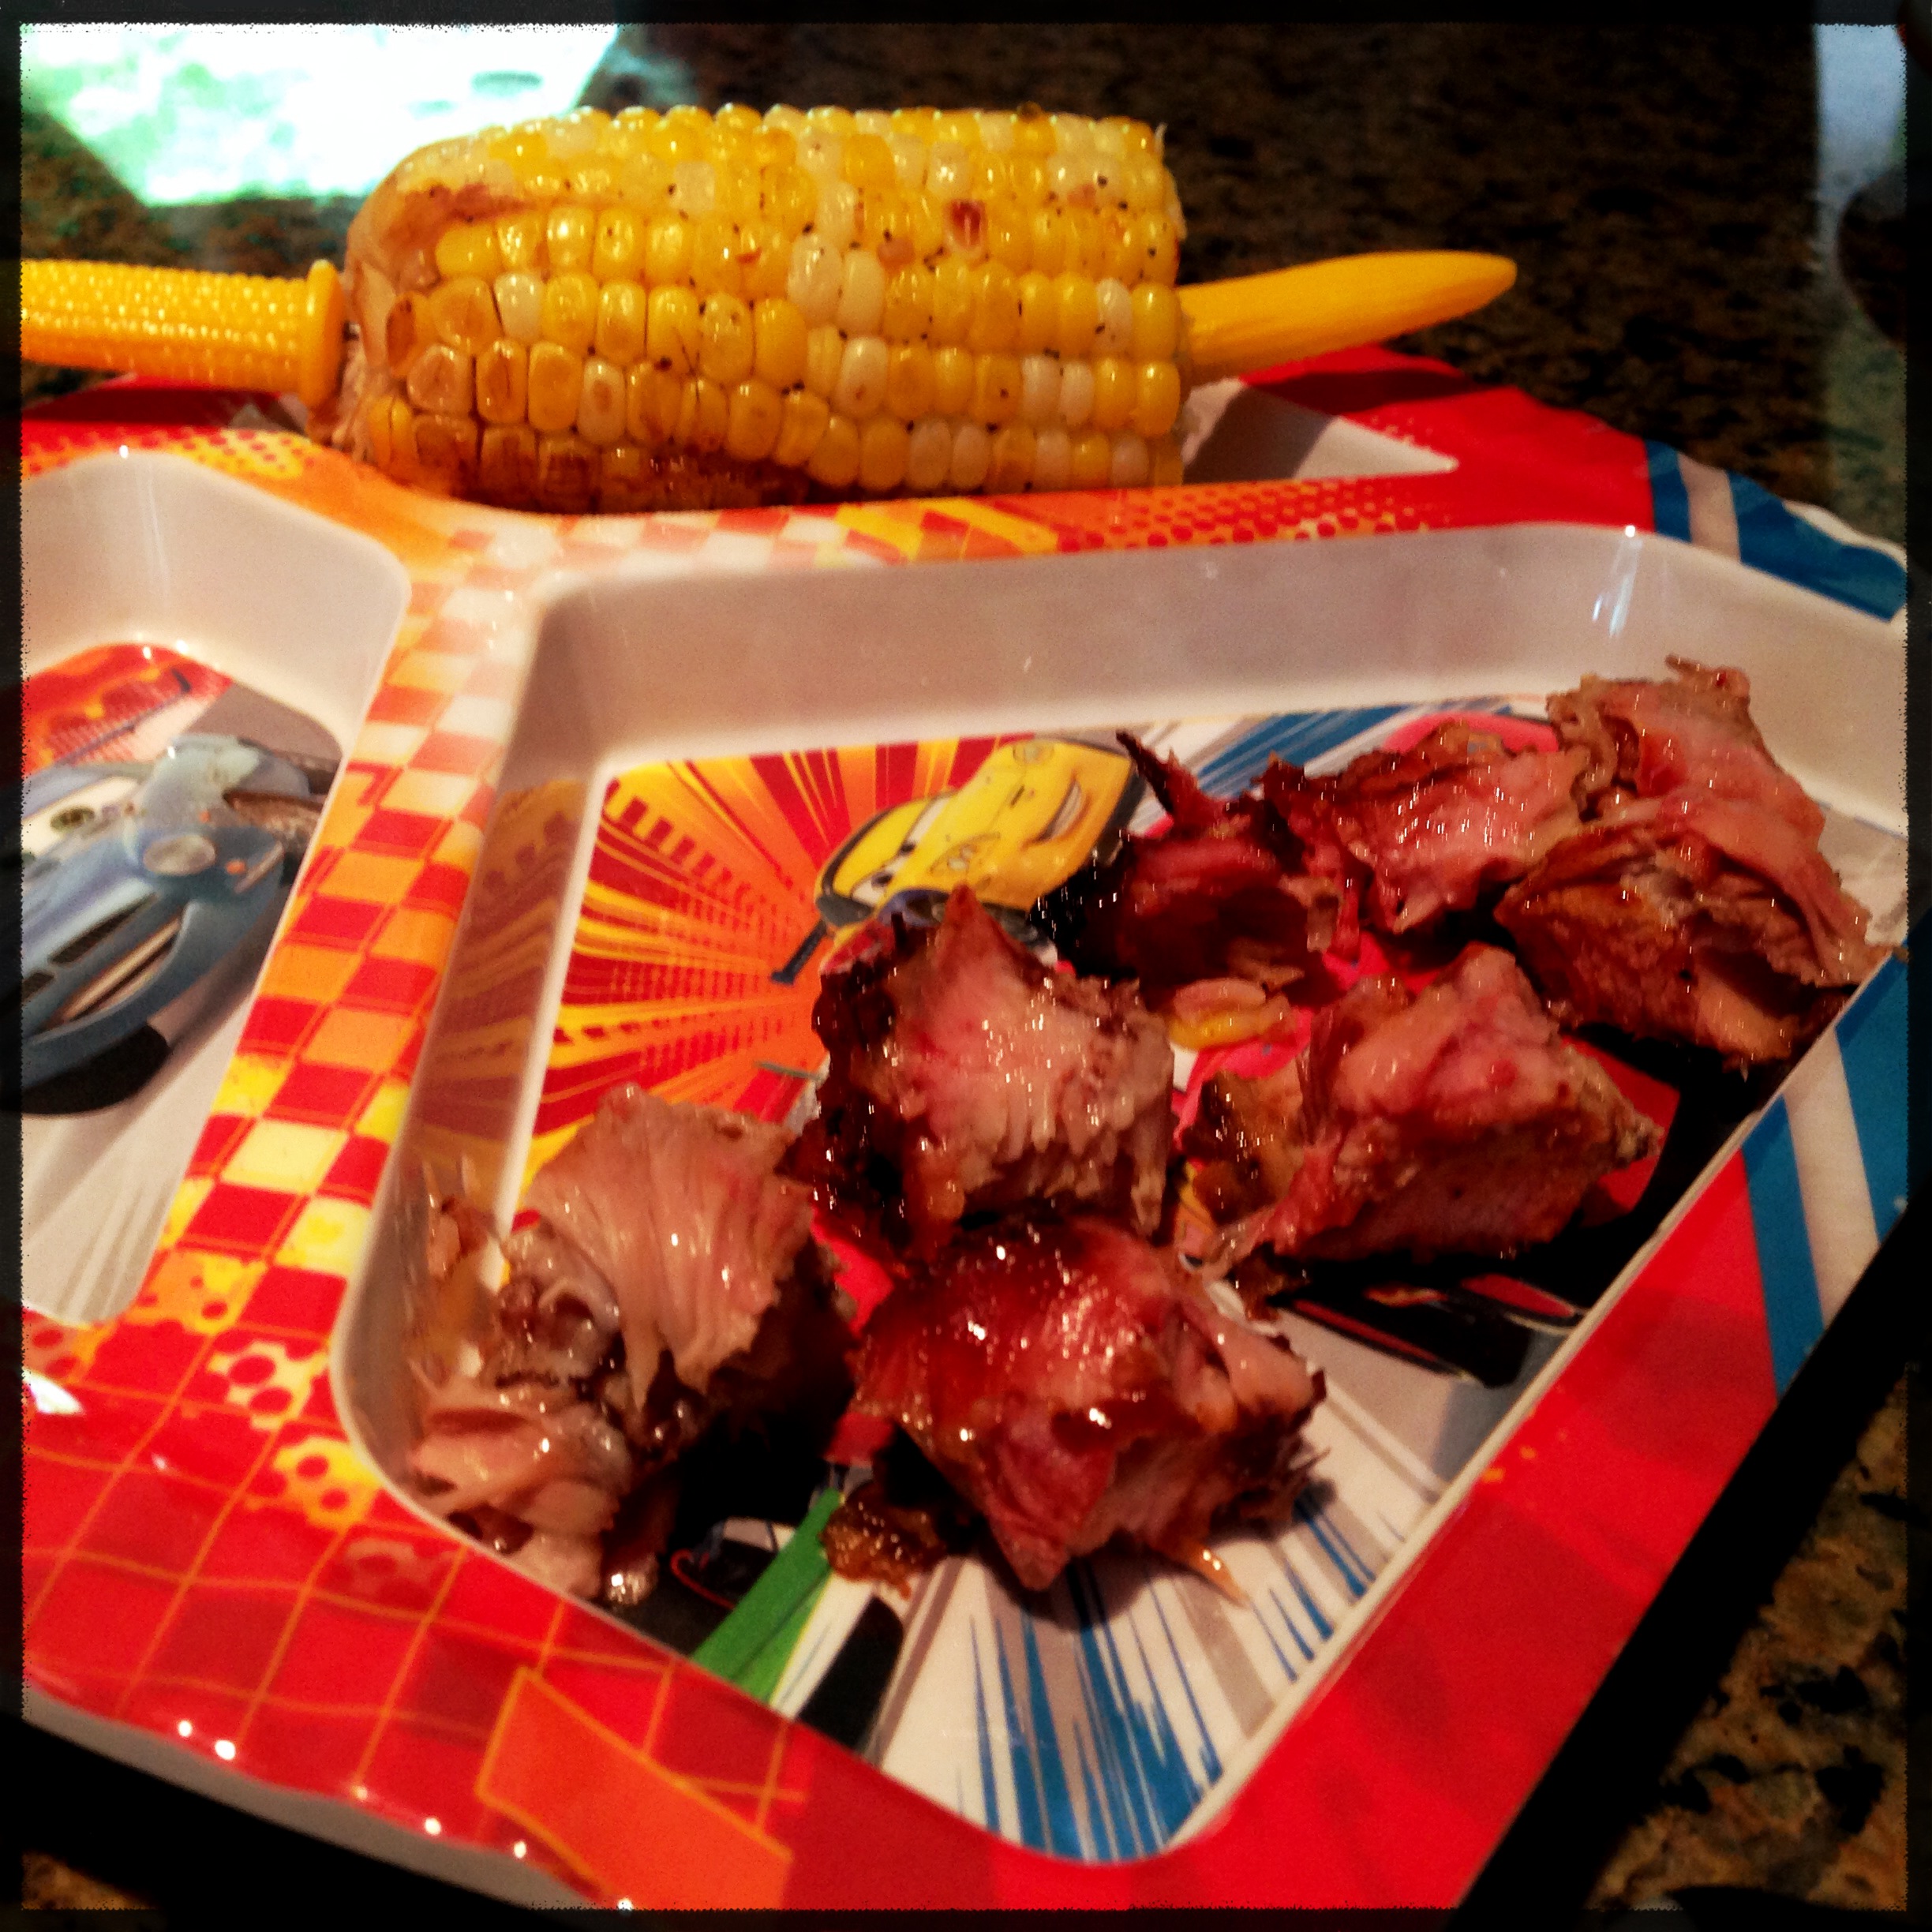
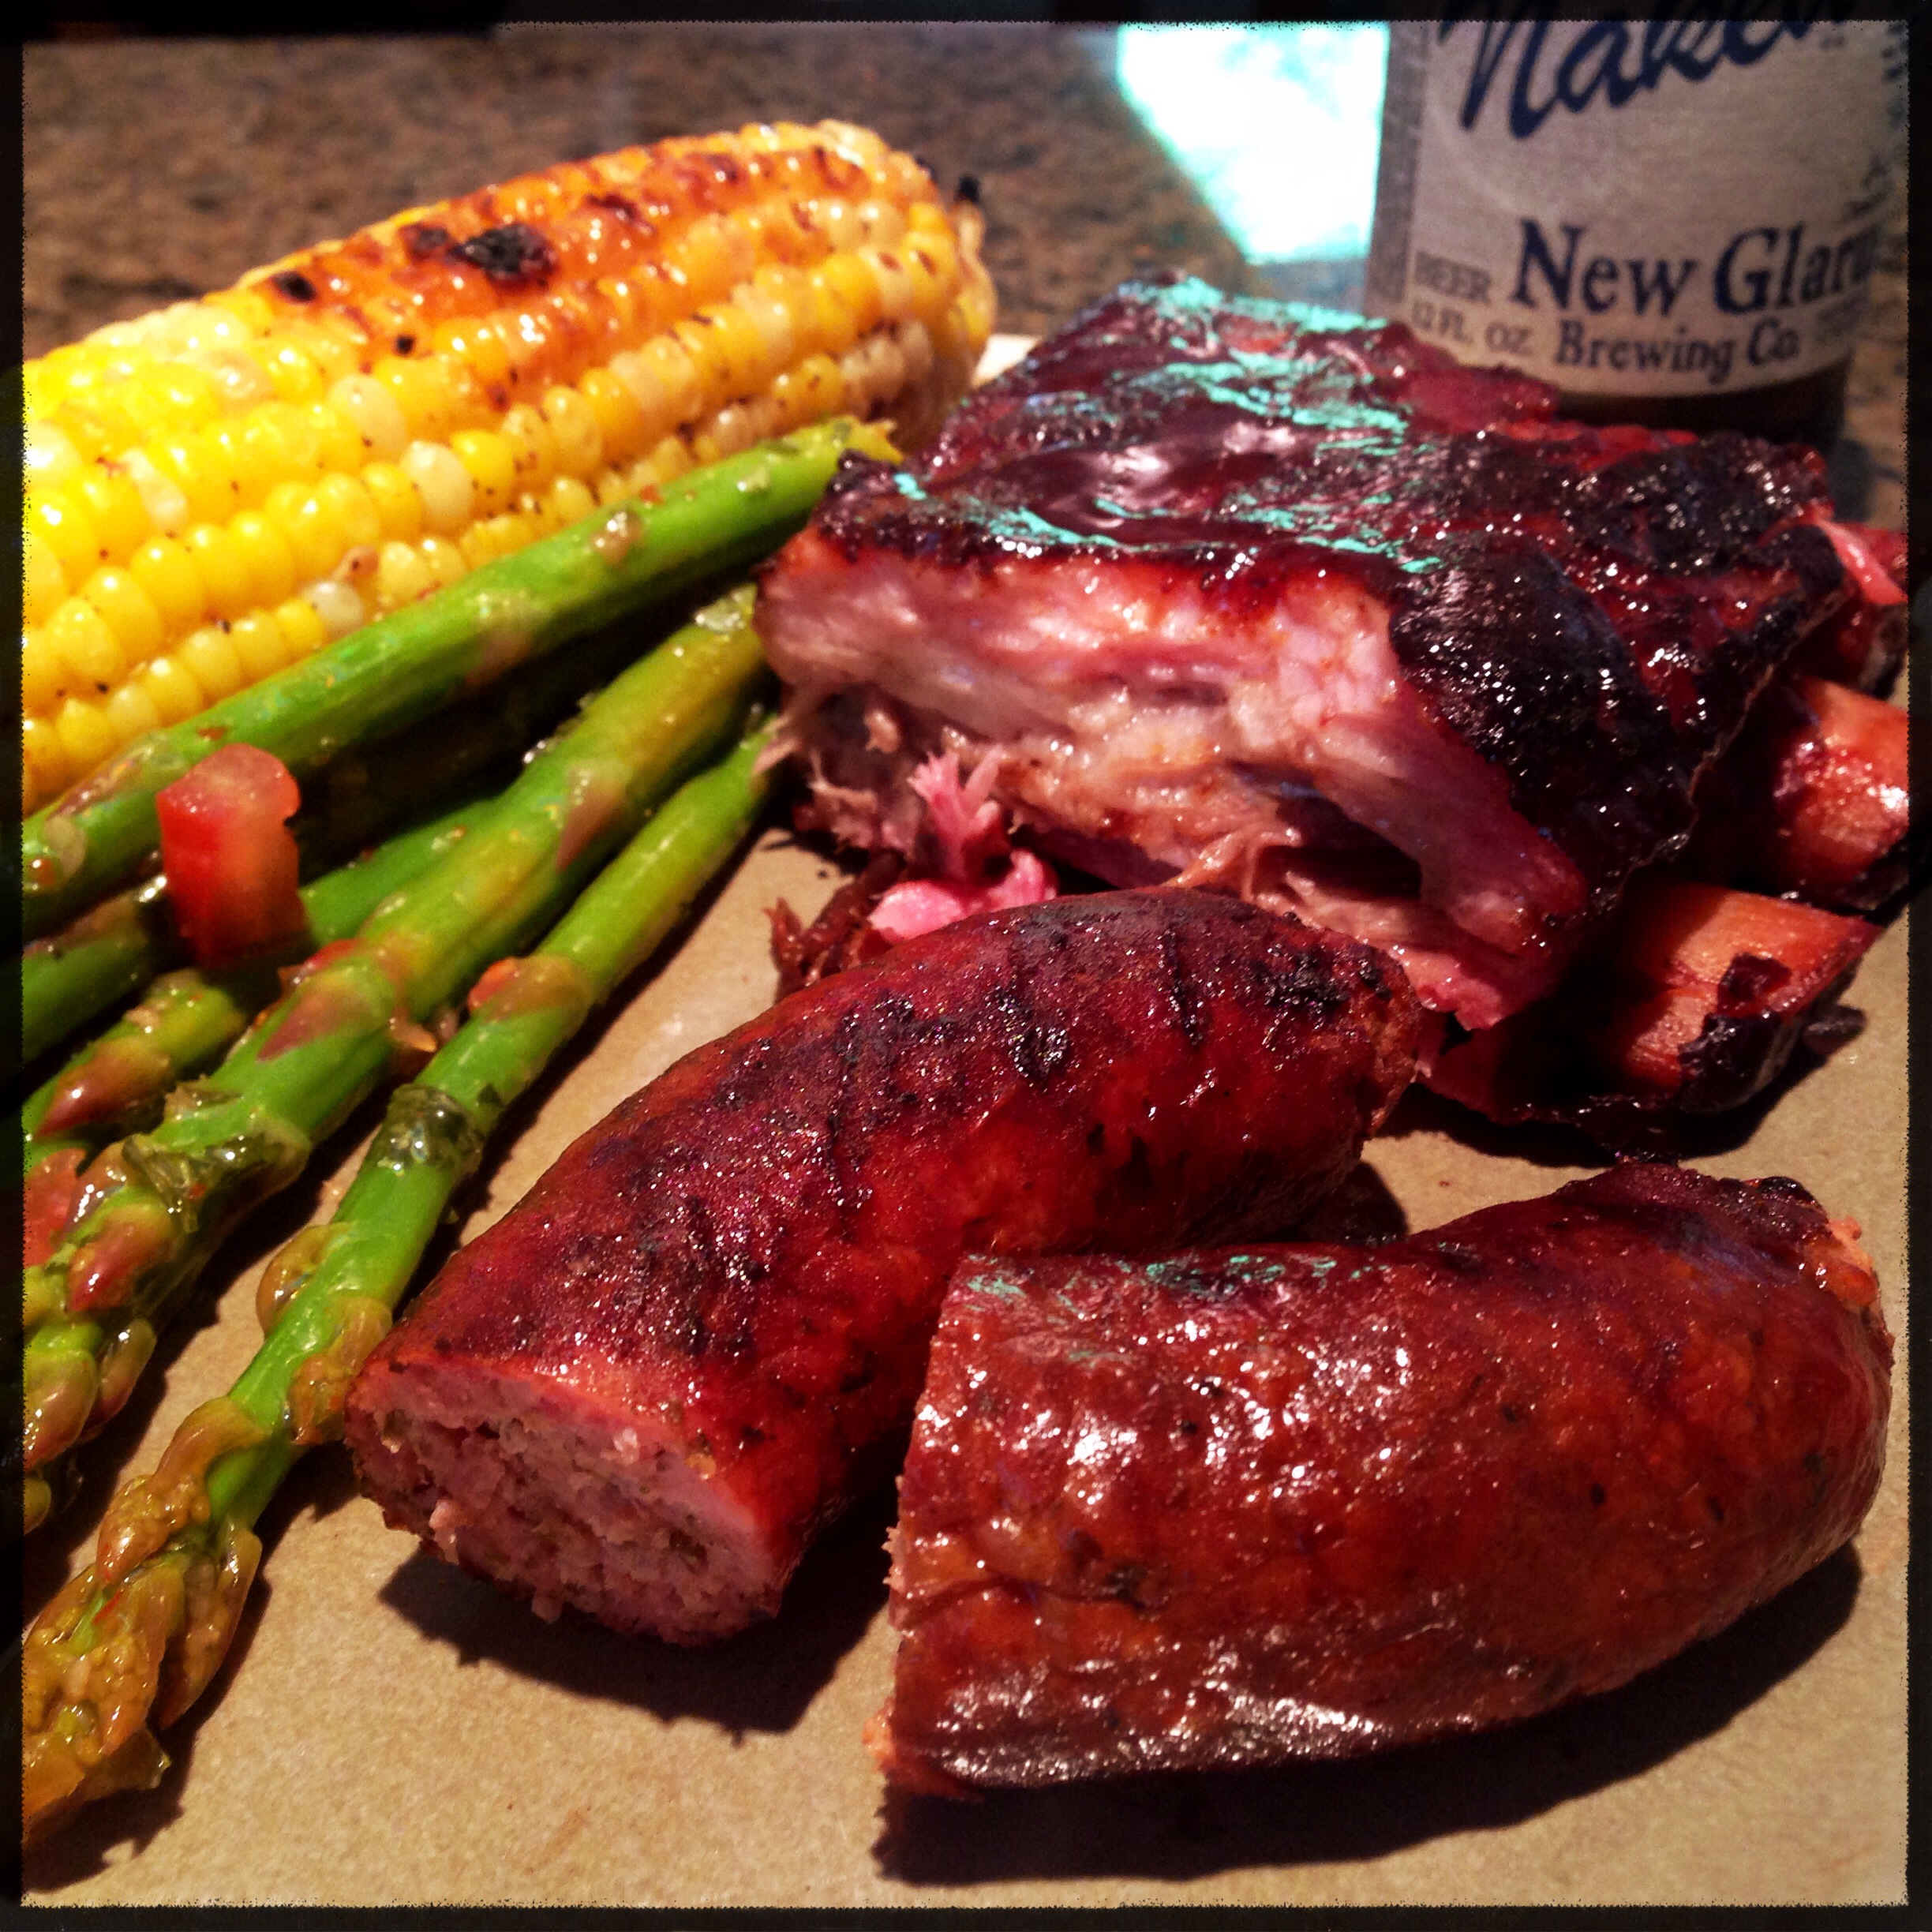
The adult plates weren’t too shabby either.
That’s about it. I think the 2-1.5-1 method is definitely going to be my go-to rib procedure from now on as these ribs were absolutely incredible!
In addition, I hope this post helps demystify the timing of making multiple items outside. Getting everything done at the same time without letting anything dry out or get hold can be tricky, but with a little planning, you can have everything on the table with minimal stress and even find some time to relax while things are cooking. Enjoy!


looks like a great feed! so hard to find ribs that meaty in Australia
In a word, outstanding!
Very nice! You’ve made me happy here.